
📆 Revision Date:
|
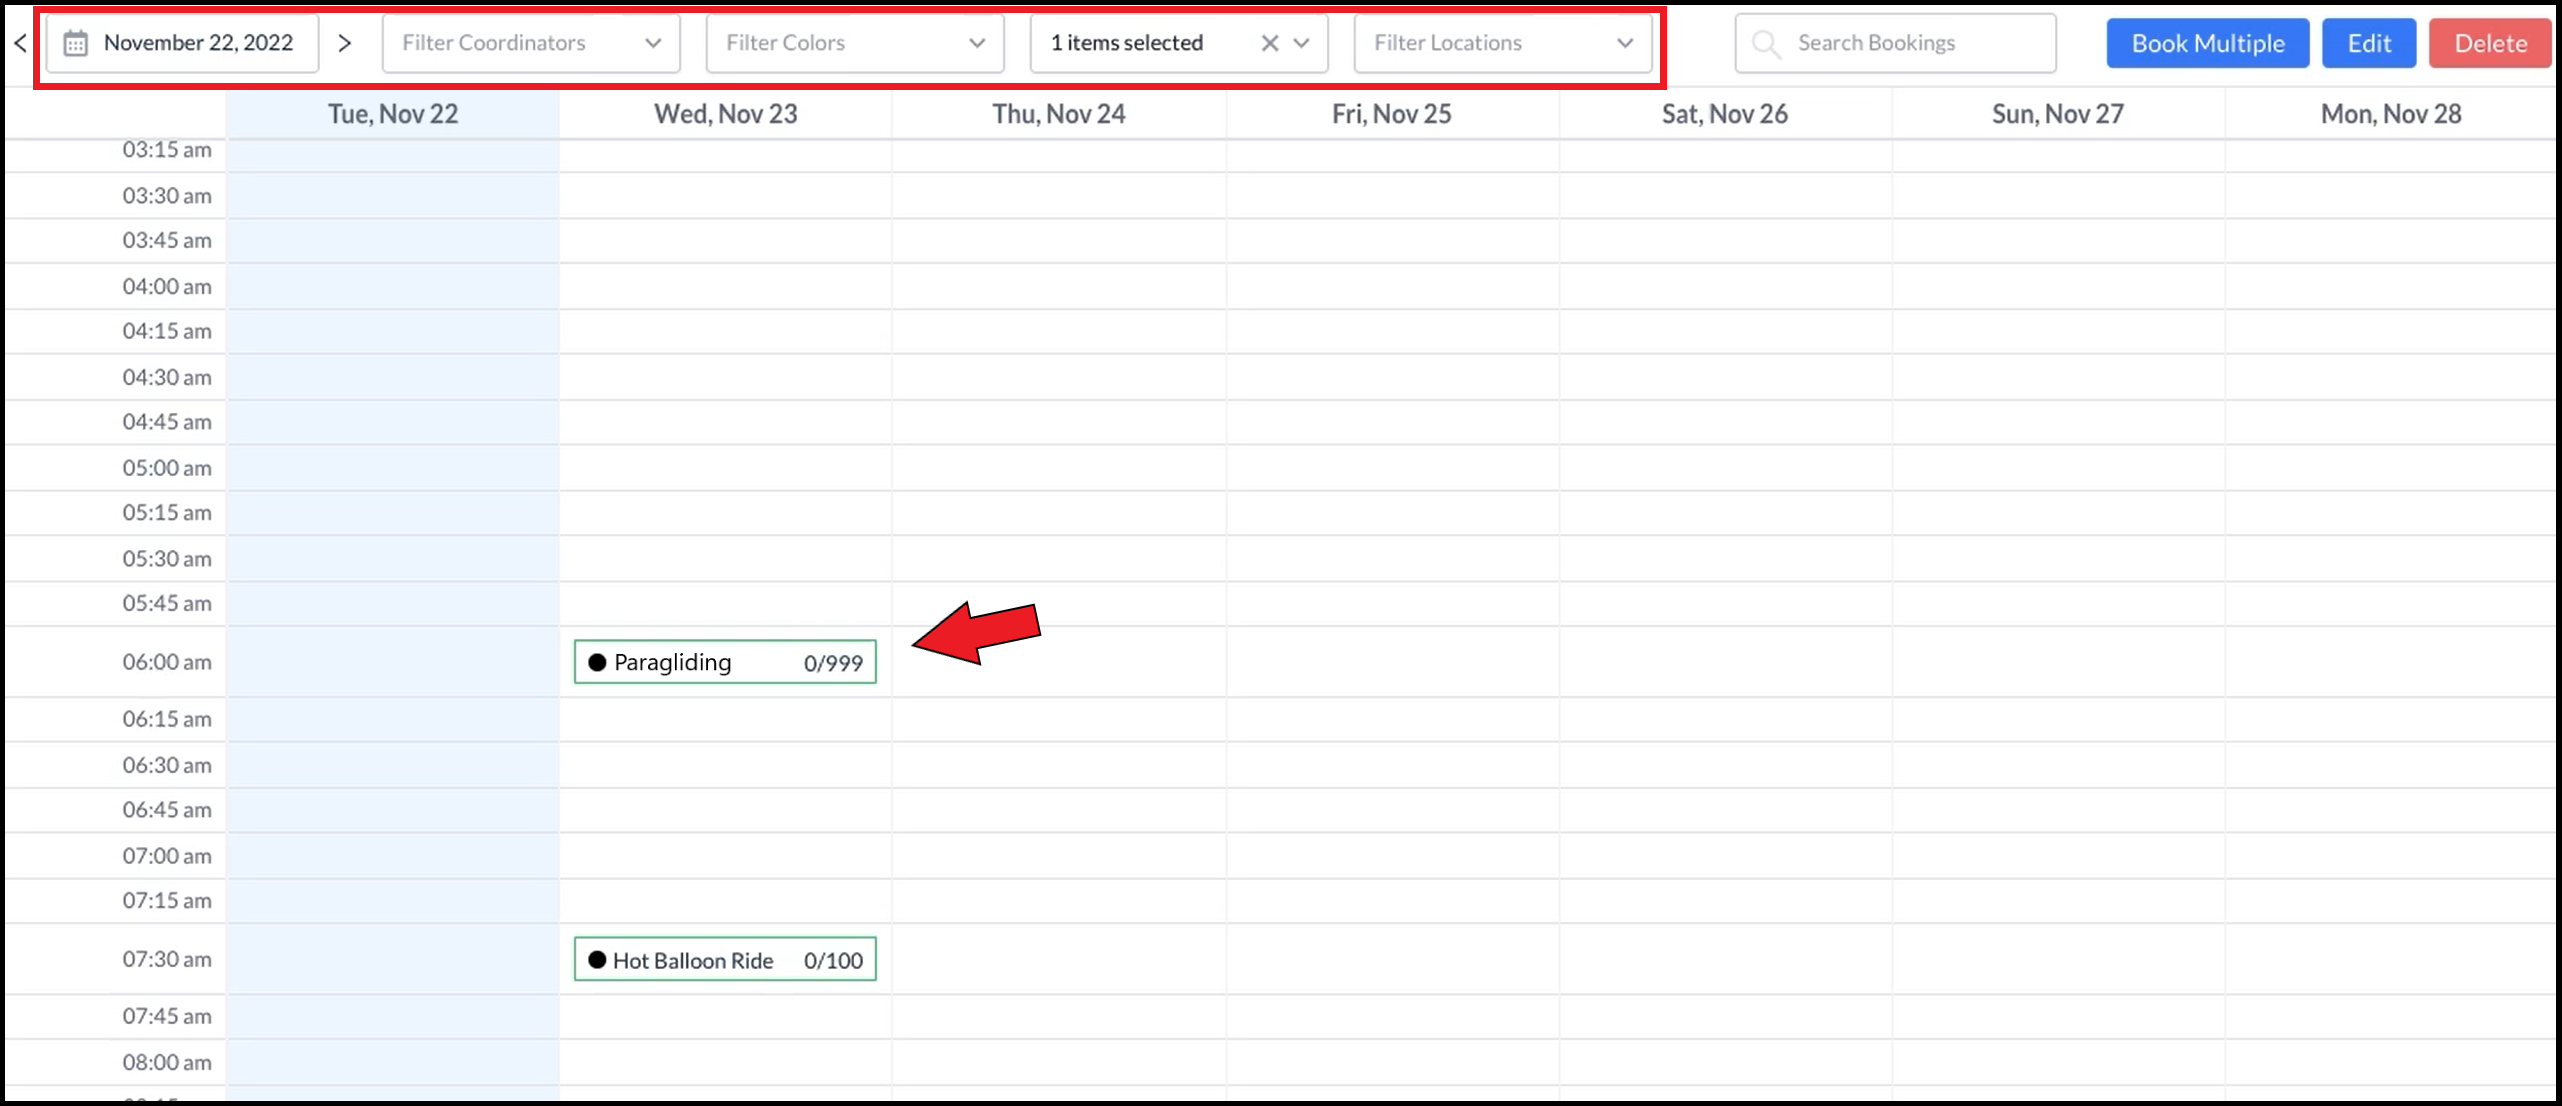
Use the filters on the Calendar to locate the applicable activity instance. Select the activity instance the guest is checking in for. |
|
|
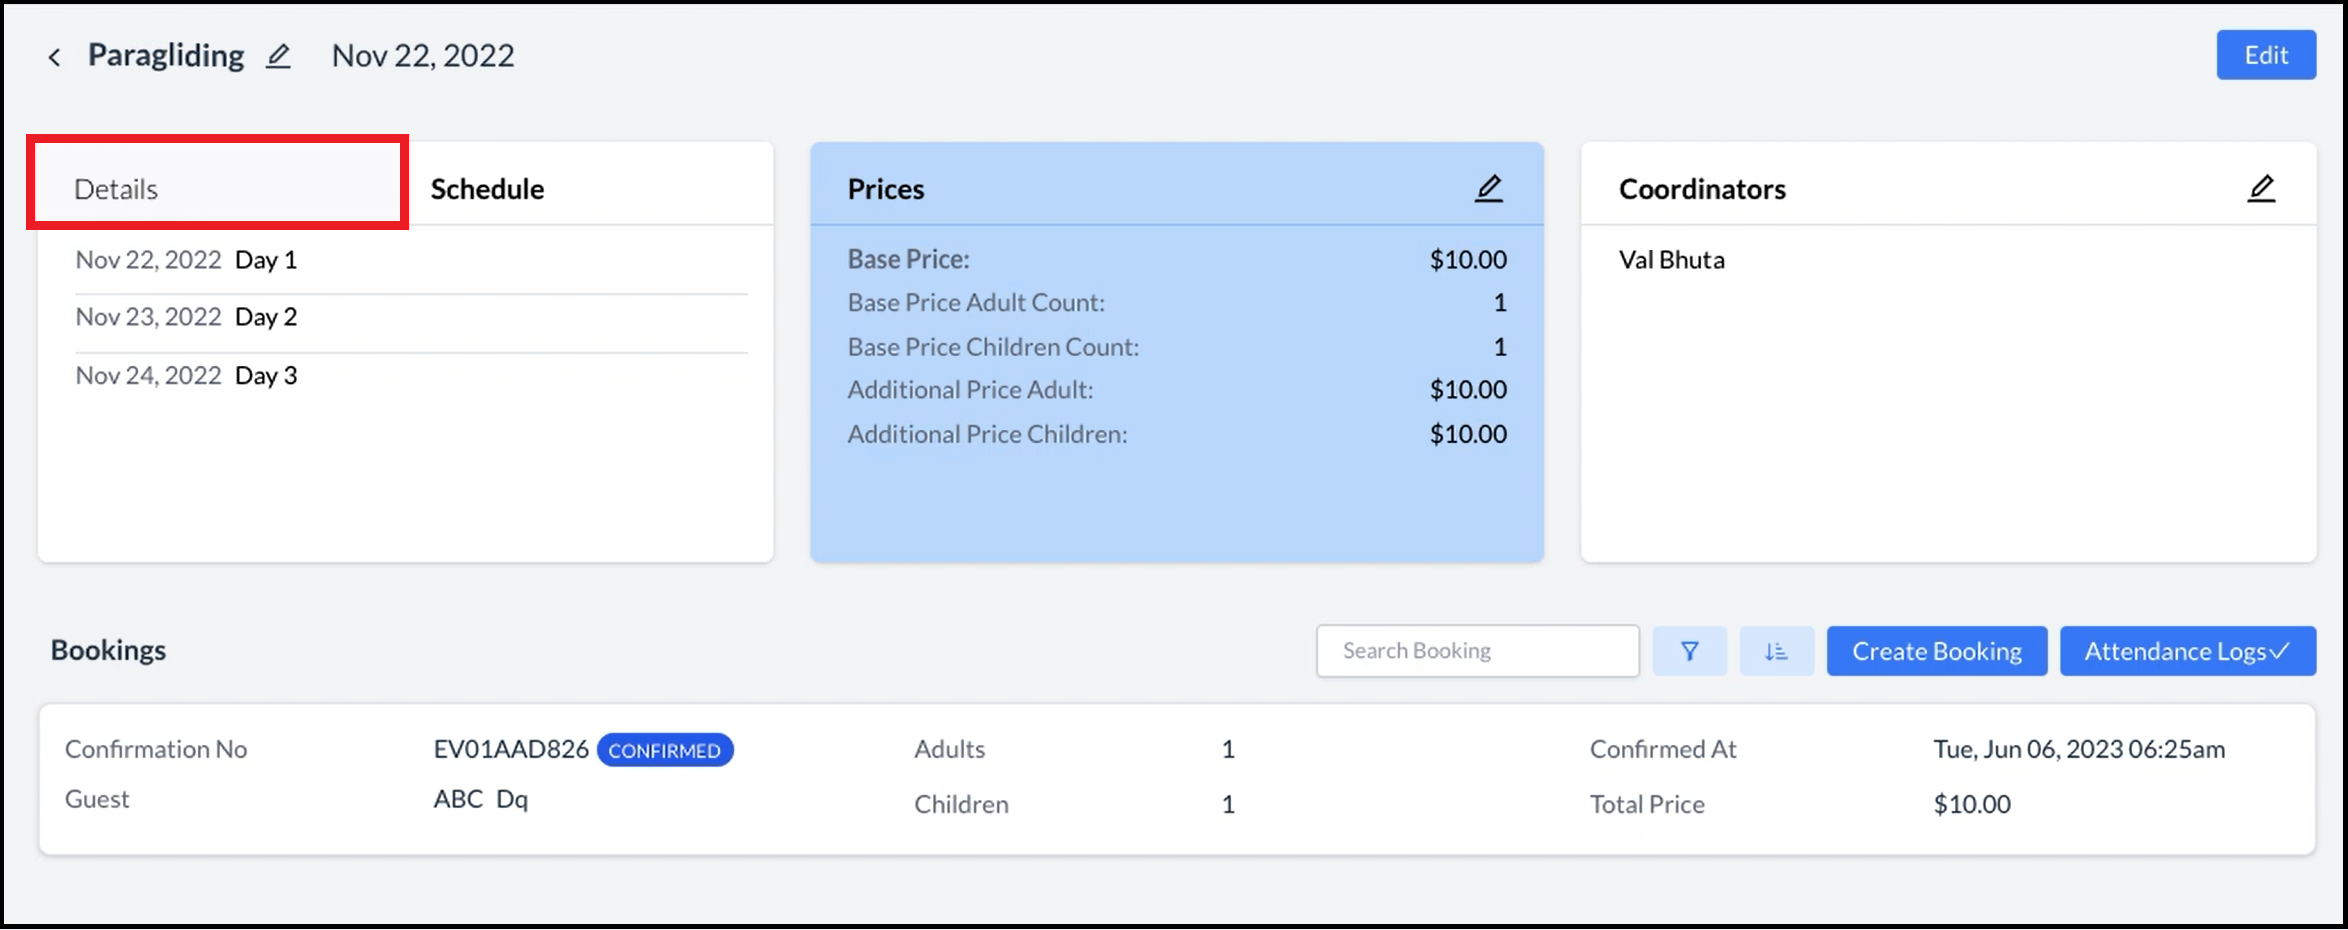
The activity instance details panel opens, with the Schedule tab selected by default. Select the Details tab. |
|
|
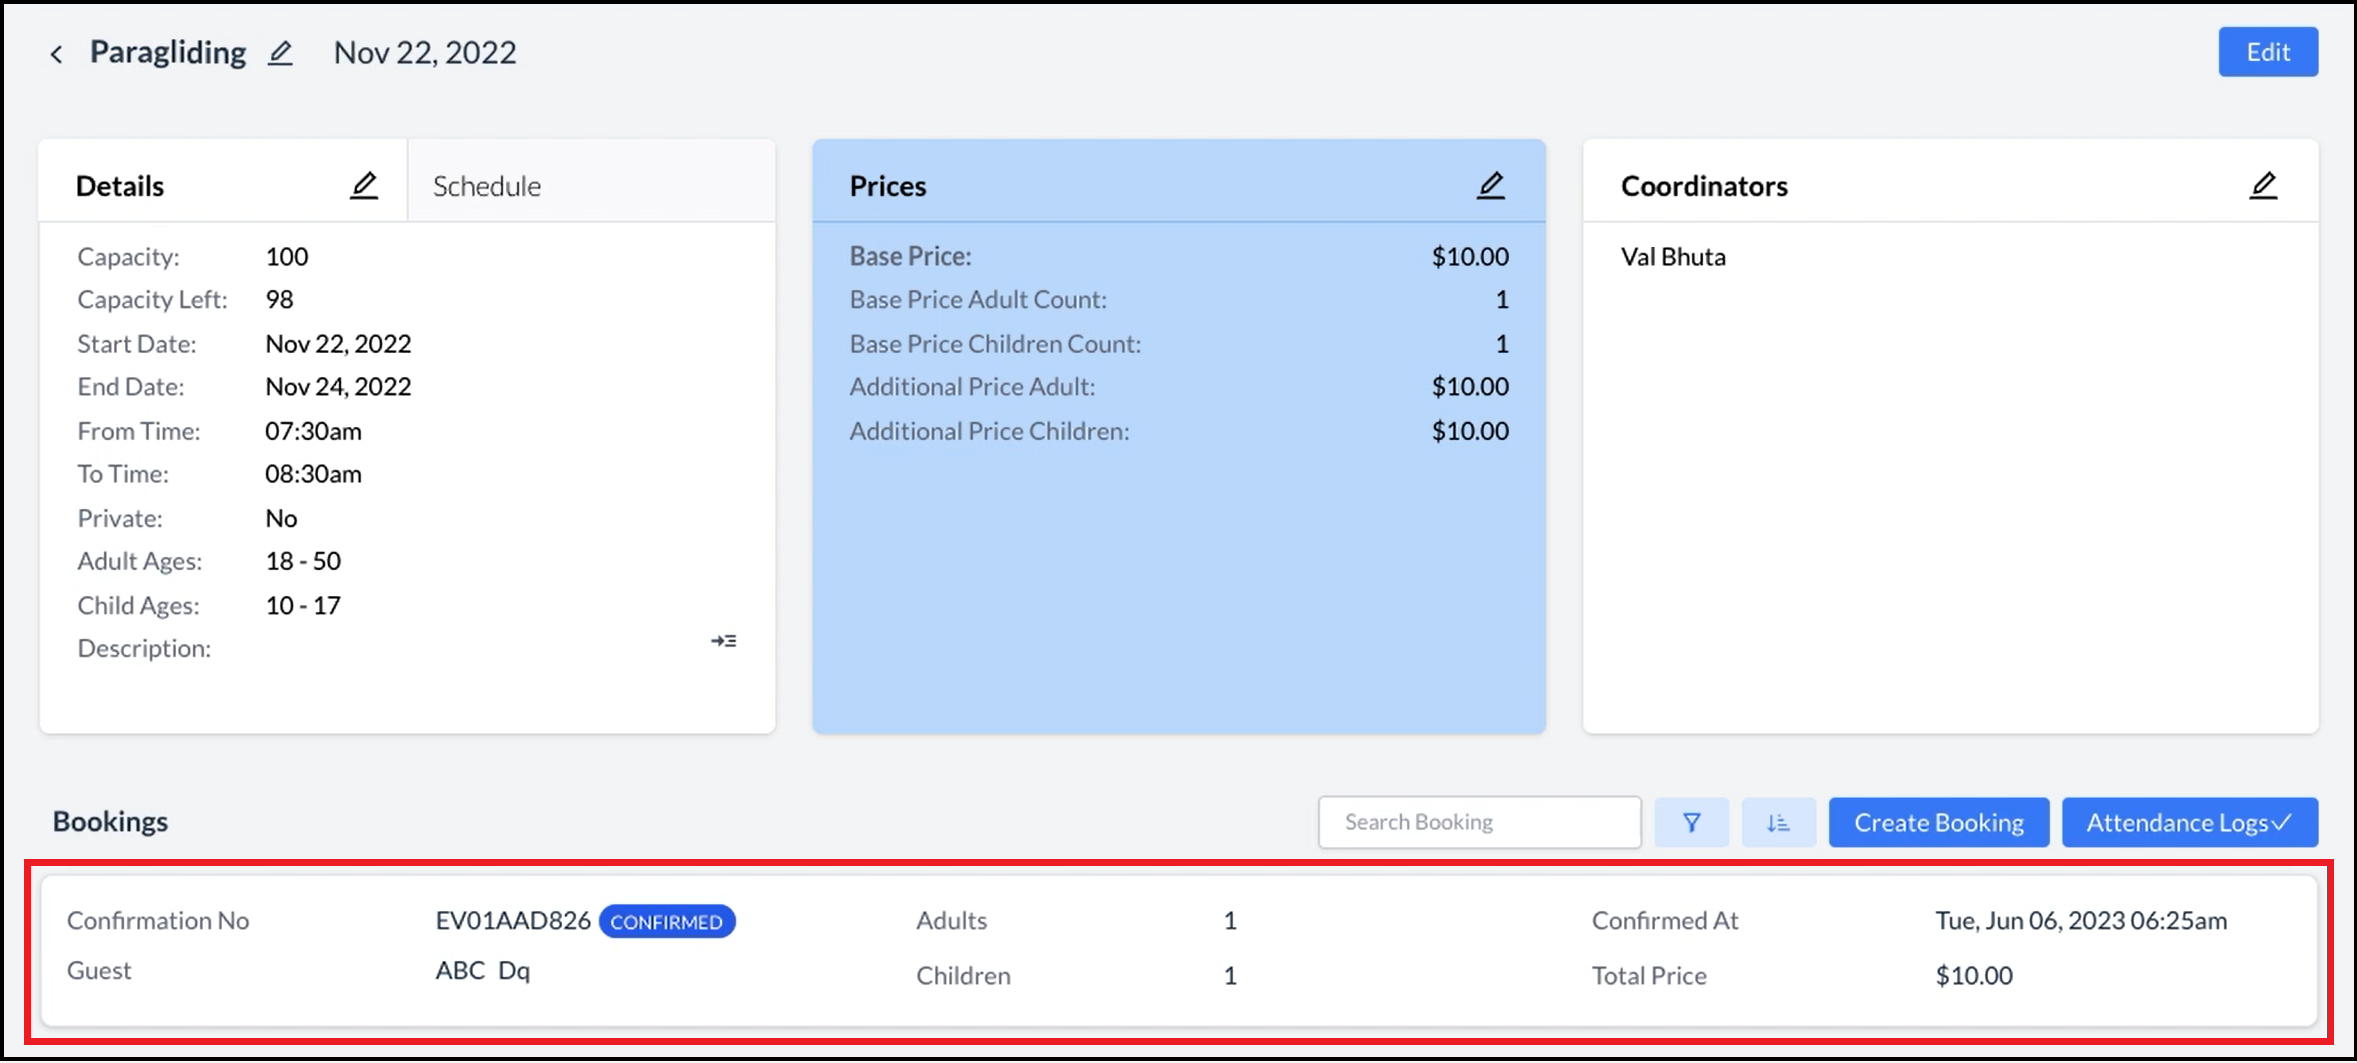
In the Bookings section of the Details tab, select the booking to be checked in. |
|
|
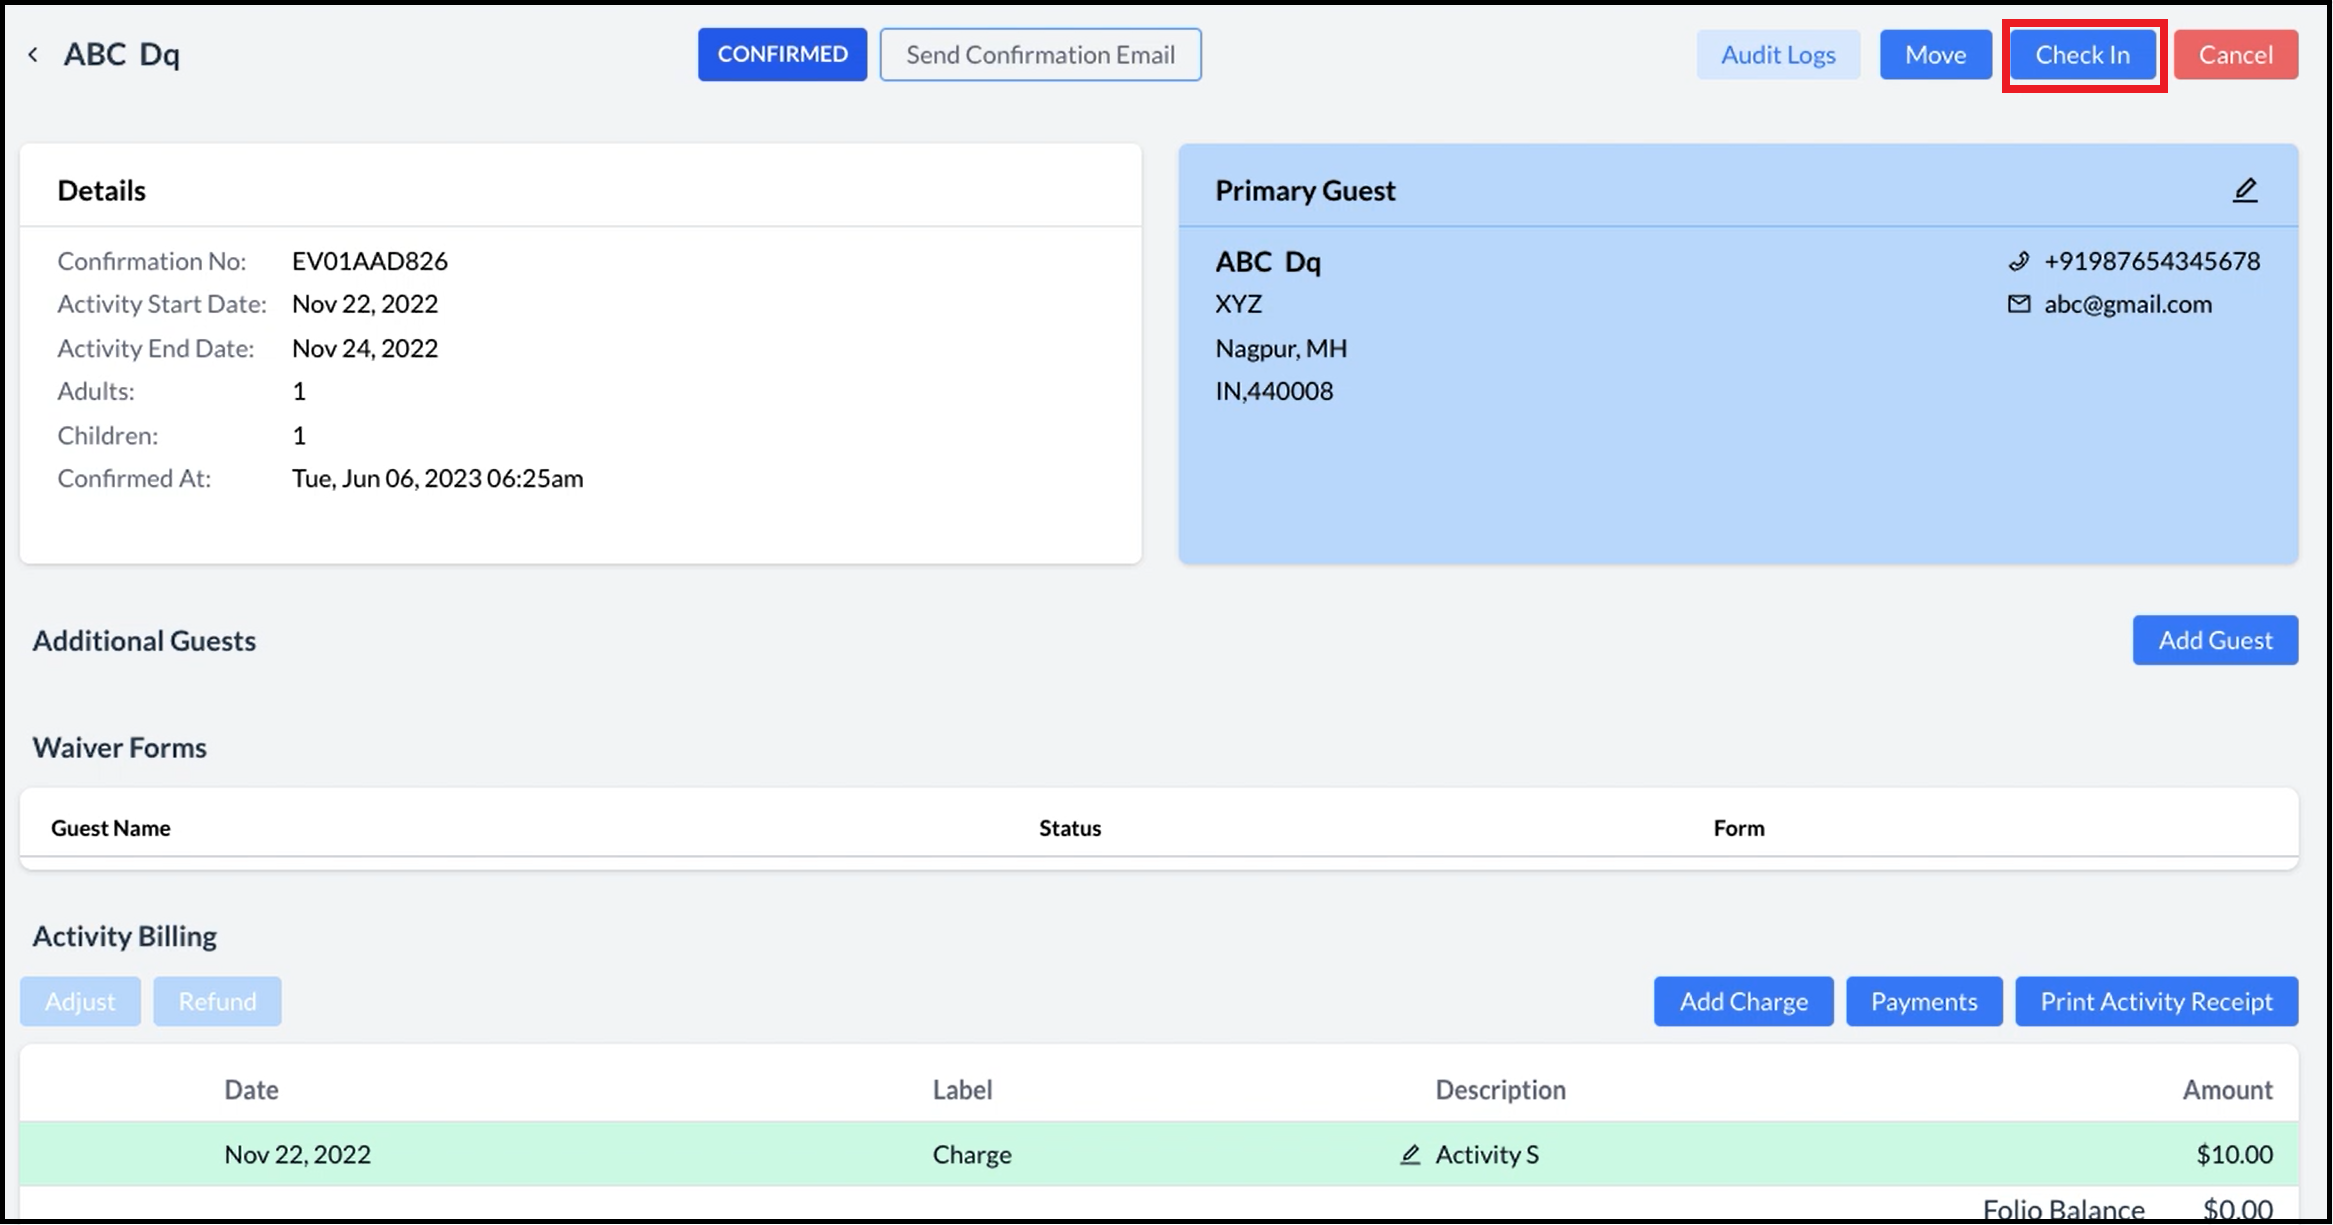
A panel displaying booking details displays. Confirm details and select Check In. |
|
|
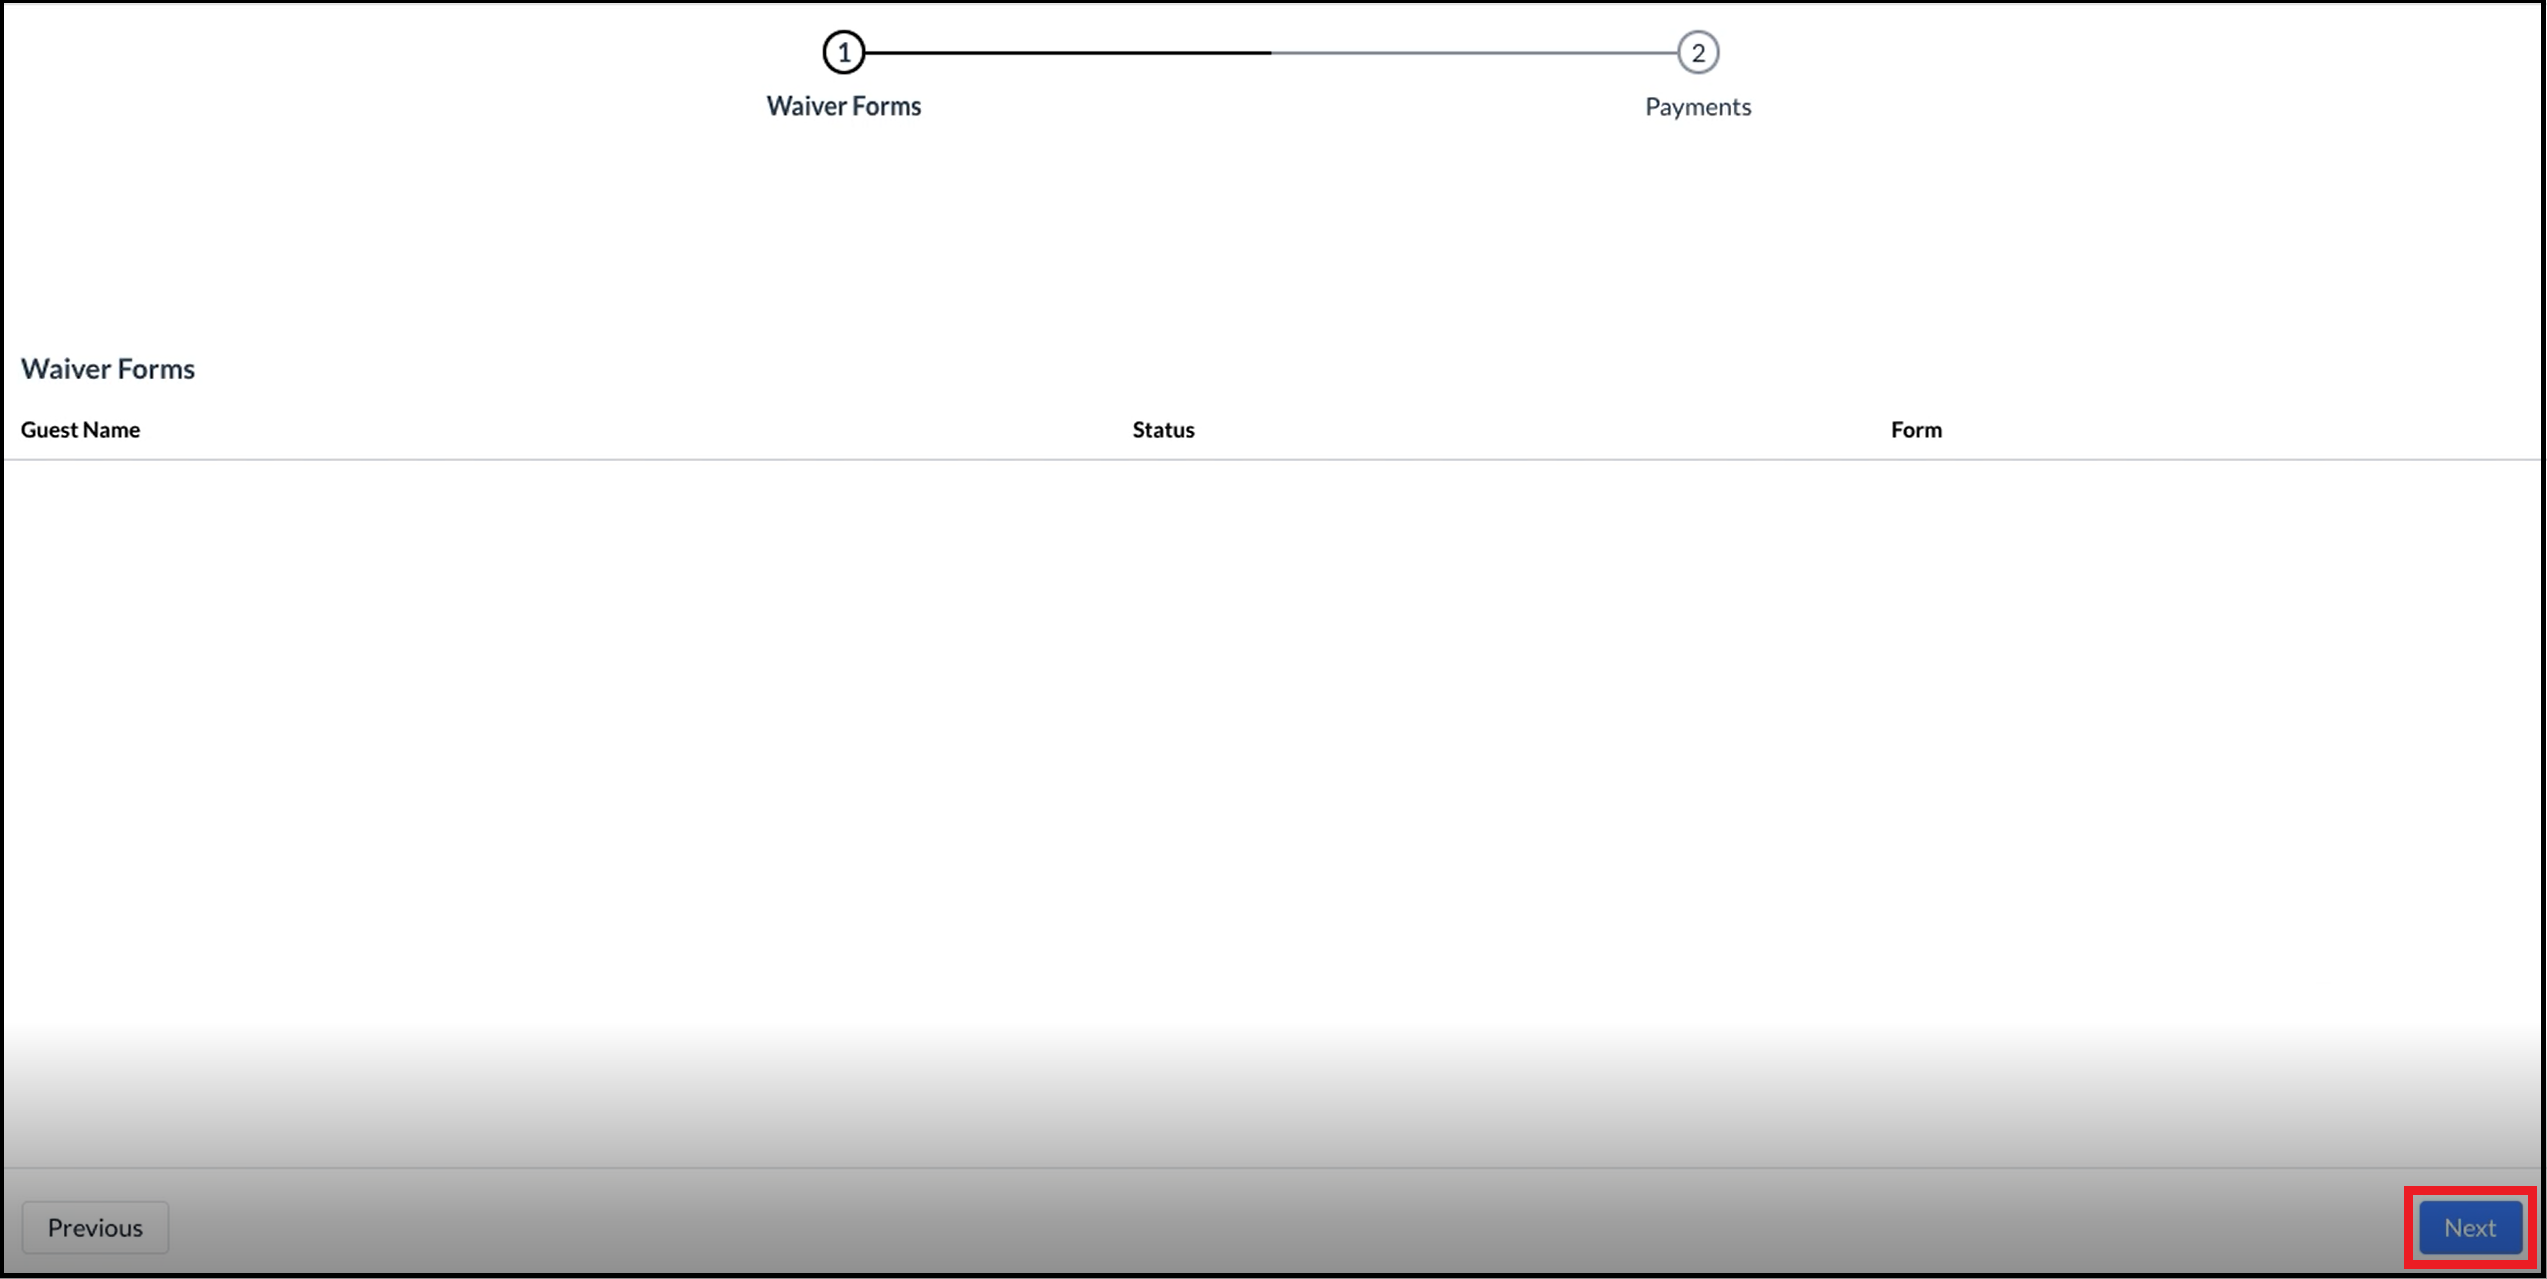
A check in wizard activates. Step one of the wizard presents any required Waiver Forms for guest signature. In the example shown there are no required waivers. Where a waiver is present, select it to open it for the guest to digitally sign. When waiver signatures are complete, select Next. |
|
|
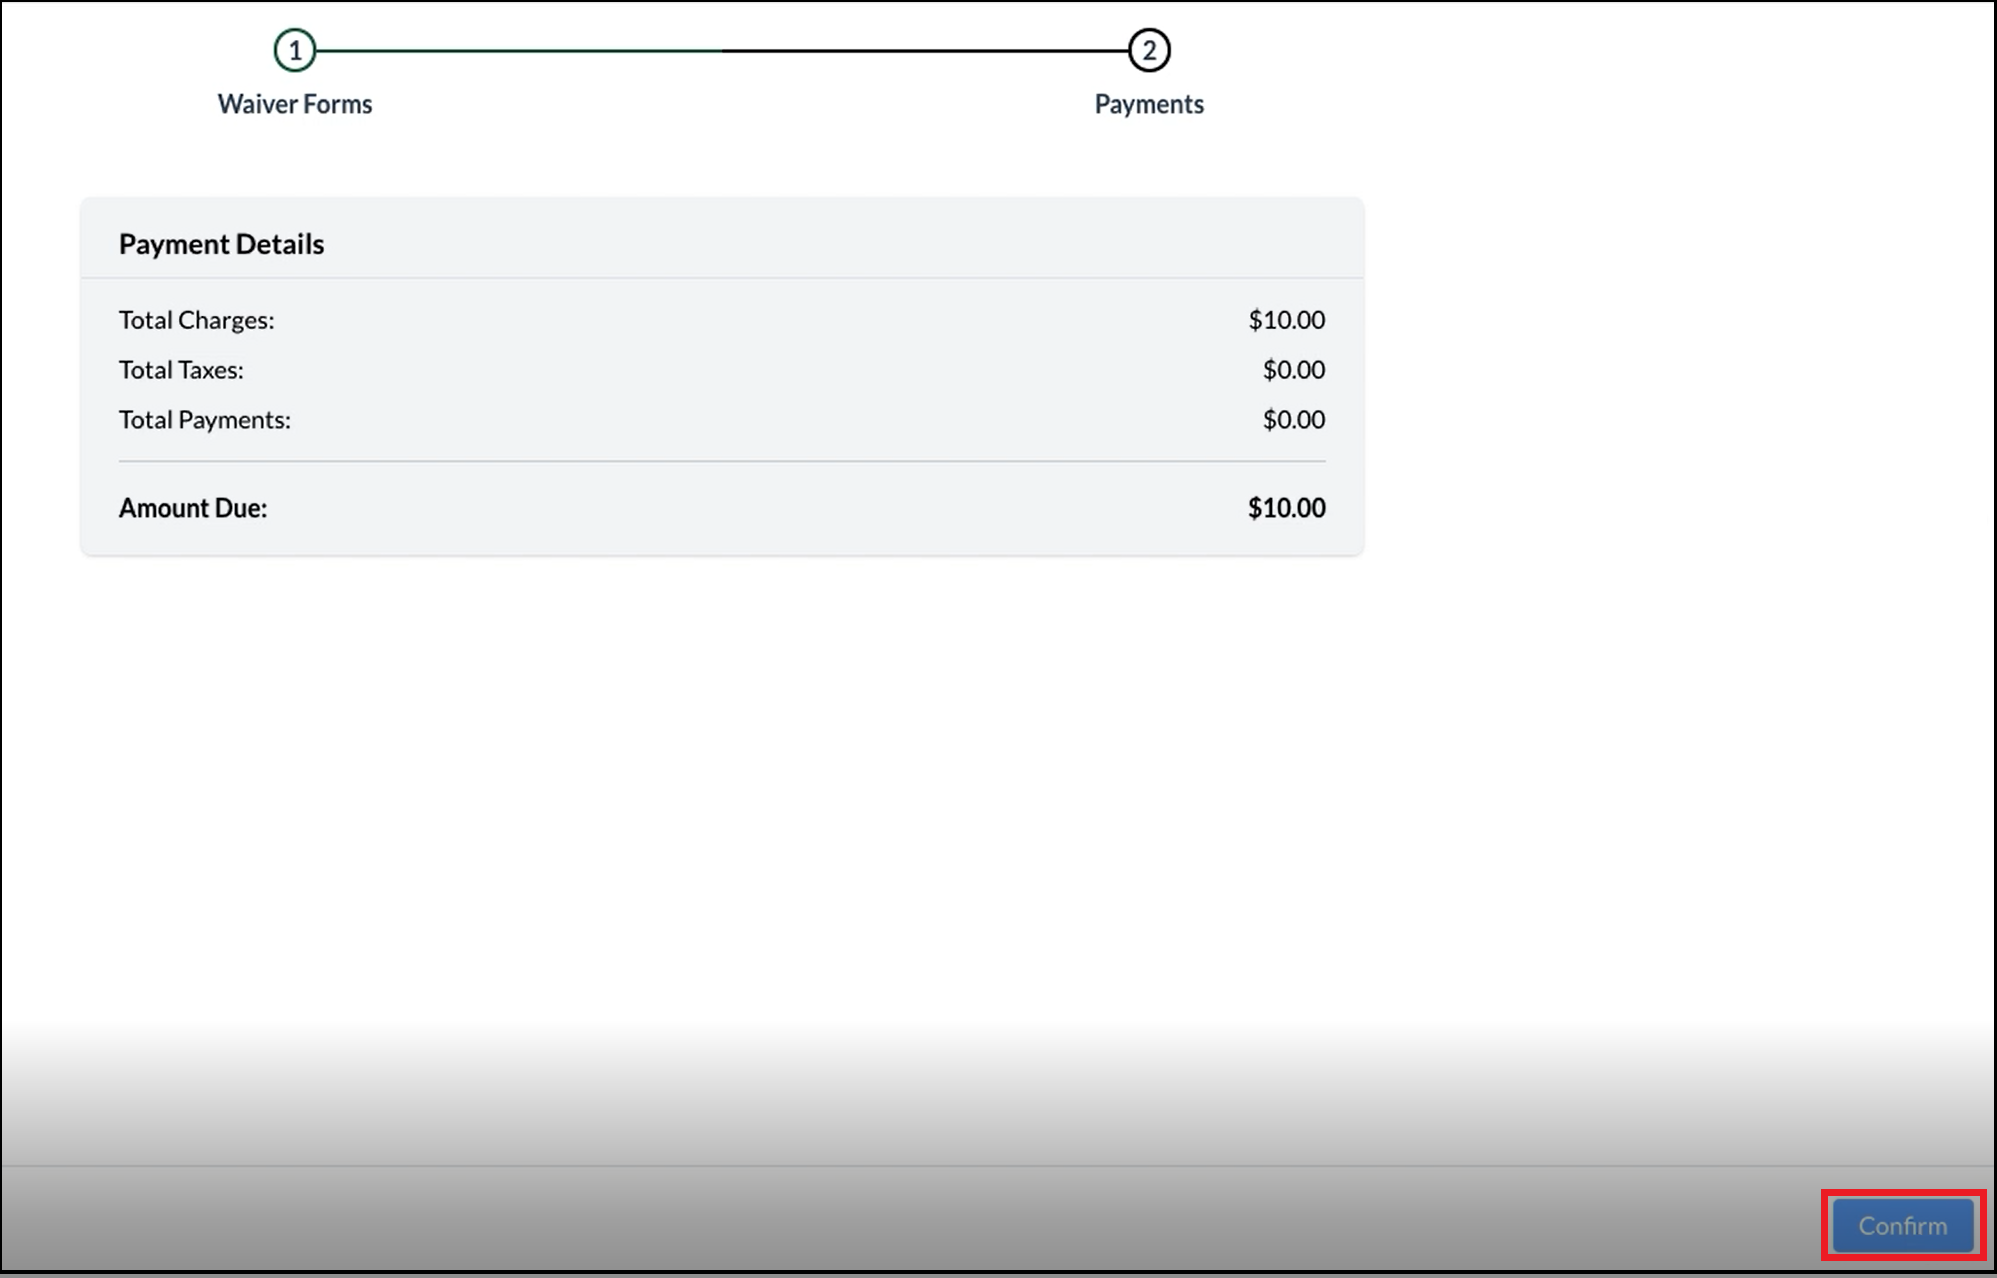
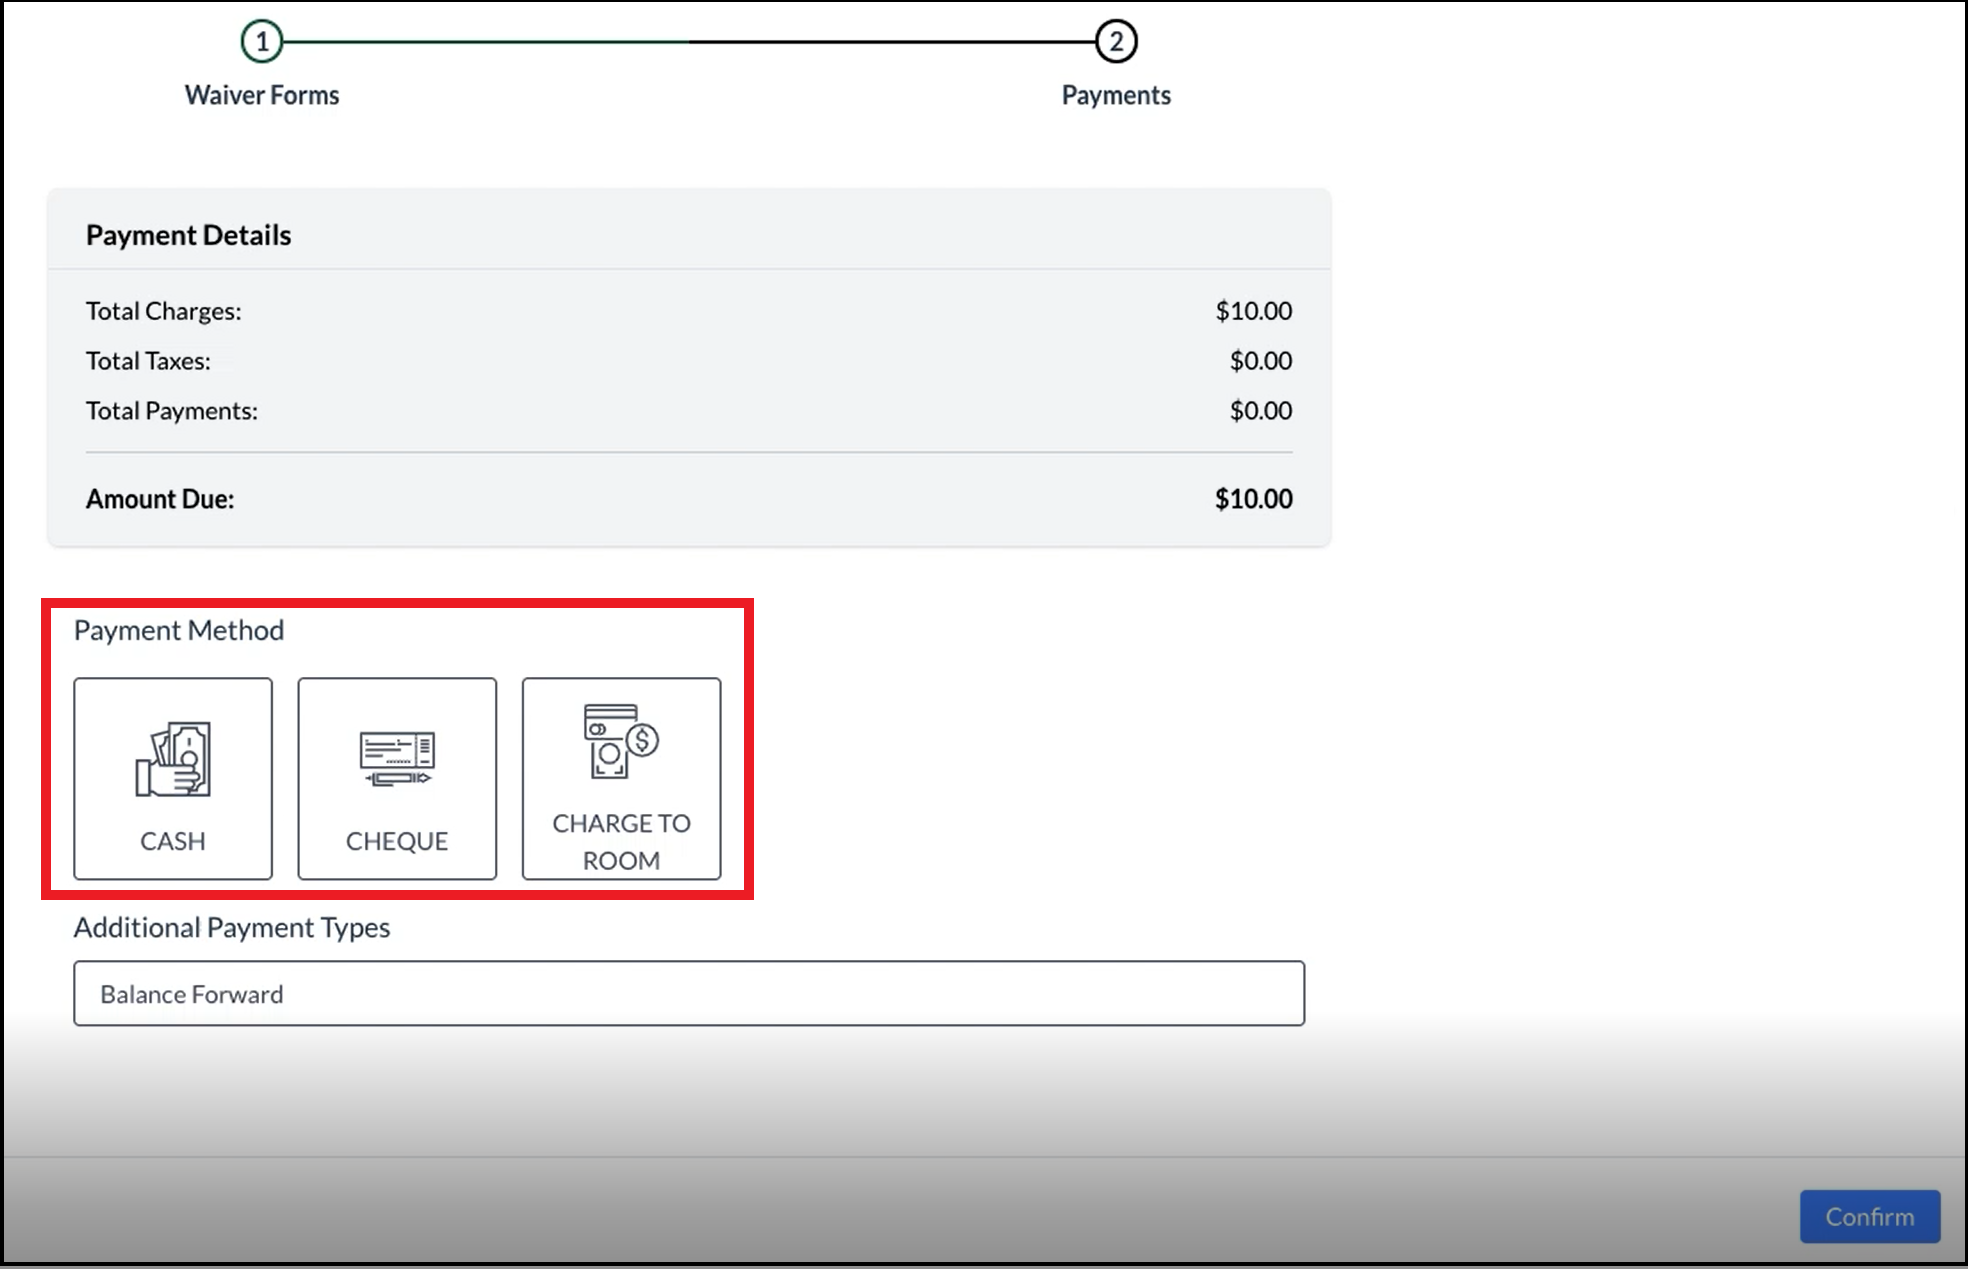
The wizard advances to step two, Payments. Select Confirm. A Payment Method section populates, as shown in the second image at right. Select the applicable Payment Method. |
|
|
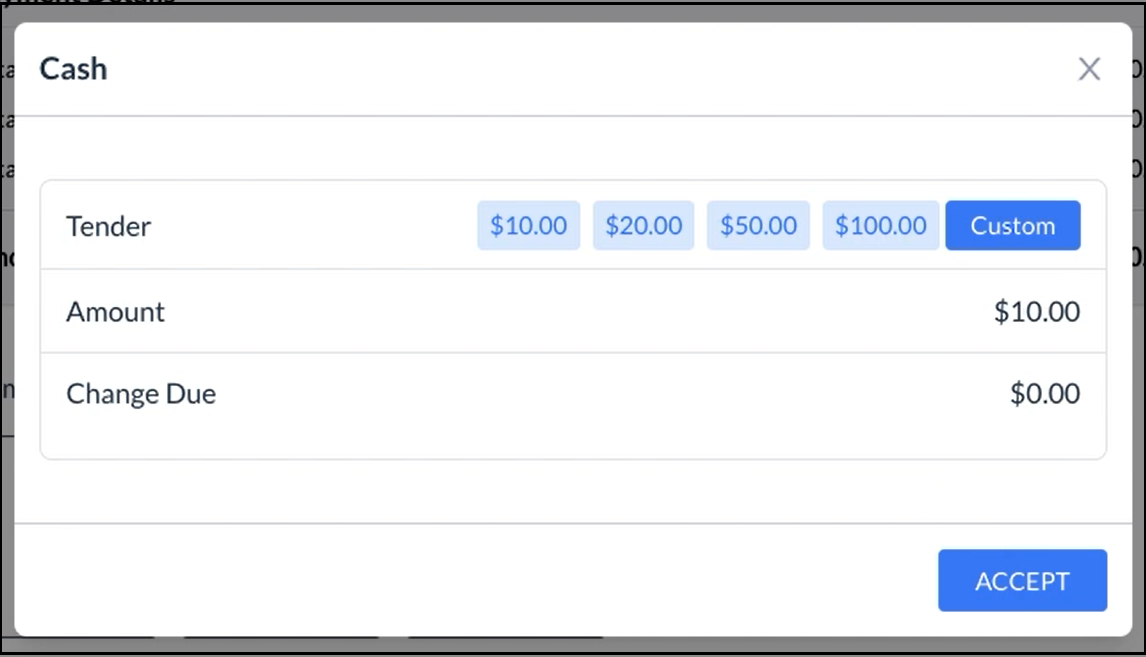
A popup for entry of payment details activates. The example shown is for a Cash payment, popup fields vary by payment type. Enter payment details. Select ACCEPT to apply the payment.
|
|
|
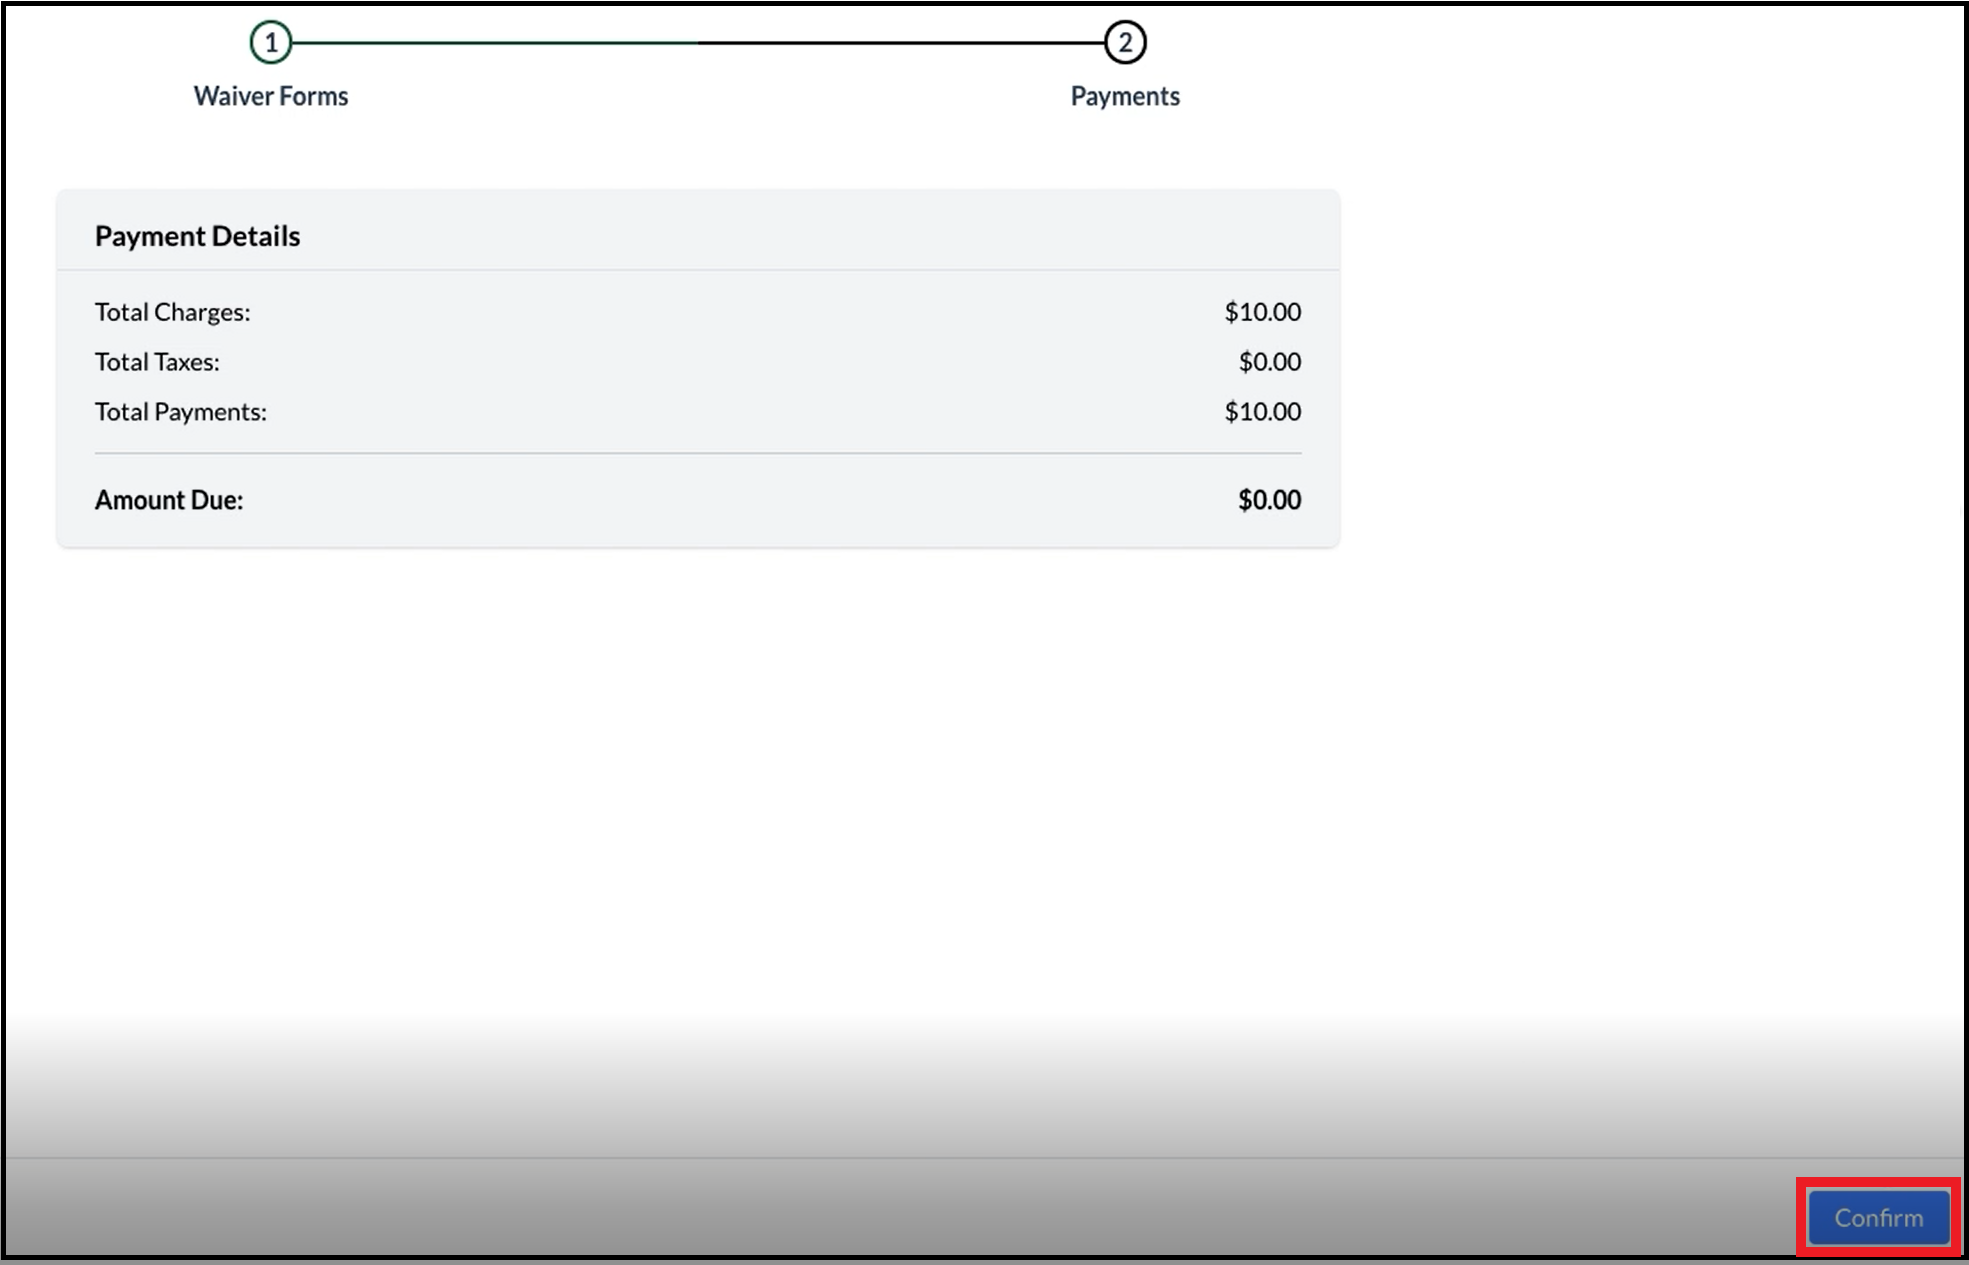
The check in wizard Payments step is updated. Select Confirm. |
|
|
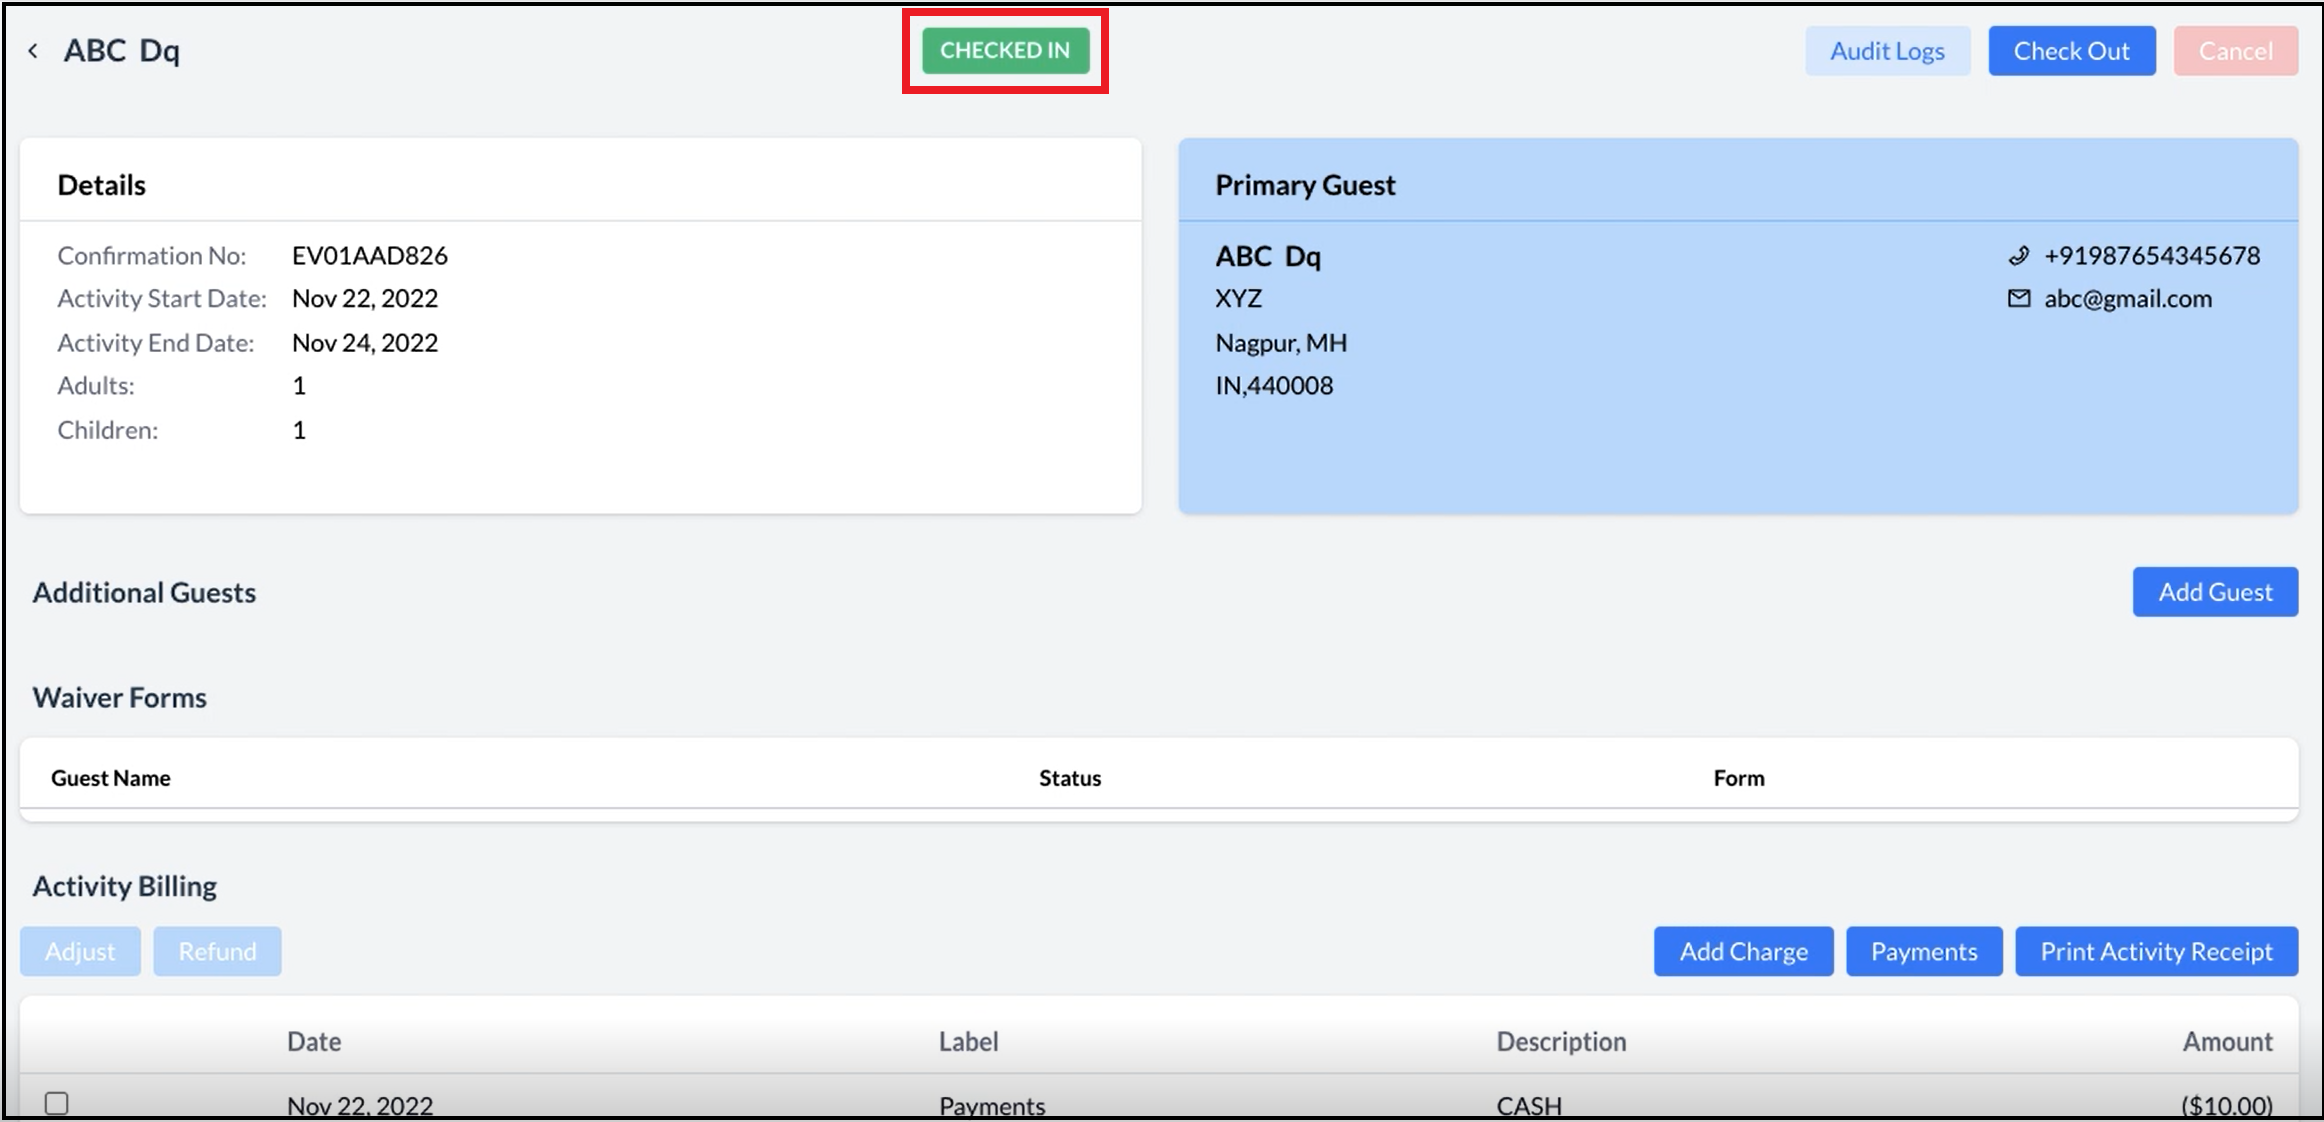
The payment is applied and the wizard closes. The booking details page is updated to show a status of CHECKED IN. |
|