
📆 Revision Date:
|
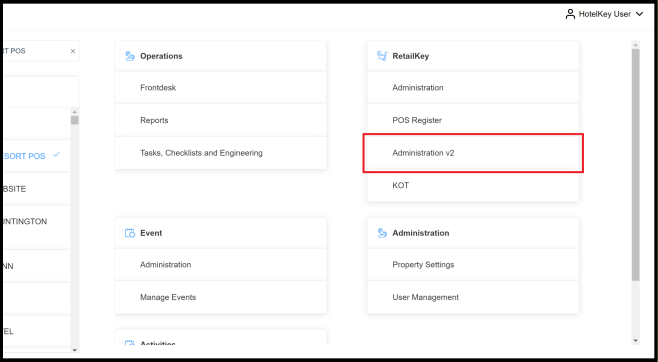
On the home page of the HotelKey administration web application (admin.hotelkeyapp.com), select the Administration v2 link in the RetailKey section. |
|
|
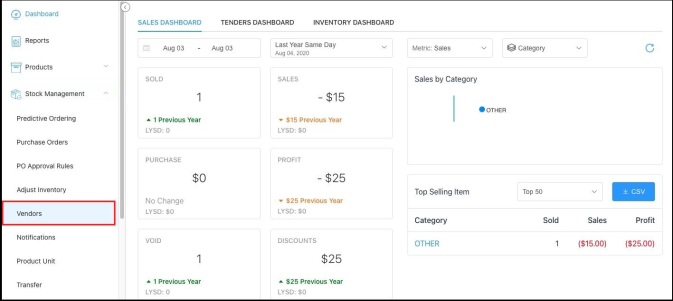
Expand the Stock Management section in the left sidebar. Select Vendors in the expanded section. |
|
|
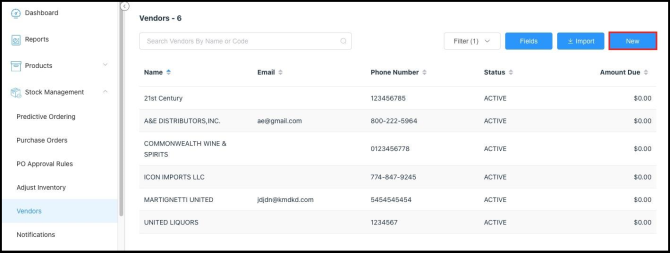
The Vendors page loads. Select New.
|
|
|
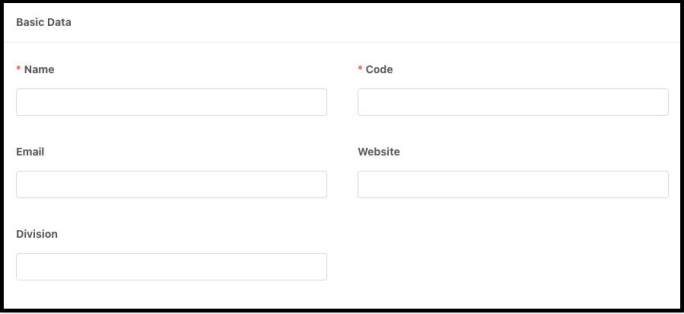
Enter Vendor details. Note that there are three sections to scroll through and complete (see next two table rows). Complete the Basic Data section: Name – name of the vendor Code – a unique code for the vendor that will act as an identifier when placing a Purchase Order (PO) Email – email address of the vendor, to which the PO will be addressed Website – website address, if any Division – Vendor internal division, if any |
|
|
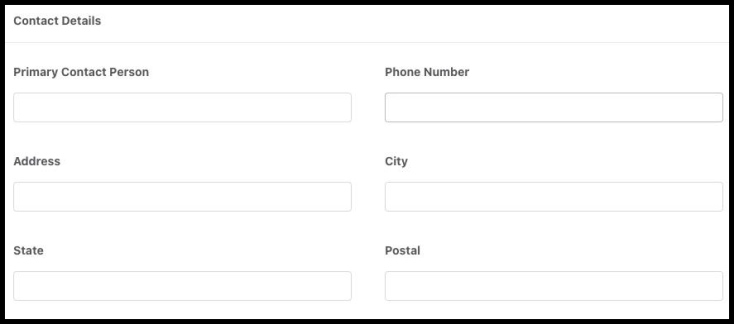
Complete the Contact Details section.
|
|
|
Complete the bottom section: Remarks – comments about this Vendor, if any Auto send email – when toggled on, each time a PO is created for this Vendor it is automatically sent, without having to manually add the email address each time Active – Vendor account status, on (blue) for active, off (gray) for inactive Scroll back to the top of the page and select Save to save the record and close the add panel. The new Vendor record is added to the Vendor list. |

|