Skip table of contents

BEO Text

📆 Revision Date:

BEO Text Overview

The BEO Text feature allows the Sales team to include a custom message directly on the Banquet Event Order (BEO) sent to the client. This field is designed for personalized communication, making it easy to add:

  • A special thank-you message

  • Friendly reminders

  • Important notes or callouts related to the event

Including a thoughtful message in the BEO helps reinforce client relationships and ensures key details are clearly communicated.

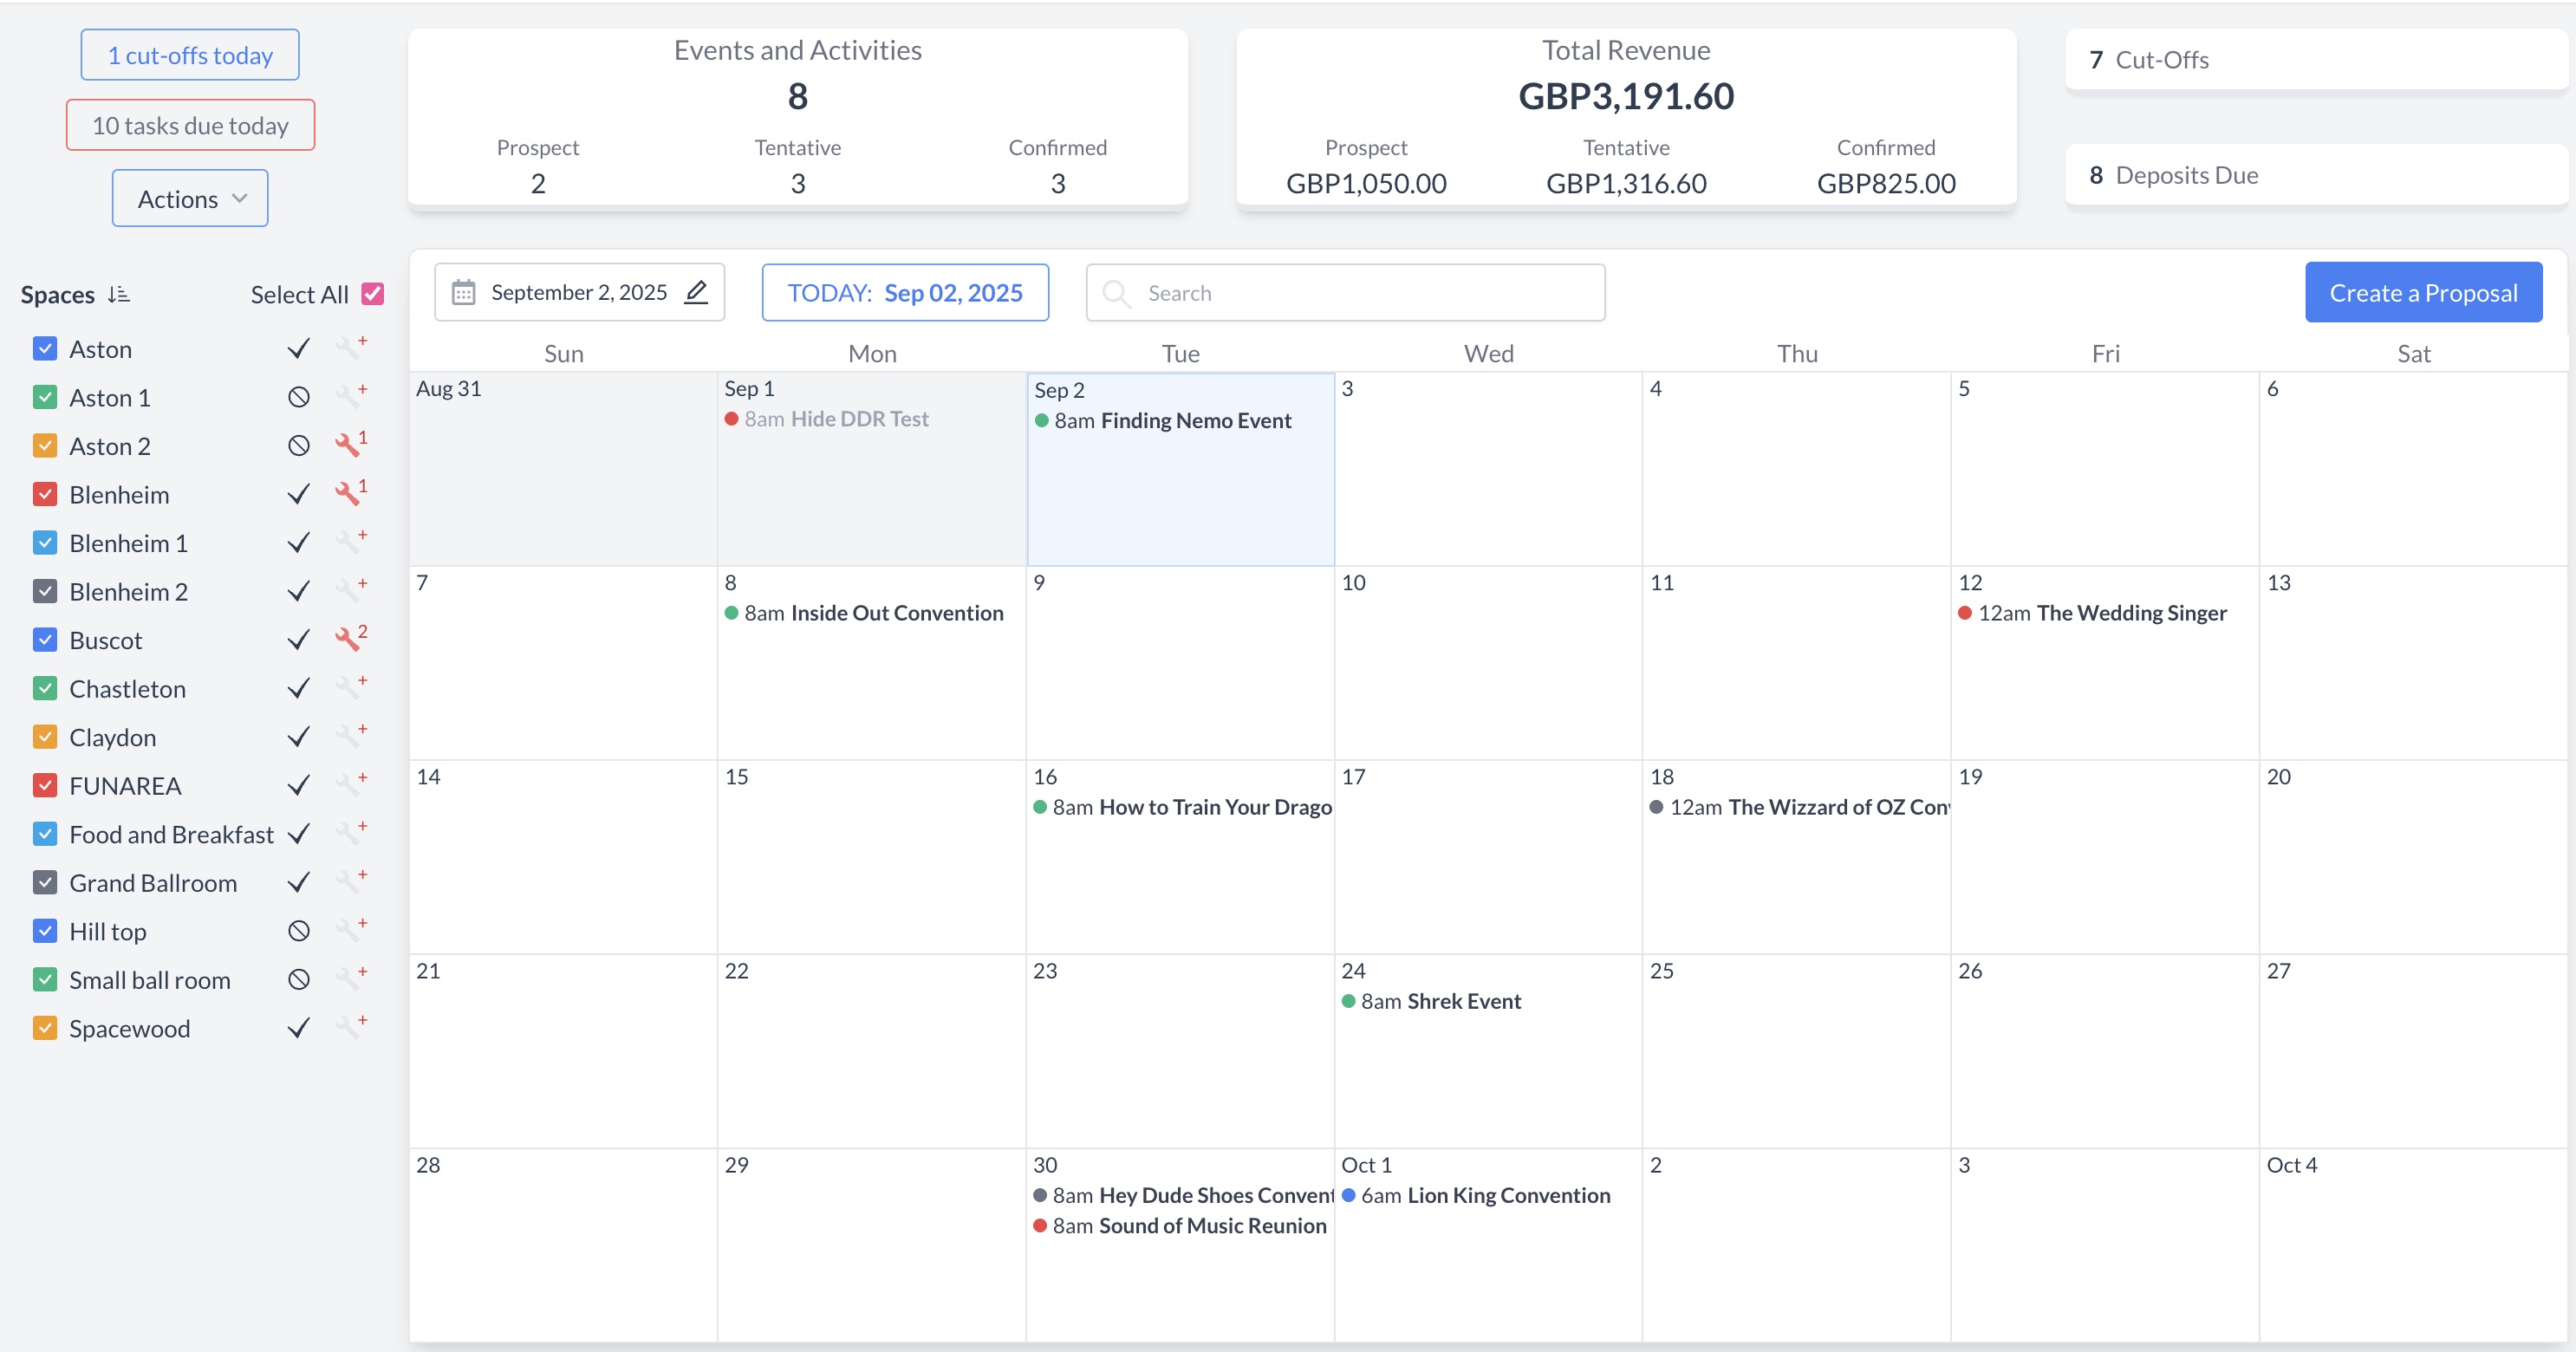
Navigate to Home > Event Management

EventKey Dashboard (Home Screen)

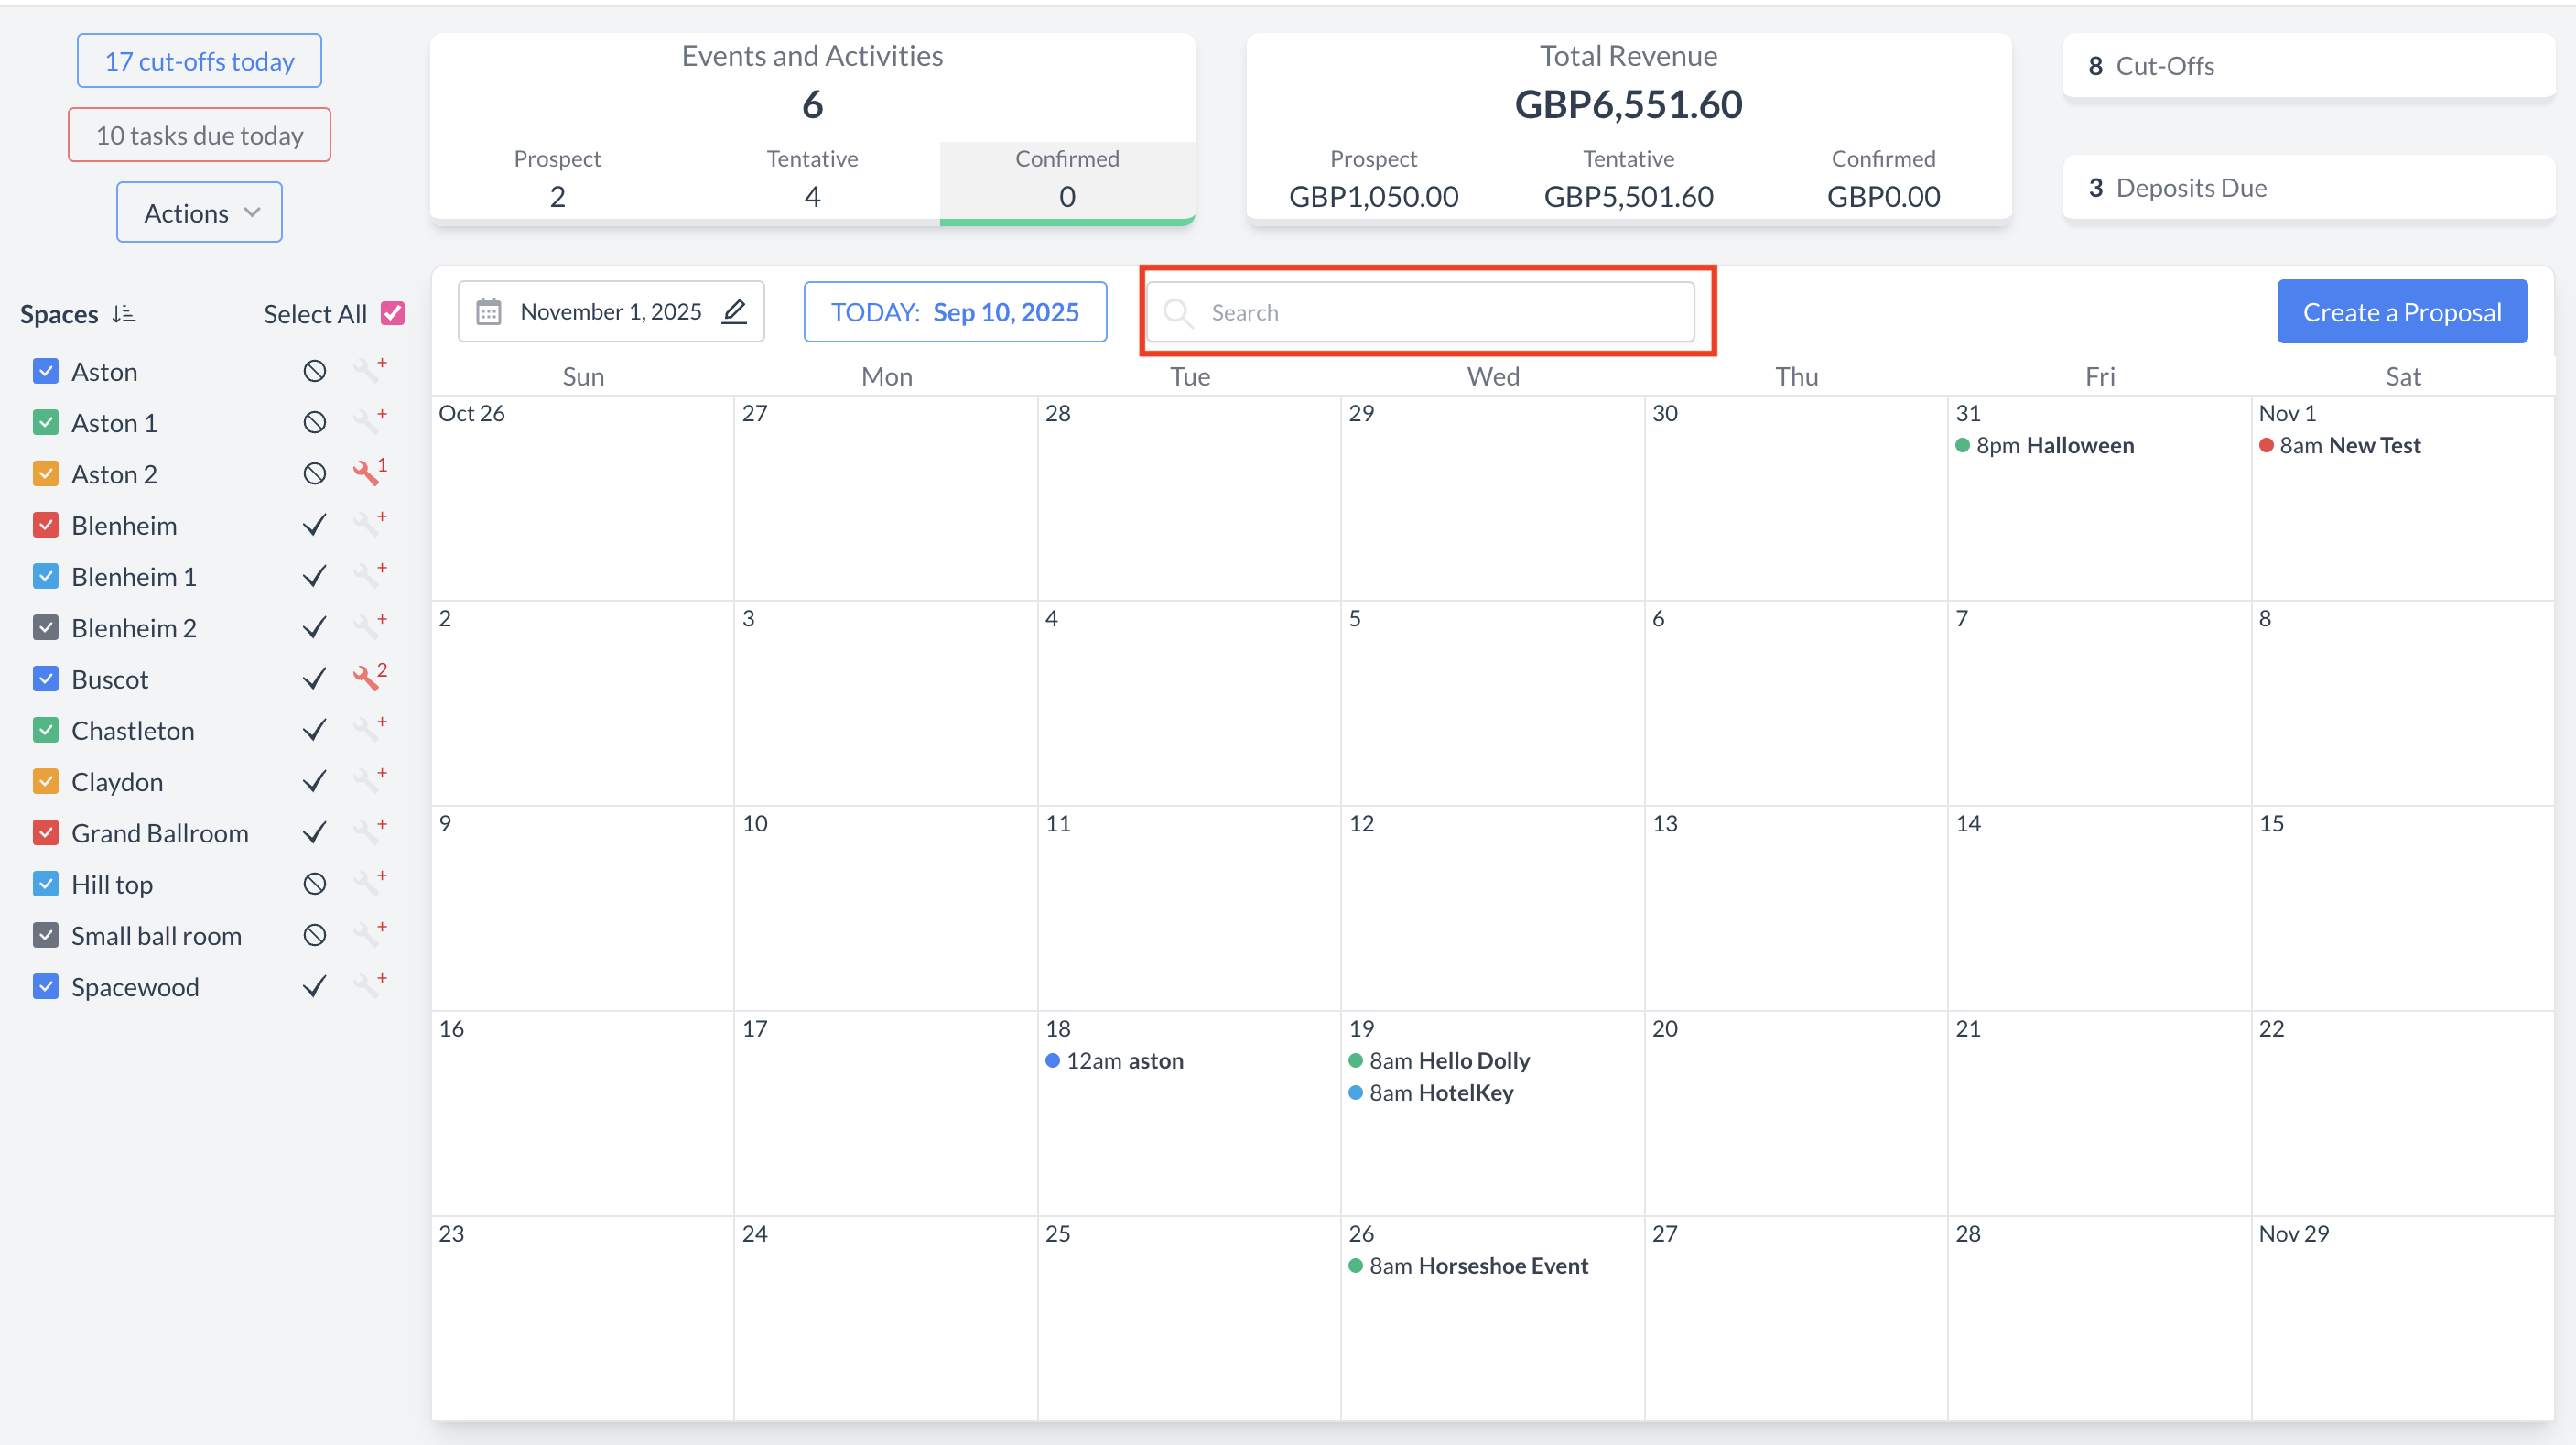
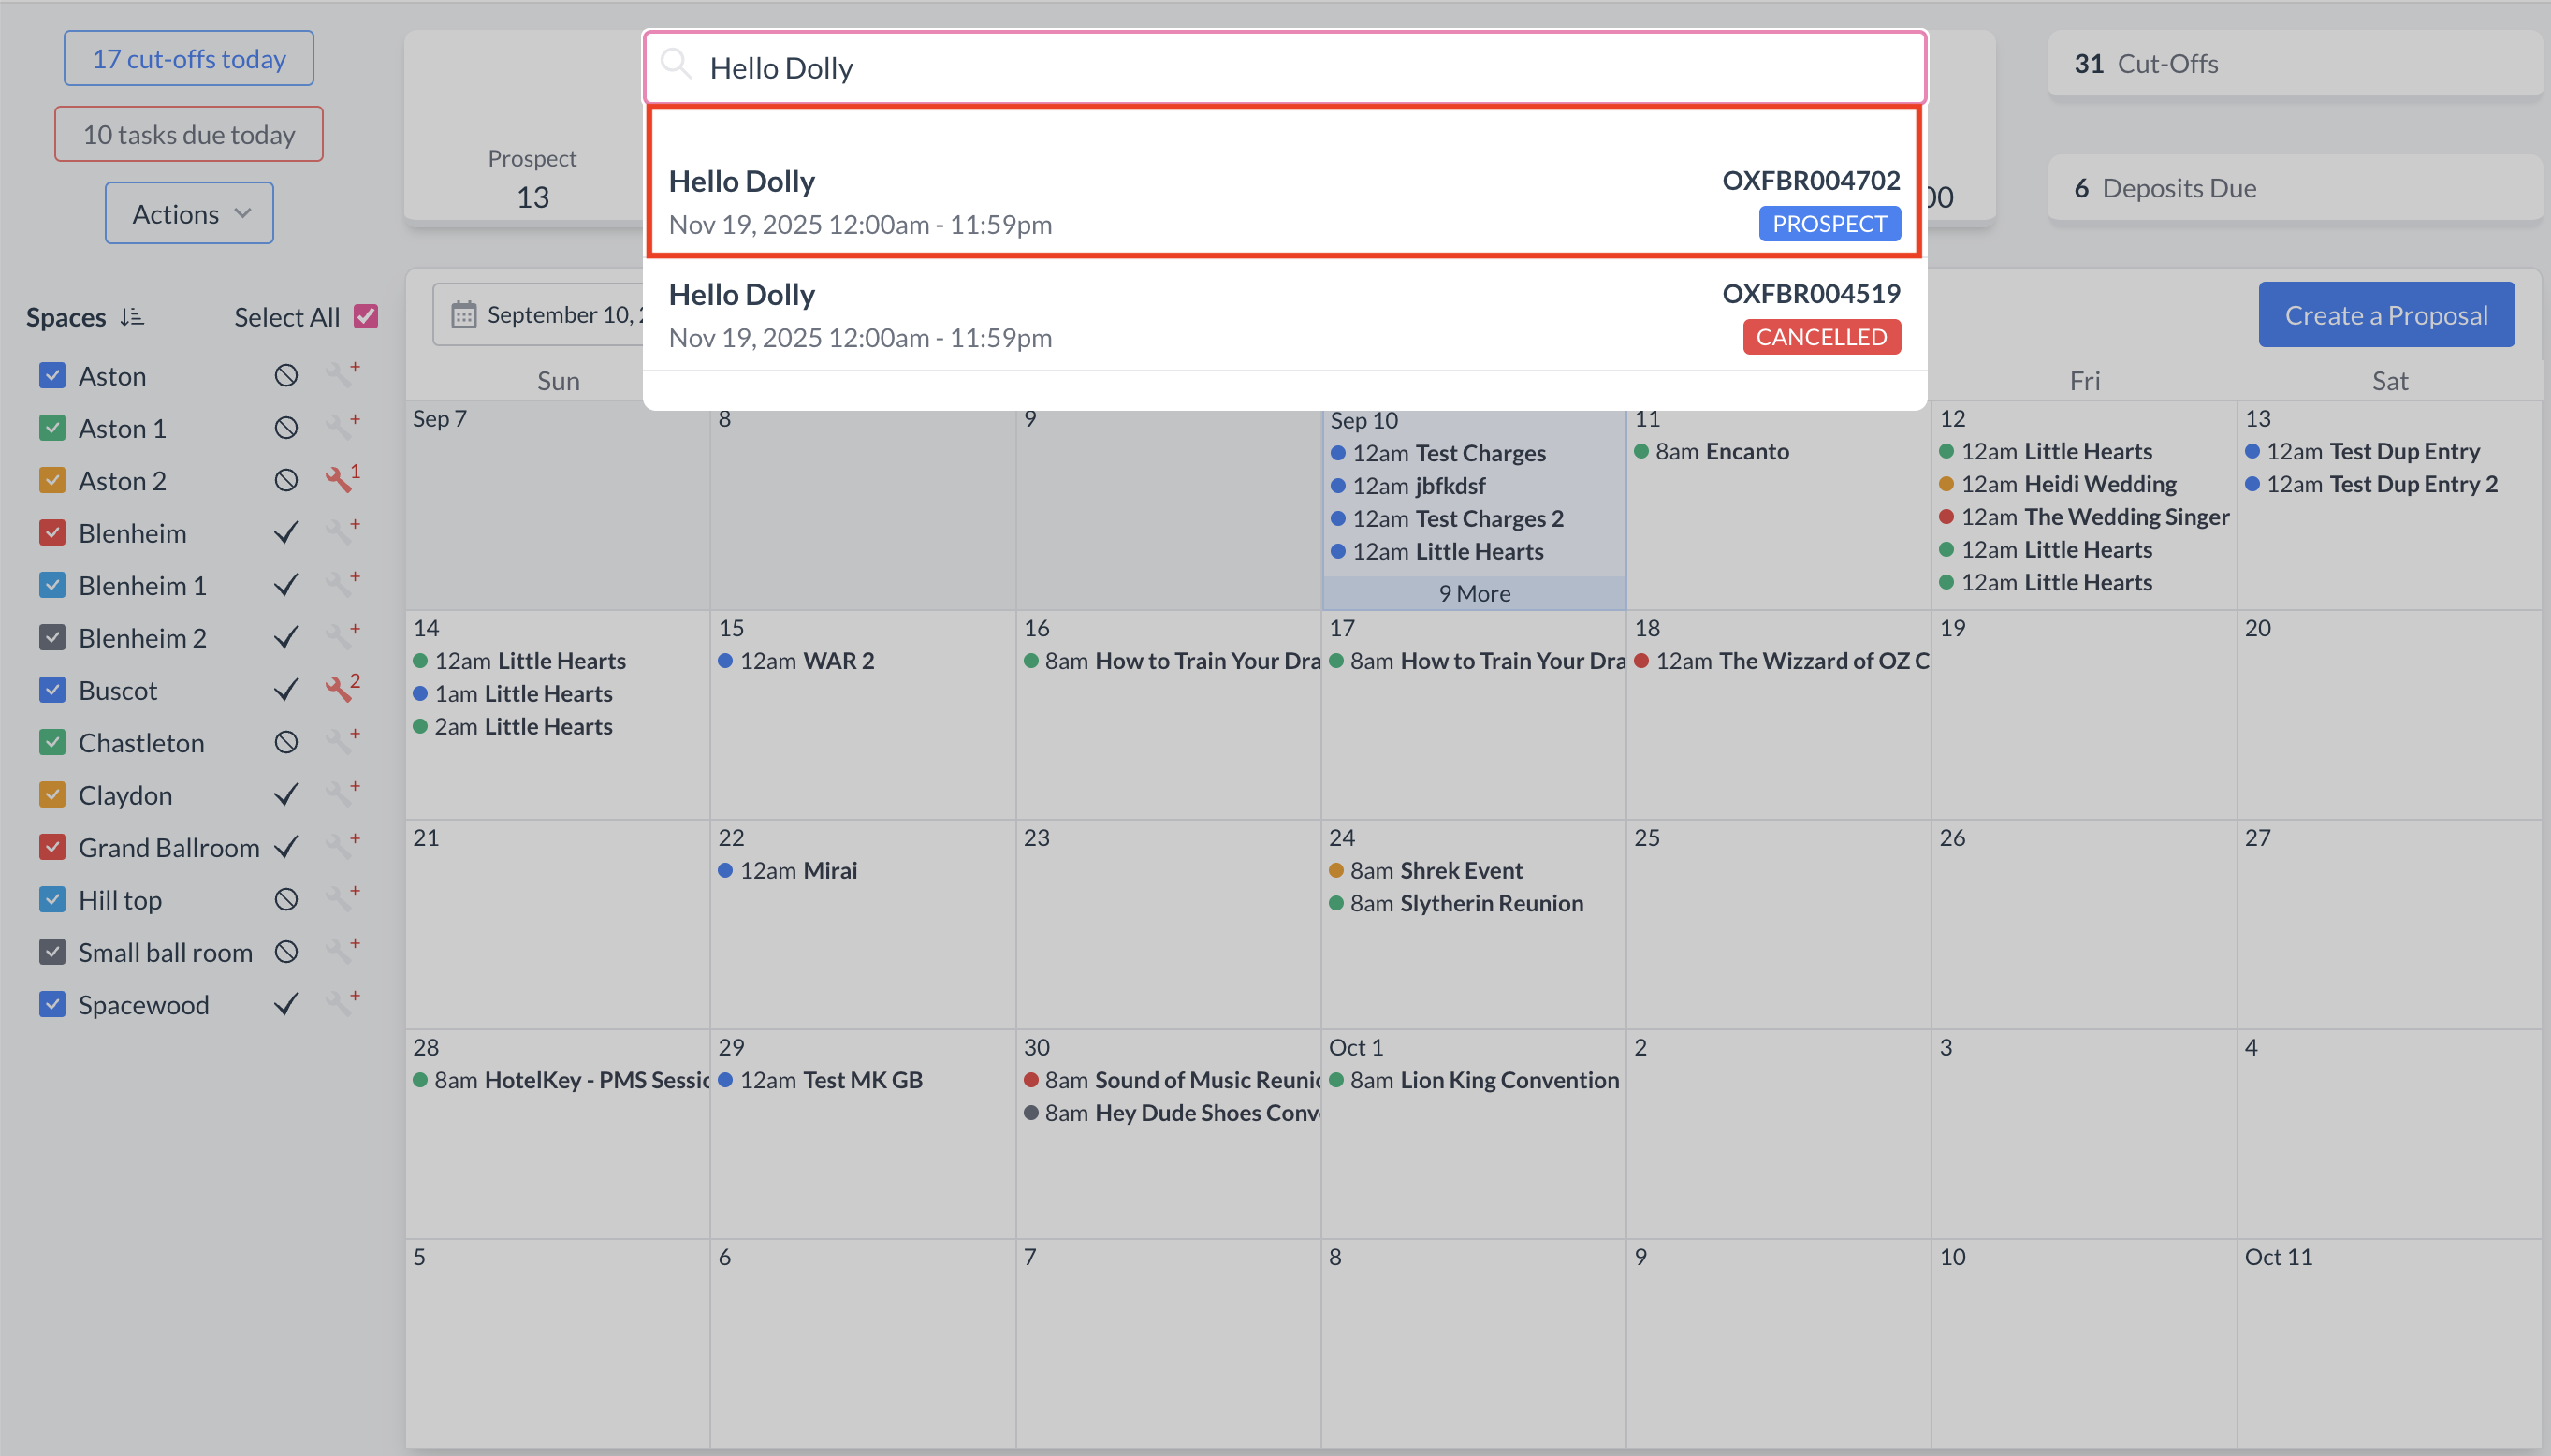
To begin, navigate to the Dashboard and use the Search box to locate the event.

Enter the full or partial Event Name into the search field. The system will display a list of matching events, or, if there is an exact match, it will appear directly.

Once you’ve identified the correct event, simply click on the event name to open it.

Event Search Field

Event Search Results

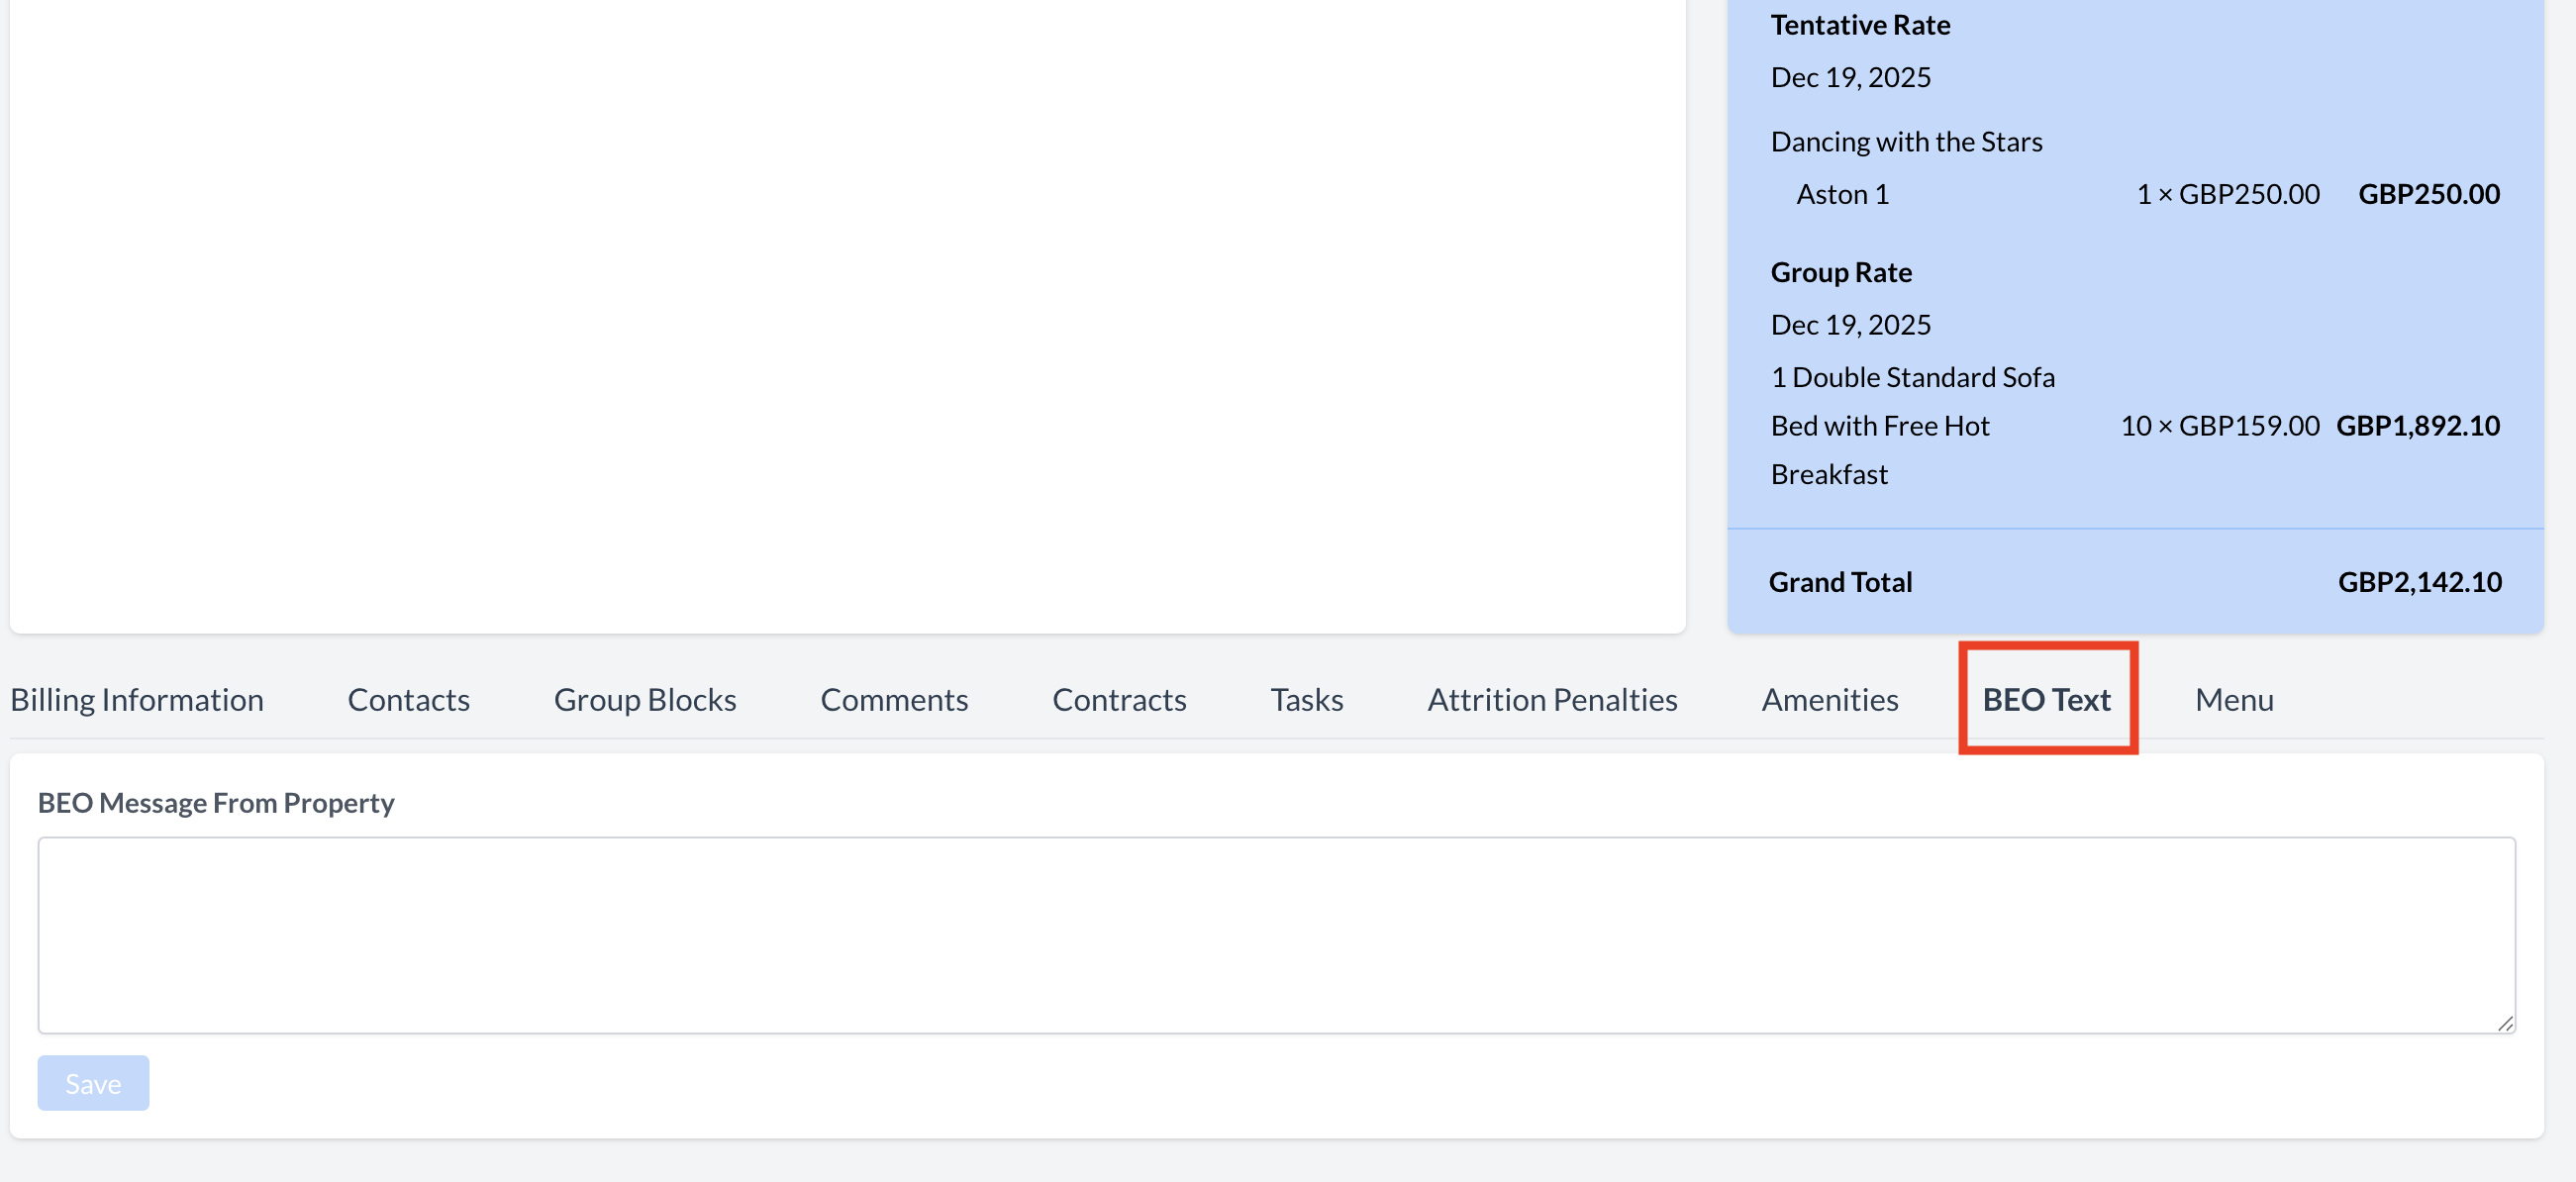
Accessing the BEO Text Section

On an Event Record (Reservation):

  1. Scroll to the bottom of the Event Record page.

  2. Locate the BEO Text section.

  3. Click on "BEO Text" to expand and open the section.

BEO Text Section

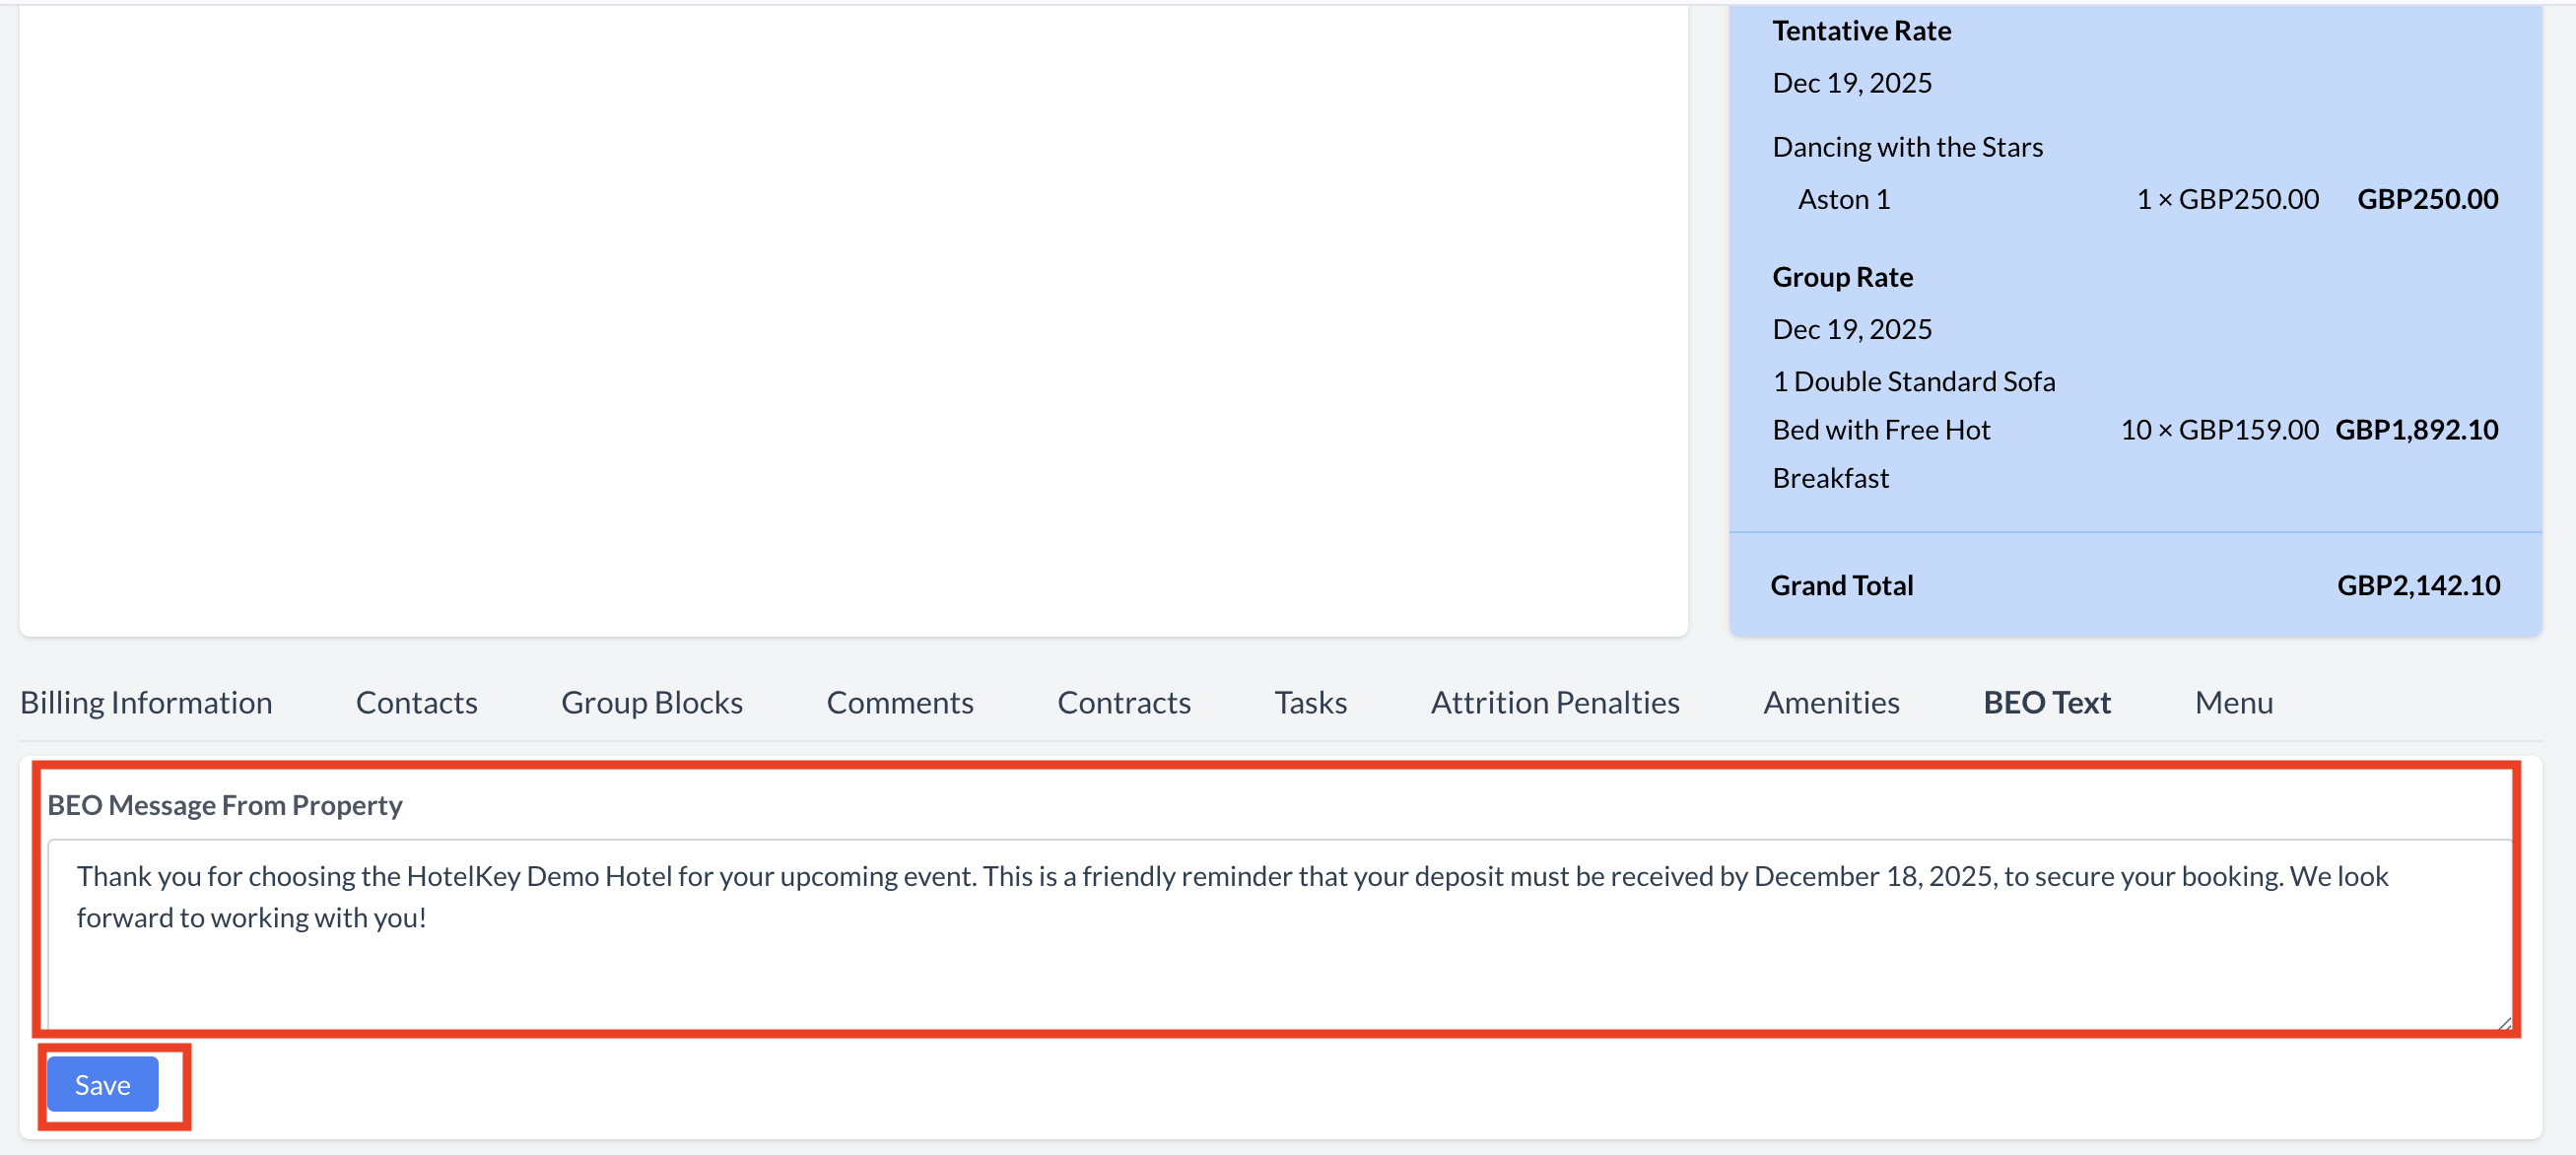
Adding a Custom BEO Message

To include a personalized message on the BEO:

  1. Locate the BEO Message from Property text box.

  2. Click into the field and begin typing your custom message.
    You can use this space to add a thank-you note, reminder, or important event detail.

  3. When finished, click the blue "Save" button.

Once saved, your custom message will appear in the BEO Text section and will be included on the client-facing BEO.
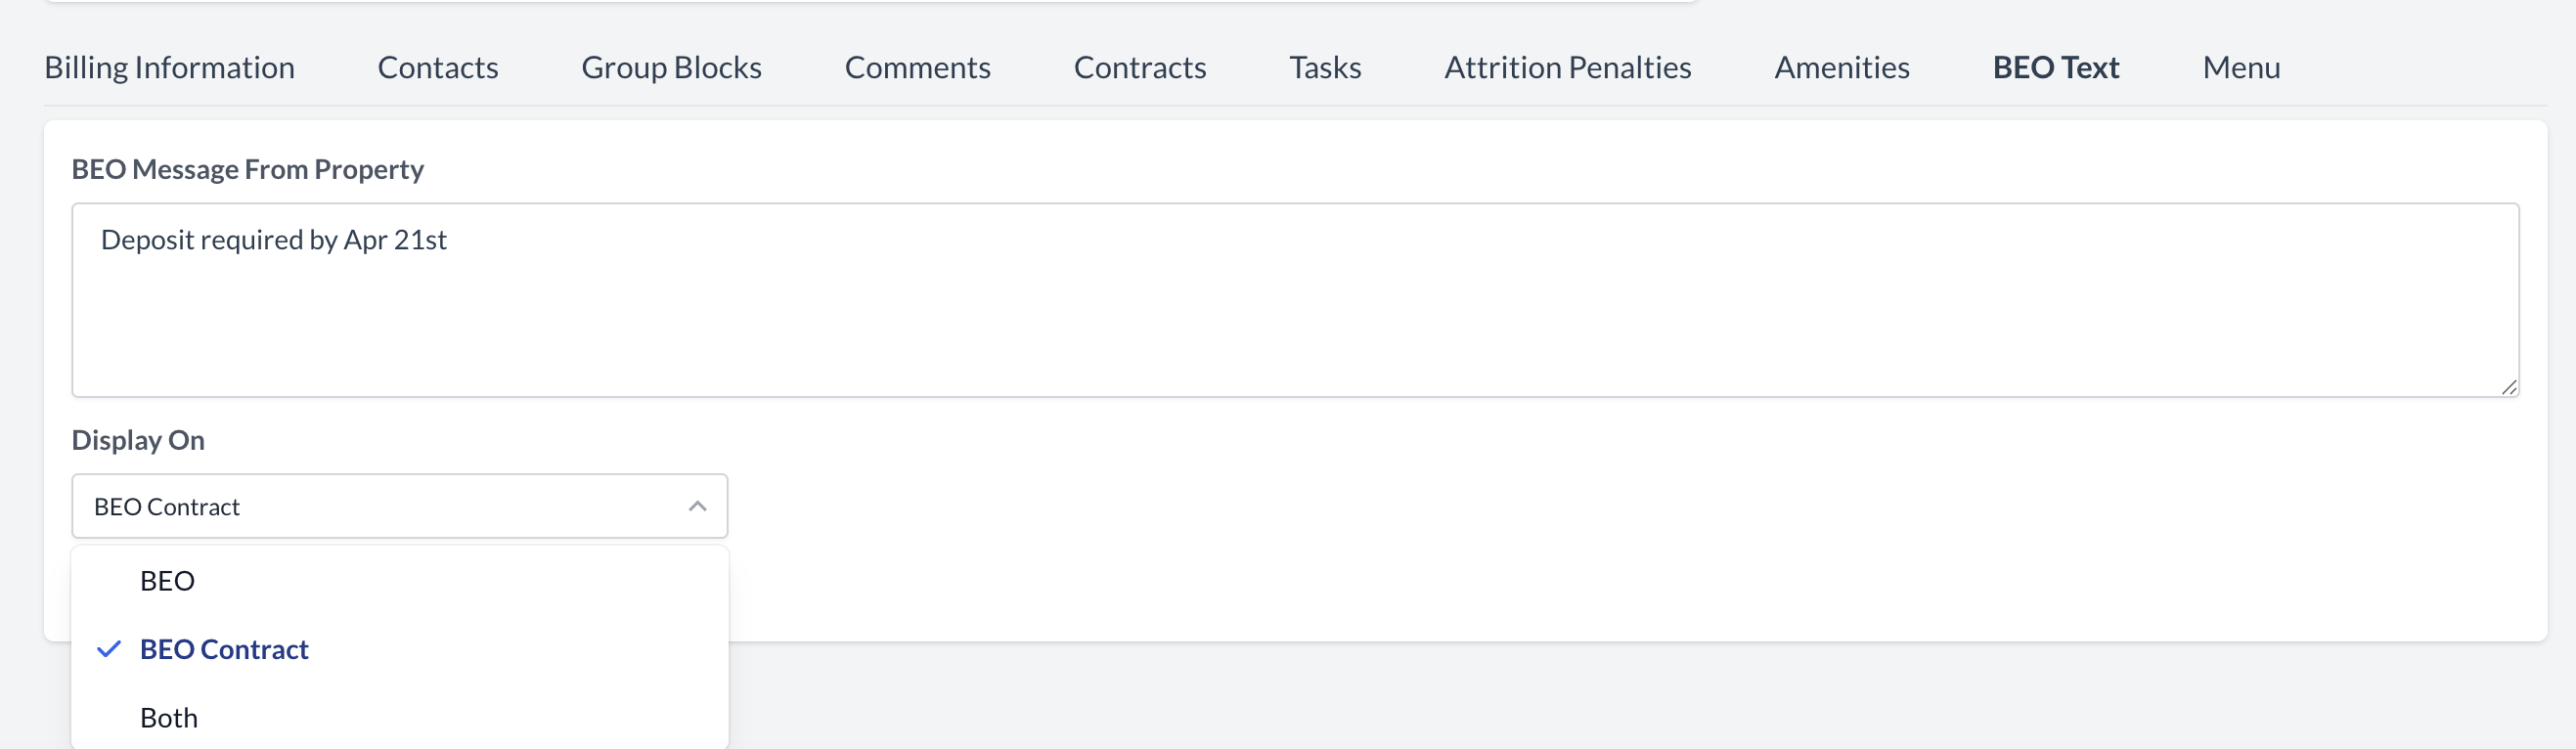
BEO Text Section - BEO Text Message

BEO Text Section - Custom Message

Viewing the Custom Message on the BEO

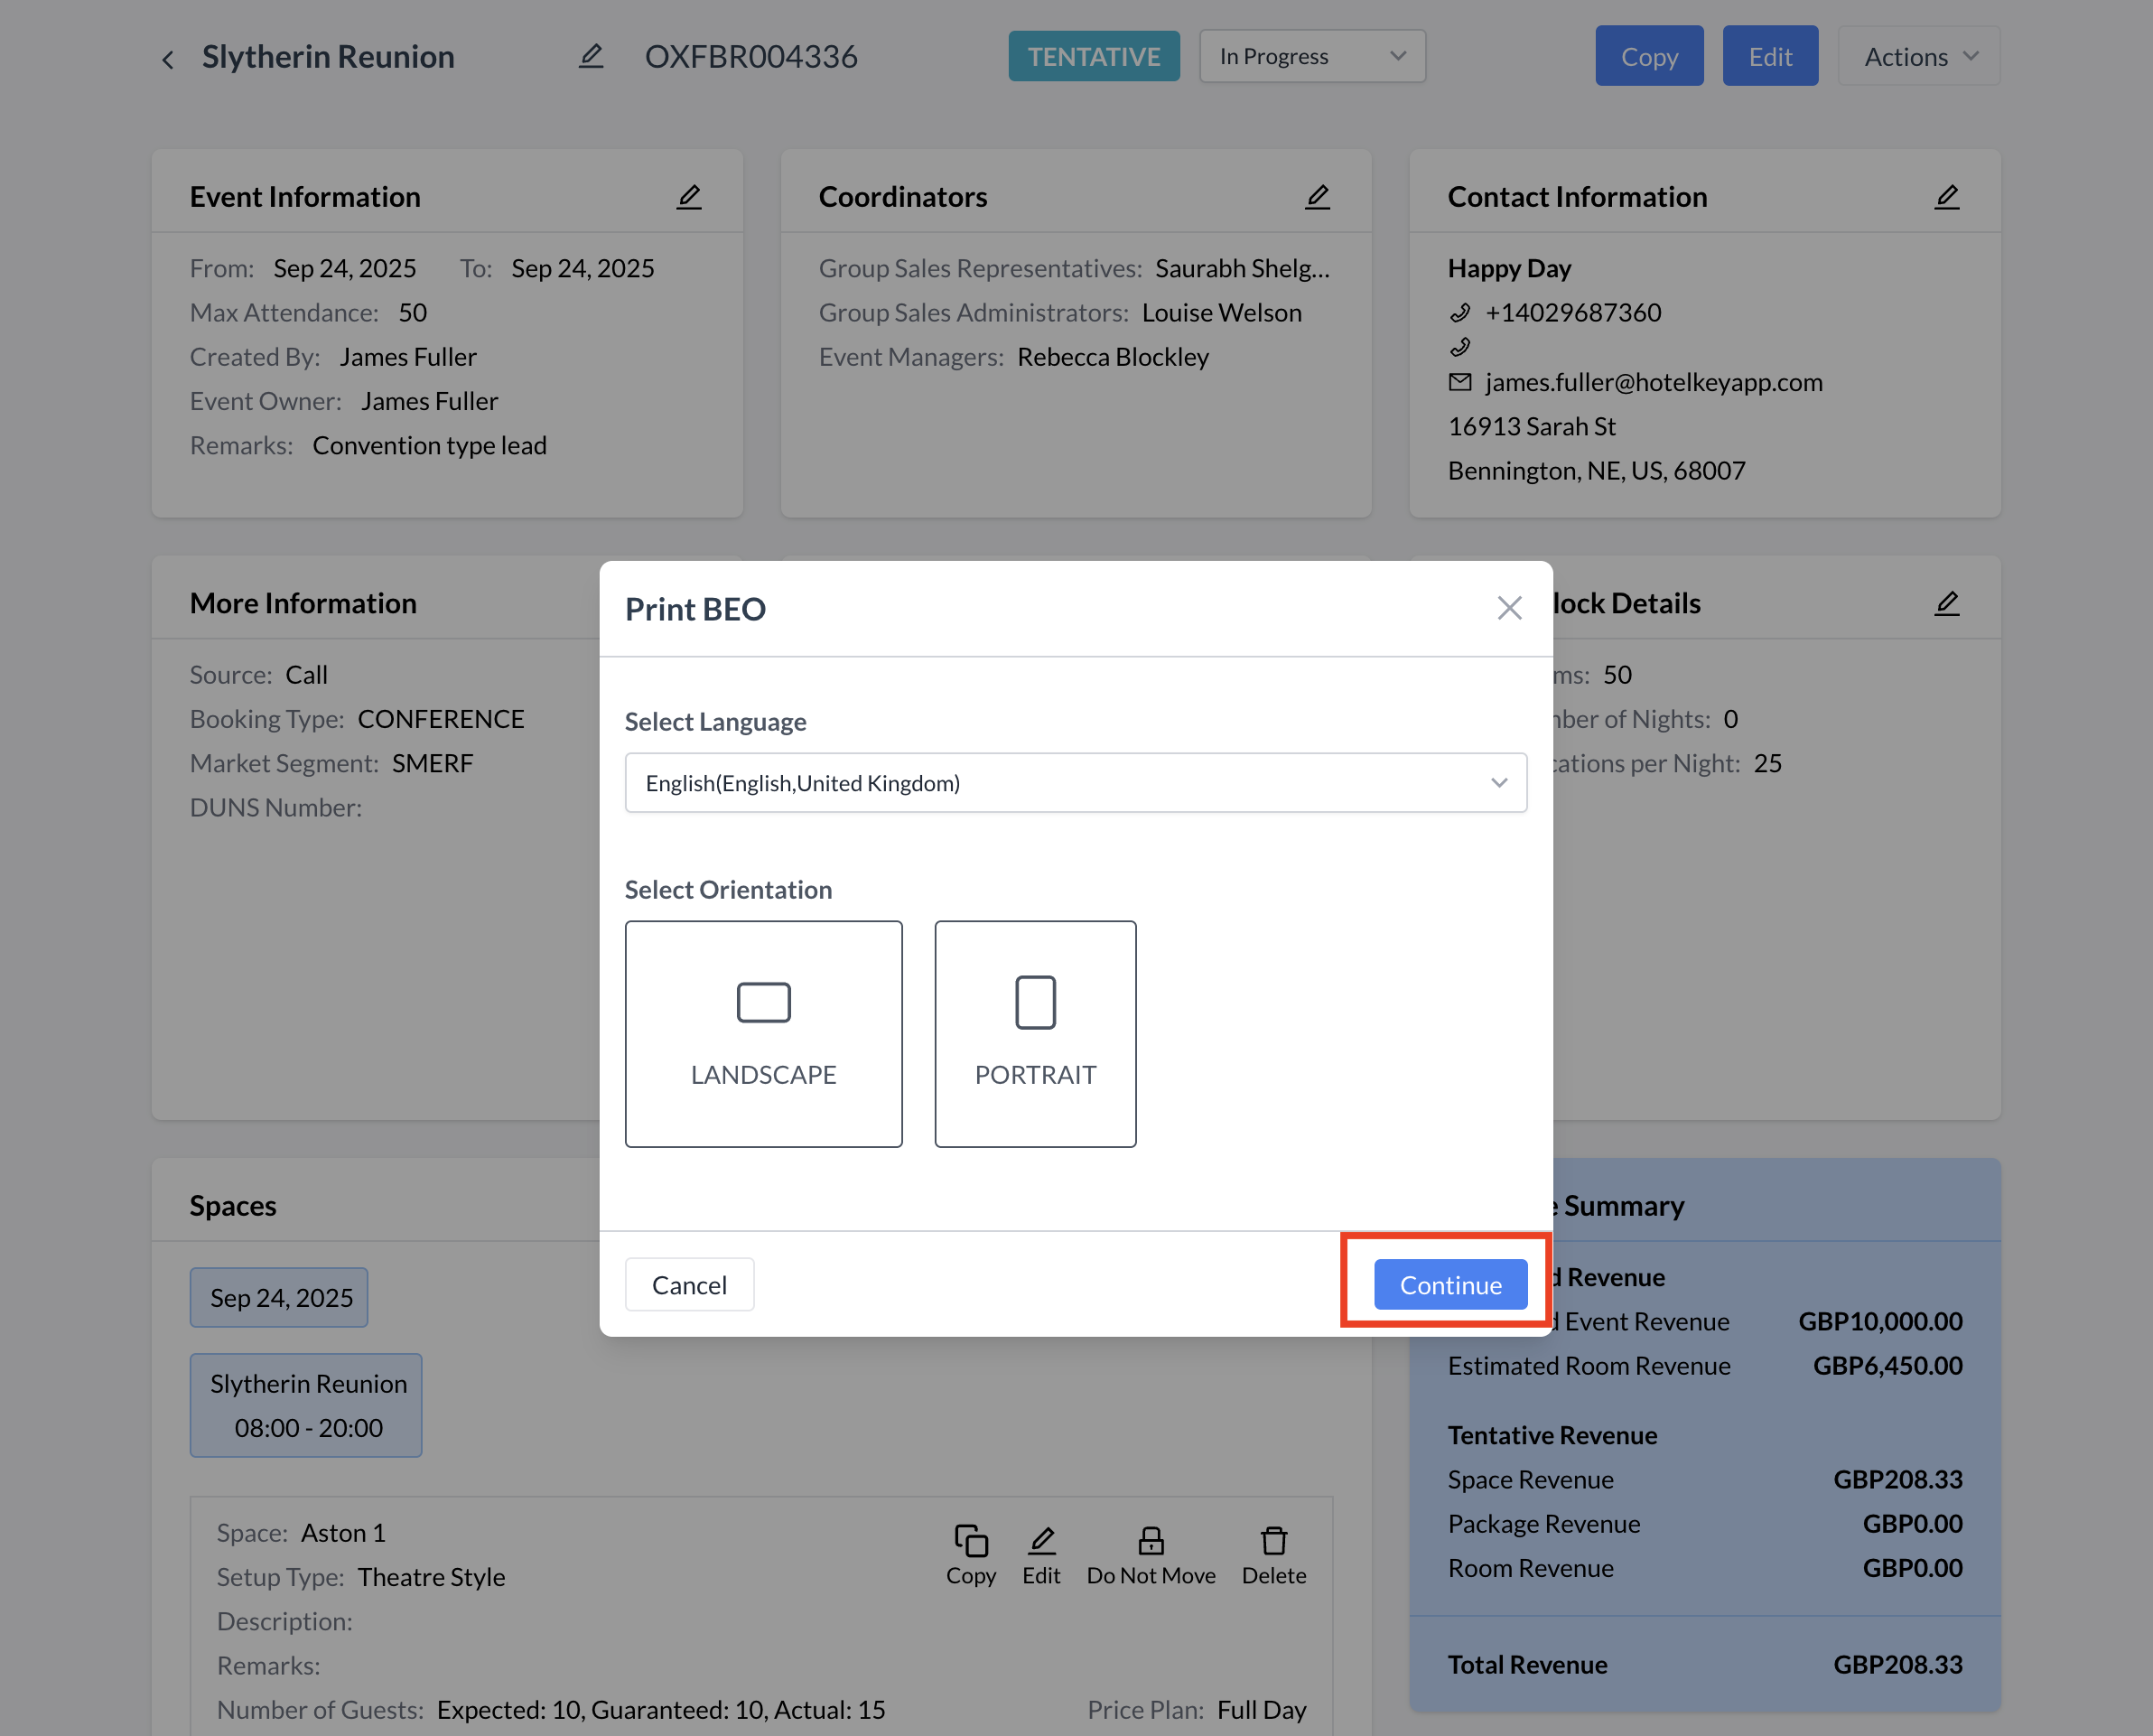
To preview your custom BEO message:

  1. From the Event Record (Reservation), click the Actions menu located at the top of the page.

  2. In the dropdown menu, select Print BEO.

Actions Menu - Print BEO

A new Print Setup window will appear.

  • If your property has BEOs available in multiple languages, use the Select Language dropdown to choose the language for printing.

  • Choose the page orientation: Landscape or Portrait.

  • Click the blue Continue button to proceed with printing.

Select Language and Orientation

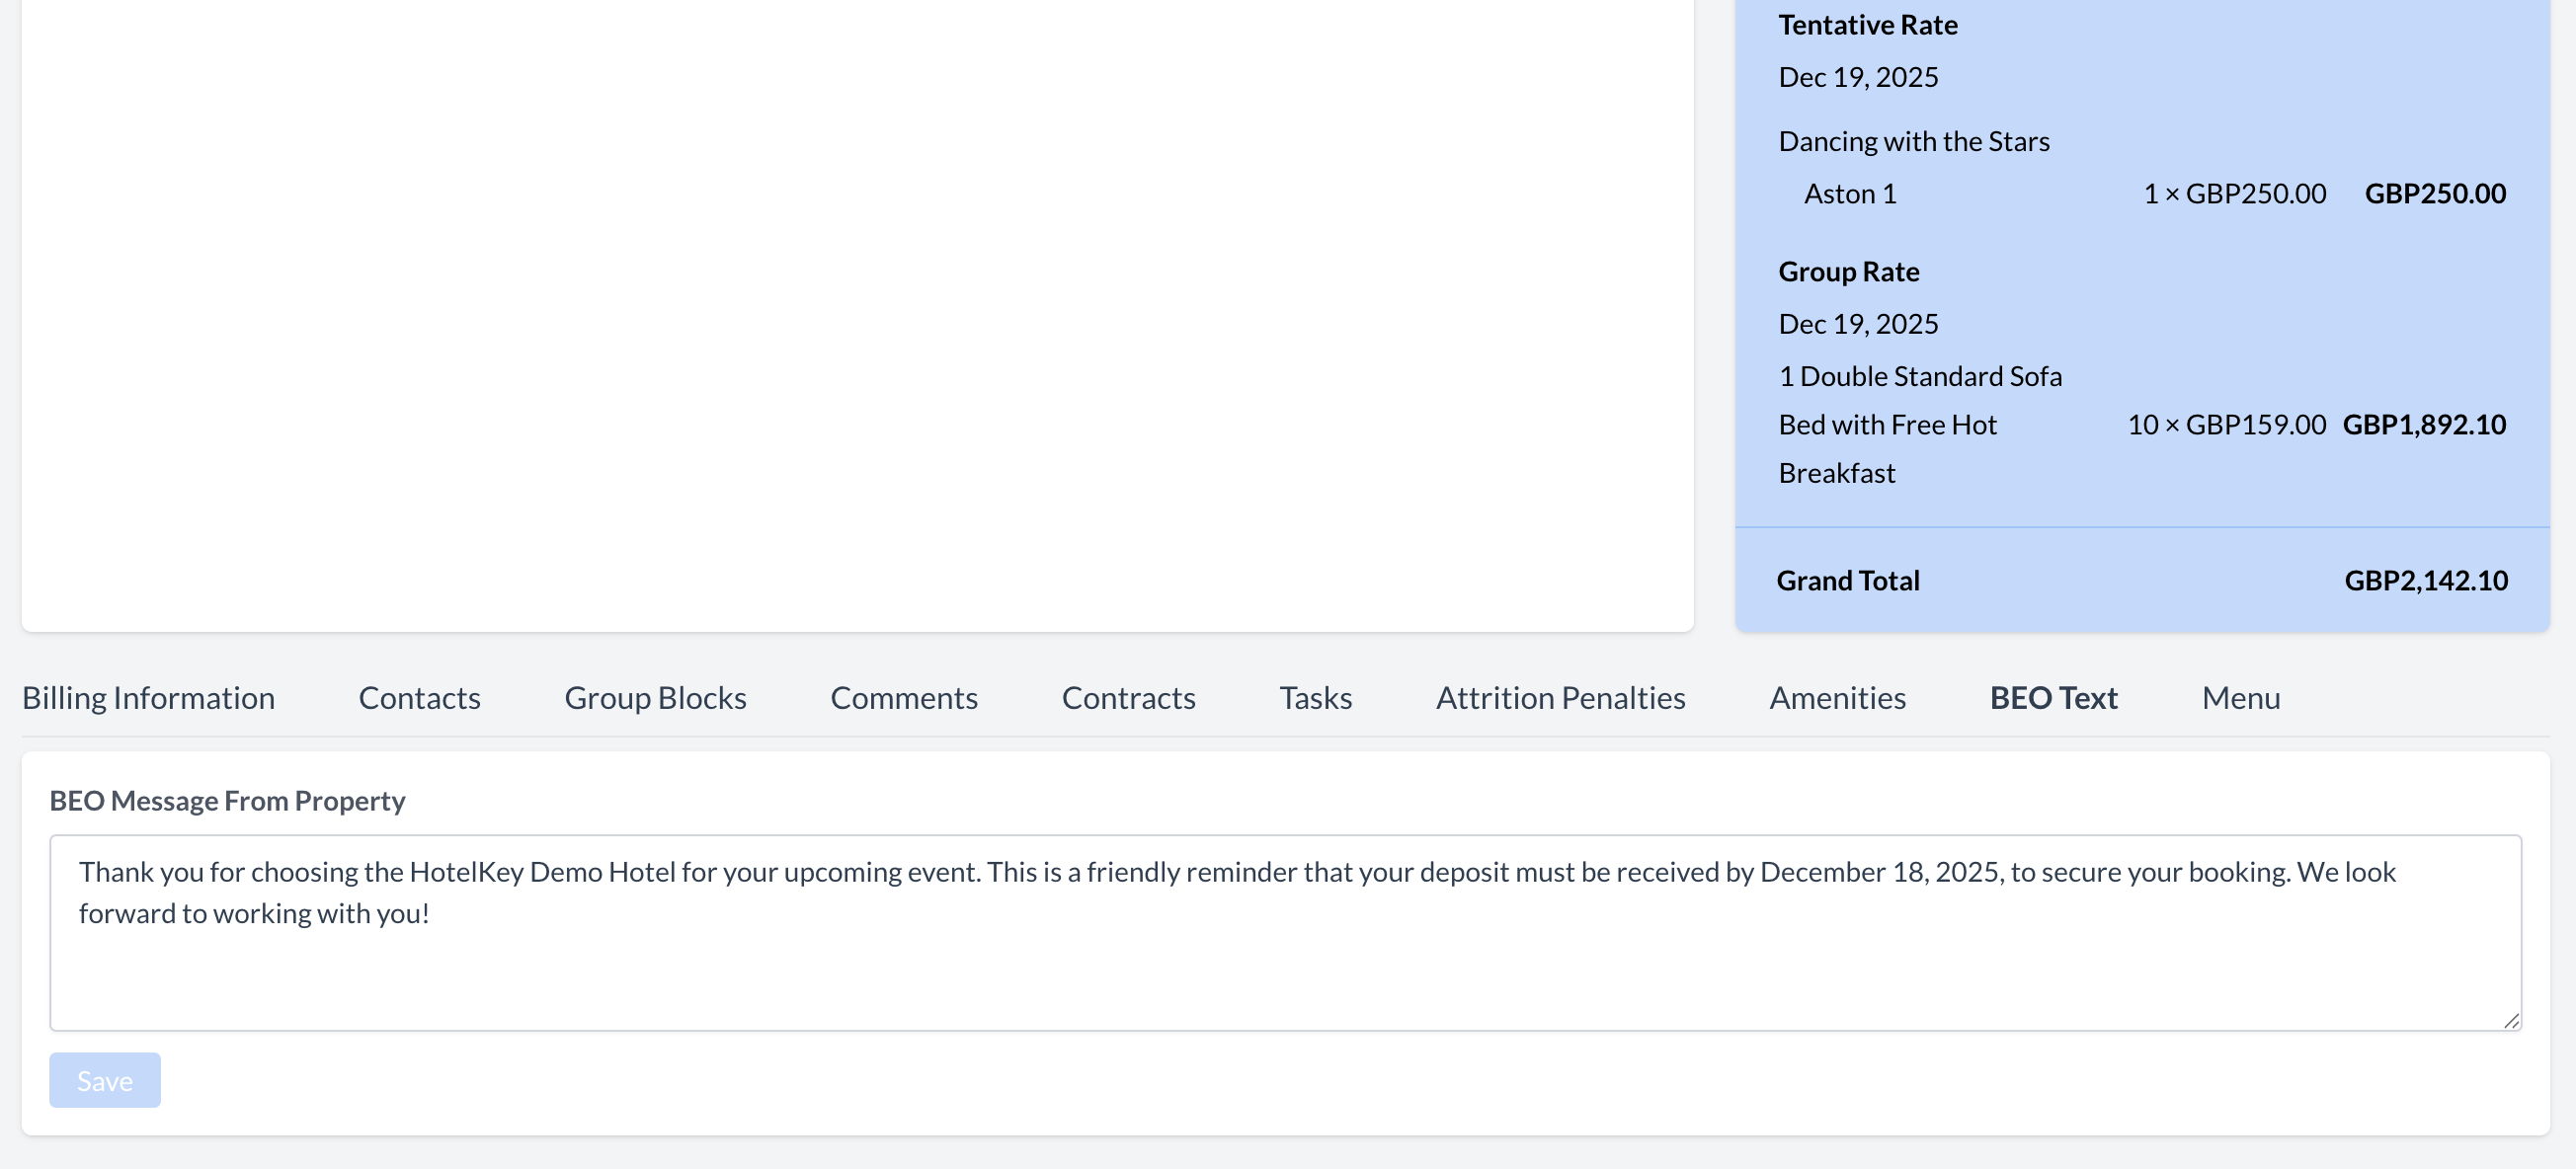
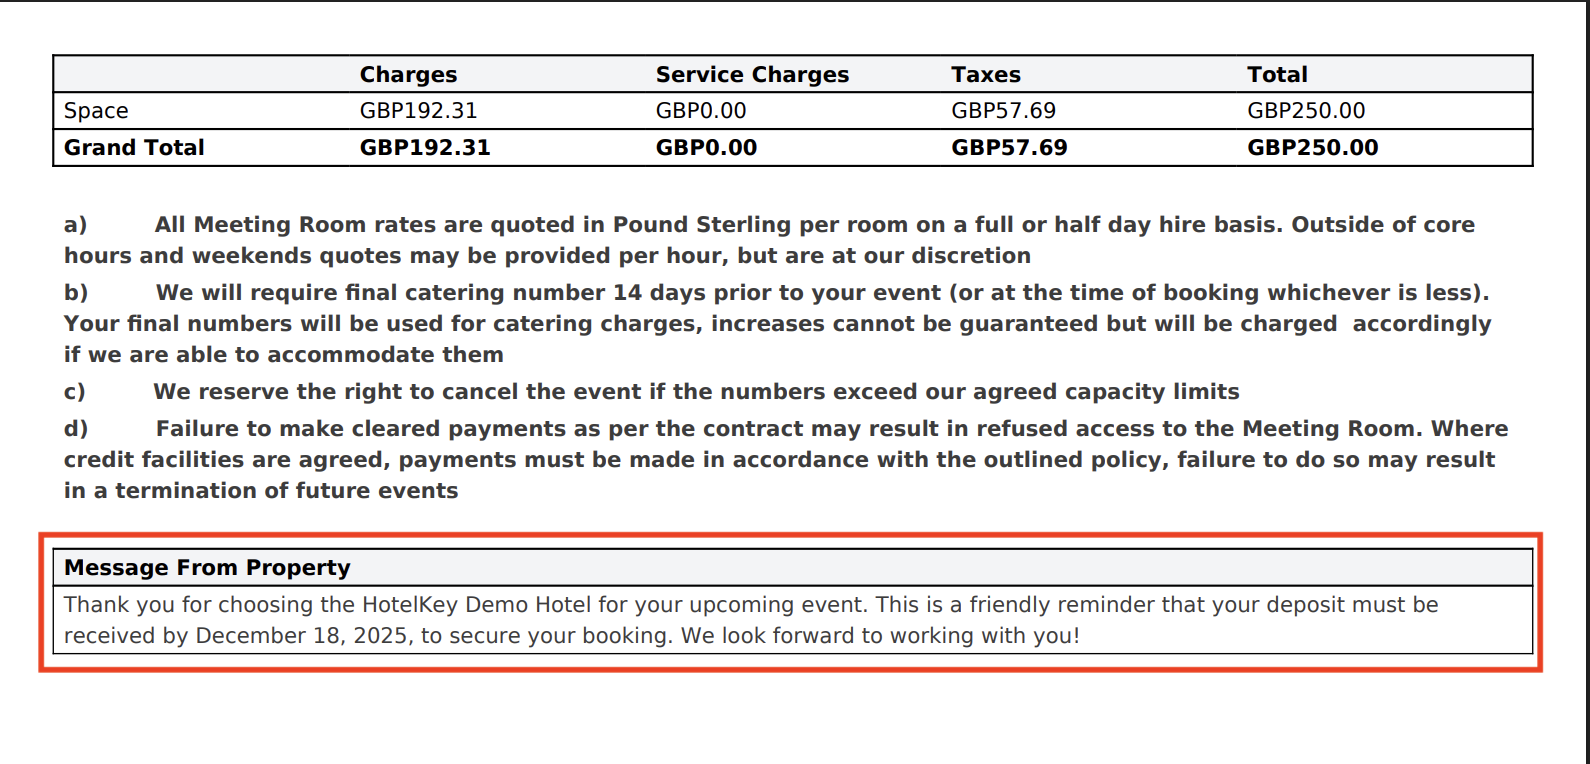
Locating the Custom Message on the BEO

After selecting Print BEO, the document will open in a PDF viewer.

  1. Scroll to the last page of the BEO.

  2. At the very bottom, locate the section labeled "Message from Property."

  3. Your custom BEO message will appear in this section.

This is the message your client will see when reviewing the BEO.

BEO Text - Custom Message from Property

Editing the Custom BEO Message

To update your custom message on the BEO:

  1. Scroll to the bottom of the Event Record page.

  2. Expand the BEO Text section.

  3. Locate the "BEO Message from Property" text box.

Your existing custom message will appear in this field.

  1. Click inside the text box and make the necessary edits.

  2. When finished, click the blue "Save" button to apply your changes.

The updated message will now appear on the BEO under the Message from Property section.

BEO Text Section - BEO Message

JavaScript errors detected

Please note, these errors can depend on your browser setup.

If this problem persists, please contact our support.