
📆 Revision Date:
Canceling an Event – Overview
Canceling an event in EventKey is a structured process that formally closes the booking and triggers a series of automated system actions. It is important to understand that cancellation is not the same as postponement. While postponement simply reschedules the event for a future date, cancellation permanently voids the booking and releases all associated resources.
This section outlines the key steps and system behaviors that occur when an event is canceled.
What Happens When an Event is Canceled
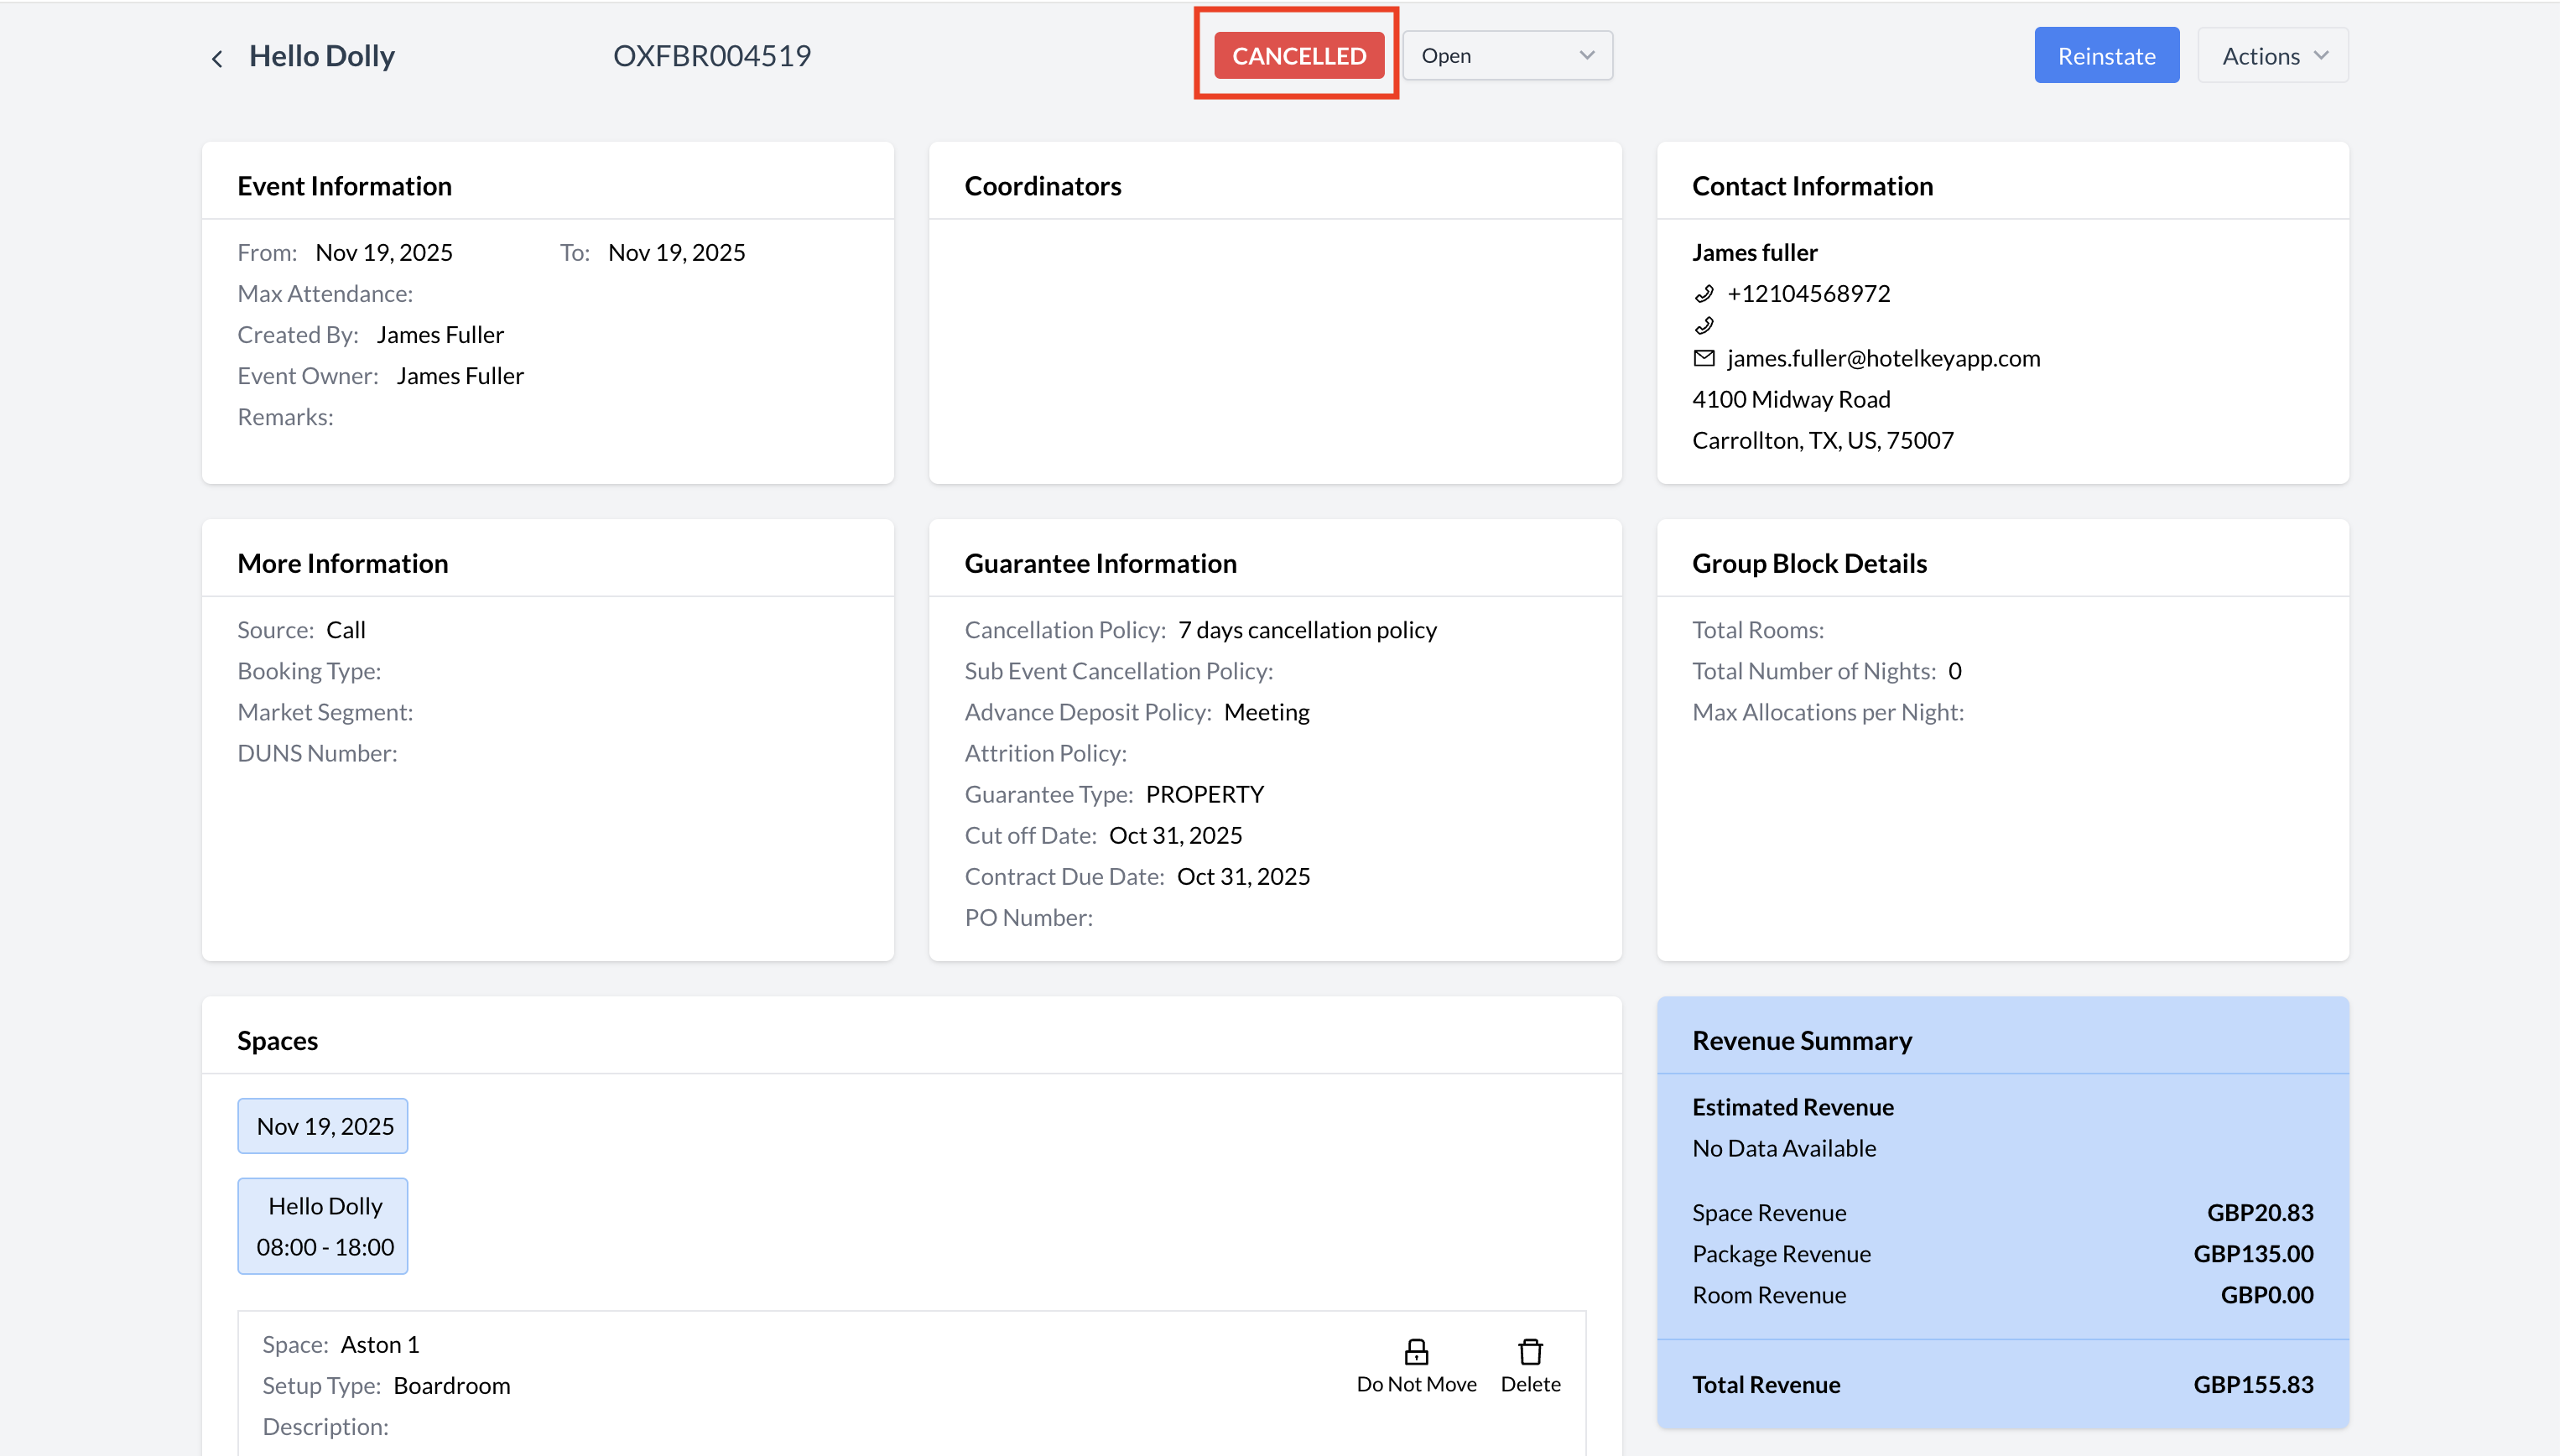
1. Status Change
The event's status is automatically updated to "Canceled." This locks the event from further edits and flags it as permanently closed in the system. The event will remain in records for historical and reporting purposes, but no additional changes can be made.
2. Automatic Inventory Release
All reserved inventory—including meeting rooms, banquet space, guest room blocks, and equipment—is automatically released back into availability. This ensures those resources can be rebooked and prevents scheduling conflicts.
-
Cancellation Charge Posted
-
Confirmed Events: Moving an event from "Confirmed" to "Cancelled" will automatically trigger the pre-configured cancellation schedule and post the relevant charges to the folio.
-
Other Statuses: Events in Inquiry, Prospect, or Tentative status can be cancelled without triggering automatic financial penalties, allowing for flexible pipeline management without manual fee reversals.
Understanding the implications of canceling an event ensures better coordination between Sales, Catering, and Operations, and helps maintain accurate forecasting and reporting. The following steps will walk you through how to properly cancel an event in EventKey.
|
Navigate to Home > Event Management |
|
|
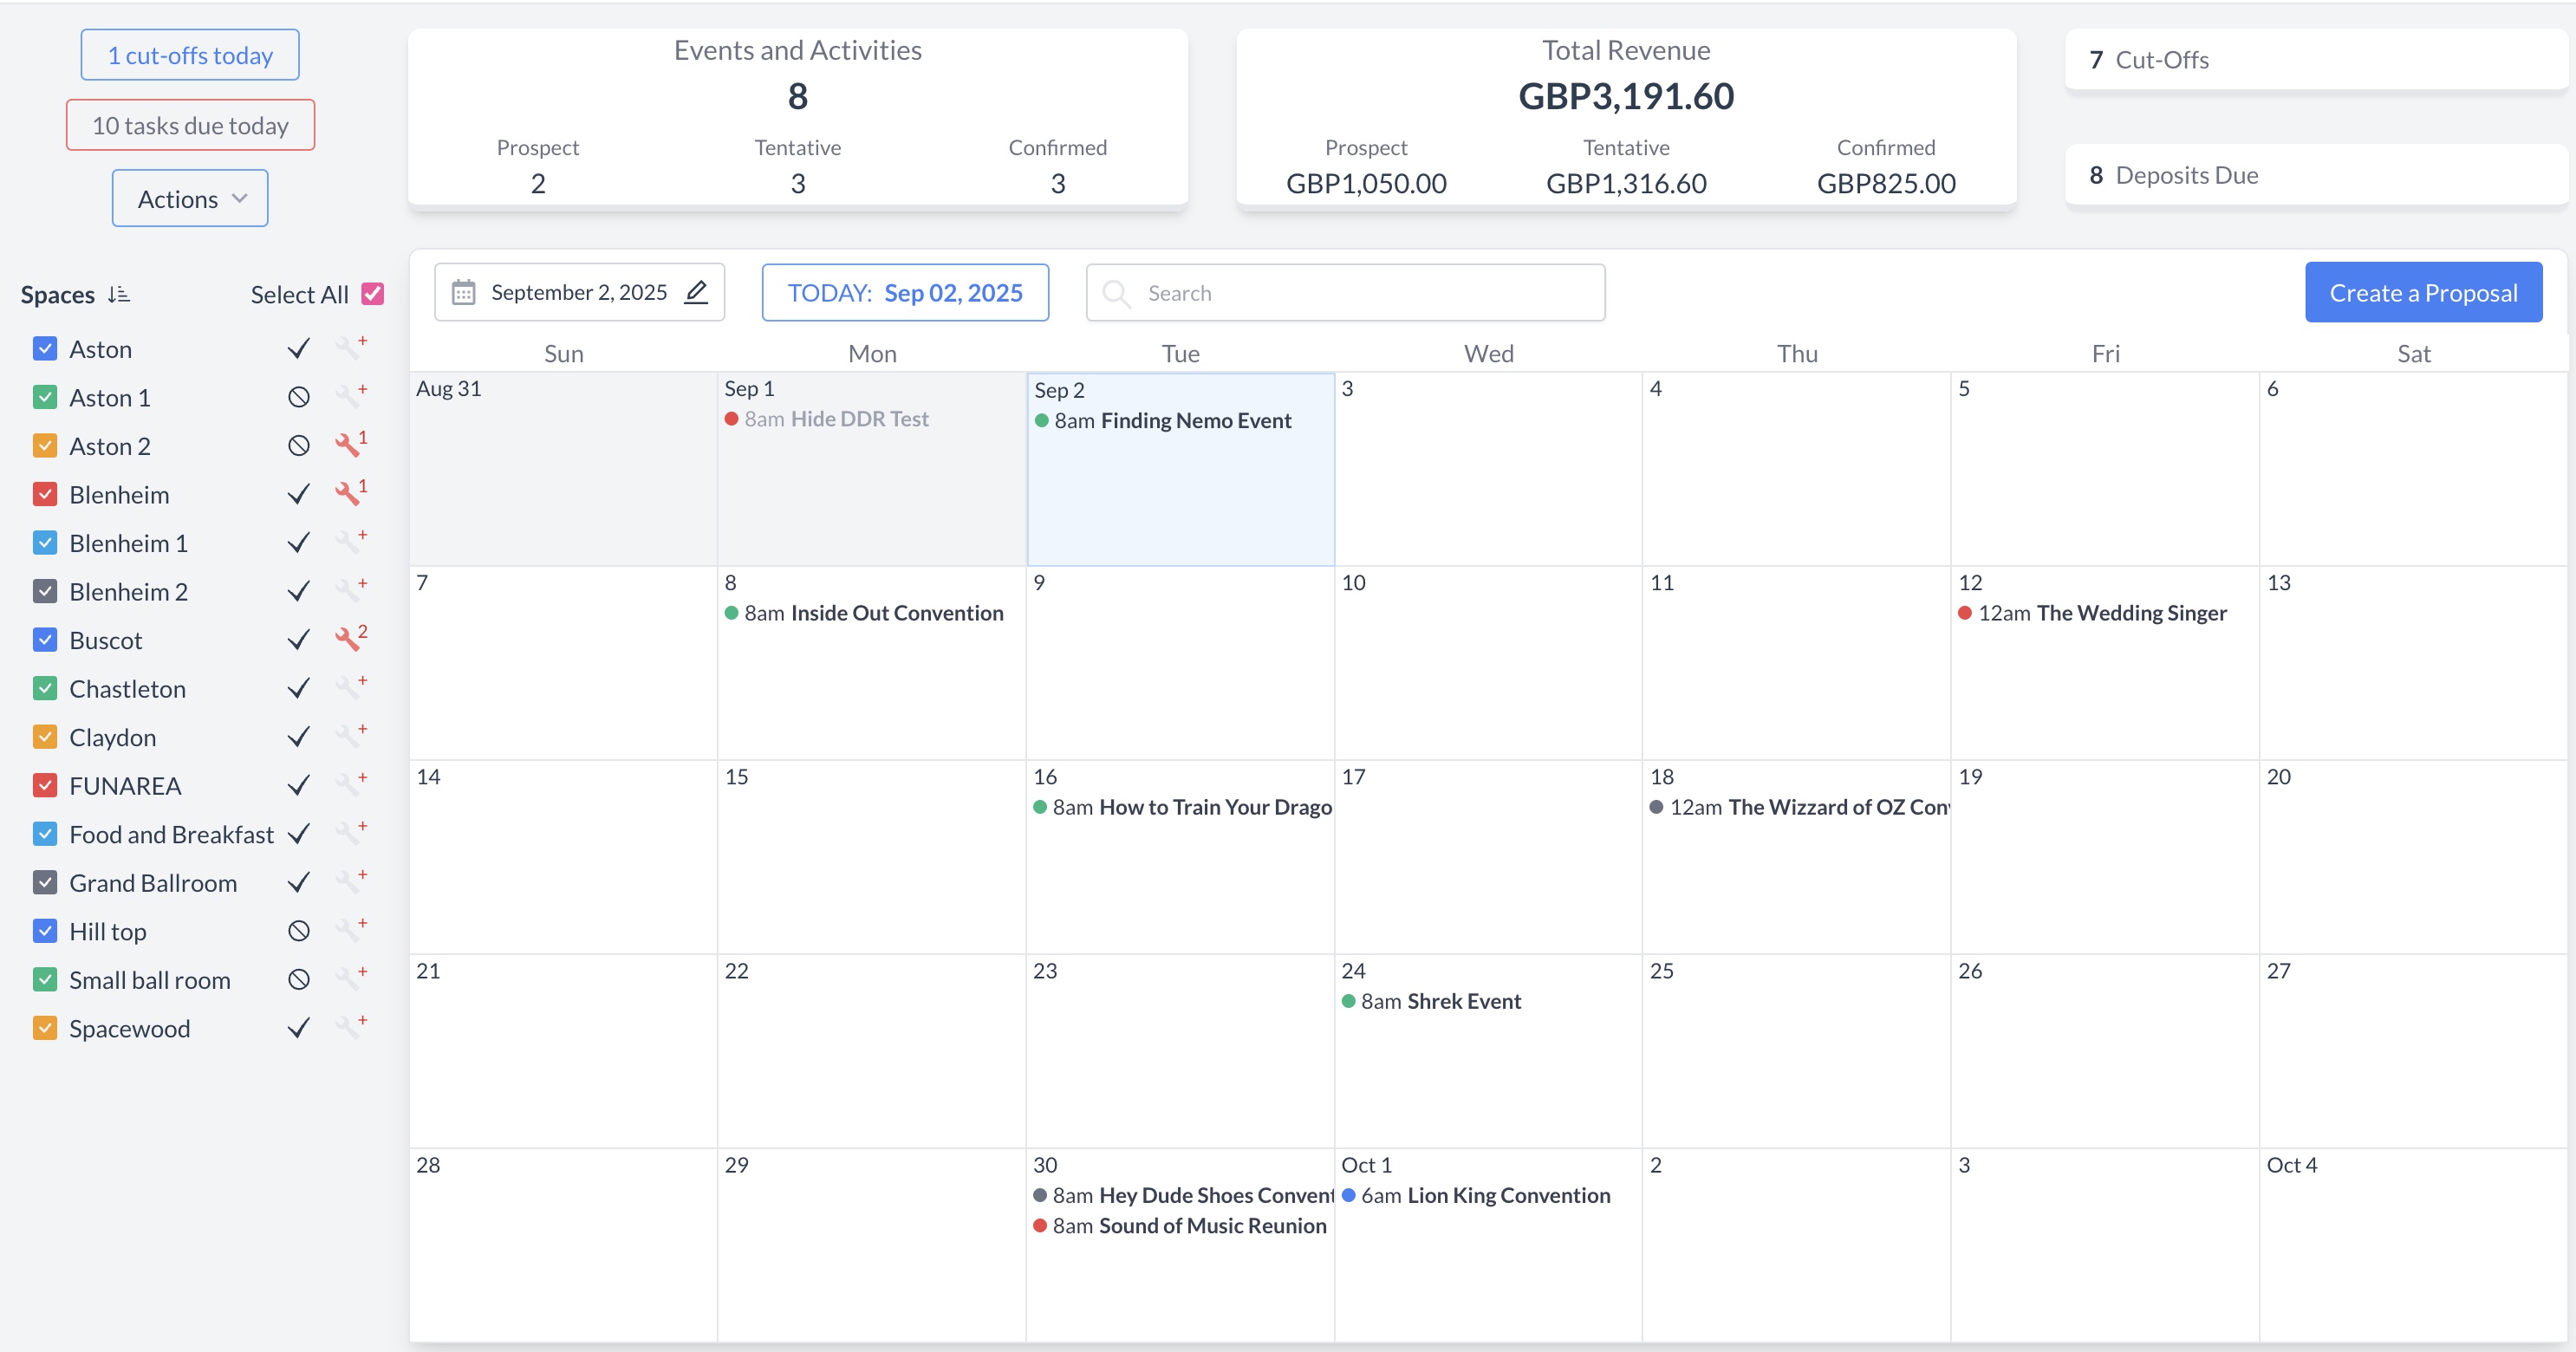
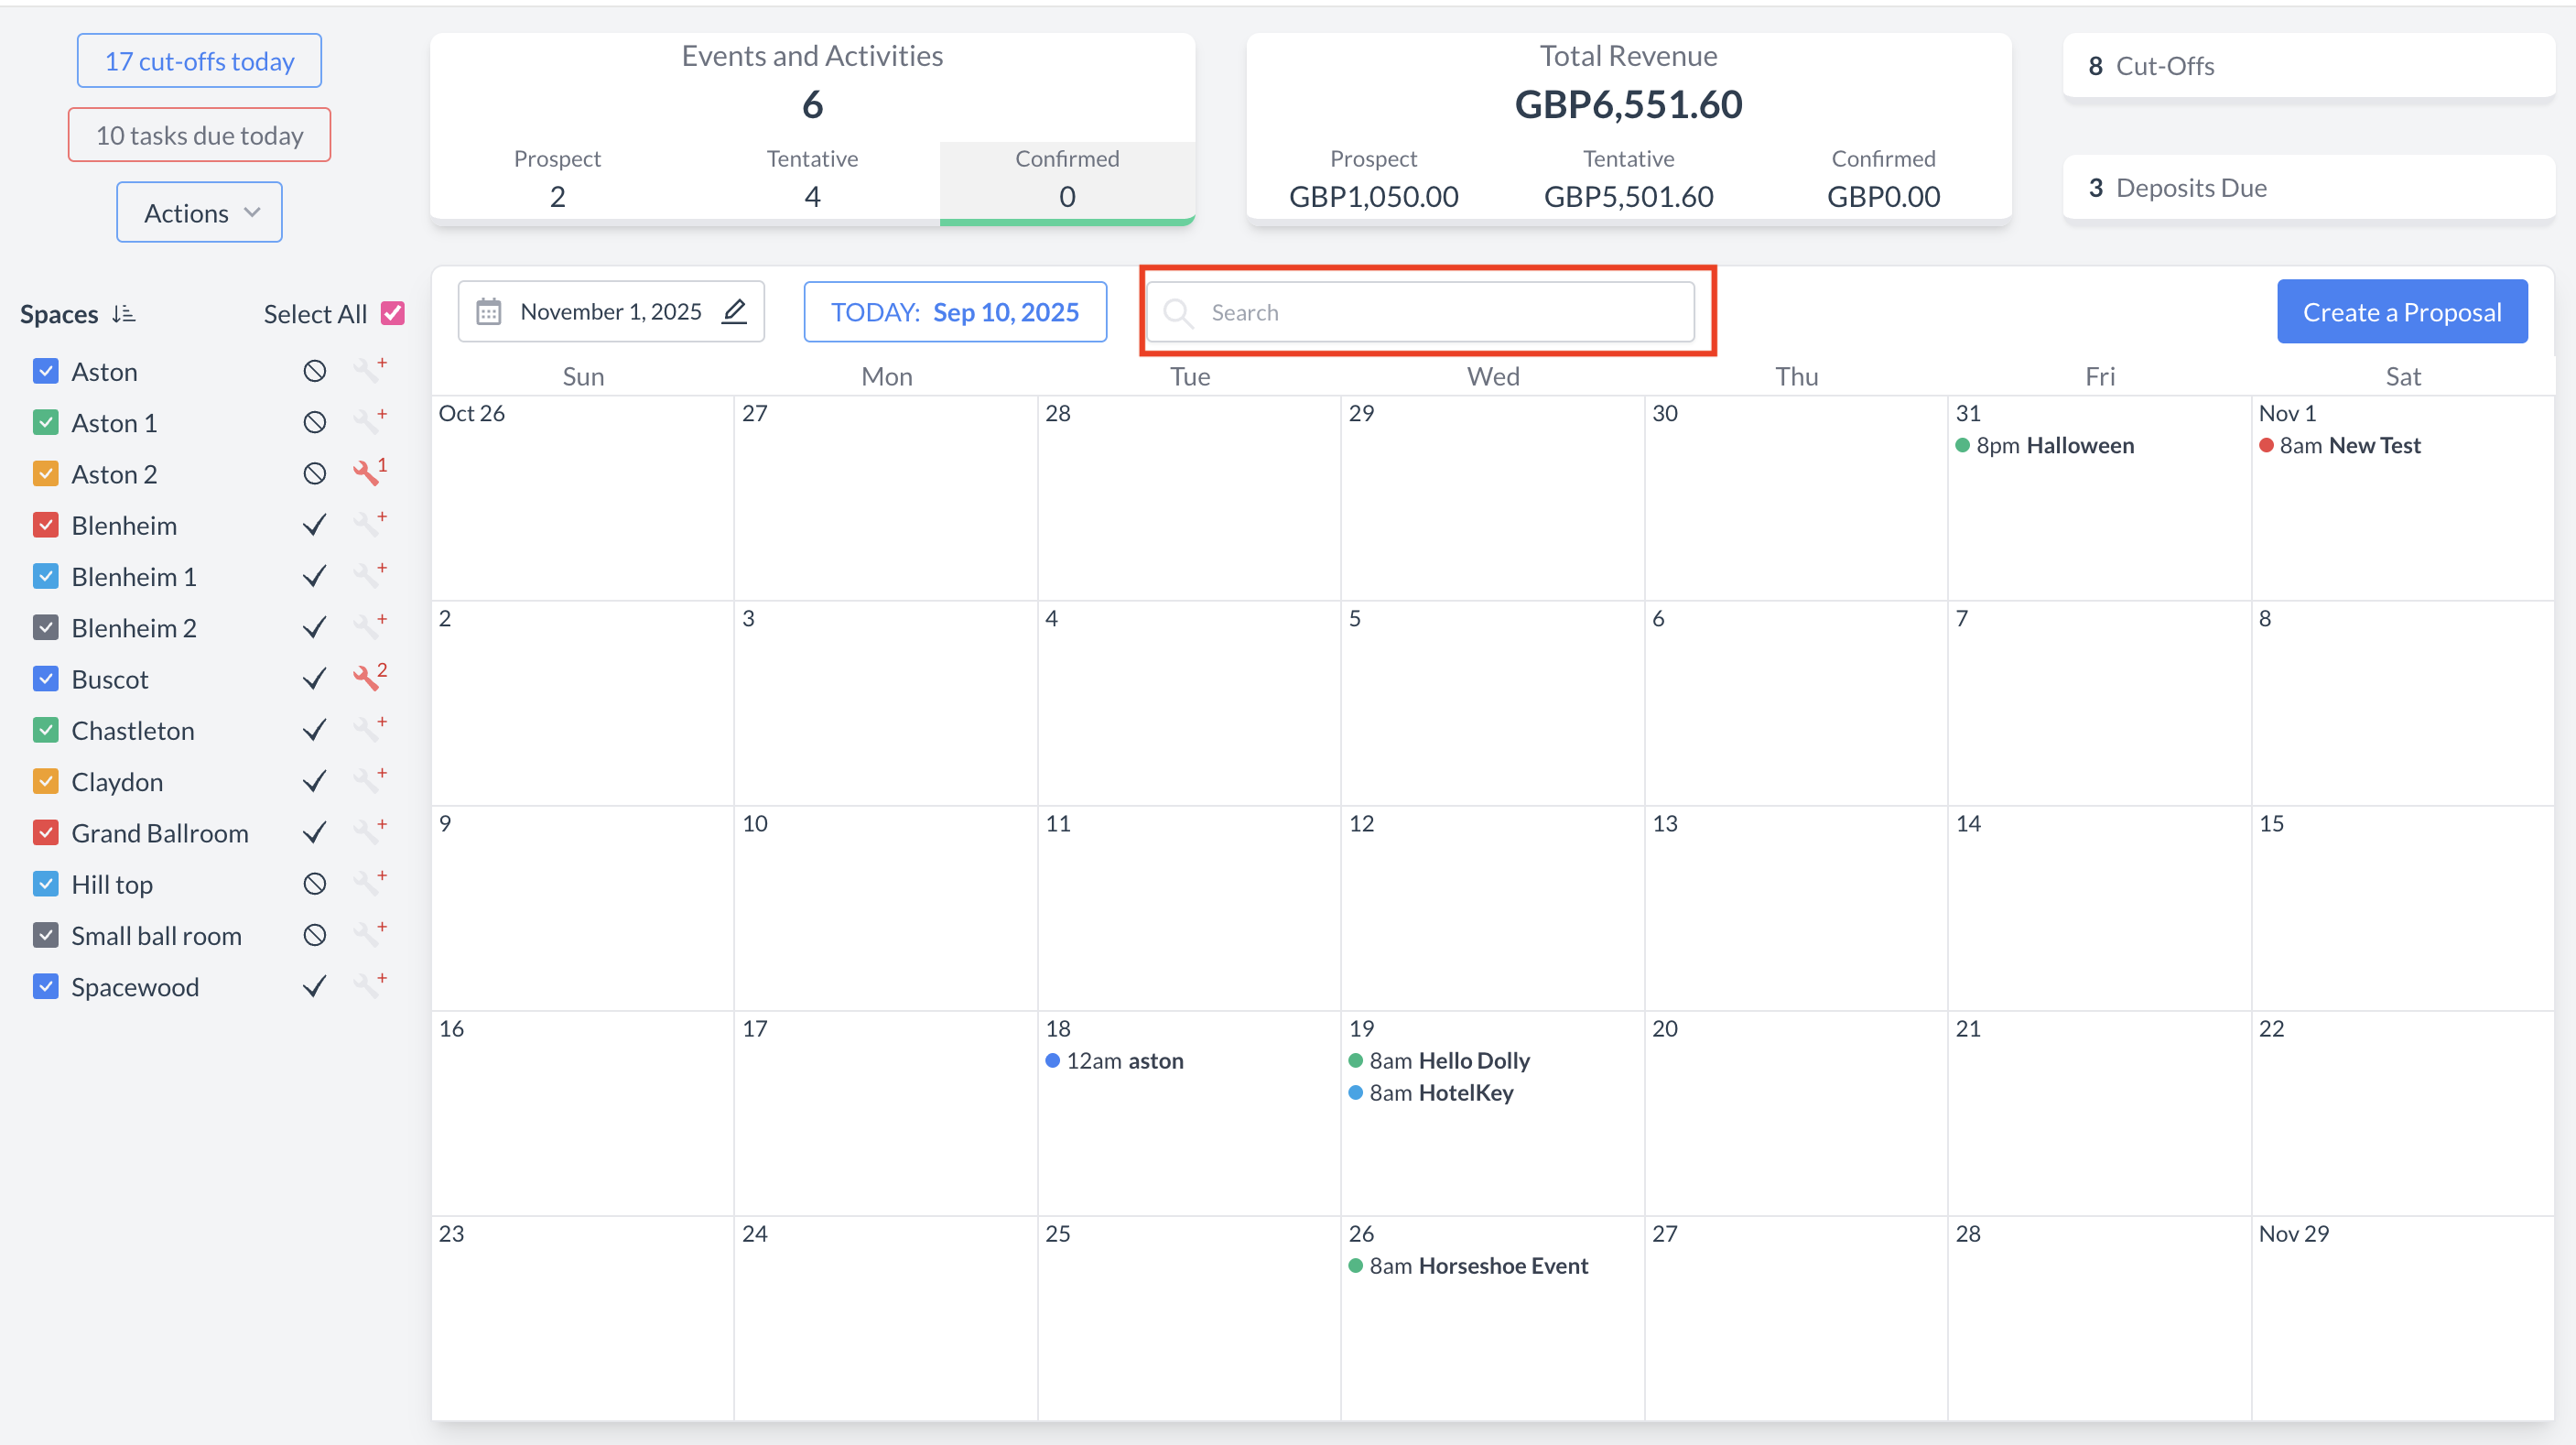
To begin the cancellation process, navigate to the Dashboard and use the Search box to locate the event you need to cancel. Enter the full or partial Event Name into the search field. The system will display a list of matching events, or, if there is an exact match, it will appear directly. Once you’ve identified the correct event, simply click on the event name to open it and proceed with the cancellation. |
.png?cb=e838ed34a18a7142c65438cfb612ce81)
|
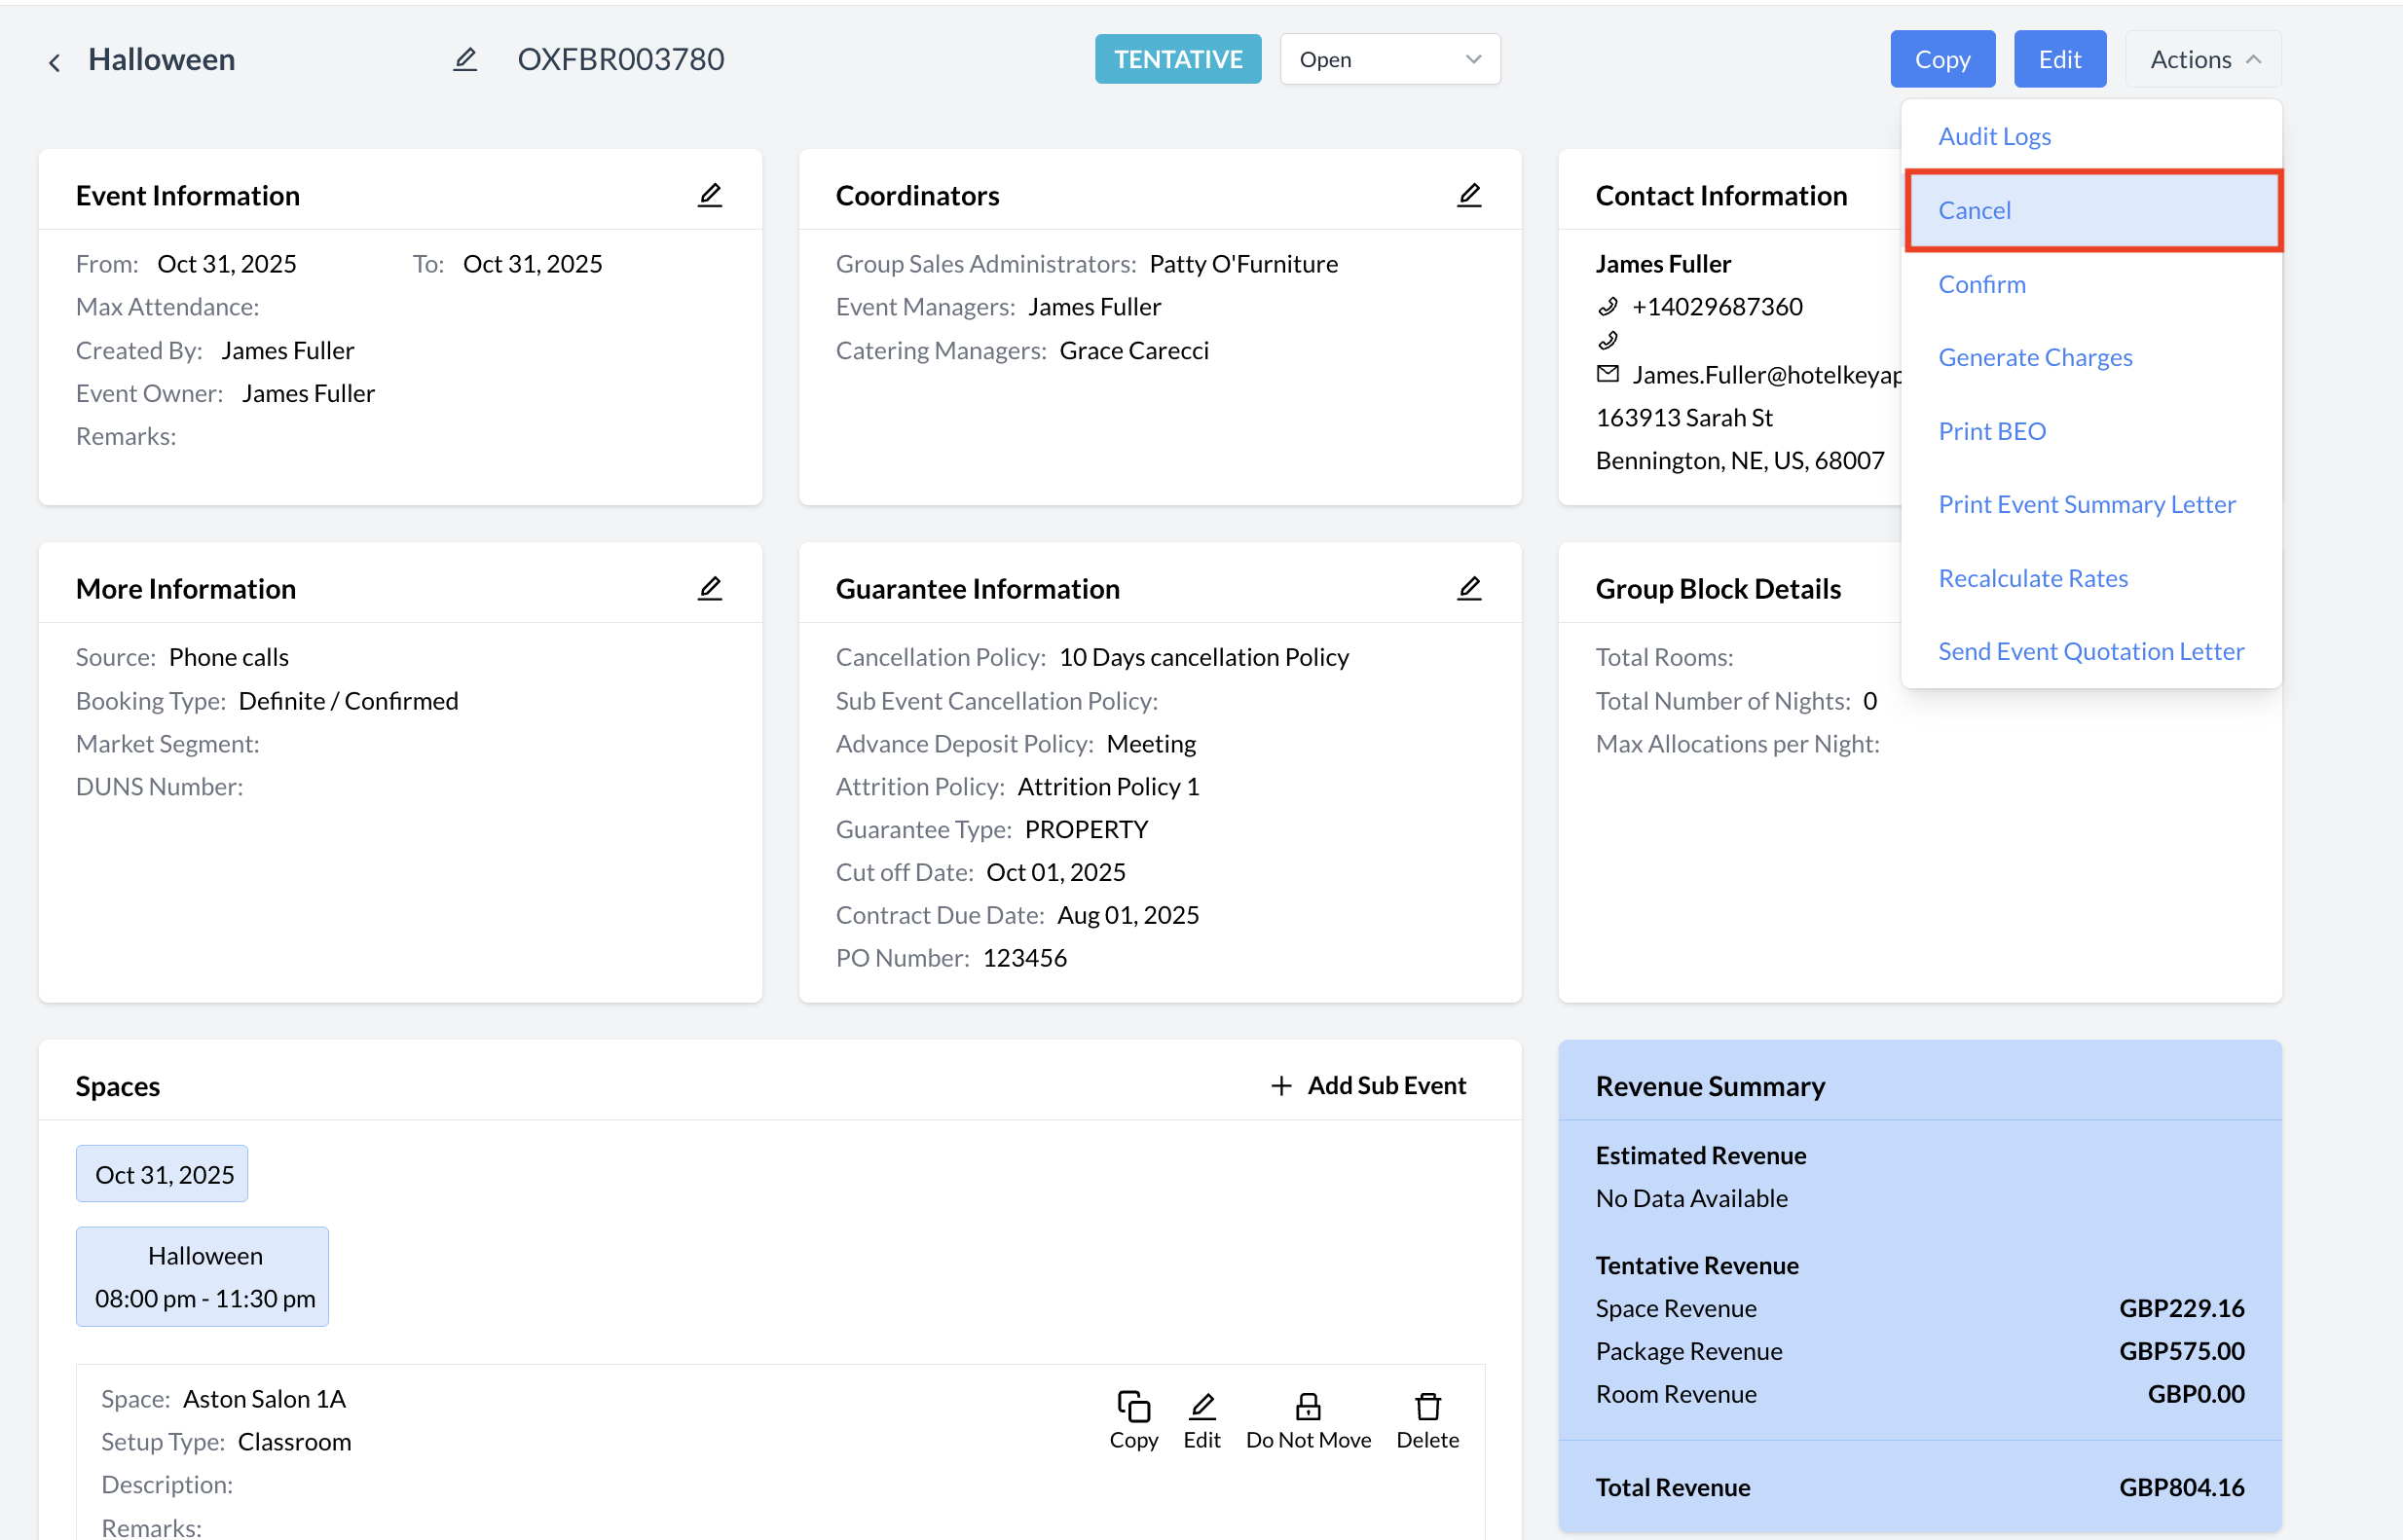
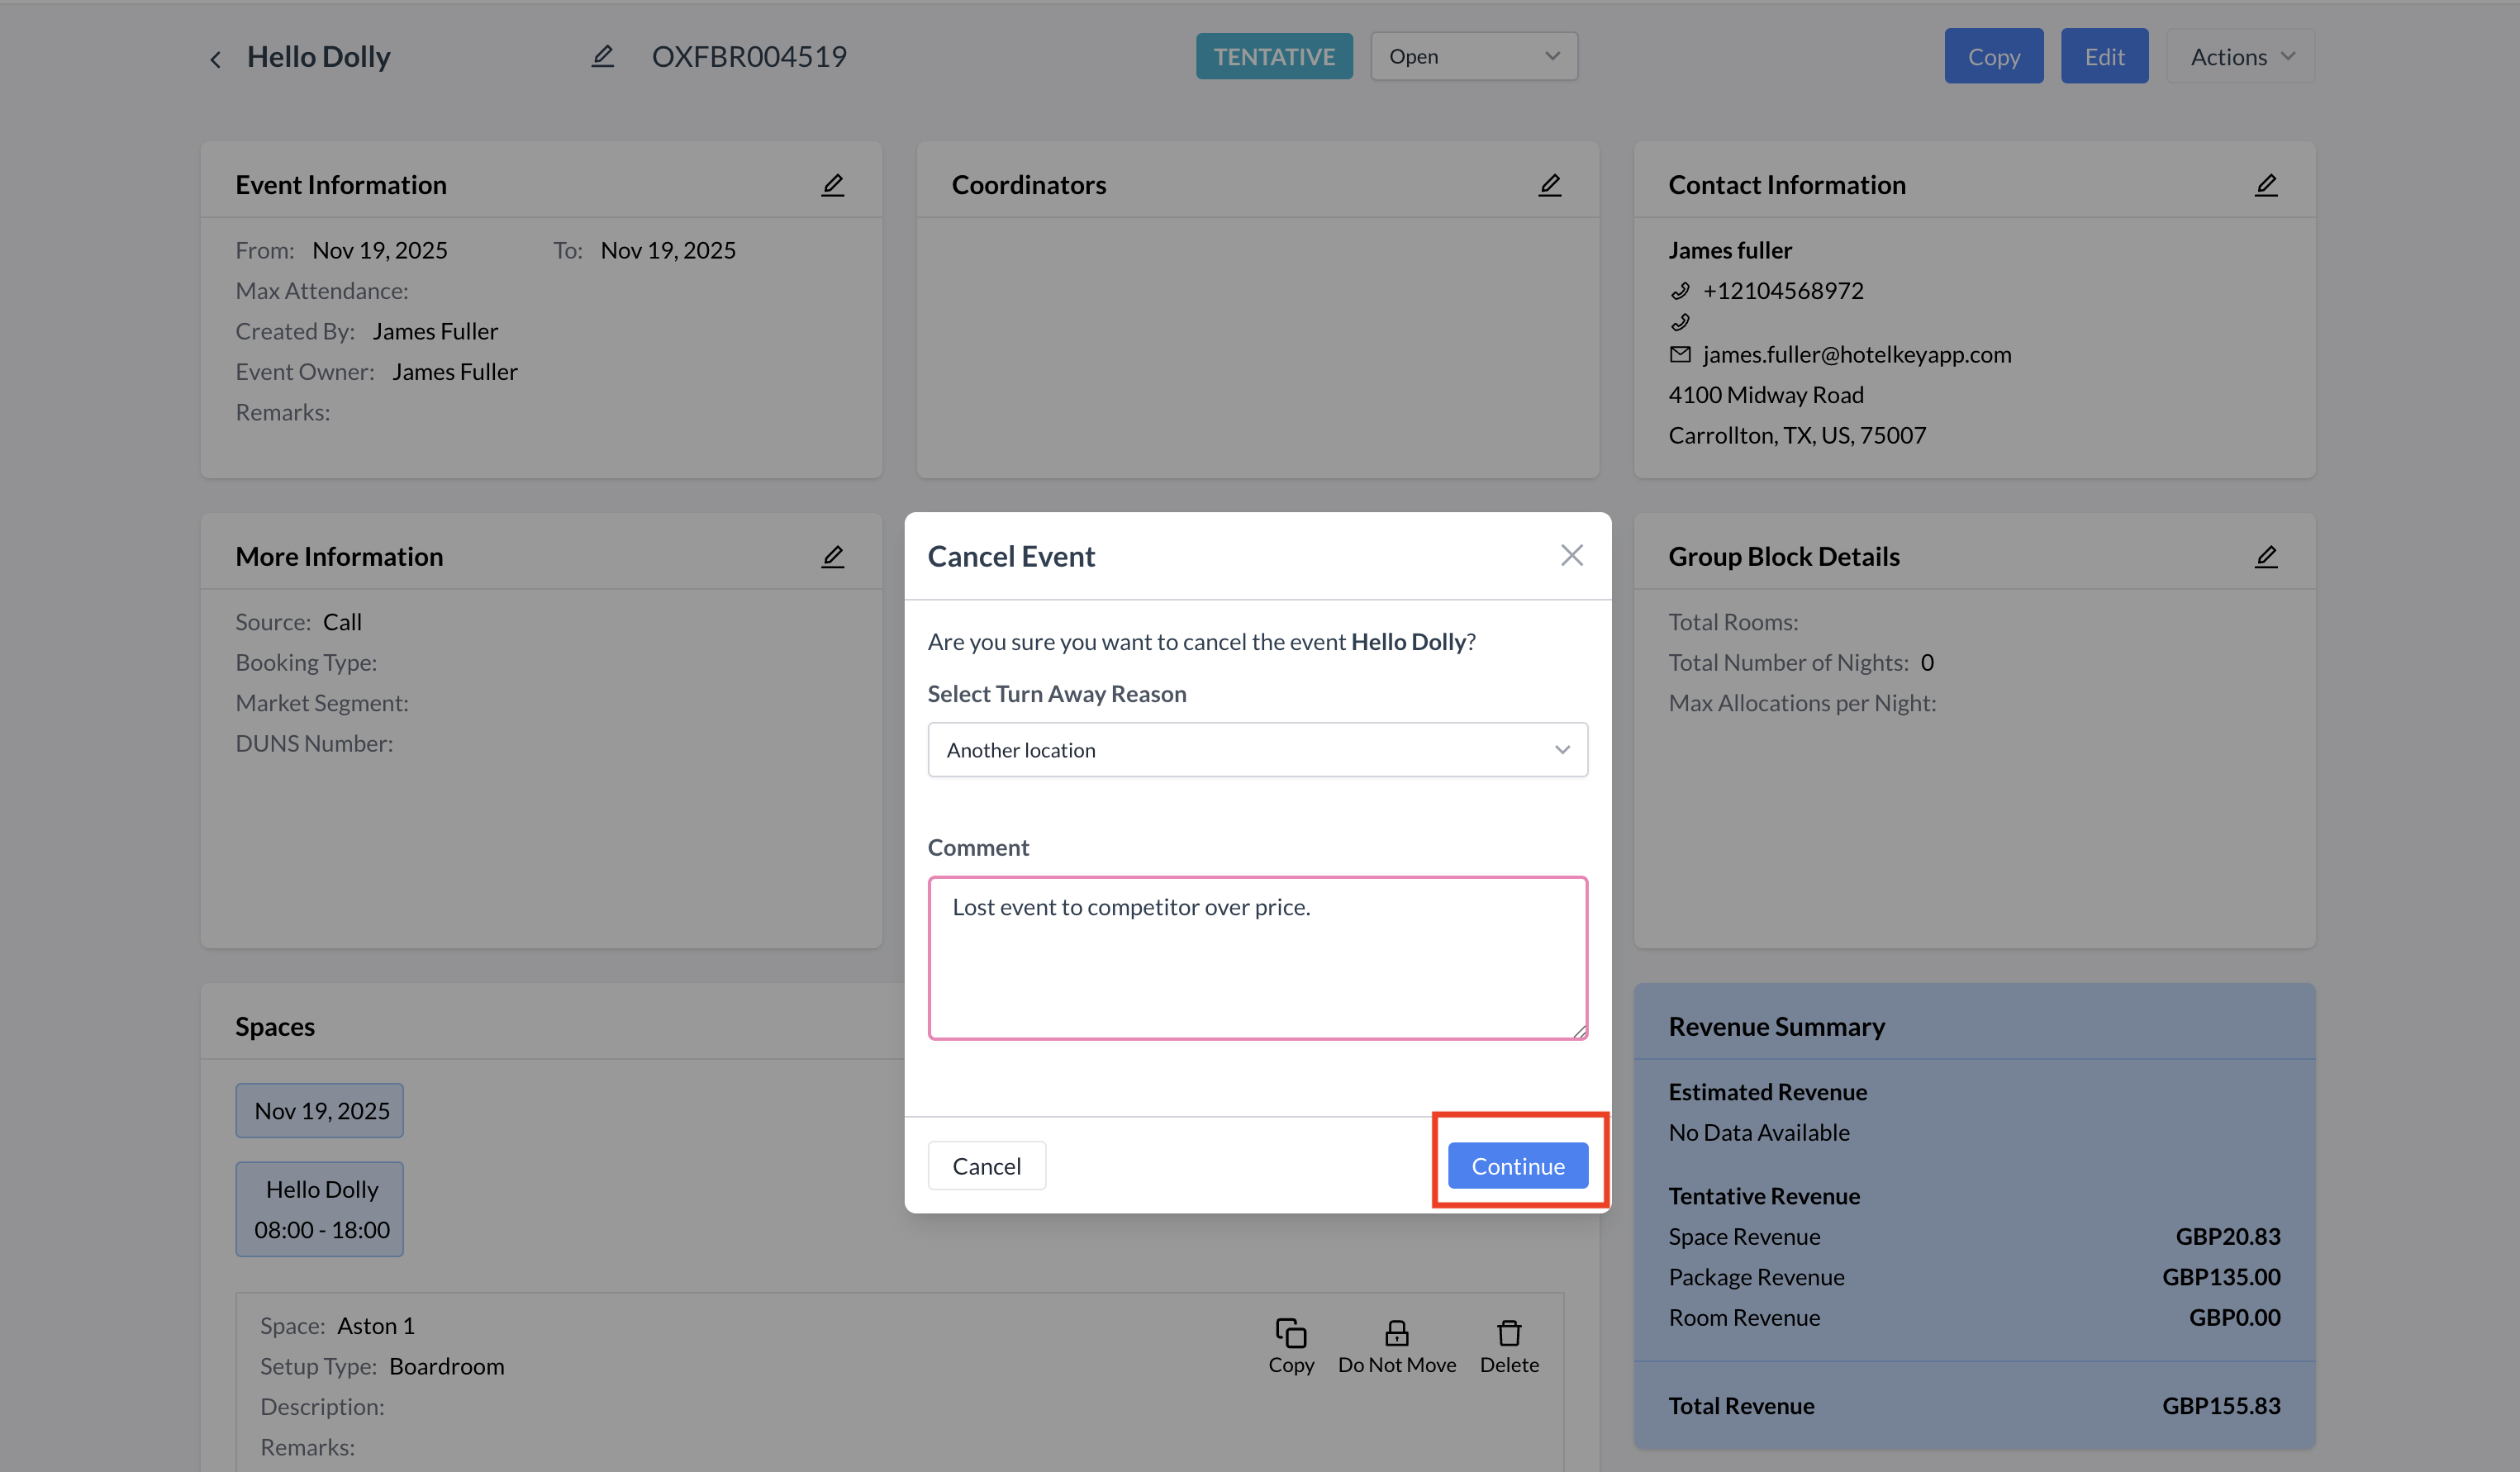
Changing an Event Status to "Canceled"
To cancel an event, begin by opening the event details screen. In the upper-right corner, click on the Action Menu and select Cancel from the dropdown options. You will then be prompted to choose a Turn Away Reason from the available list. Be sure to also enter any relevant comments to provide context for the cancellation. Once all required information is entered, click the blue Confirm button to finalize the cancellation. The event will now be marked as Canceled in the system. Important:
|
|