Skip table of contents

Closing the Event

📆 Revision Date:

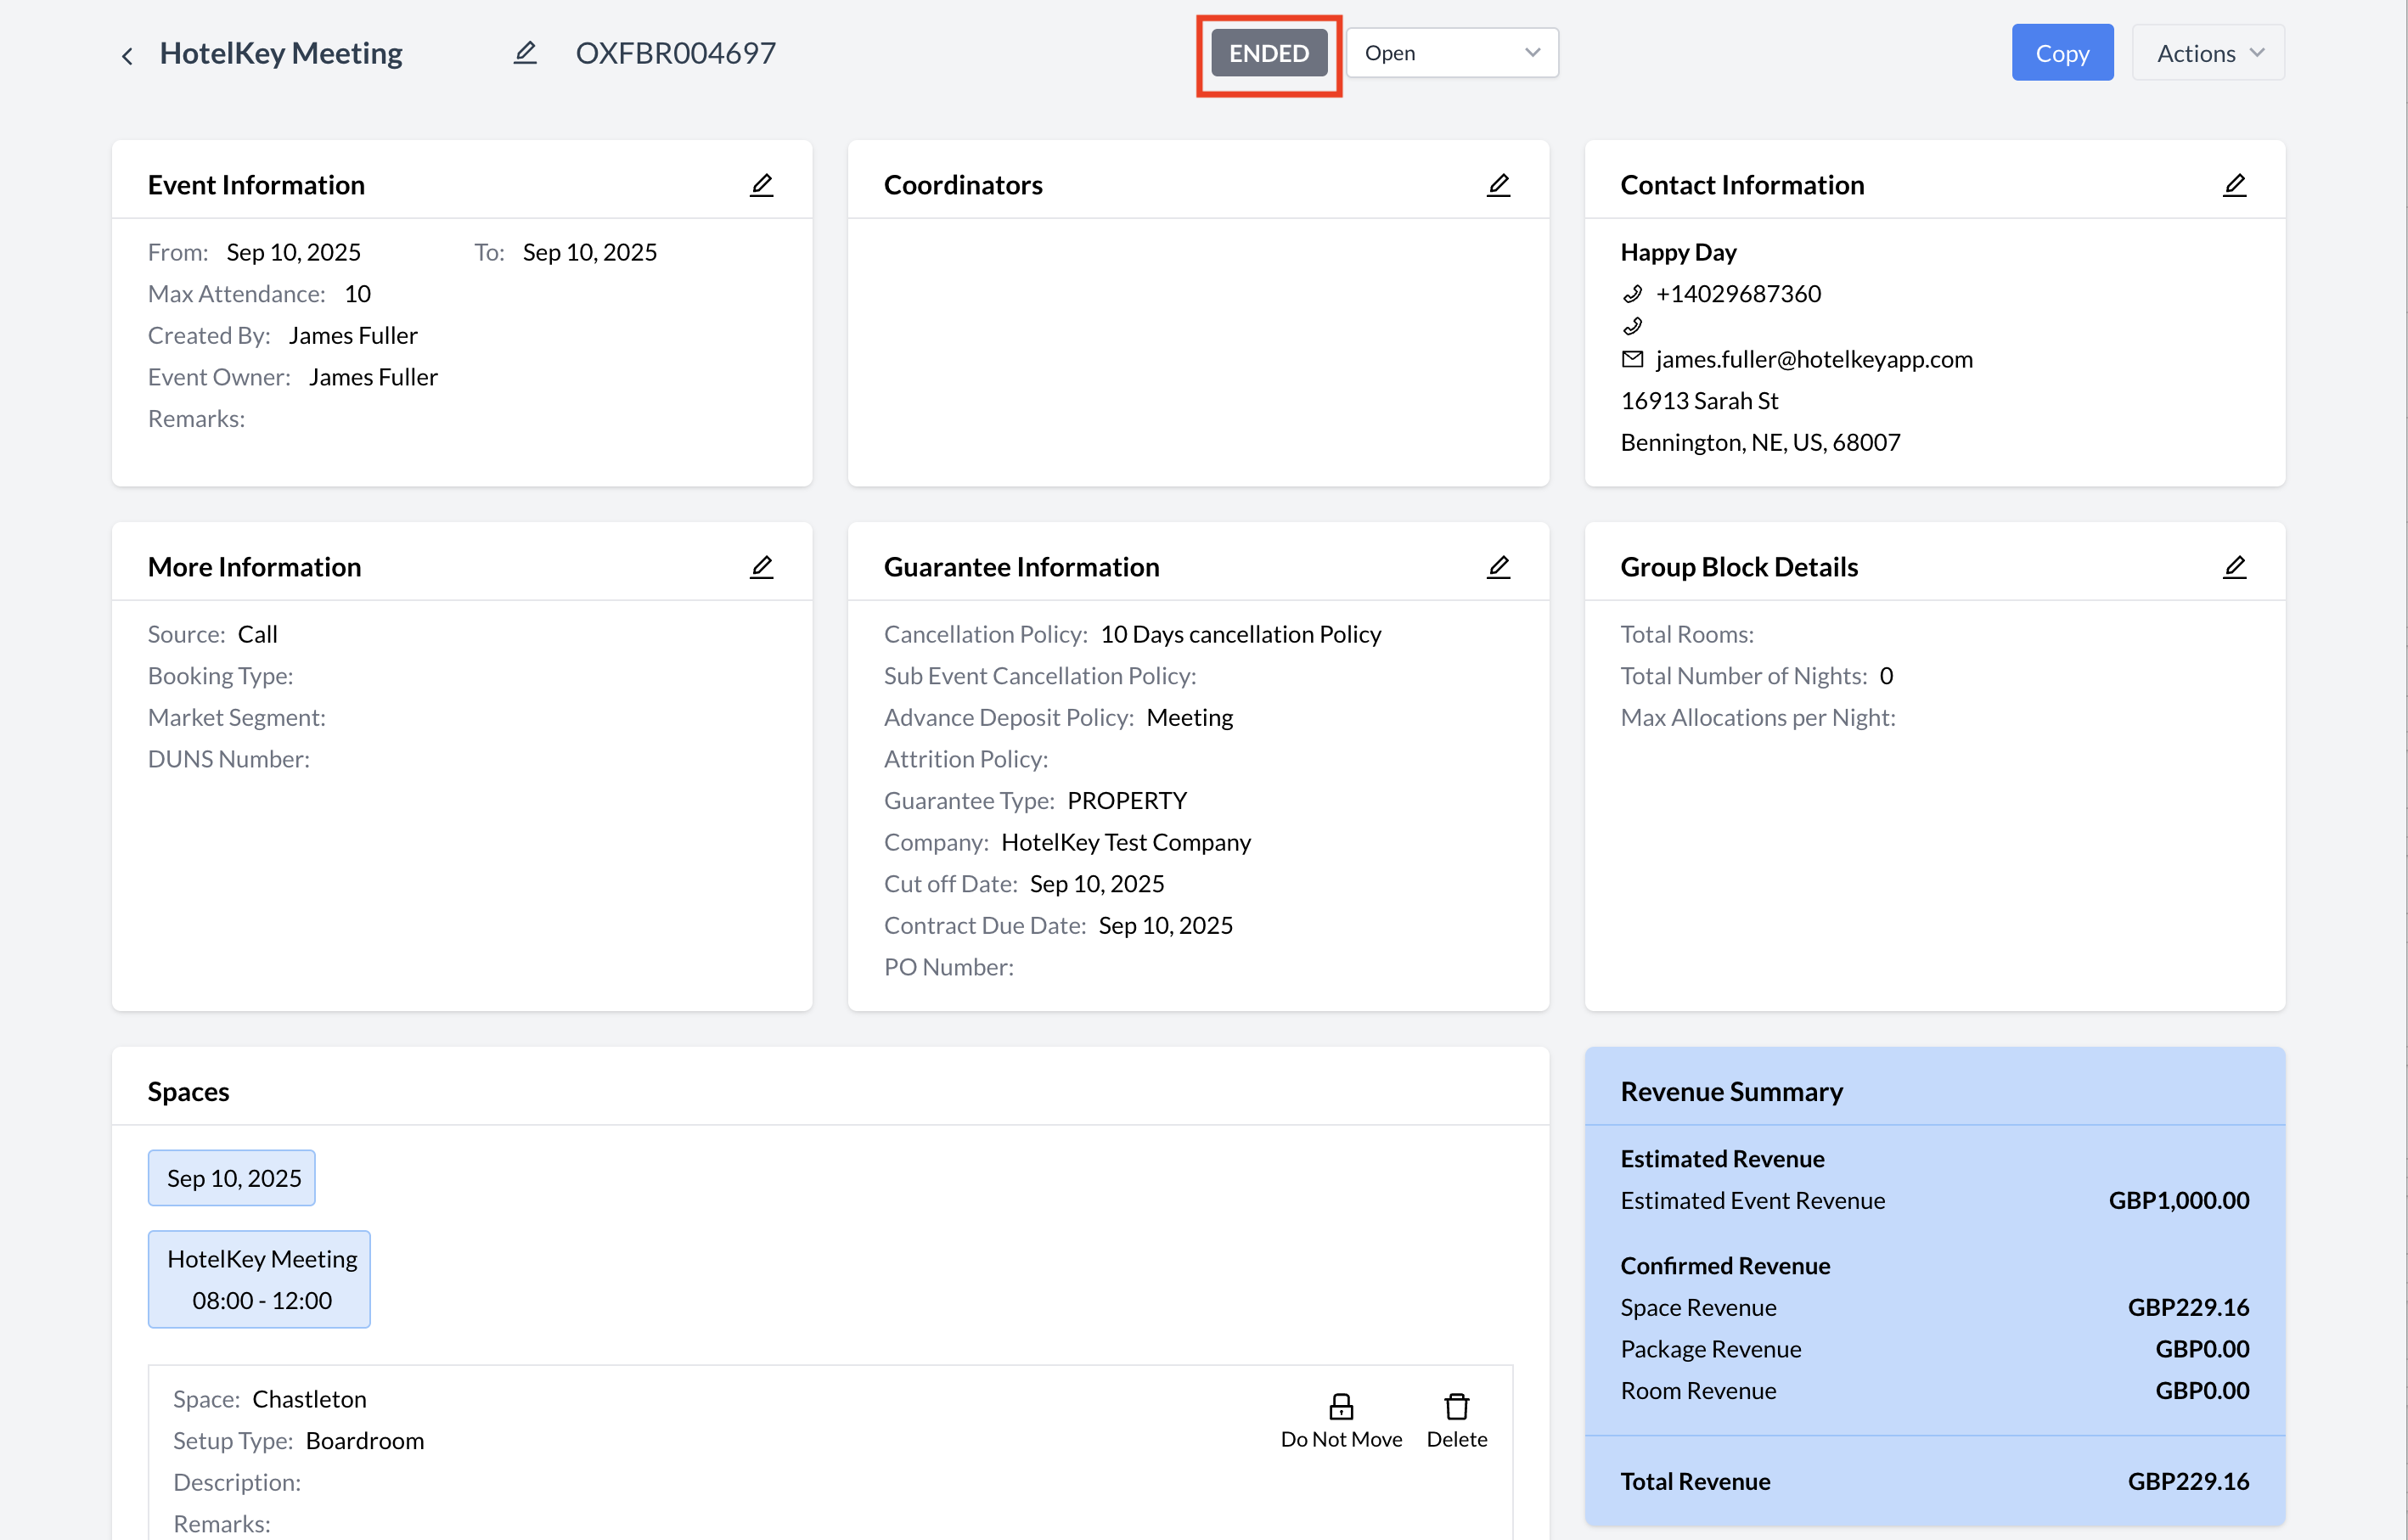
Closed or Ended Event

In EventKey, a Closed or Ended event refers to an event that has fully concluded—both operationally and financially. This status indicates that all event activities have taken place, all associated charges have been posted, and billing has been finalized. Once an event is marked as Closed, it is considered complete and no further edits, service execution, or financial transactions should occur. This status helps maintain data integrity, supports accurate reporting, and signals that the event is ready for archiving or historical reference.

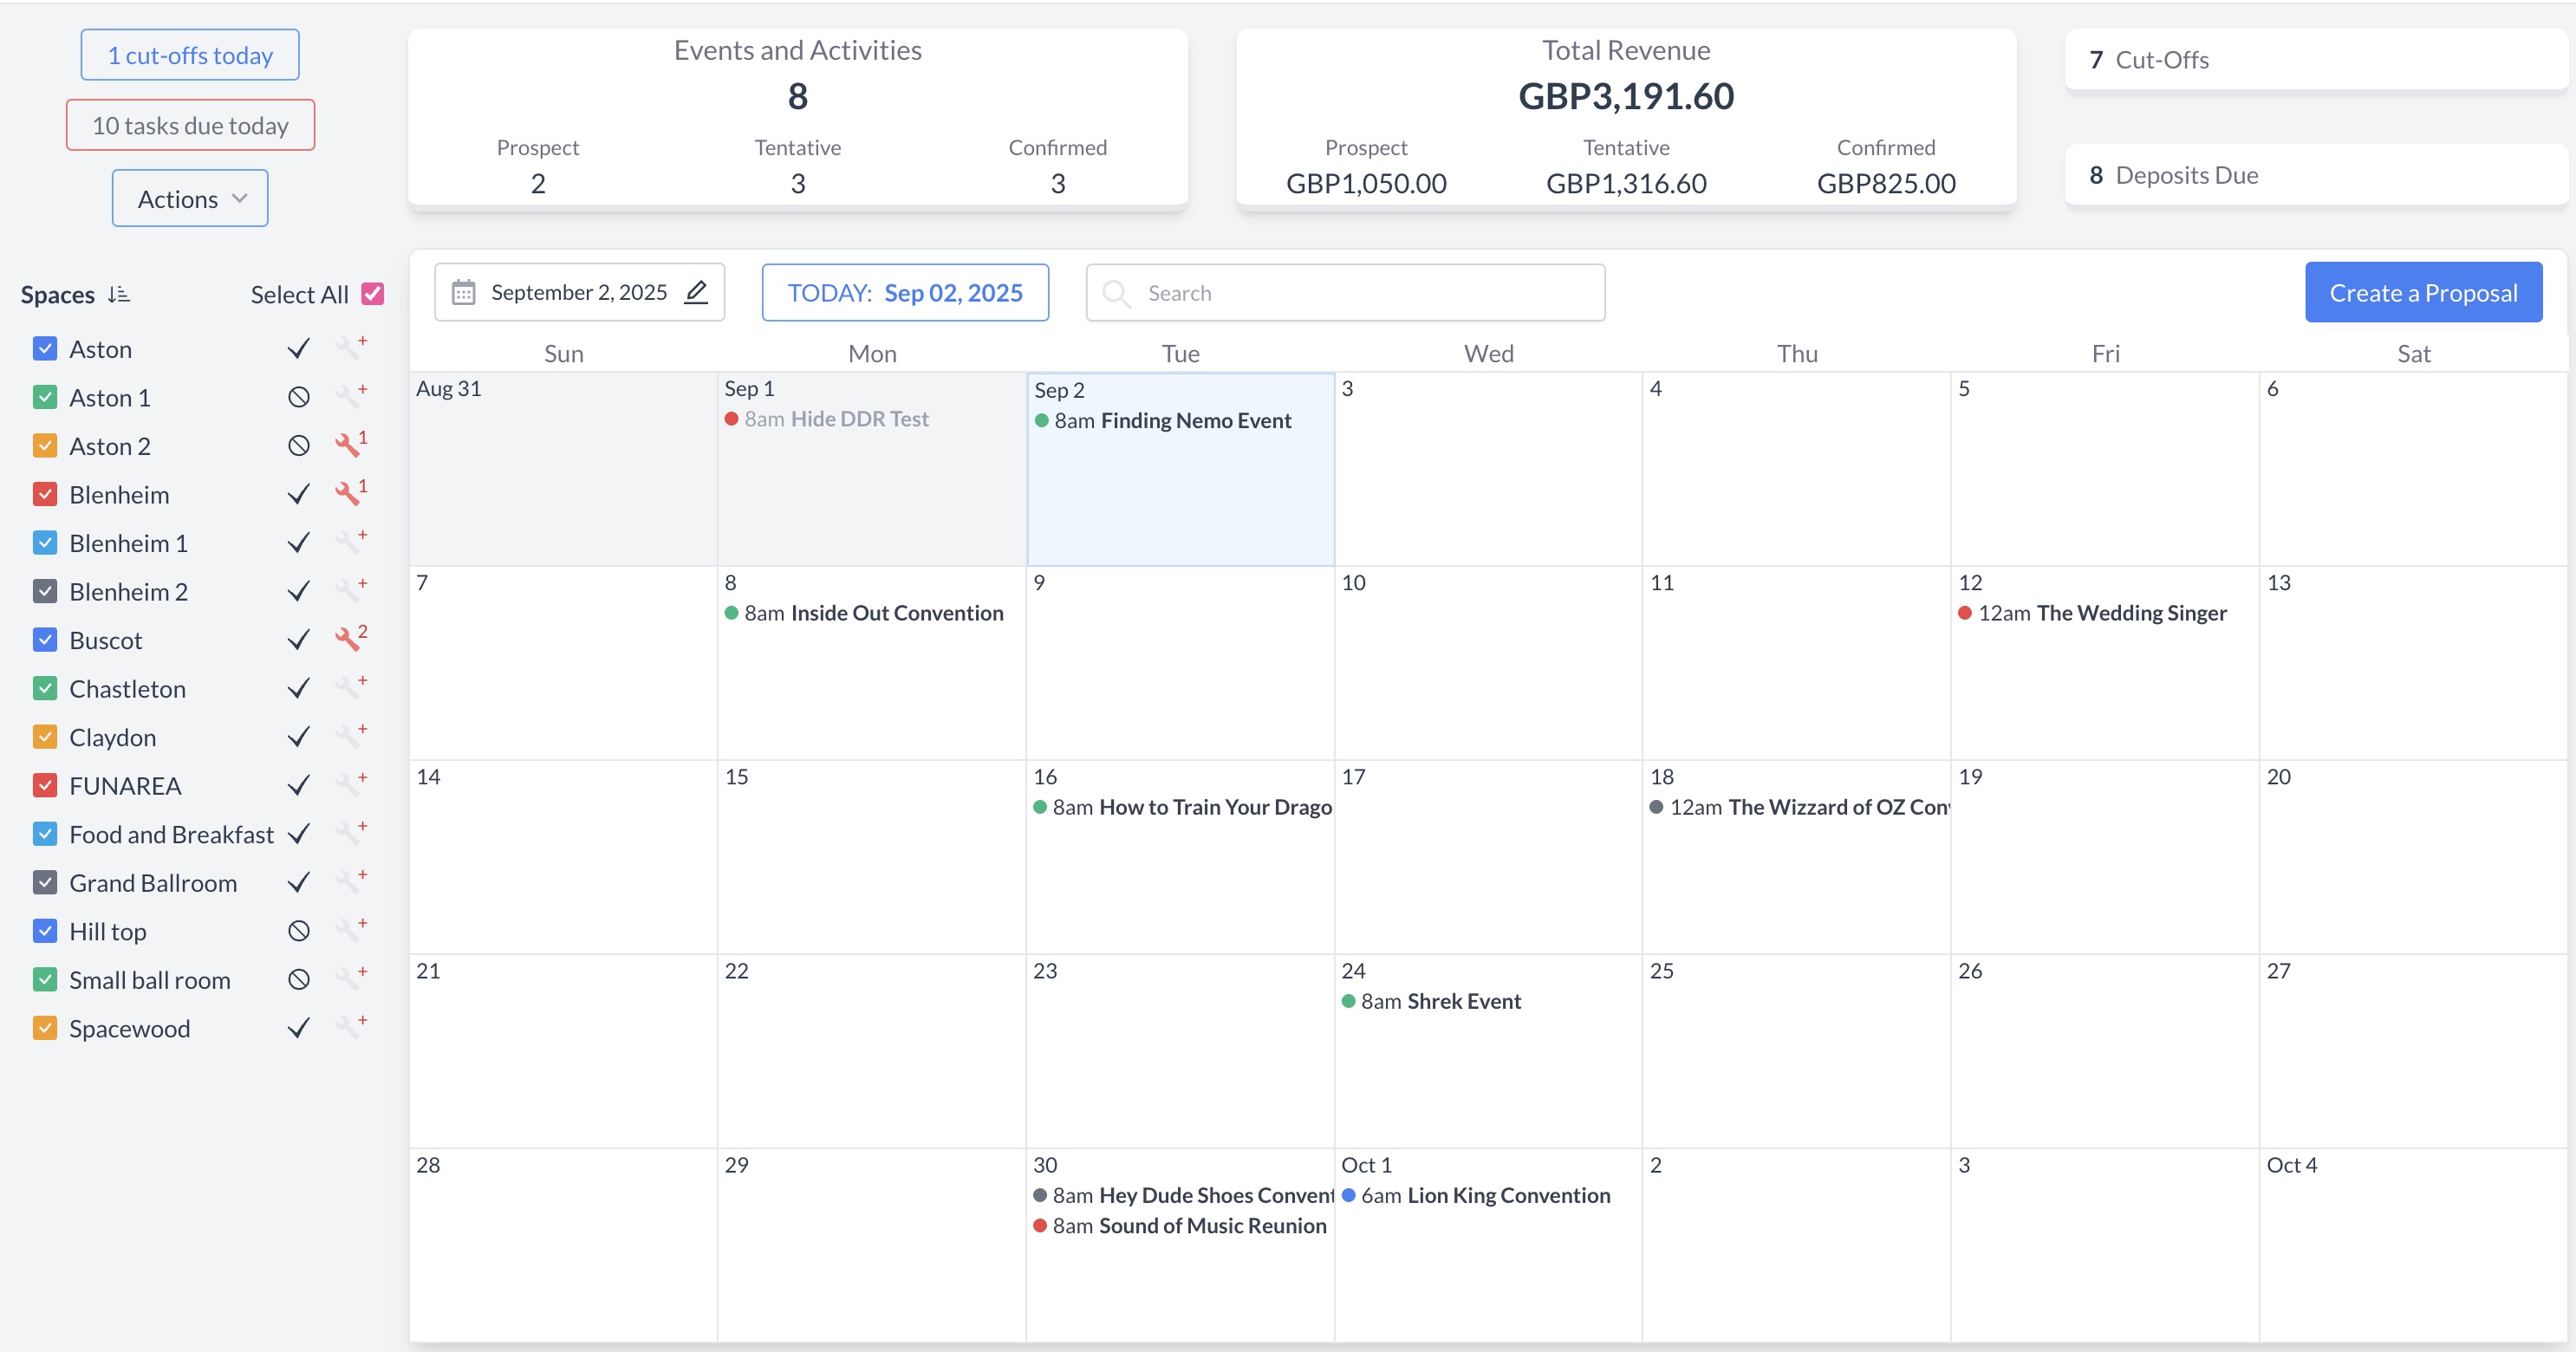
Navigate to Home > Event Management

EventKey Dashboard (Home Screen)

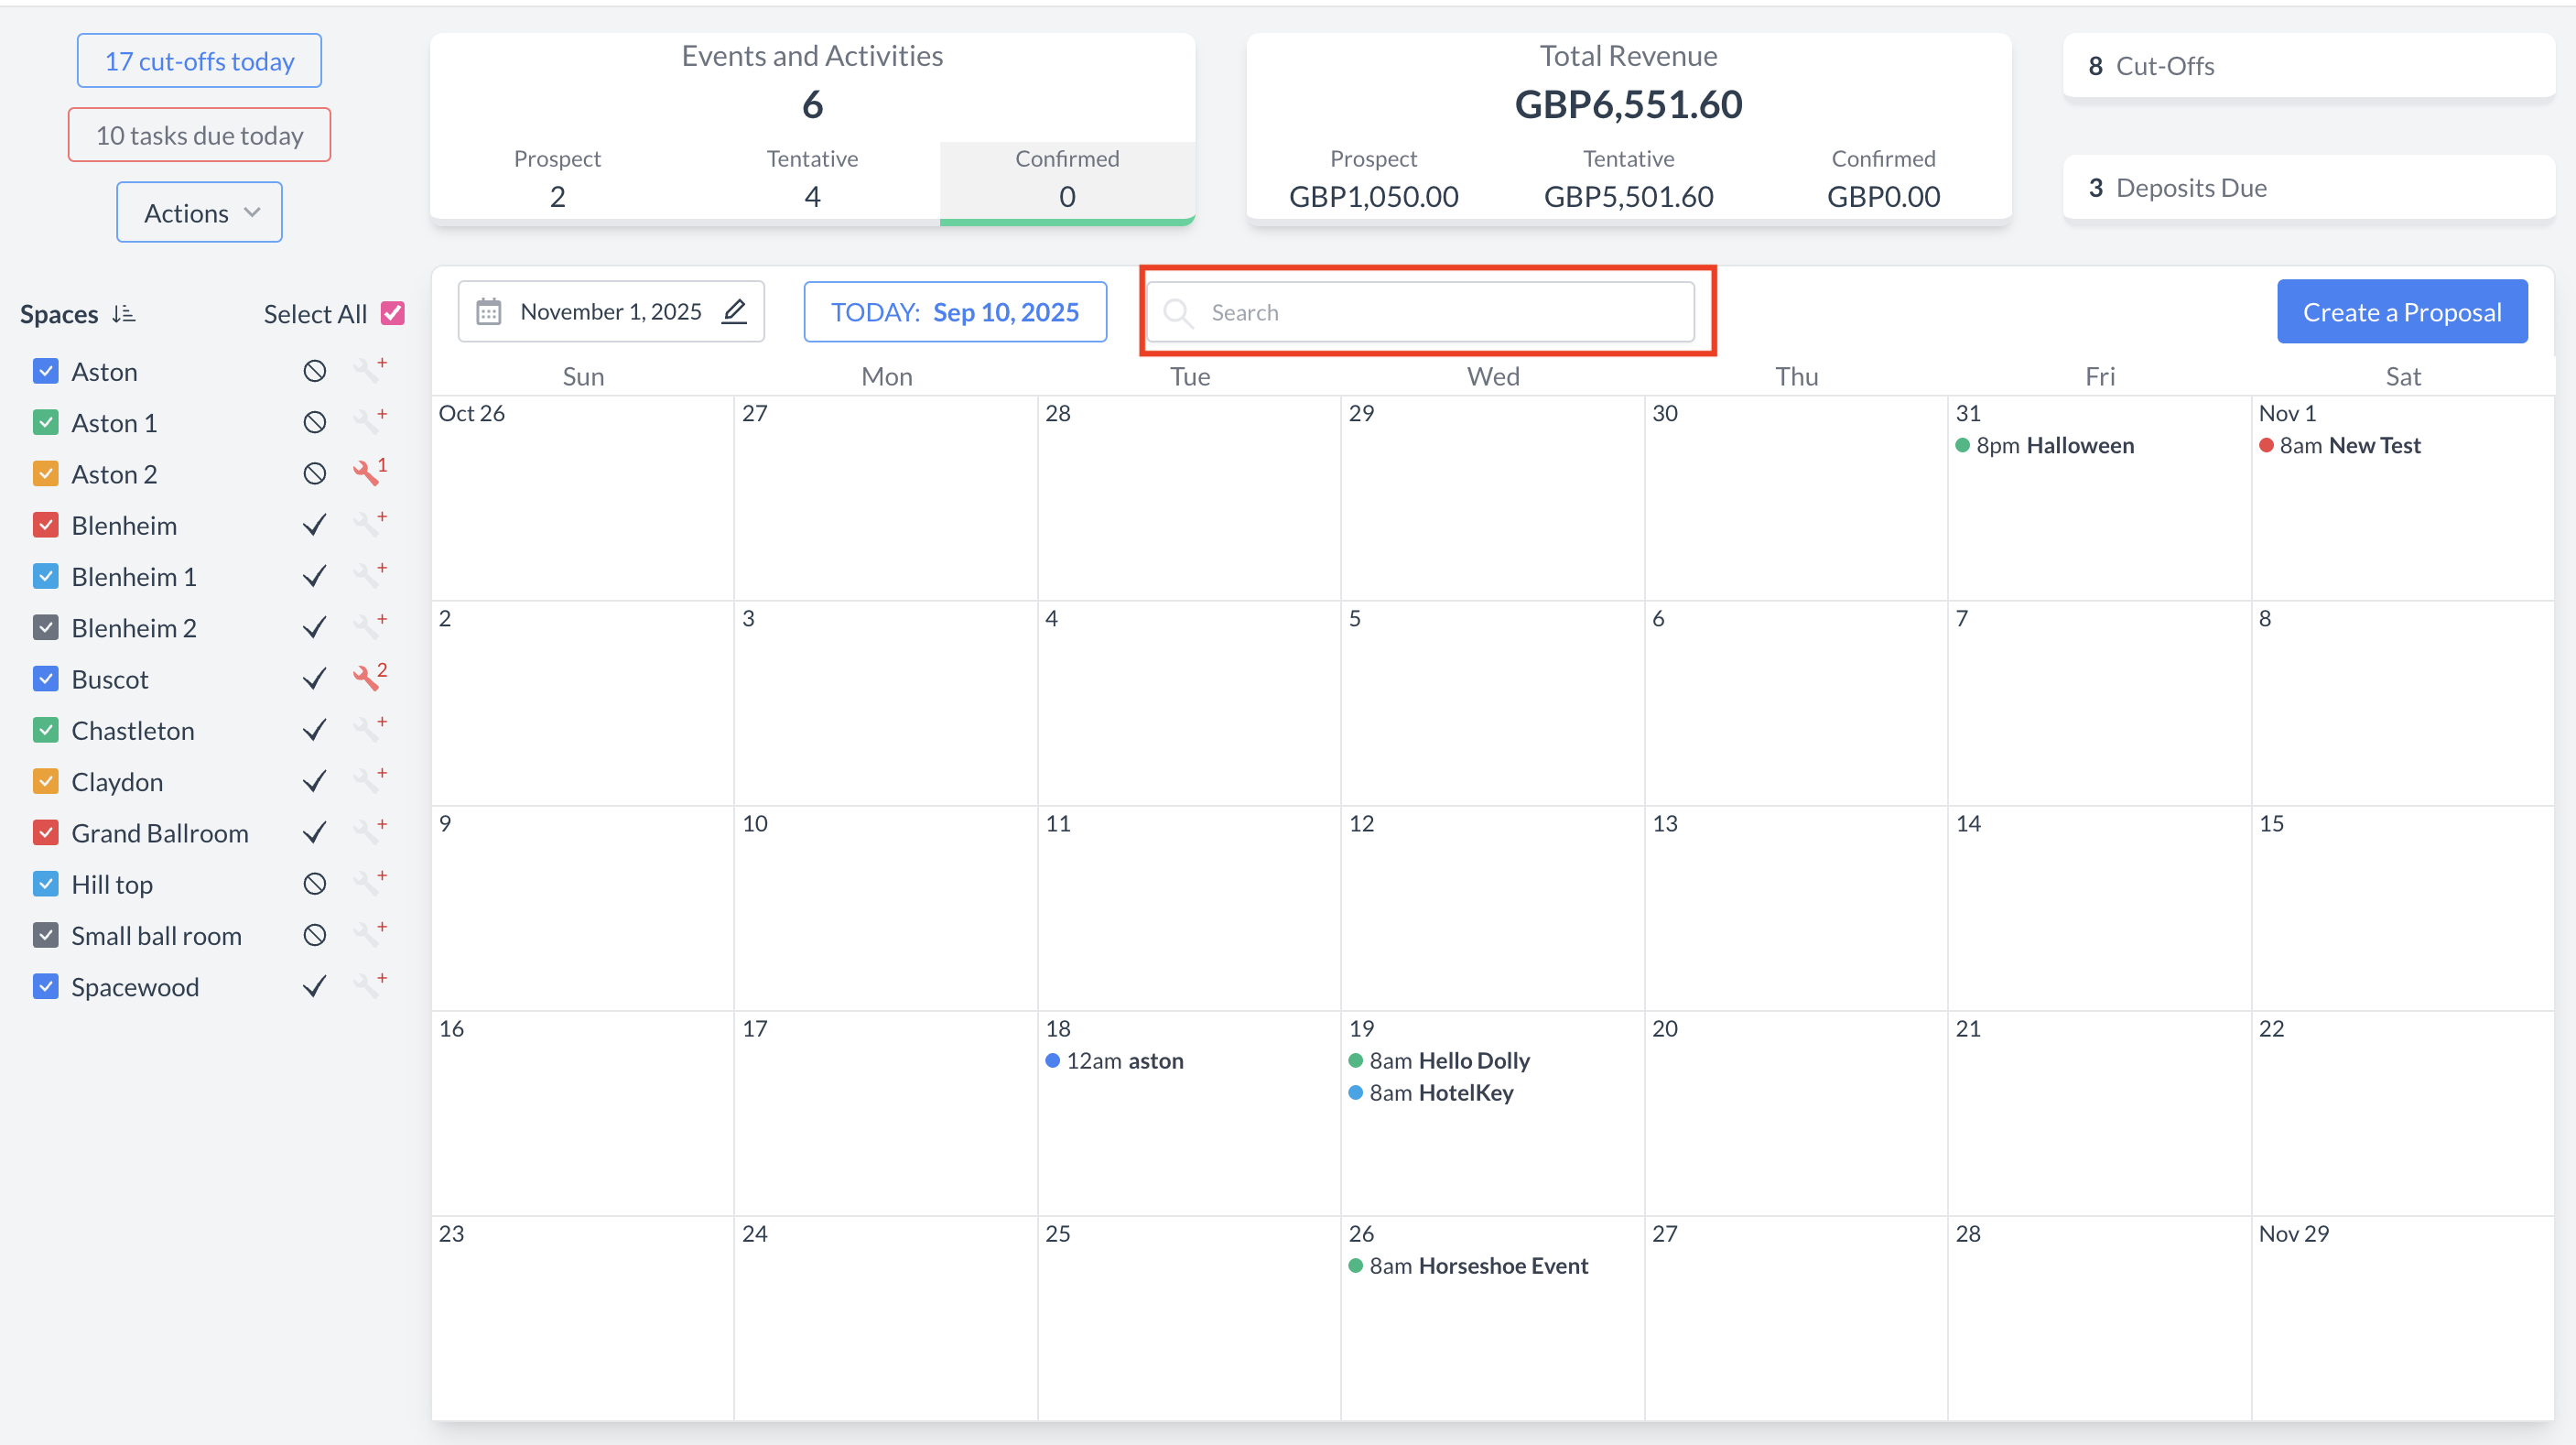
To begin the cancellation process, navigate to the Dashboard and use the Search box to locate the event you need to cancel.

Enter the full or partial Event Name into the search field. The system will display a list of matching events, or, if there is an exact match, it will appear directly.

Once you’ve identified the correct event, simply click on the event name to open it.

Event Search Field

Event Search Field Results

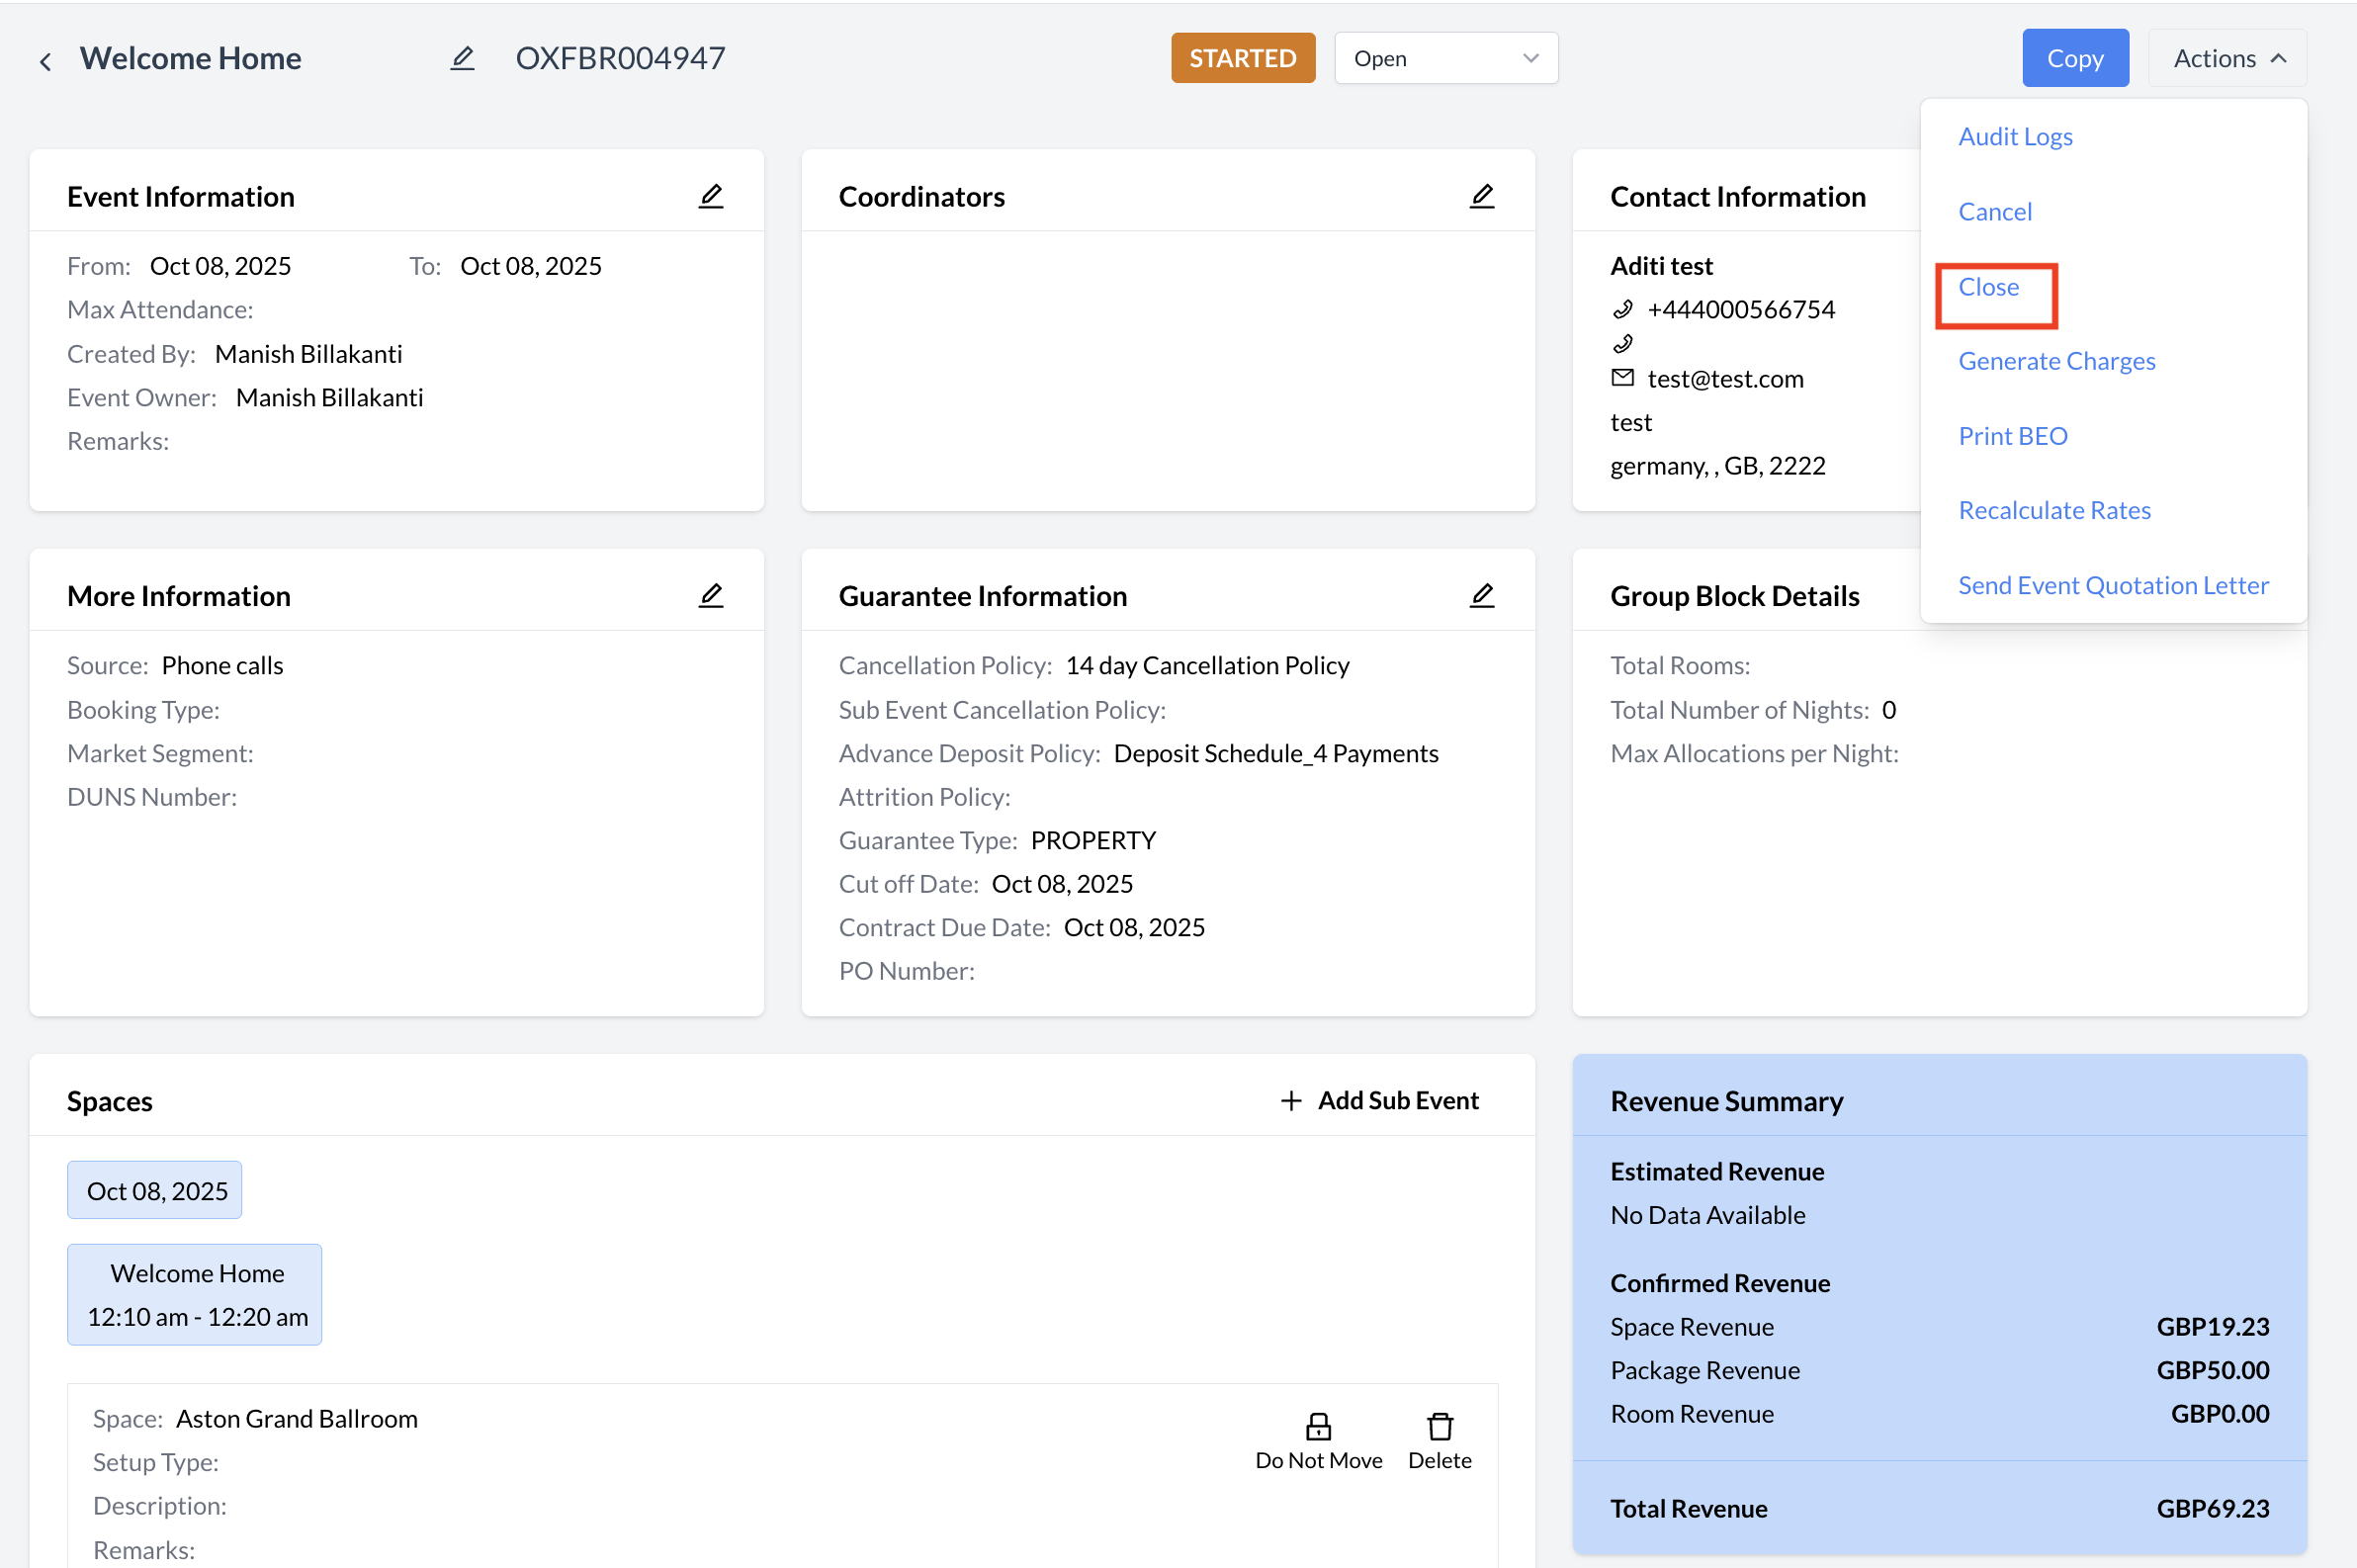
Closing an Event: Transition to Ended Status

After the event has concluded, its status should be updated to Ended.
This final stage marks the completion of the event and allows for final billing, post-event reporting, and client follow-up to be completed.

Updating the event to Ended ensures accurate system reporting and officially closes the event life cycle.

Steps to End an Event:

  1. Ensure the folio is balanced and settled to zero.

  2. Navigate to the Action Menu in the upper-right corner of the event screen.

  3. Select Close from the dropdown menu.

  4. Click the blue Confirmed button to finalize the update.

The event will now be marked as Ended.

Closing an Event.png

Promoting the Event to Closed

Confirm Event Status to Close

Close (Ended)Status


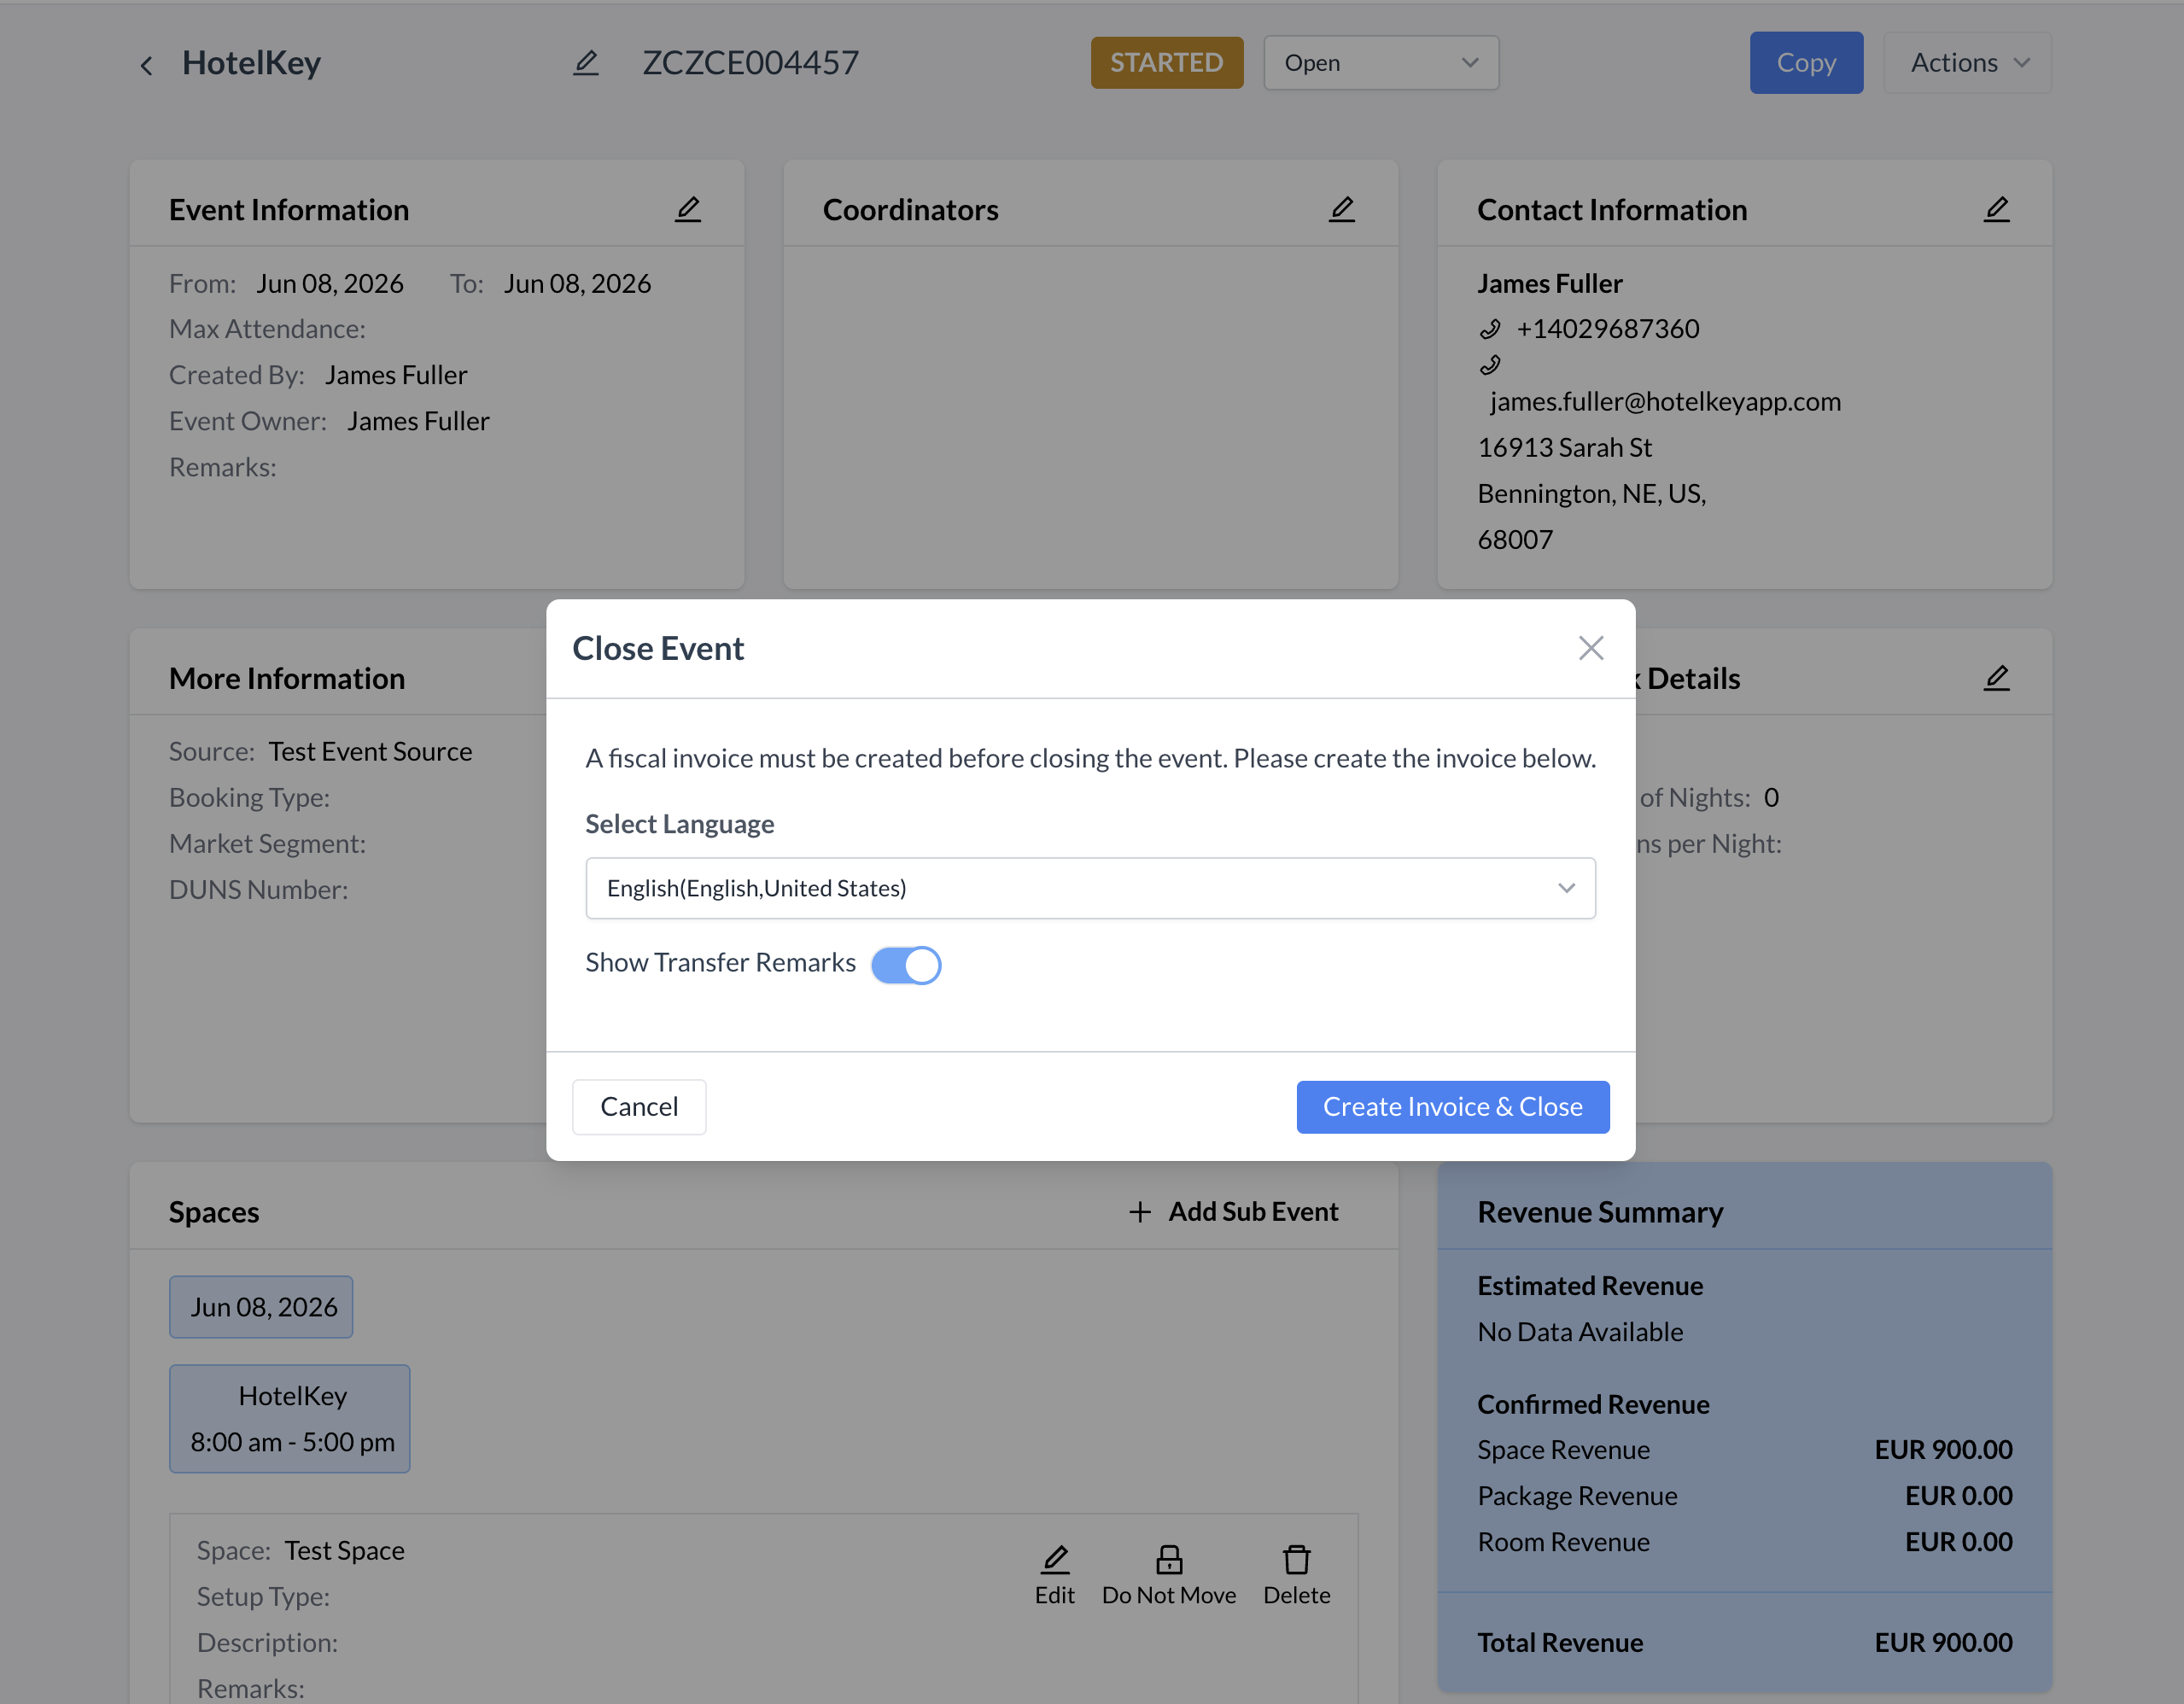
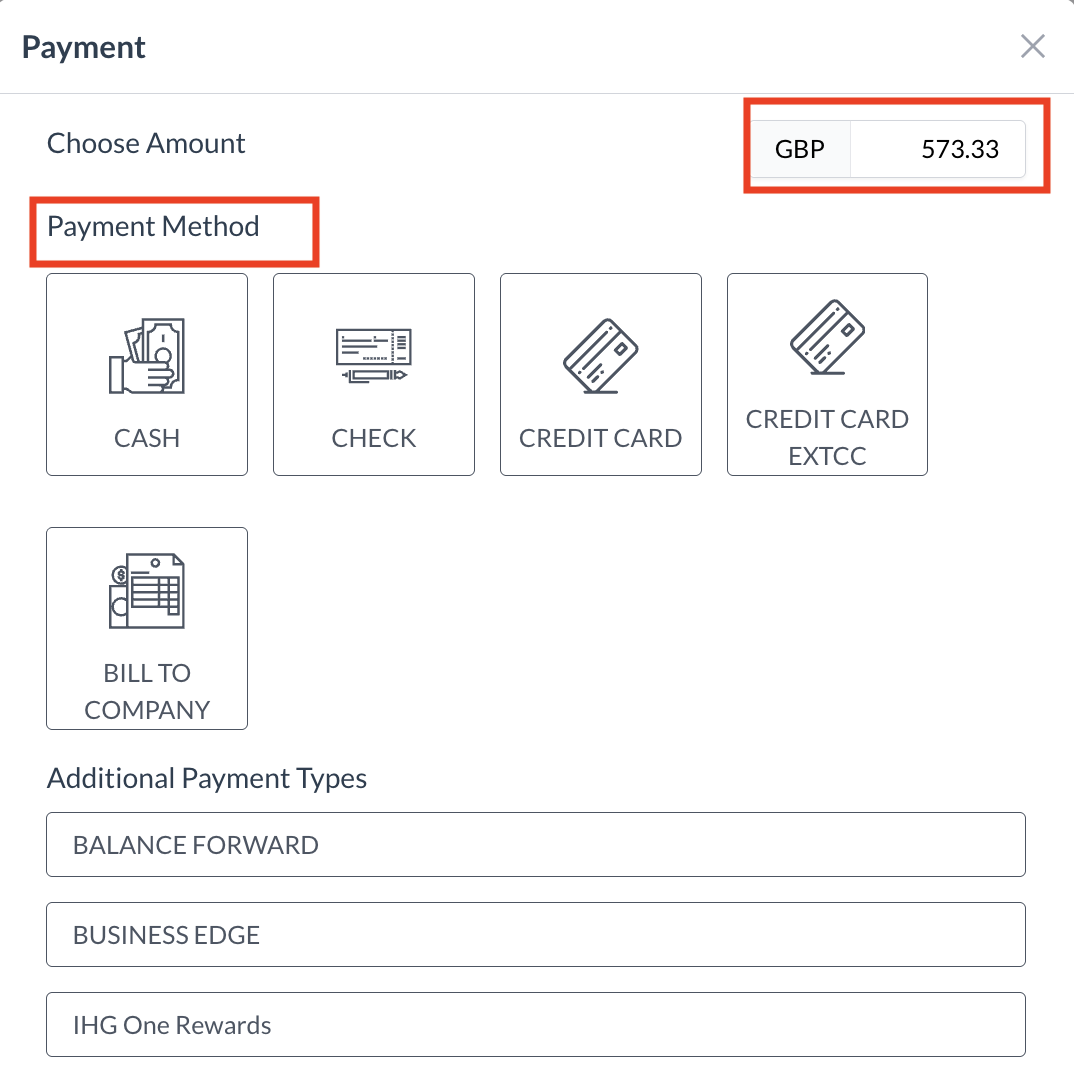
If the folio remains unsettled, you will need to apply the final payment. Follow the steps below to process a payment for the event.
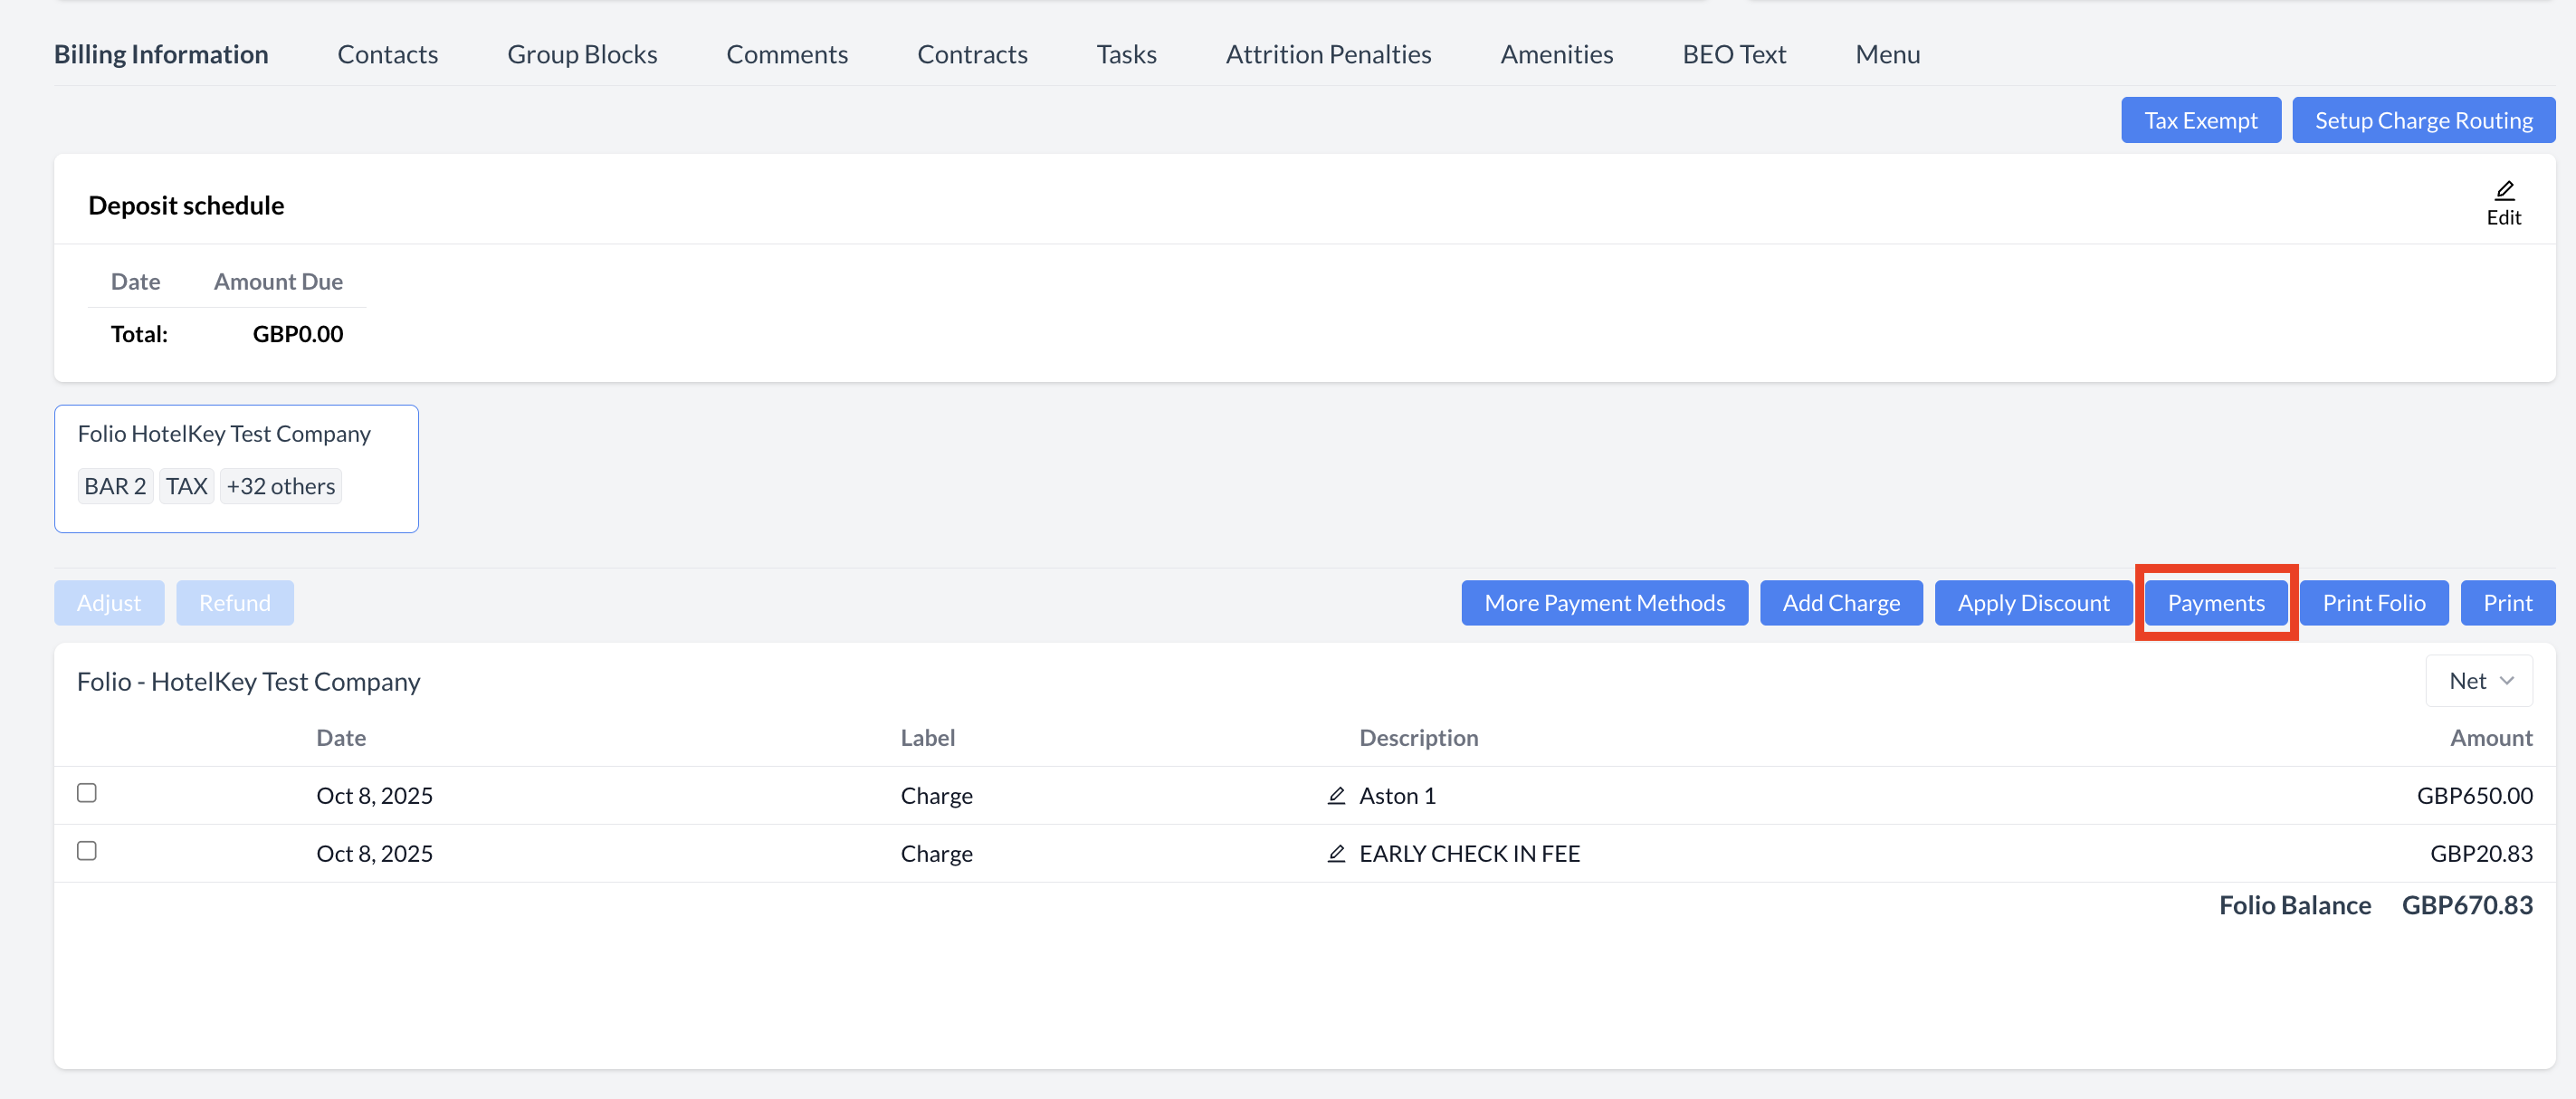
  1. Open the Payment Screen

    • From the Billing Information screen, click the blue “Payments” button.

    • The Payment screen will appear.

  2. Enter the Payment Amount

    • In the Choose Amount field, enter the amount being applied to the folio.

  3. Select a Payment Method

    • Choose the appropriate Payment Method from the drop-down list.

      Note: Available payment methods may vary by property. Common methods include:

      • Cash

      • Check

      • Credit Card

      • Bill to Company

  4. Complete Payment Based on Method

    • For Cash Payments:

      • After selecting Cash, a Cash Payment screen will appear.

      • Select the appropriate Tender (e.g., USD).

      • The system will calculate any change due.

      • Click the blue “Accept” button to complete the payment.

    • For Check Payments:

      • After selecting Check, a Check Payment screen will appear.

      • Enter the Check Number in the designated field.

      • Click the blue “Accept” button to complete the payment.

  5. Review the Payment

    • Once accepted, the payment will be posted to the event folio.

    • Return to the Billing Information screen to verify that the payment has been applied.

Billing Information - Payments

Payment - Select Payment Method

Payment - Cash

Payment - Check

Billing Information - Payment


📚 For more details:
To explore all available features and functions related to managing billing, please refer to the Billing Information Knowledge Base Article (KBA).

JavaScript errors detected

Please note, these errors can depend on your browser setup.

If this problem persists, please contact our support.