
📆 Revision Date:
Event Comments and Replies in EventKey – Overview & Benefits
Overview:
In EventKey, each Event Record (Reservation) includes a built-in commenting feature that allows users to:
-
Post comments directly on the event.
-
Attach a File to the comment.
-
Reply to existing comments, creating a threaded discussion.
These comments are time-stamped and attributed to the user who posted them, ensuring a clear communication trail throughout the lifecycle of the event.
|
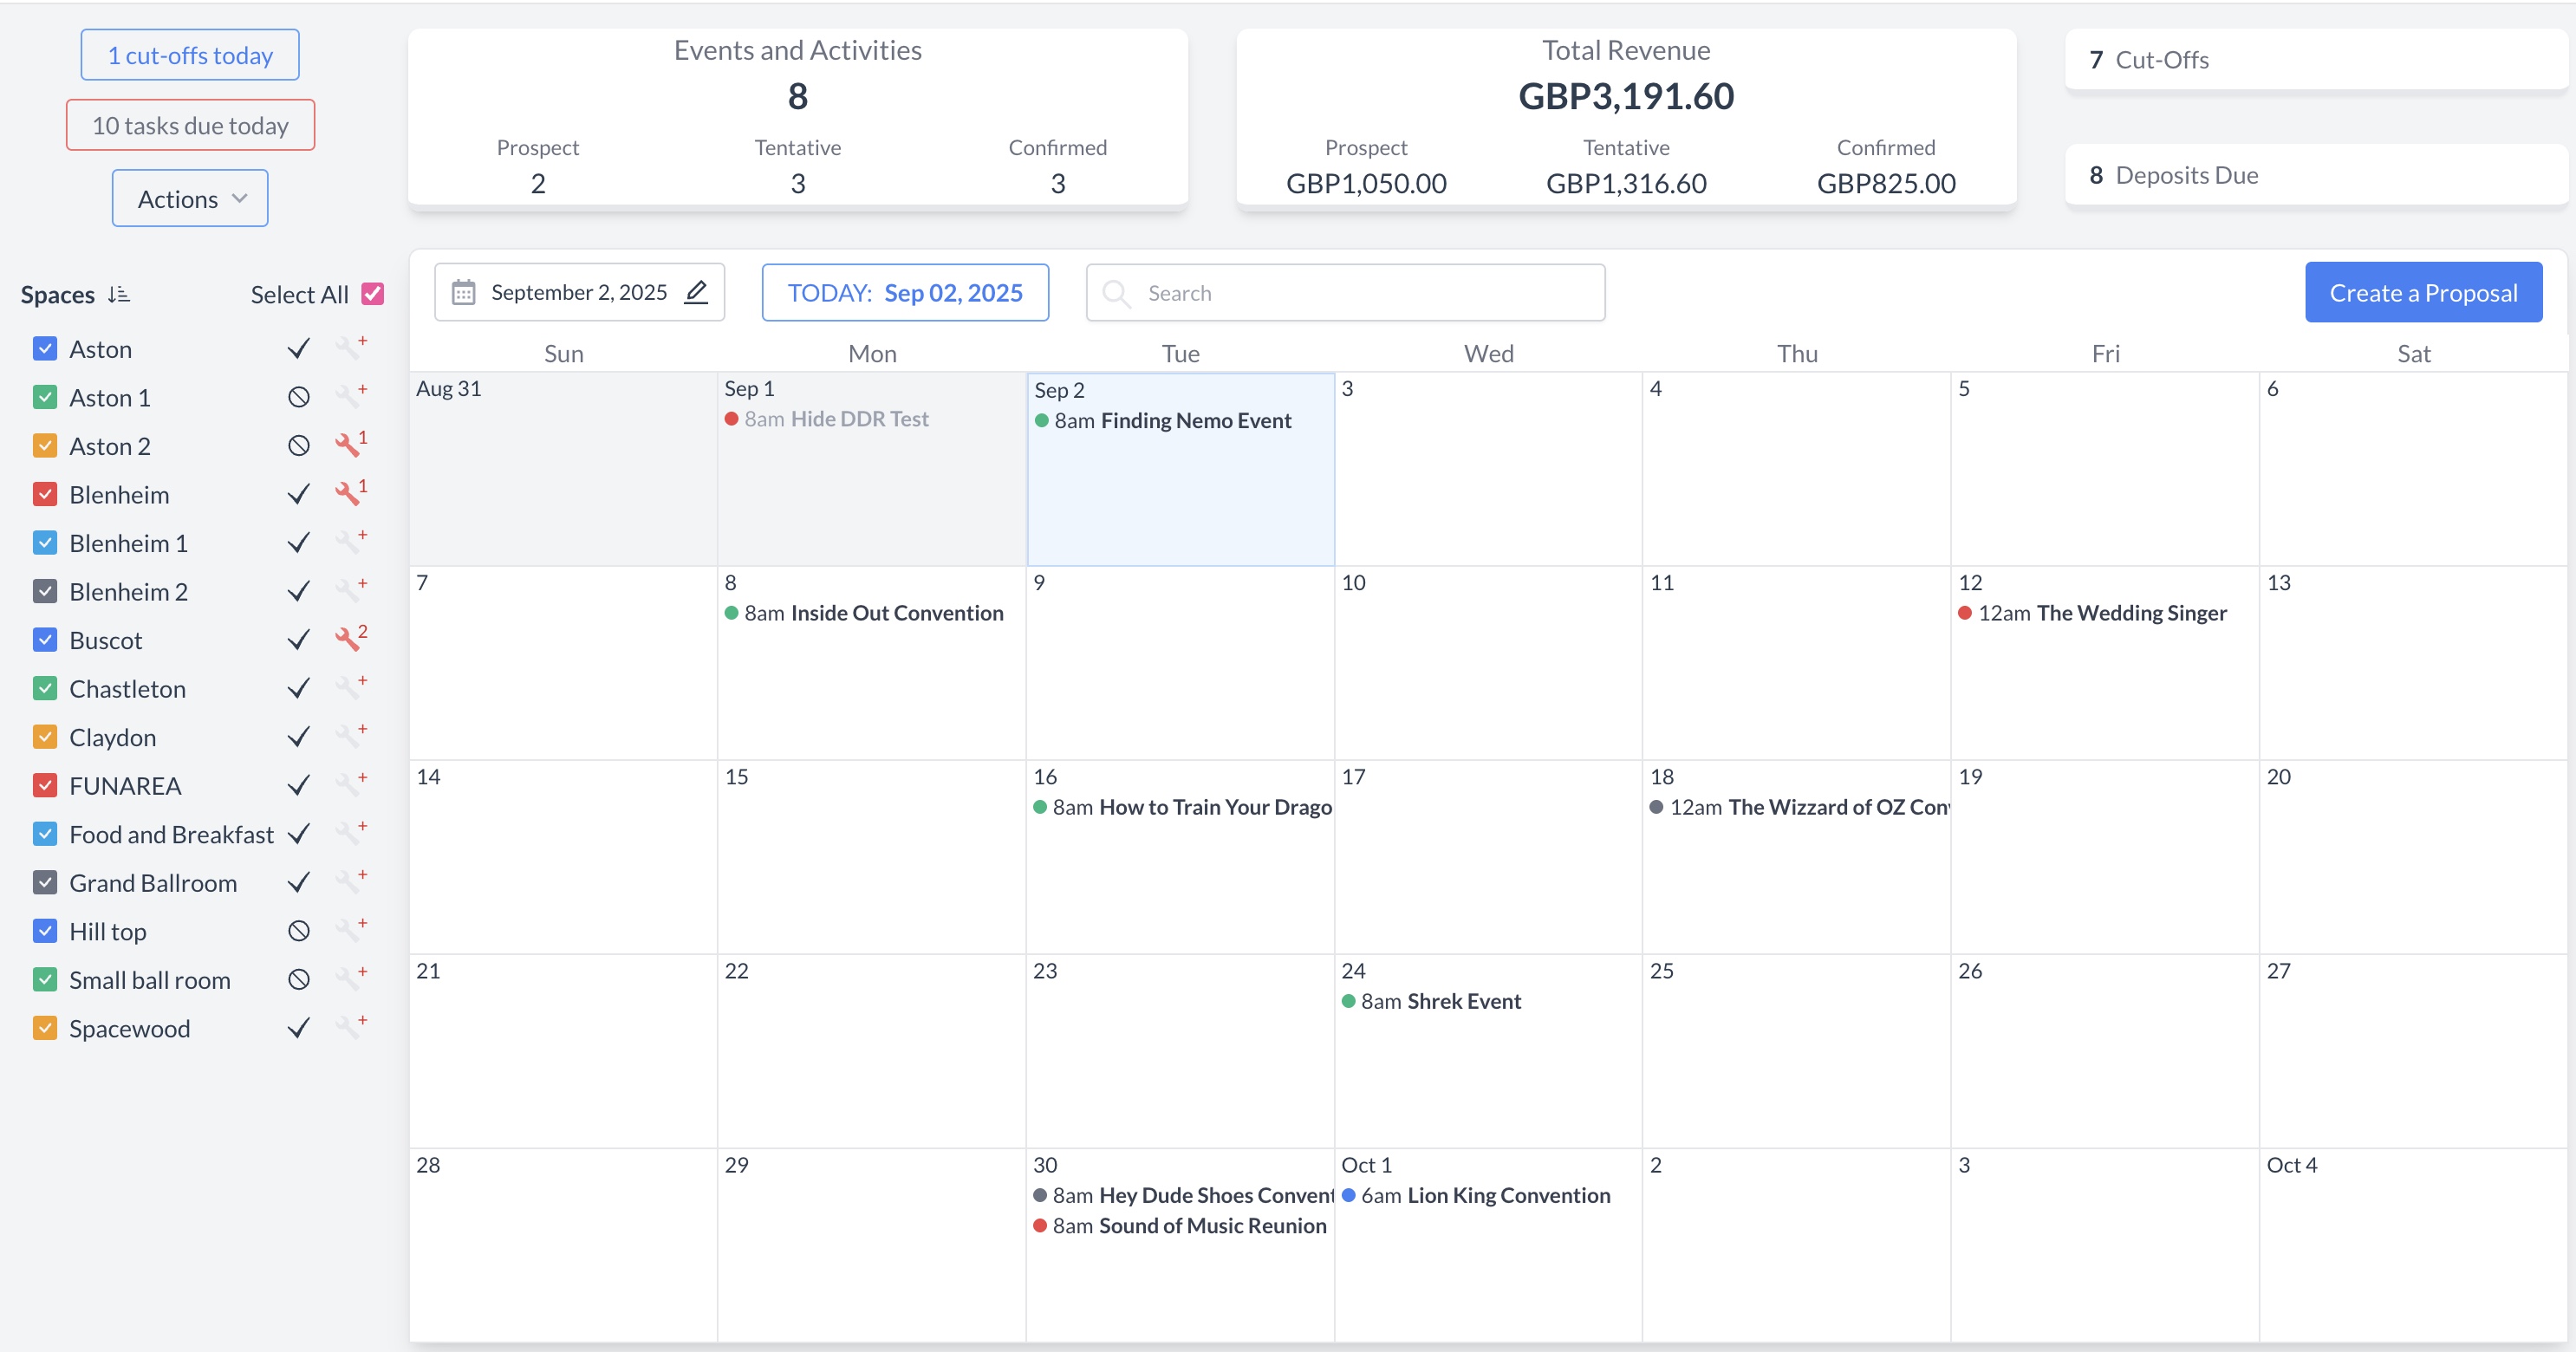
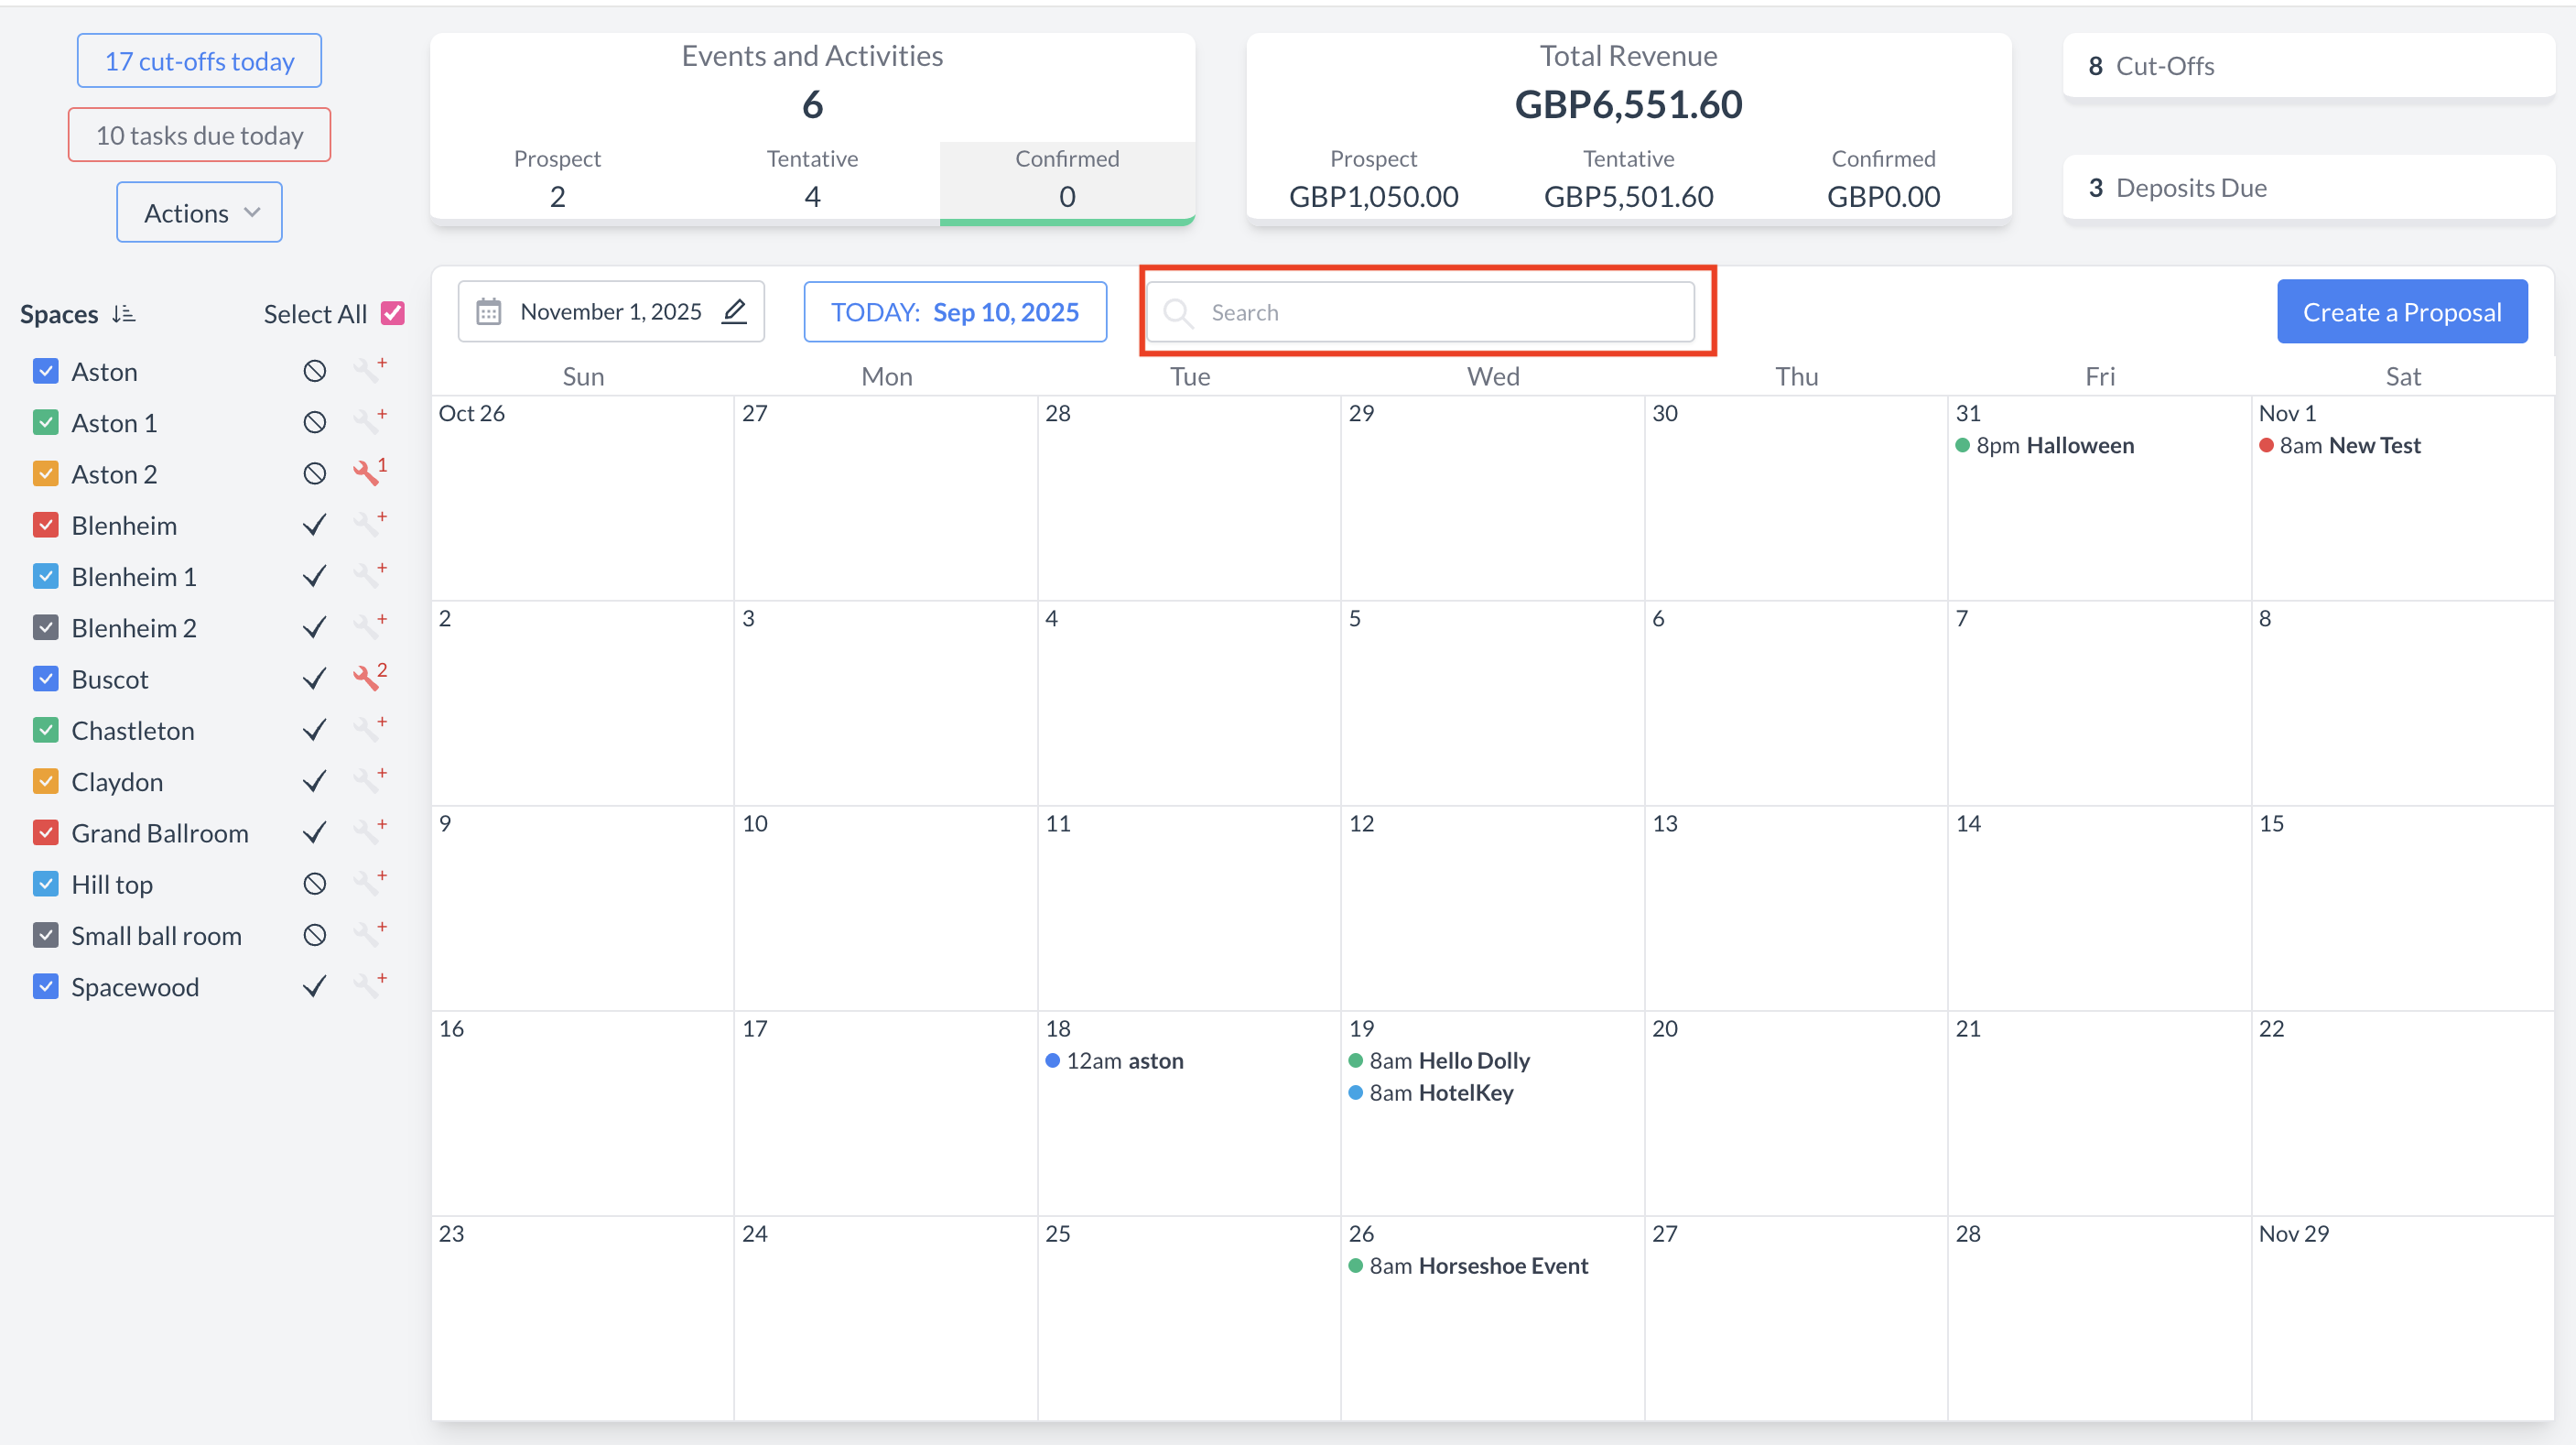
Navigate to Home > Event Management |
|
|
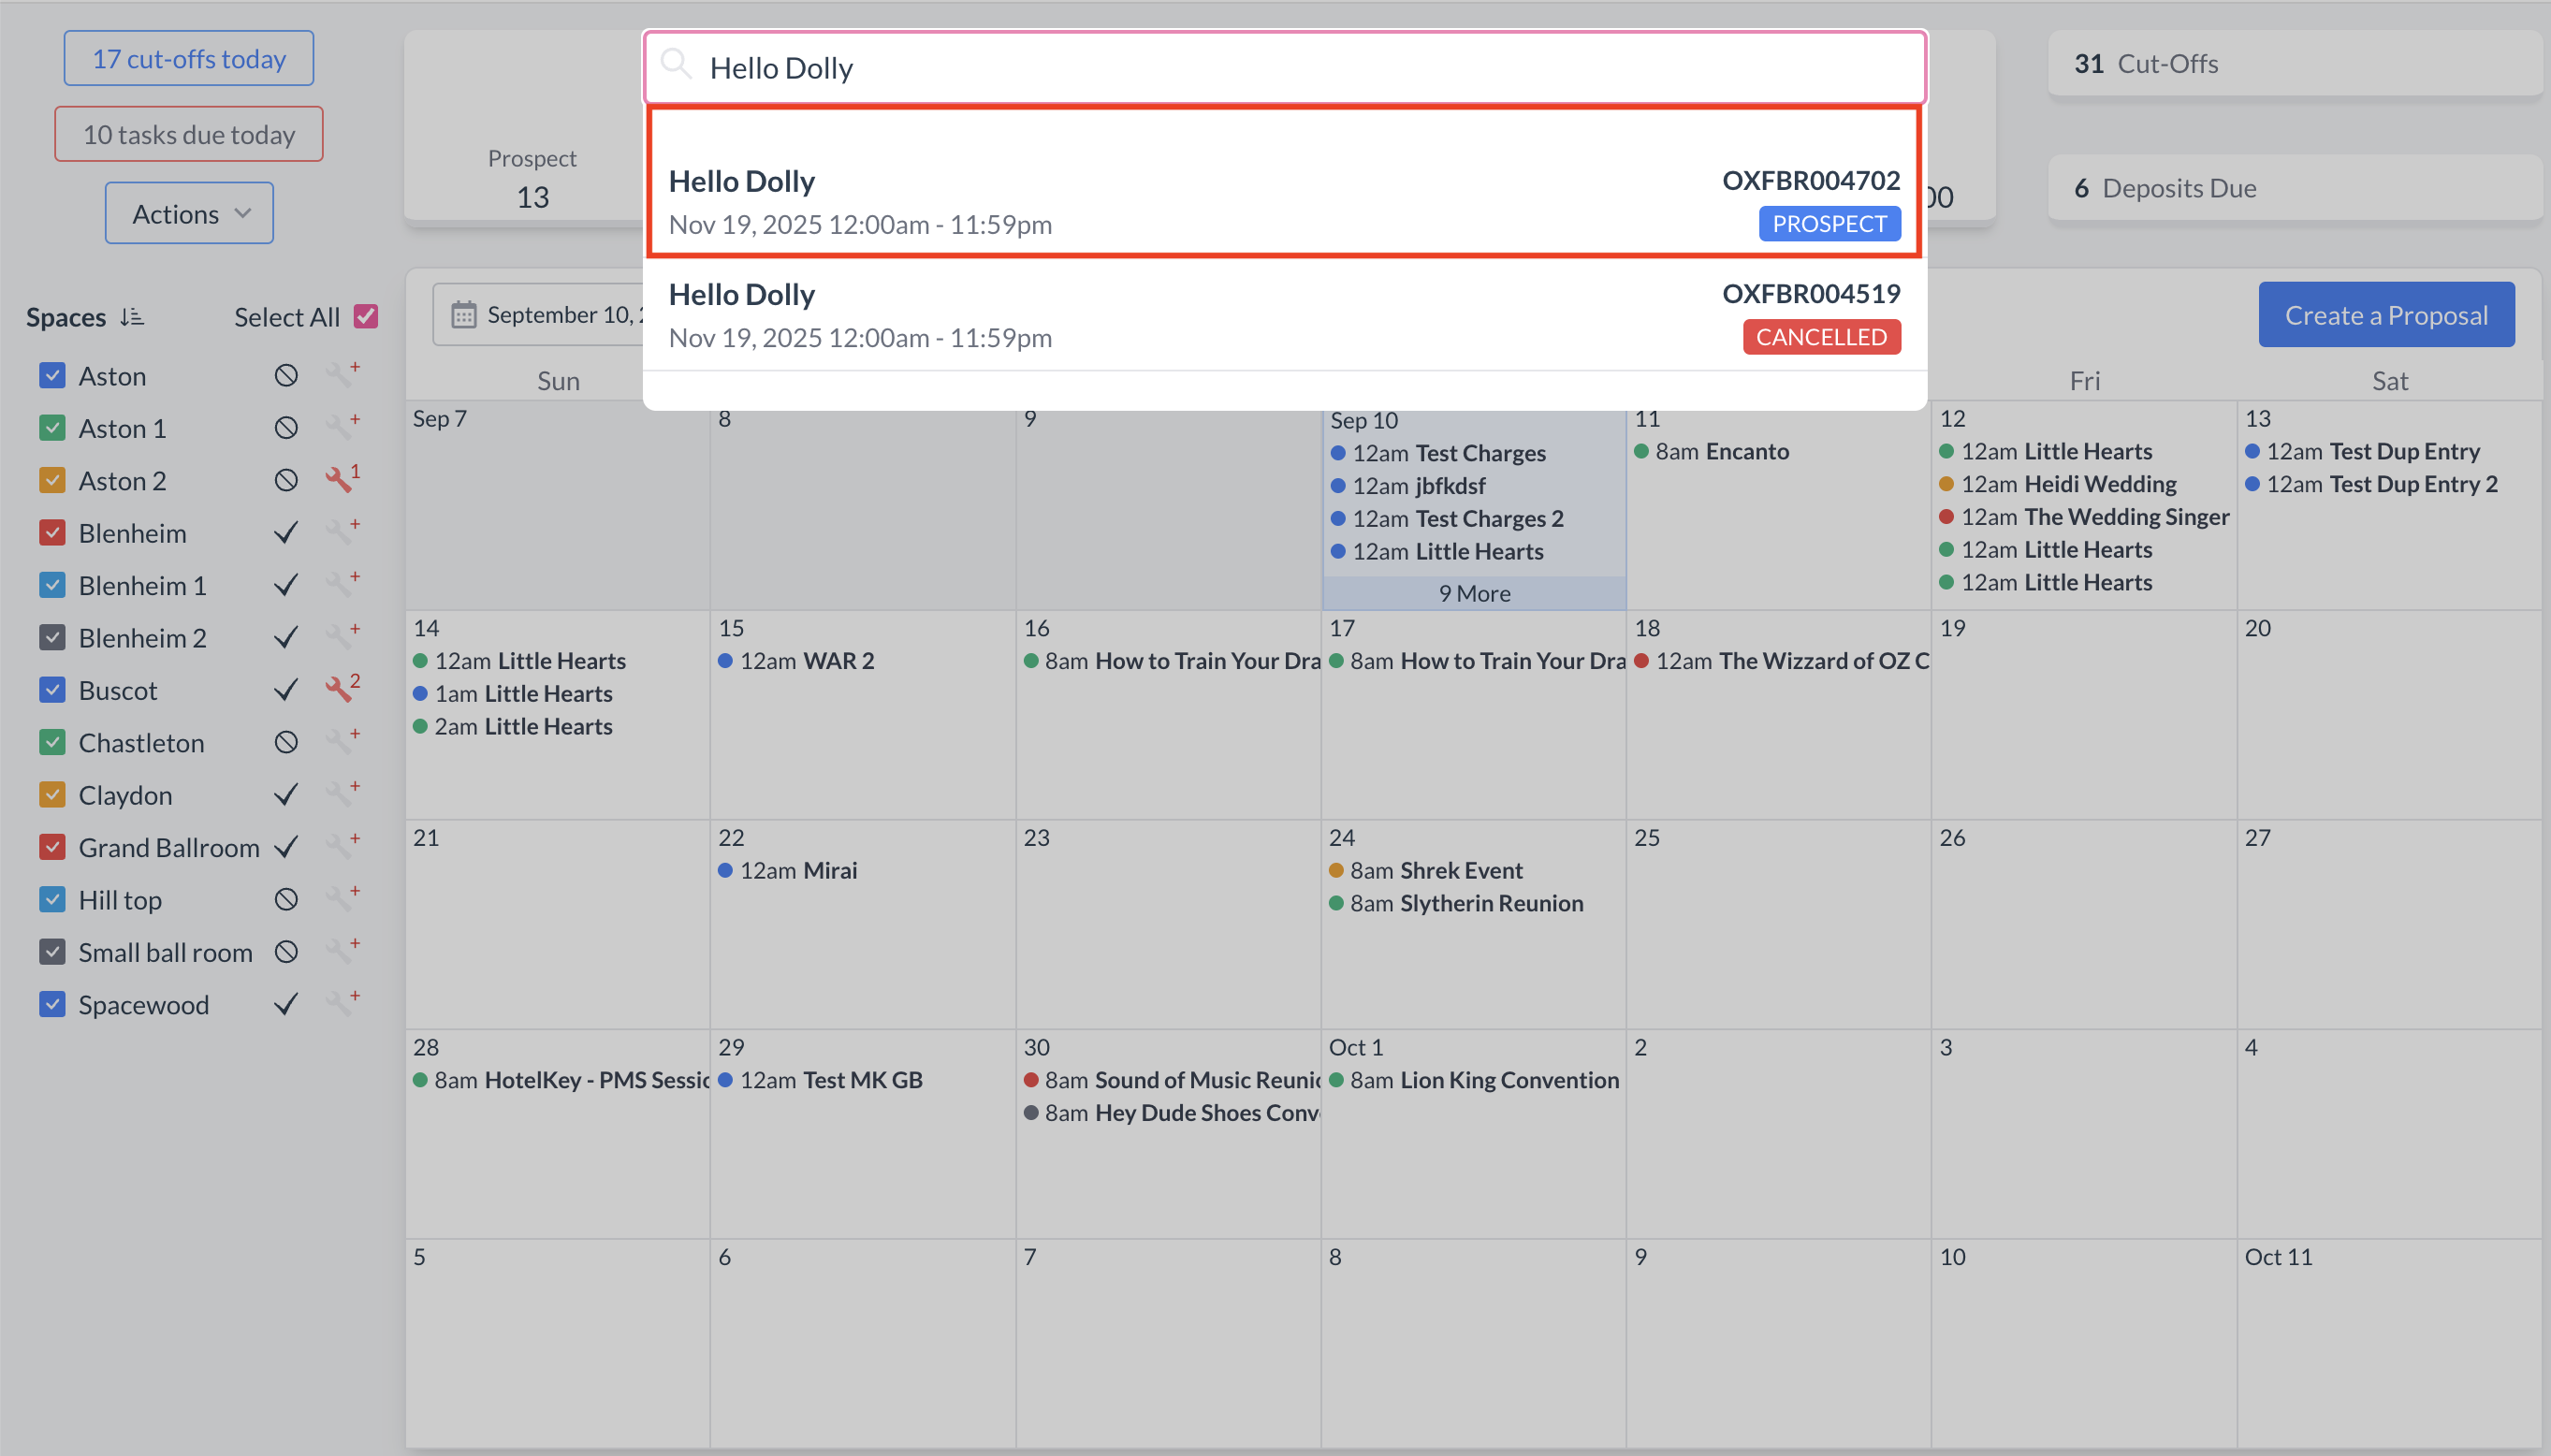
To begin, navigate to the Dashboard and use the Search box to locate the event. Enter the full or partial Event Name into the search field. The system will display a list of matching events, or, if there is an exact match, it will appear directly. Once you’ve identified the correct event, simply click on the event name to open it. |
|
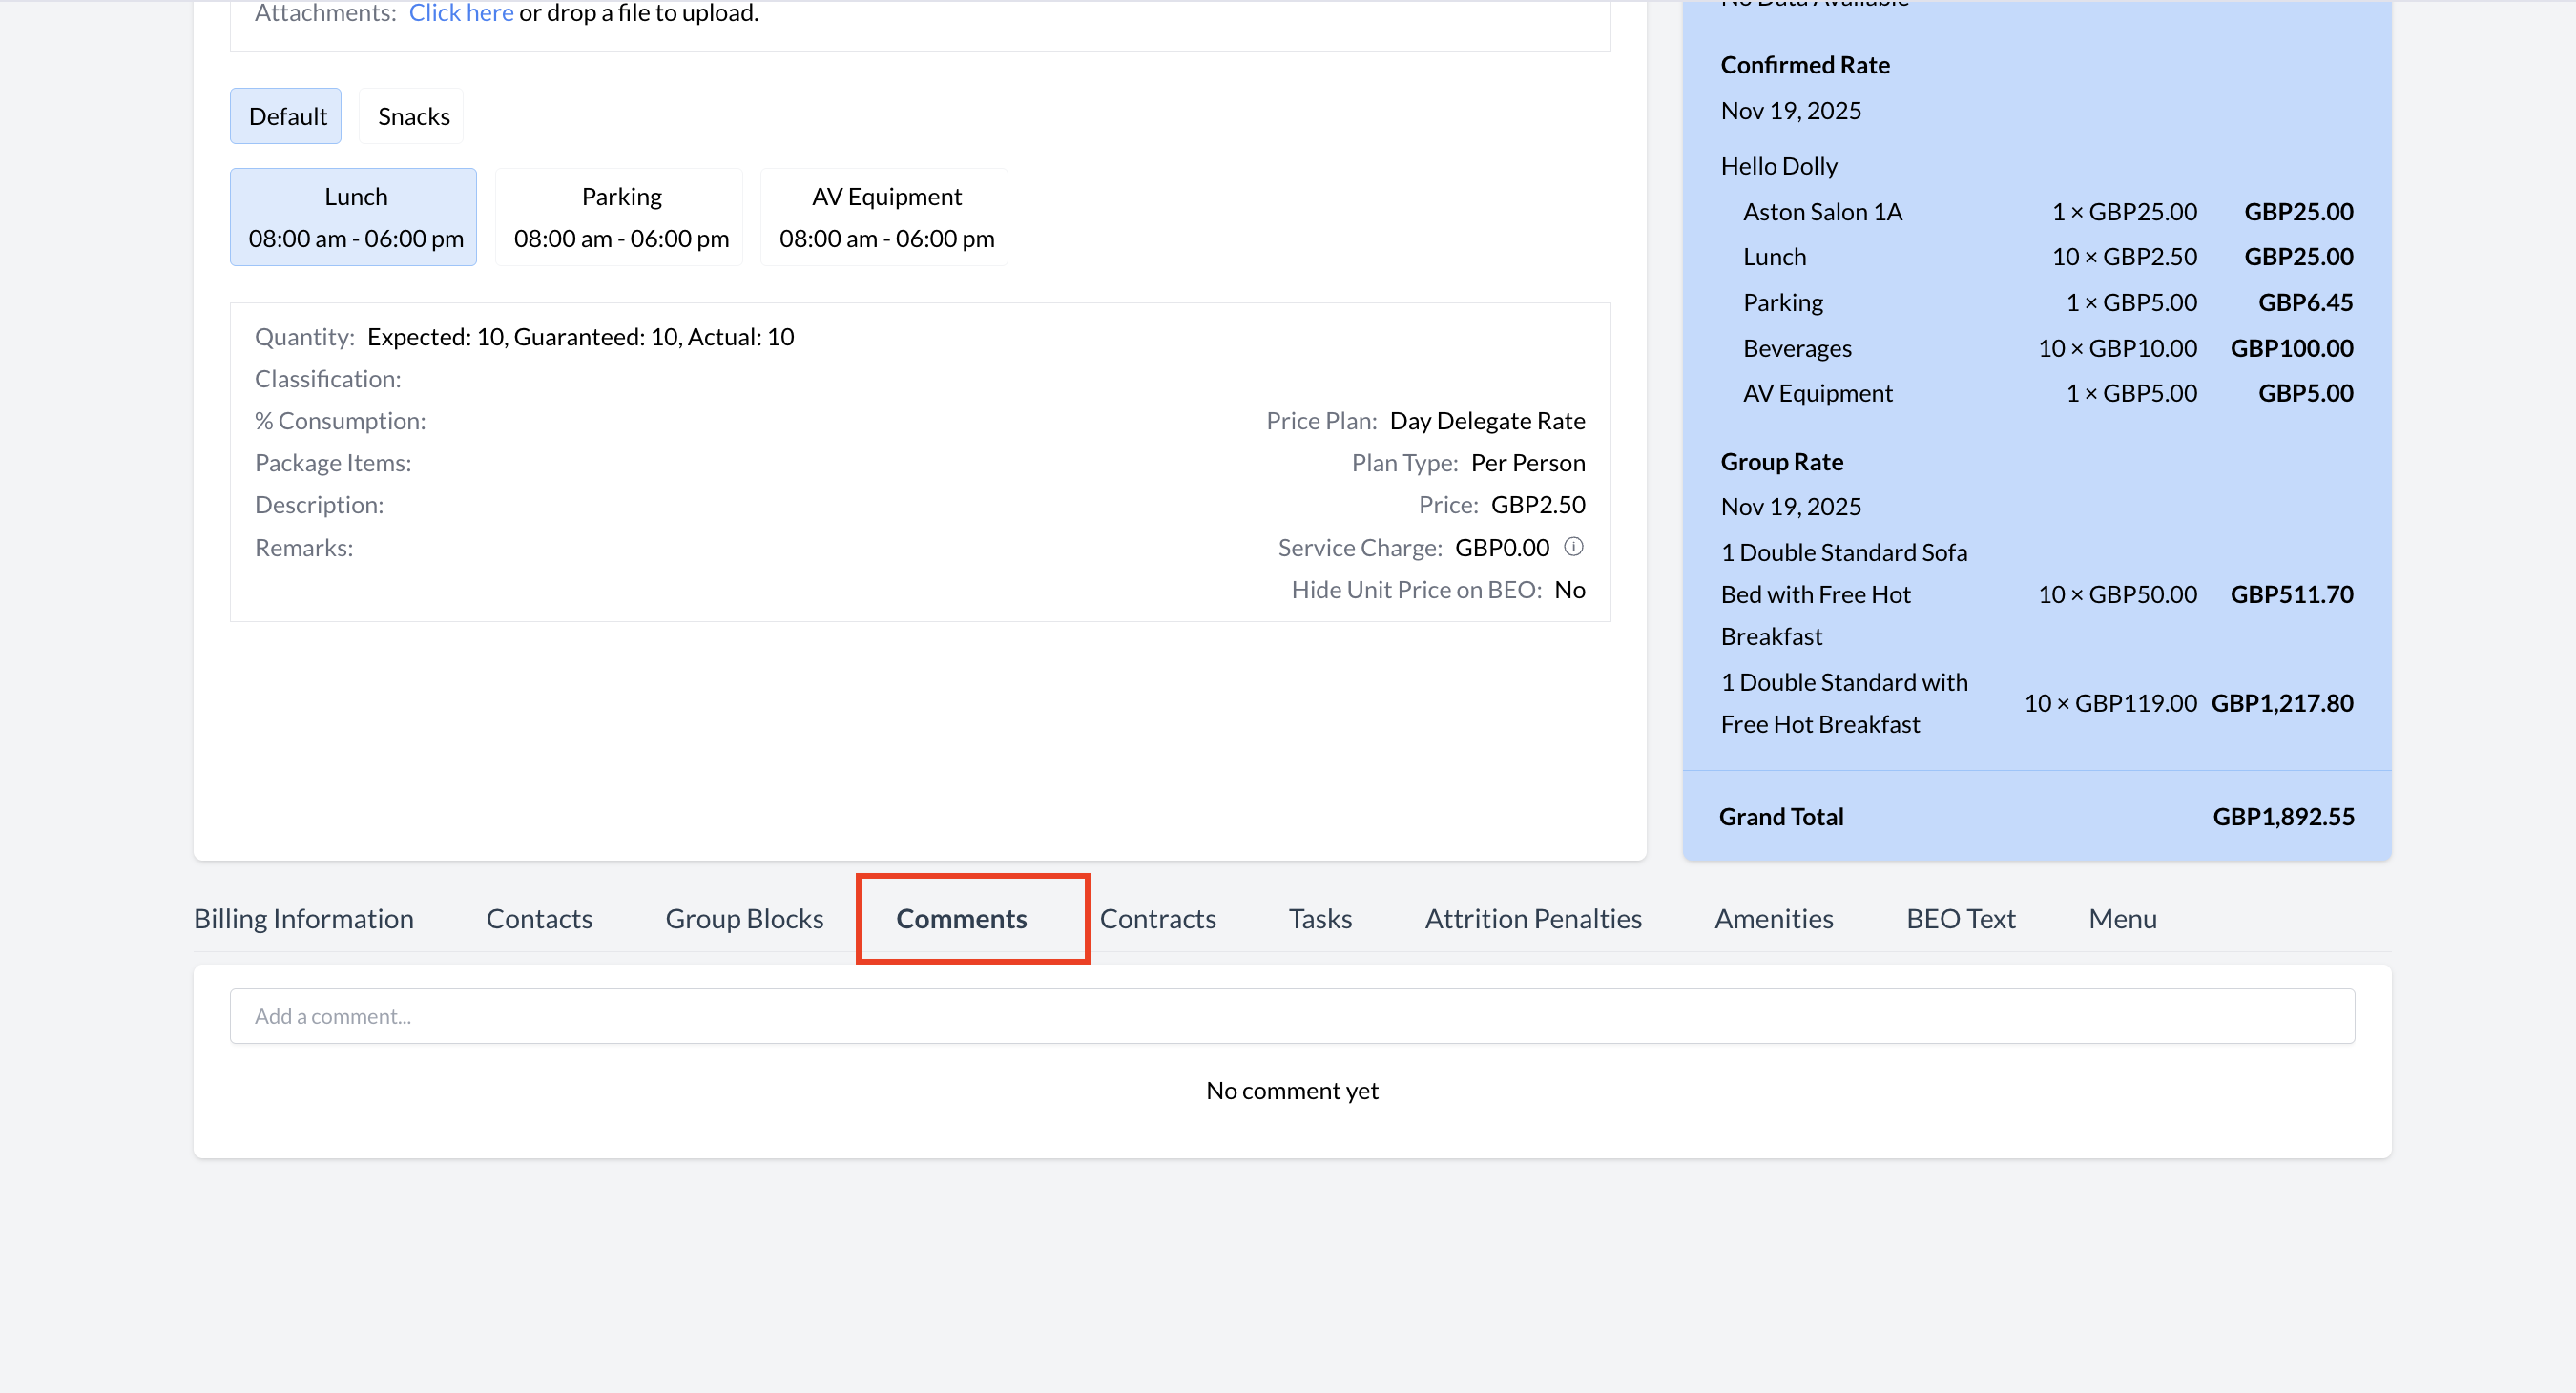
Accessing the Comments Section
To view or add comments on an Event Record (Reservation):
Once opened, you can view existing comments, edit existing comments, add attachments, post a new one, or reply to previous comments. |
|
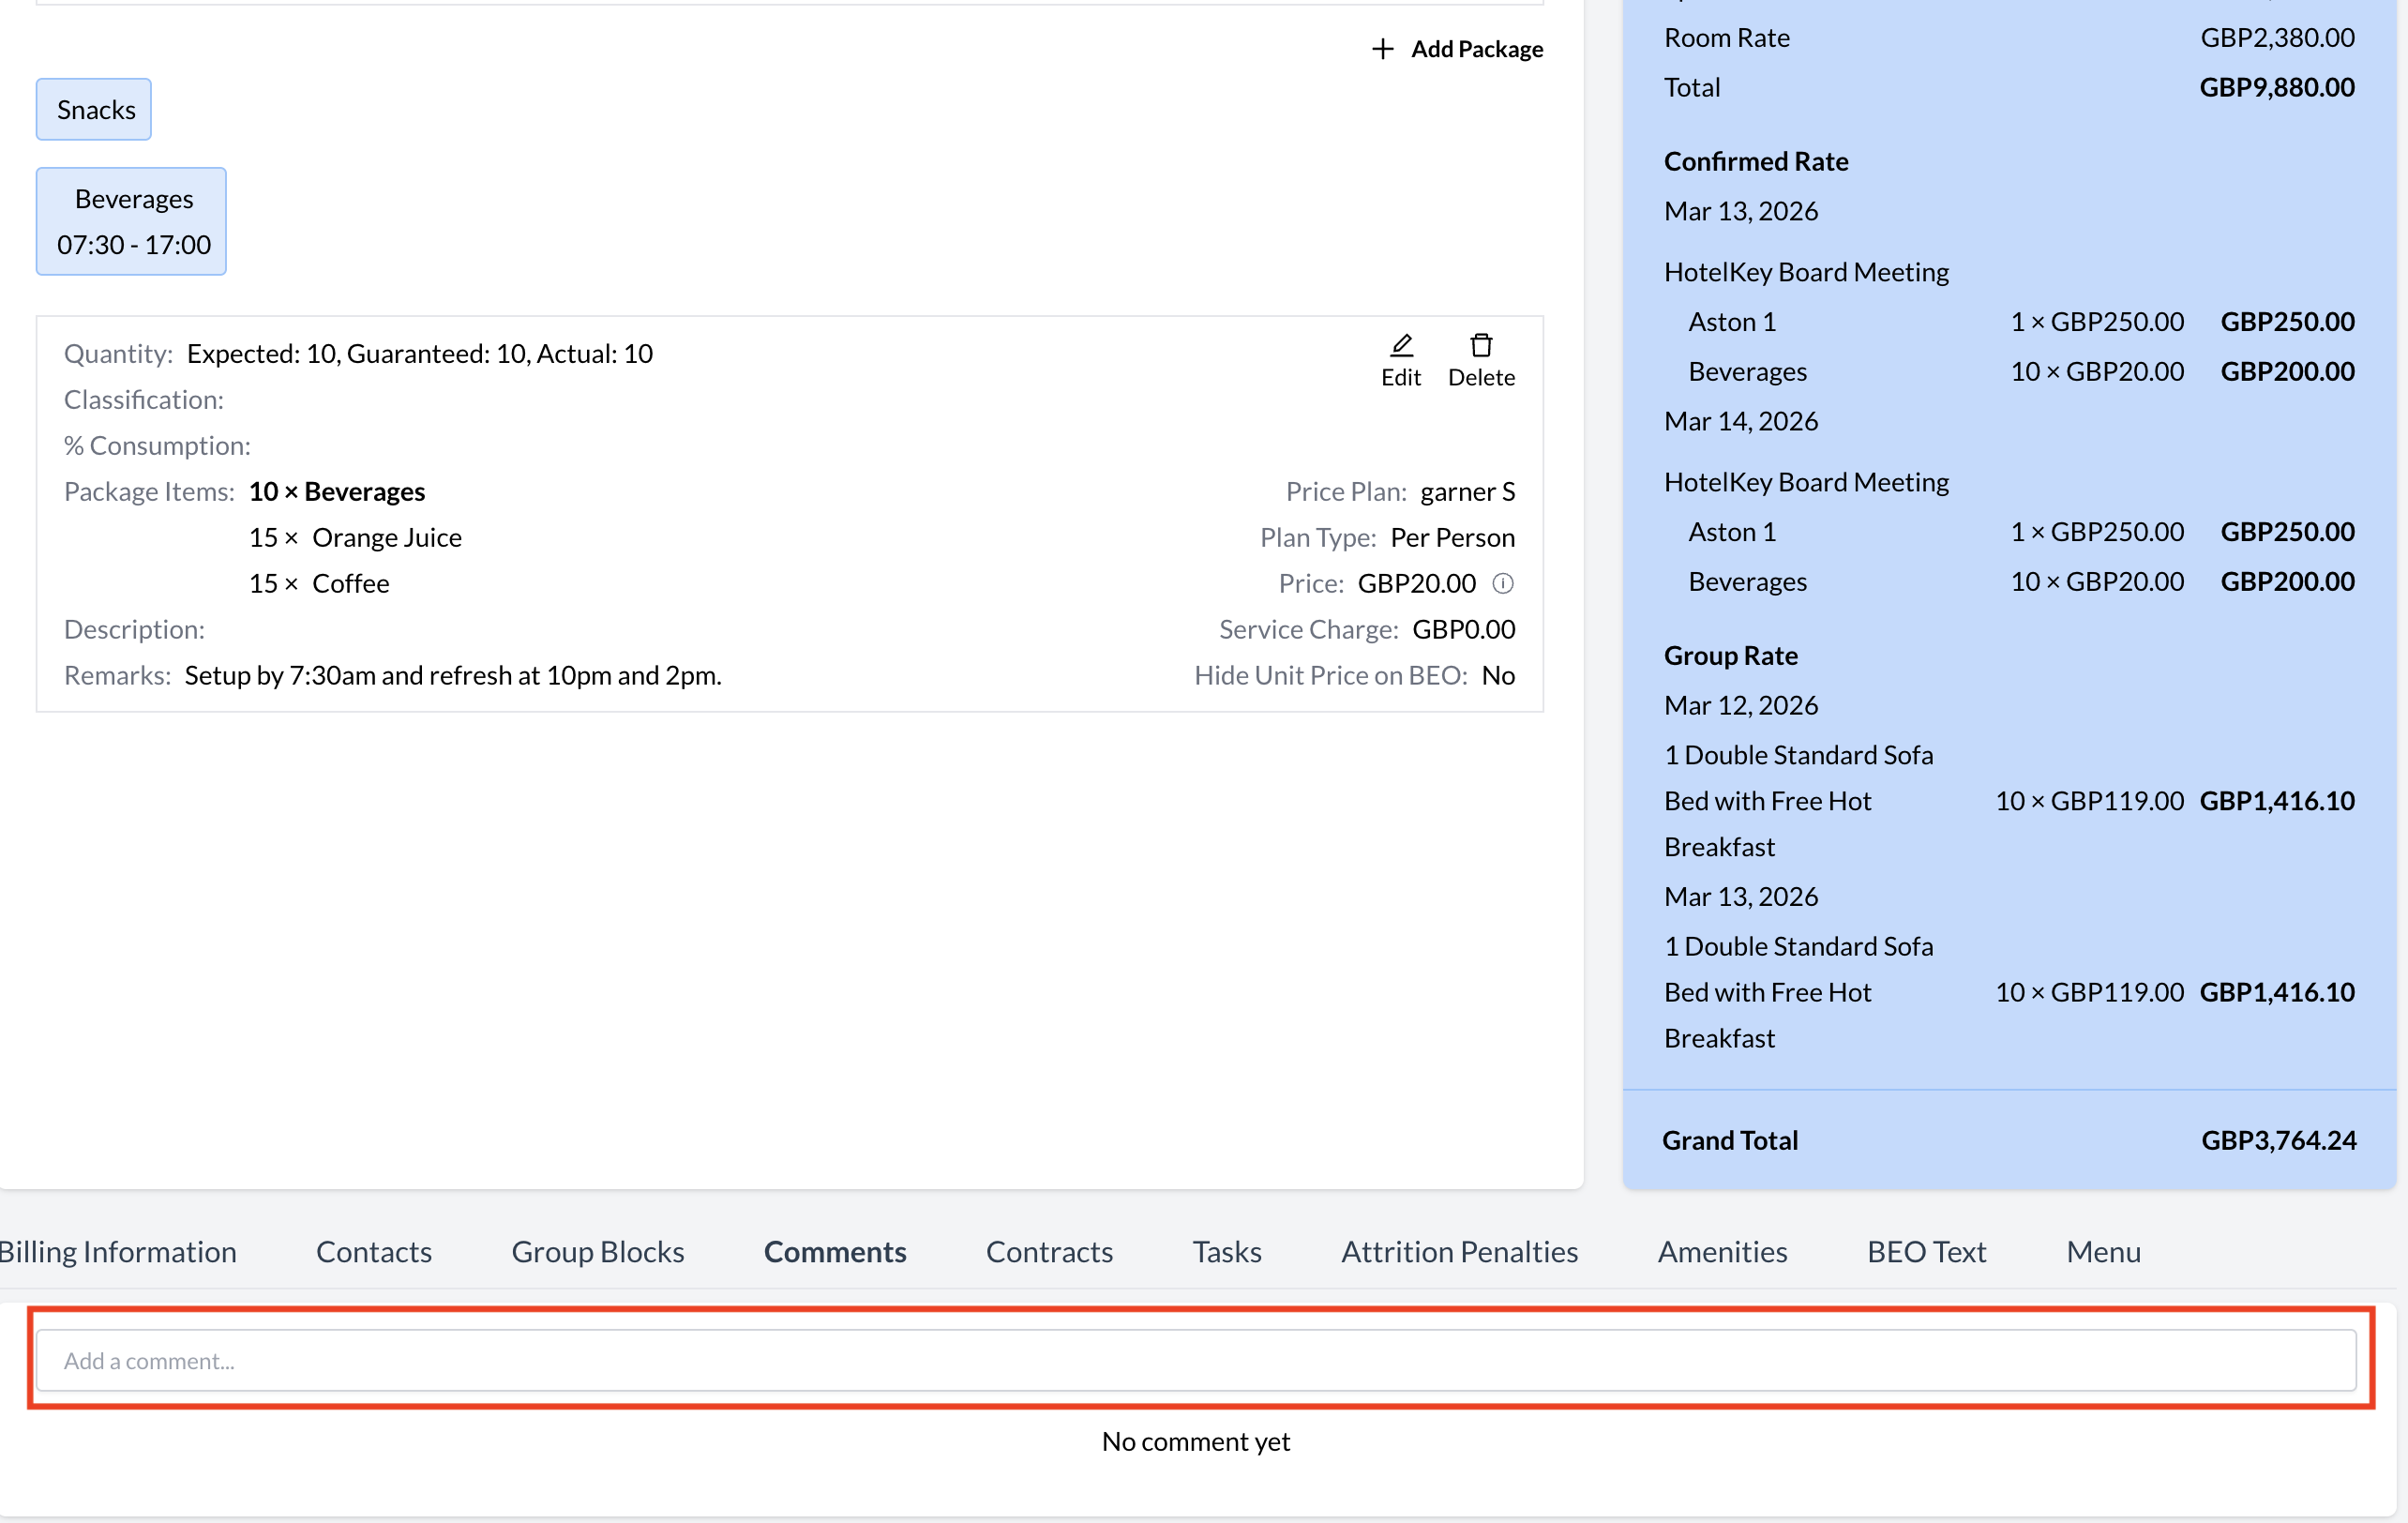
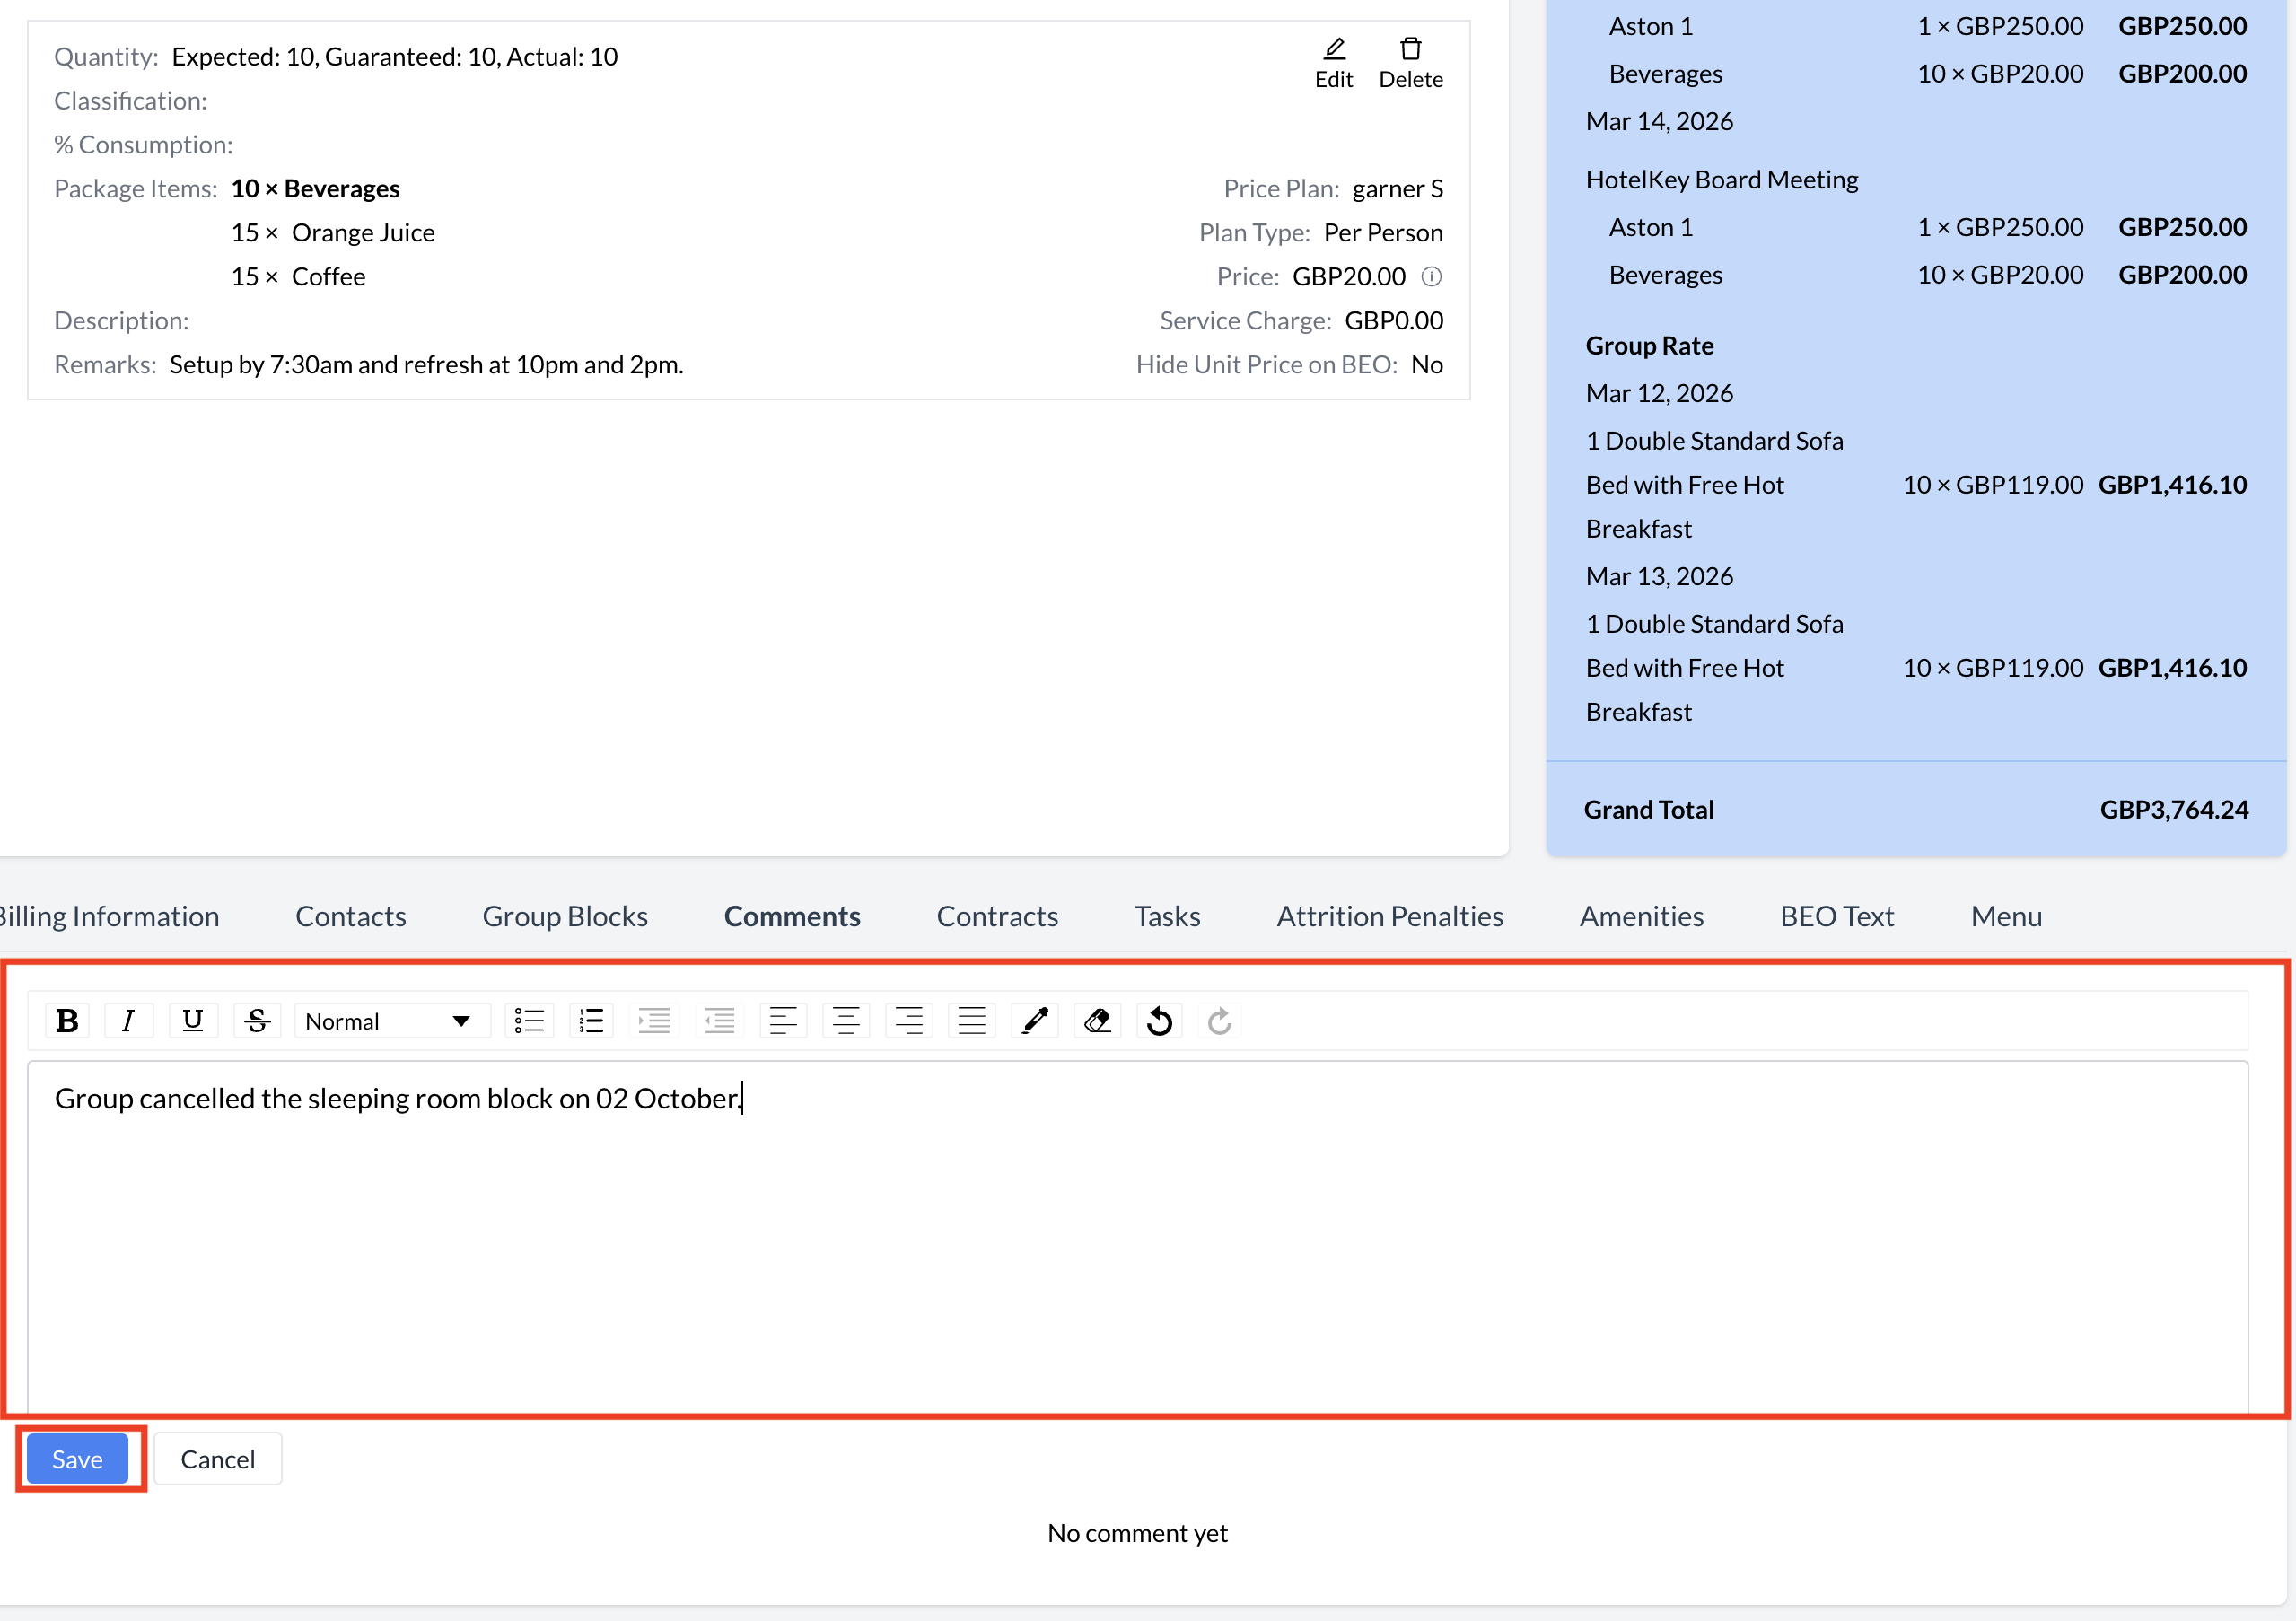
Adding a New Comment
Your comment will then appear in the thread, visible to other users with access to the Event Record. |
|
Managing Comments
After a comment is posted, the following options are available:
These tools help keep communication clear, organized, and collaborative within the Event Record. |

|
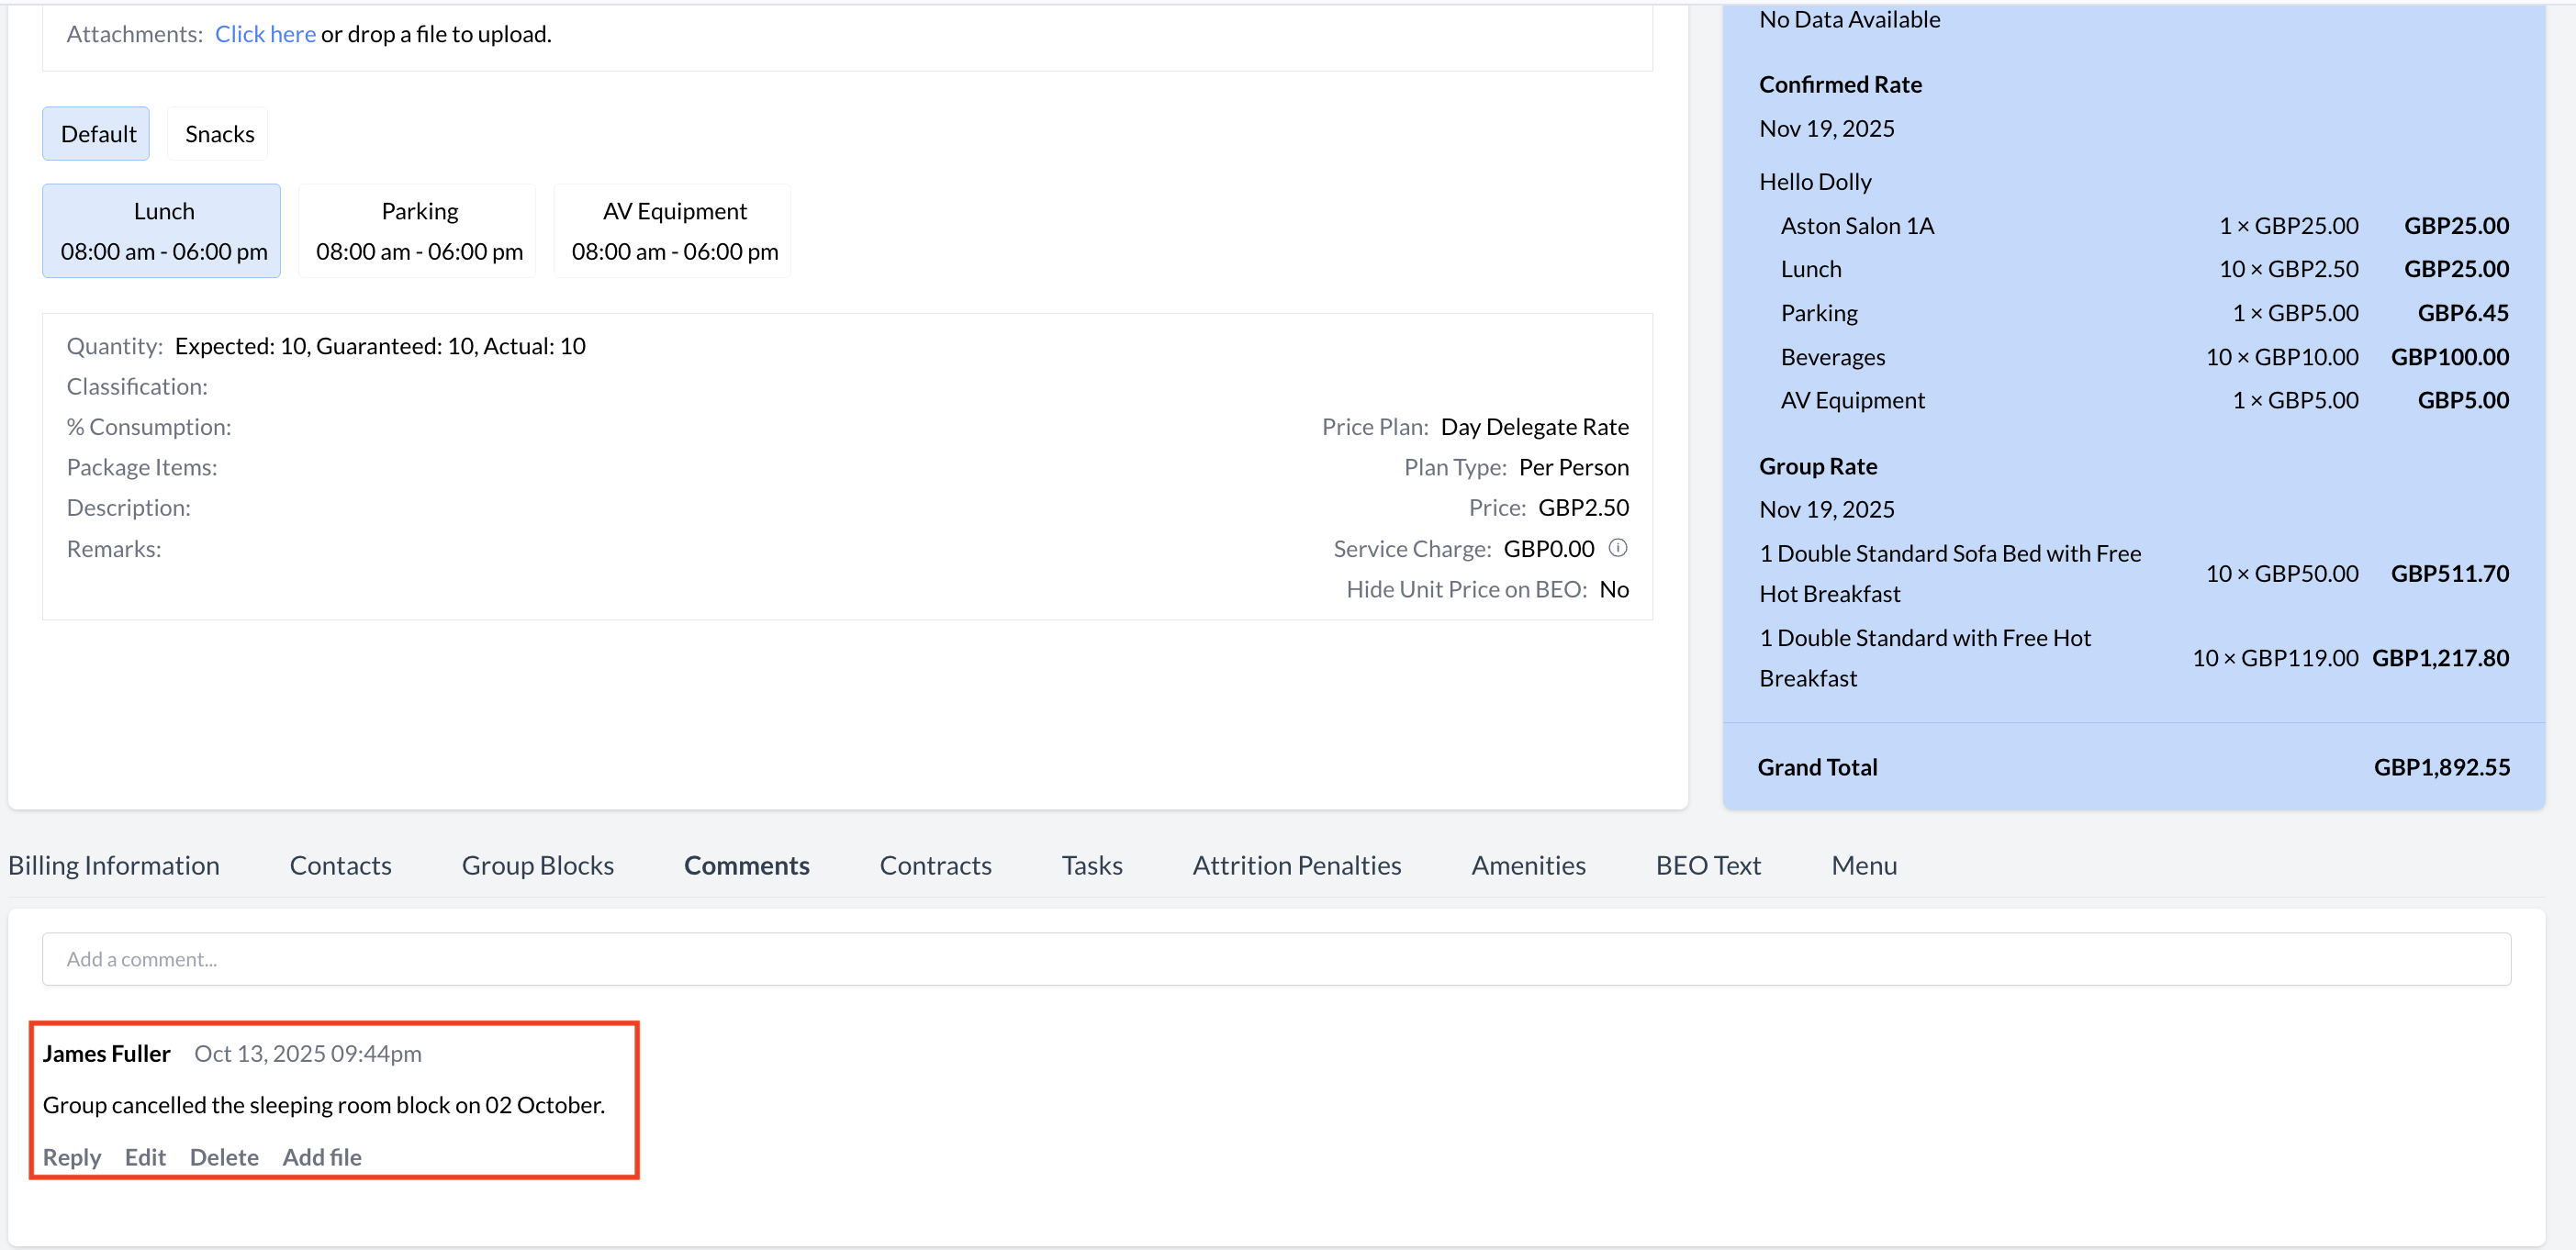
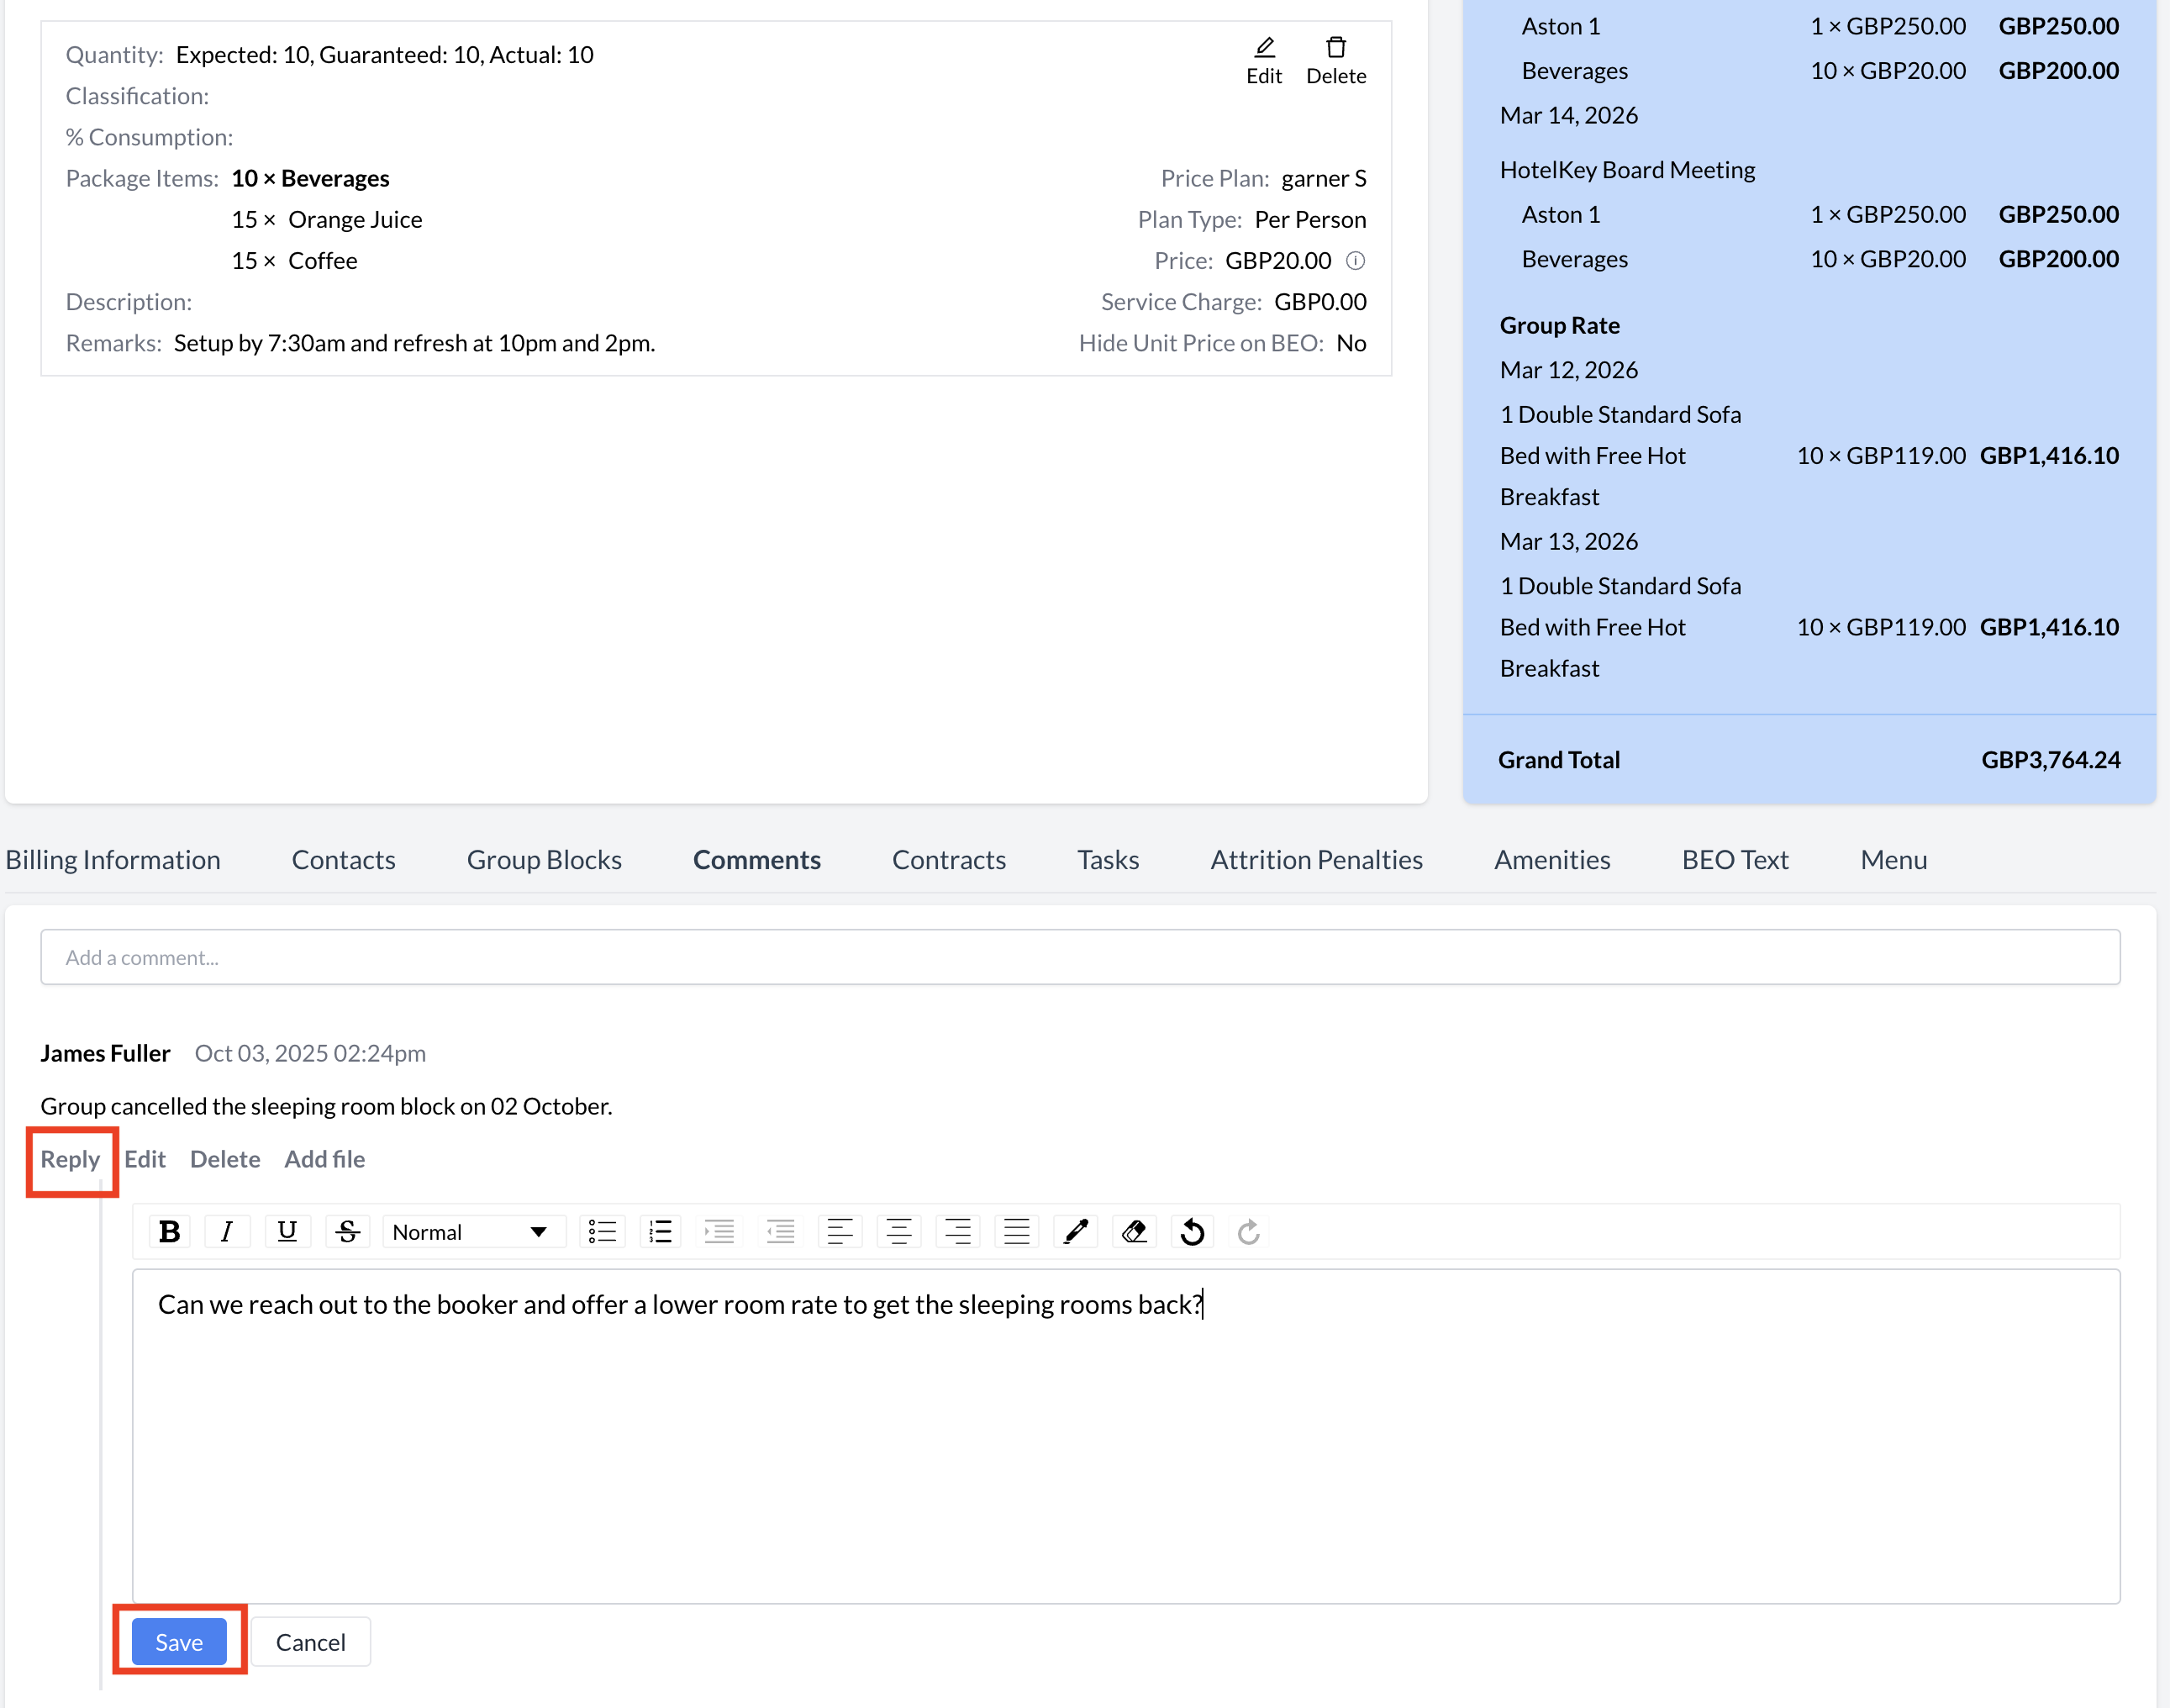
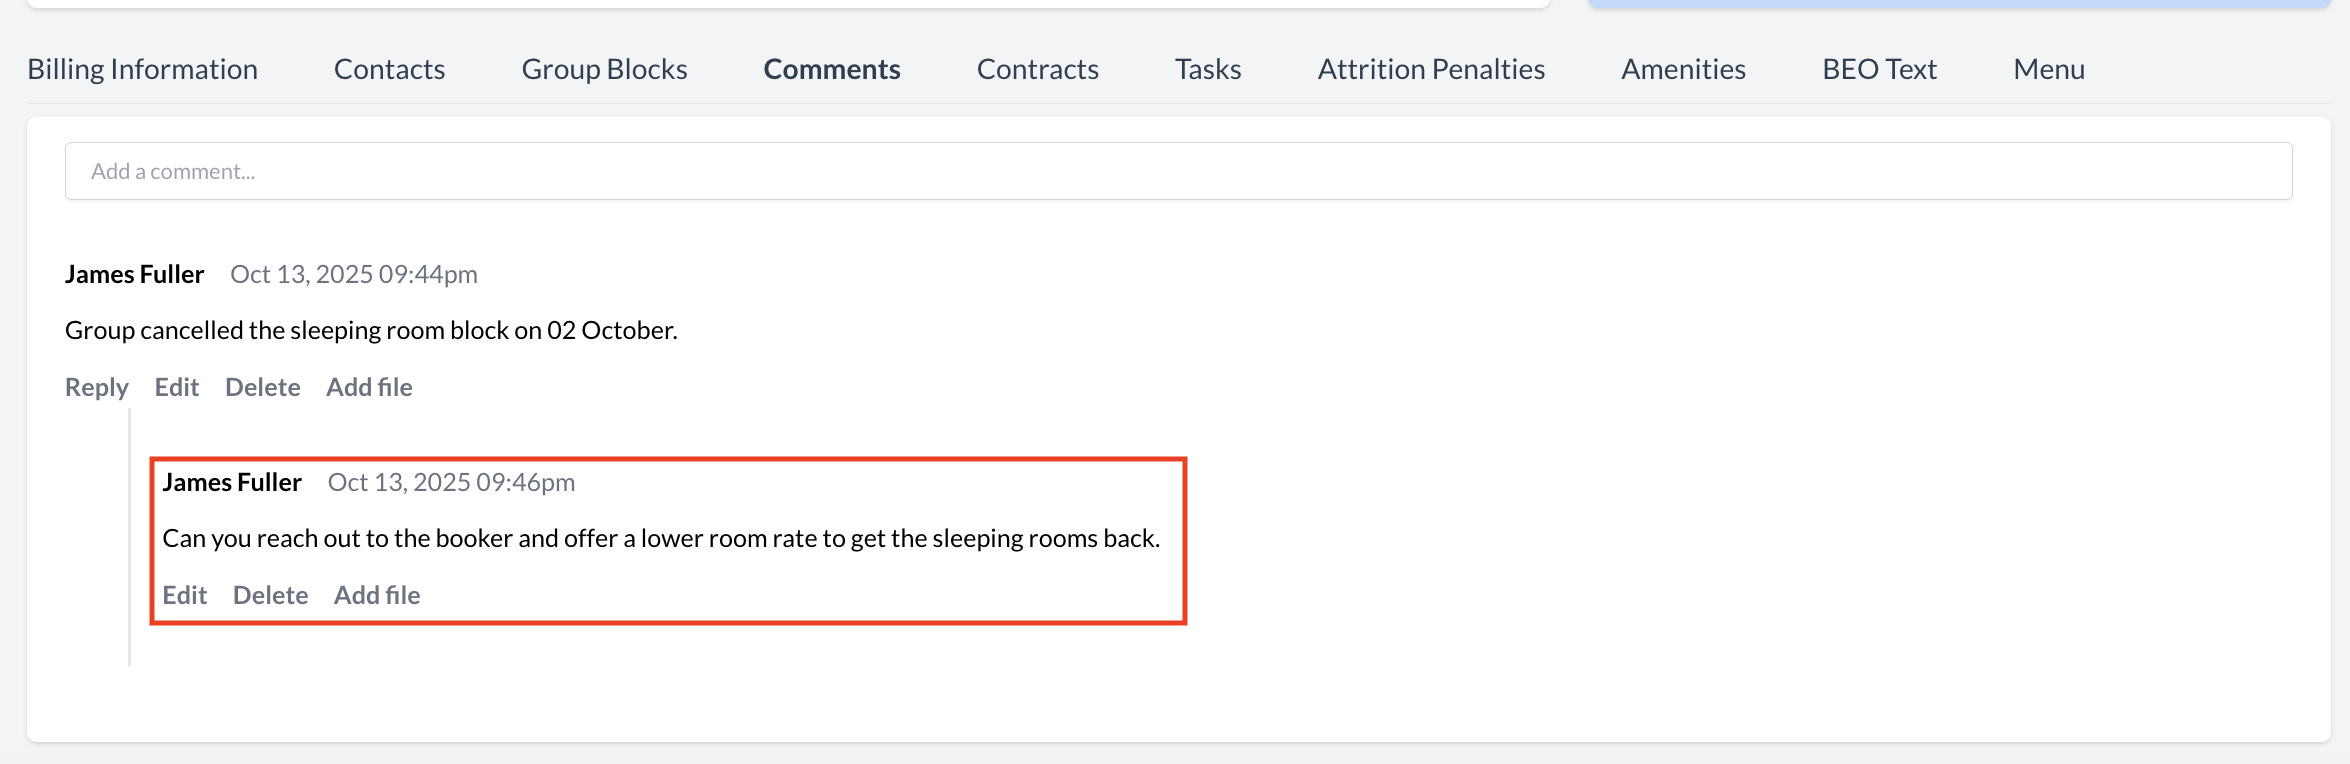
Replying to a Comment
Your reply will appear nested under the original comment, keeping the conversation organized and easy to follow. |
|
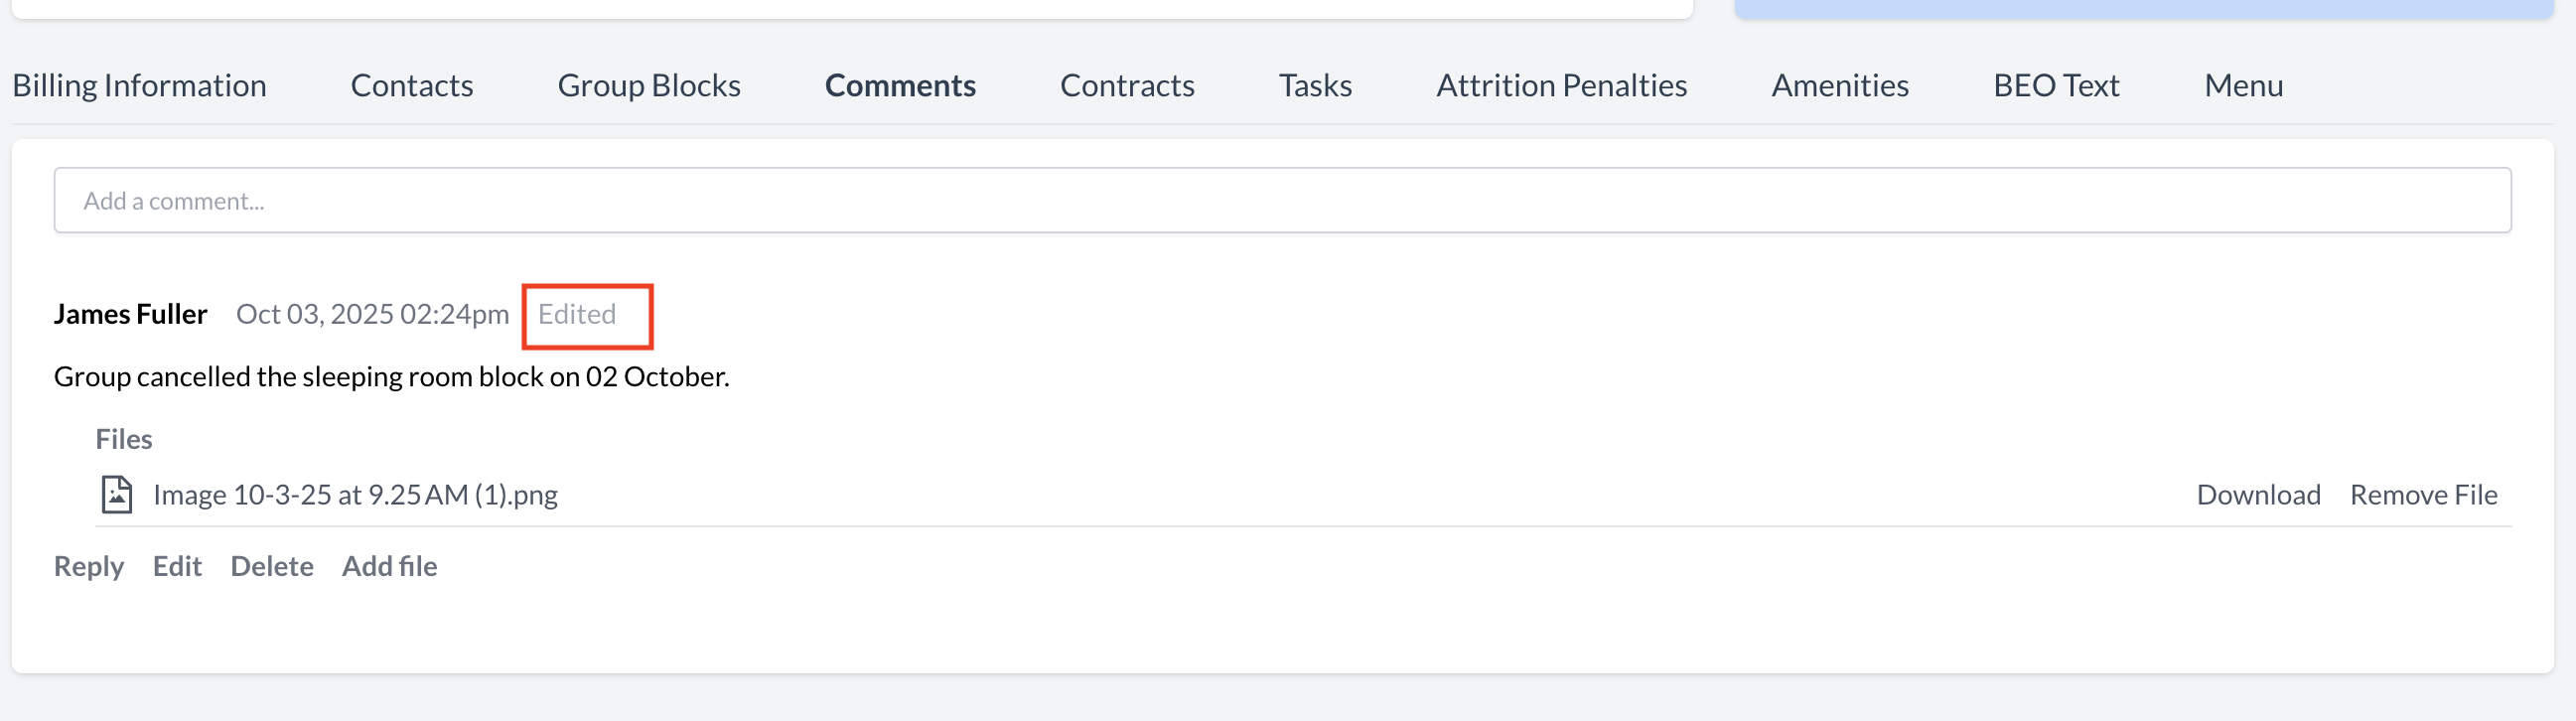
Editing a Comment
To update a comment you’ve previously posted:
|
.png?cb=370f14fb1bfe219150827a724f0a854a)

|
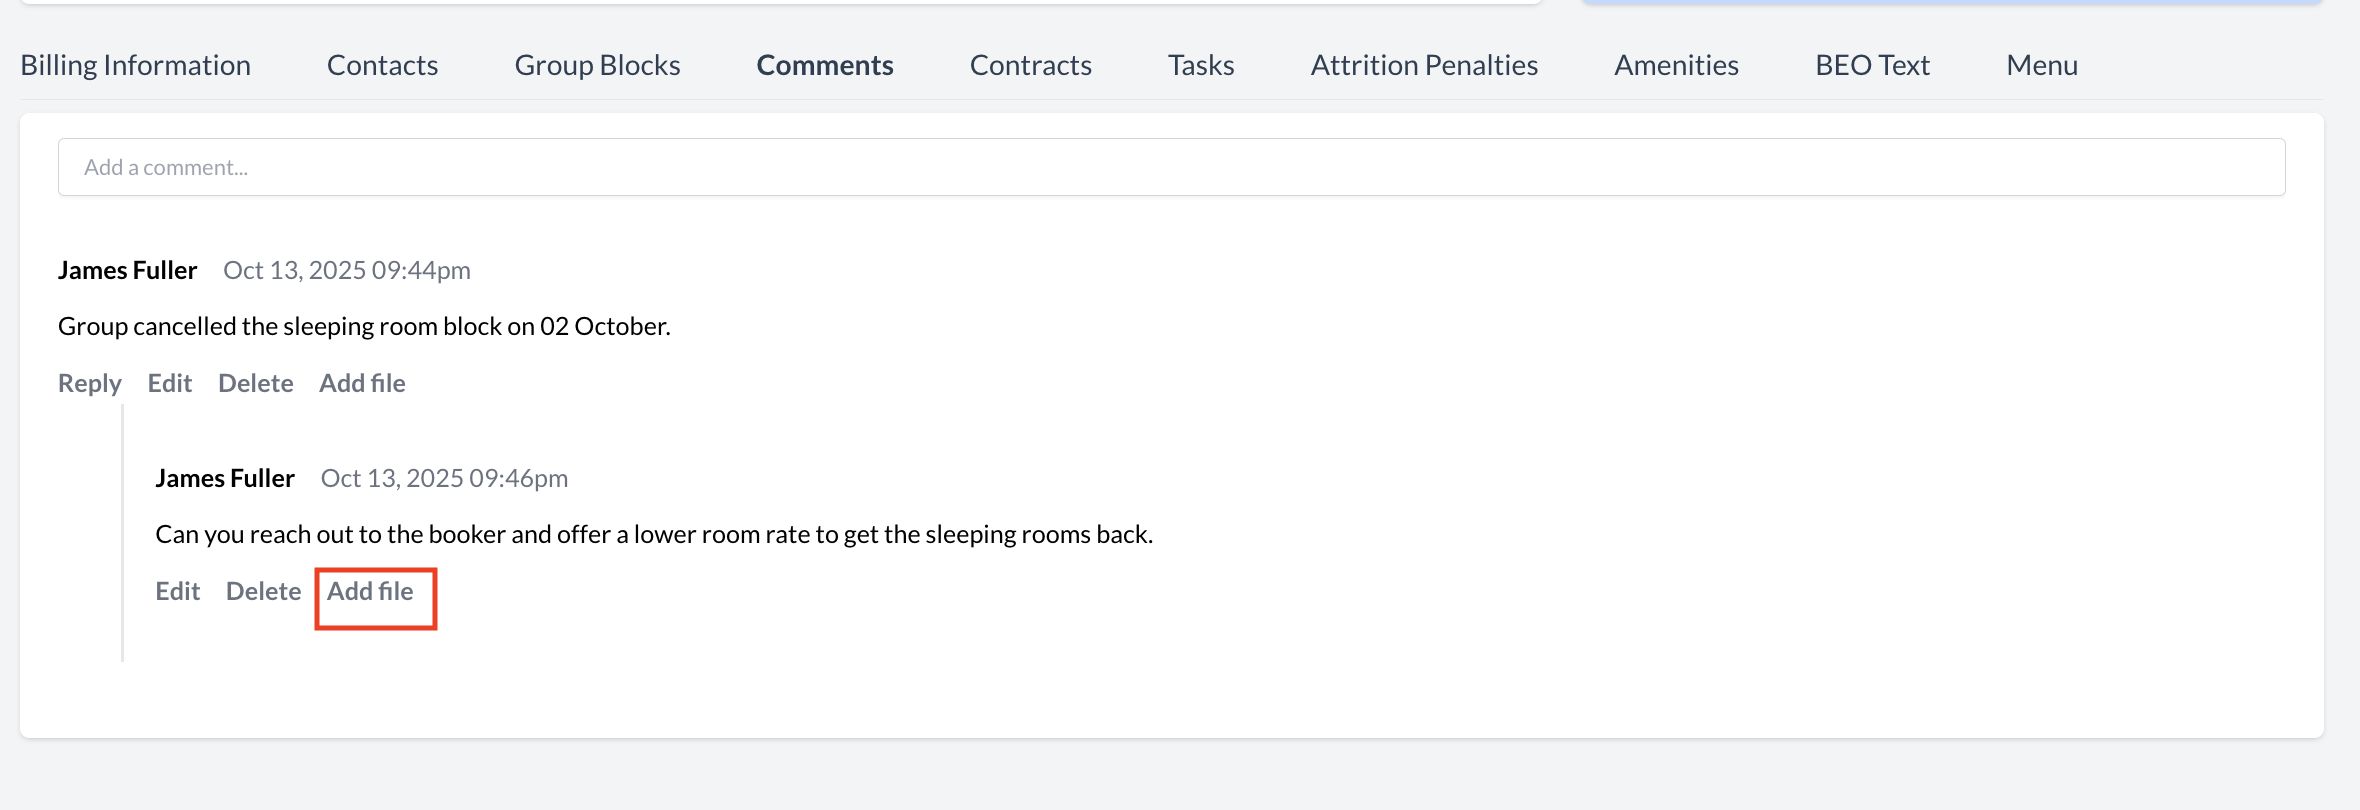
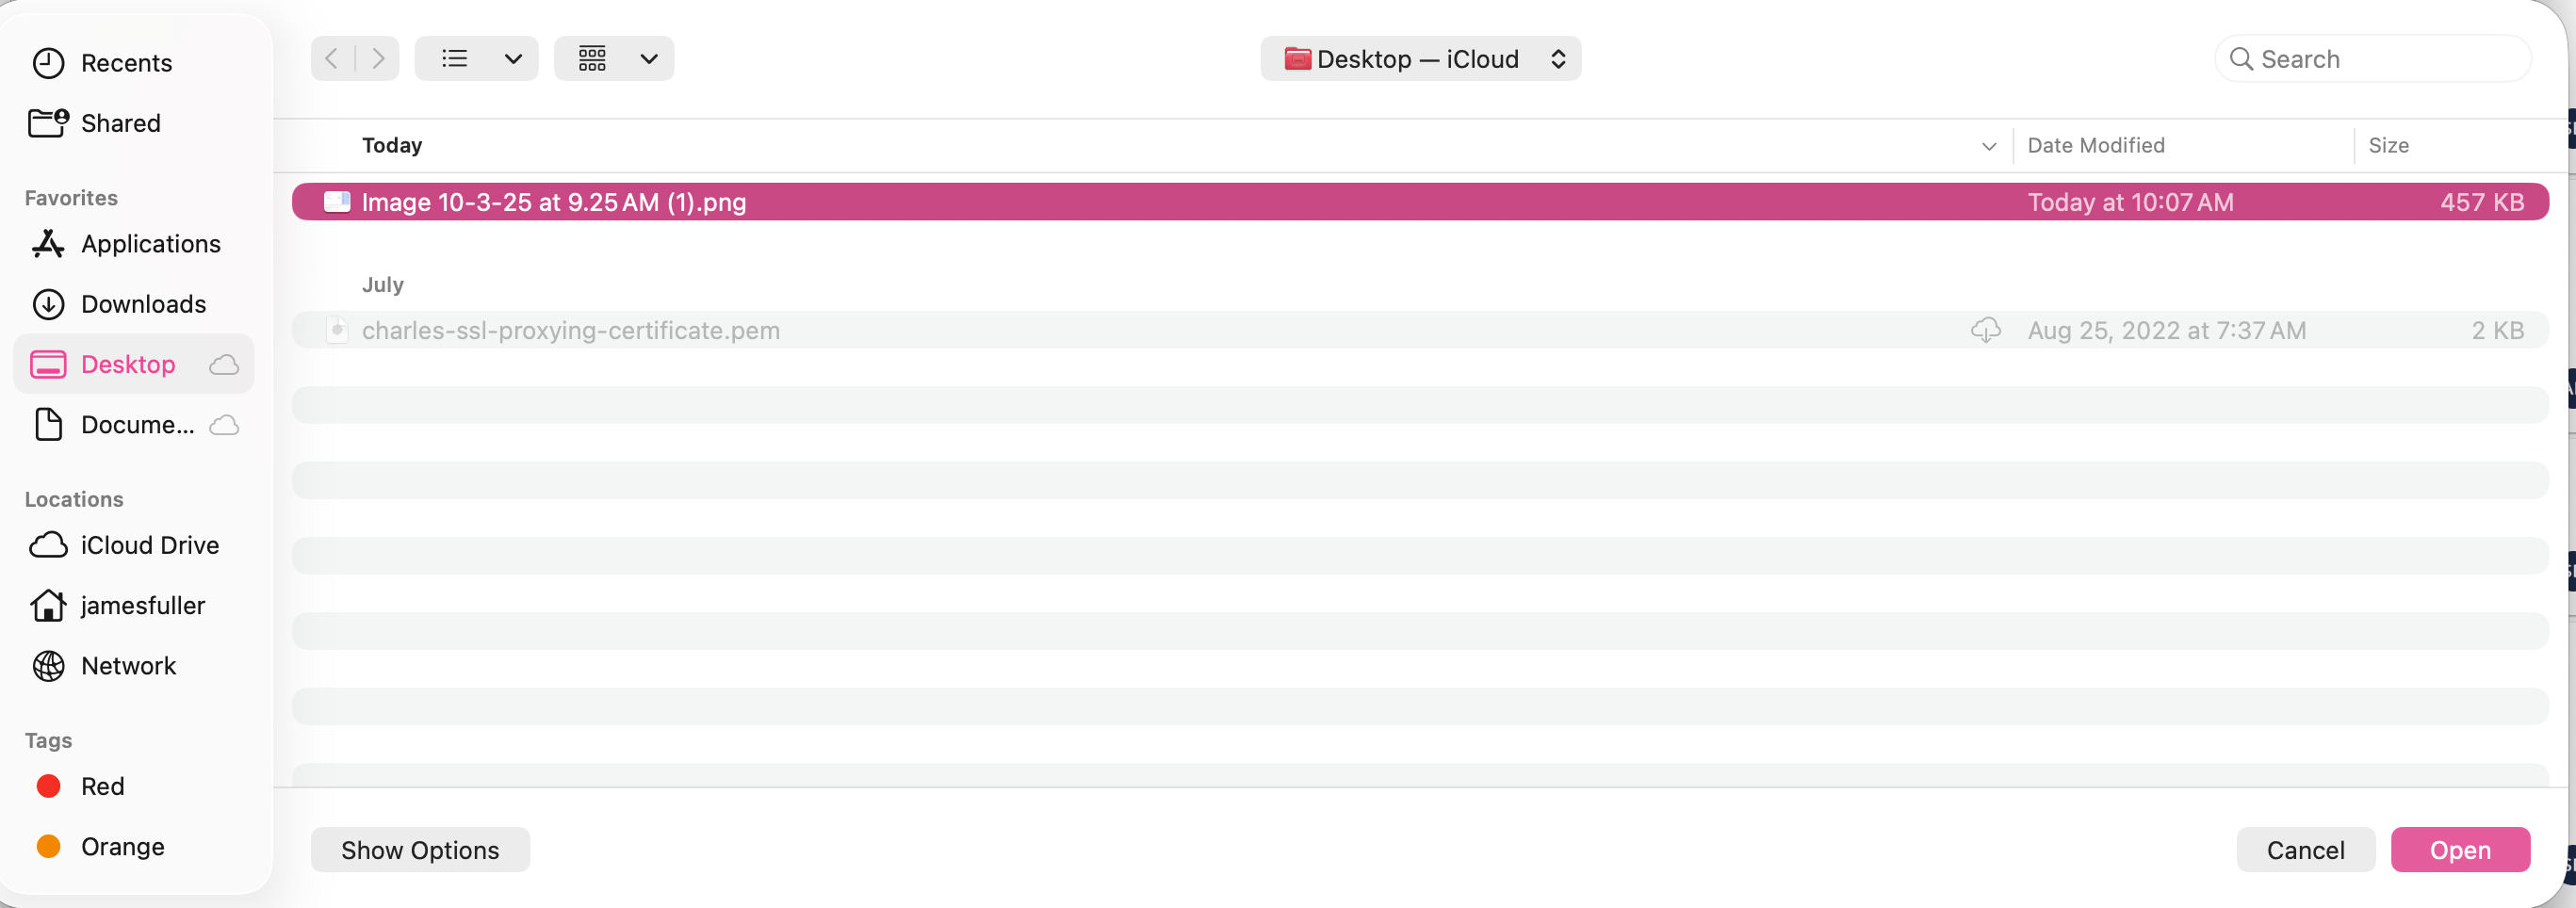
Attaching a File to a Comment
|
.png?cb=3d35fdf35850c574c3b339494ea17f08)
|
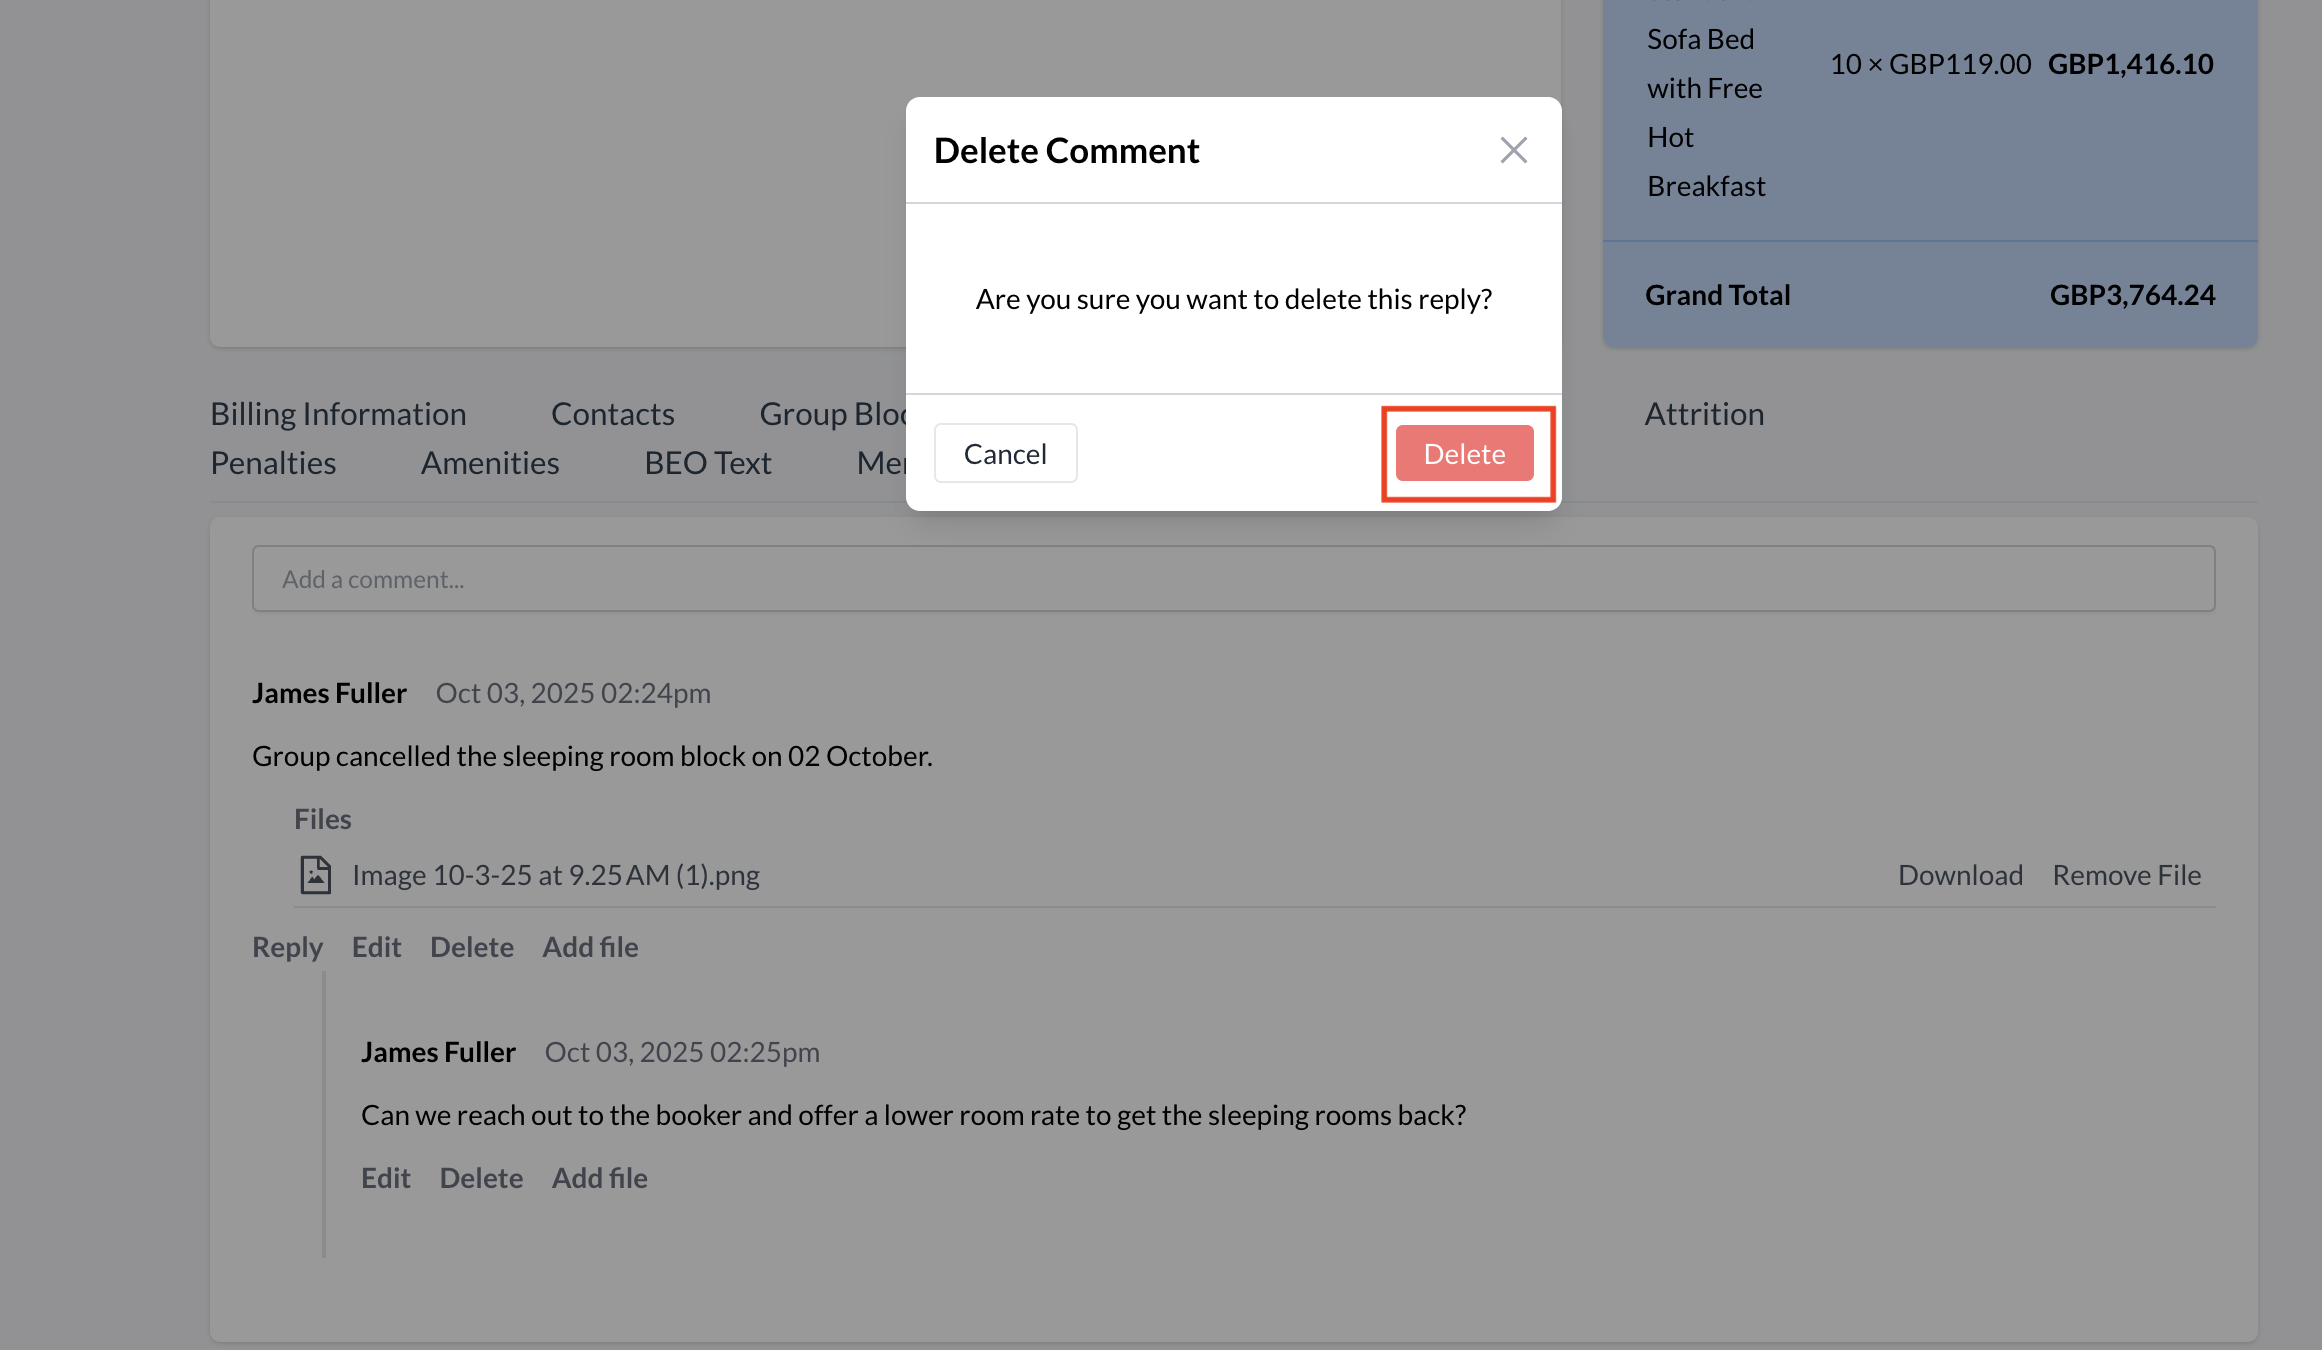
Deleting a Comment
If you need to delete a comment you’ve posted, follow these steps:
|
.png?cb=998459ab098045c8da64175ded228d15)
|