
📆 Revision Date:
Jump to Set Coordinator Availability
|
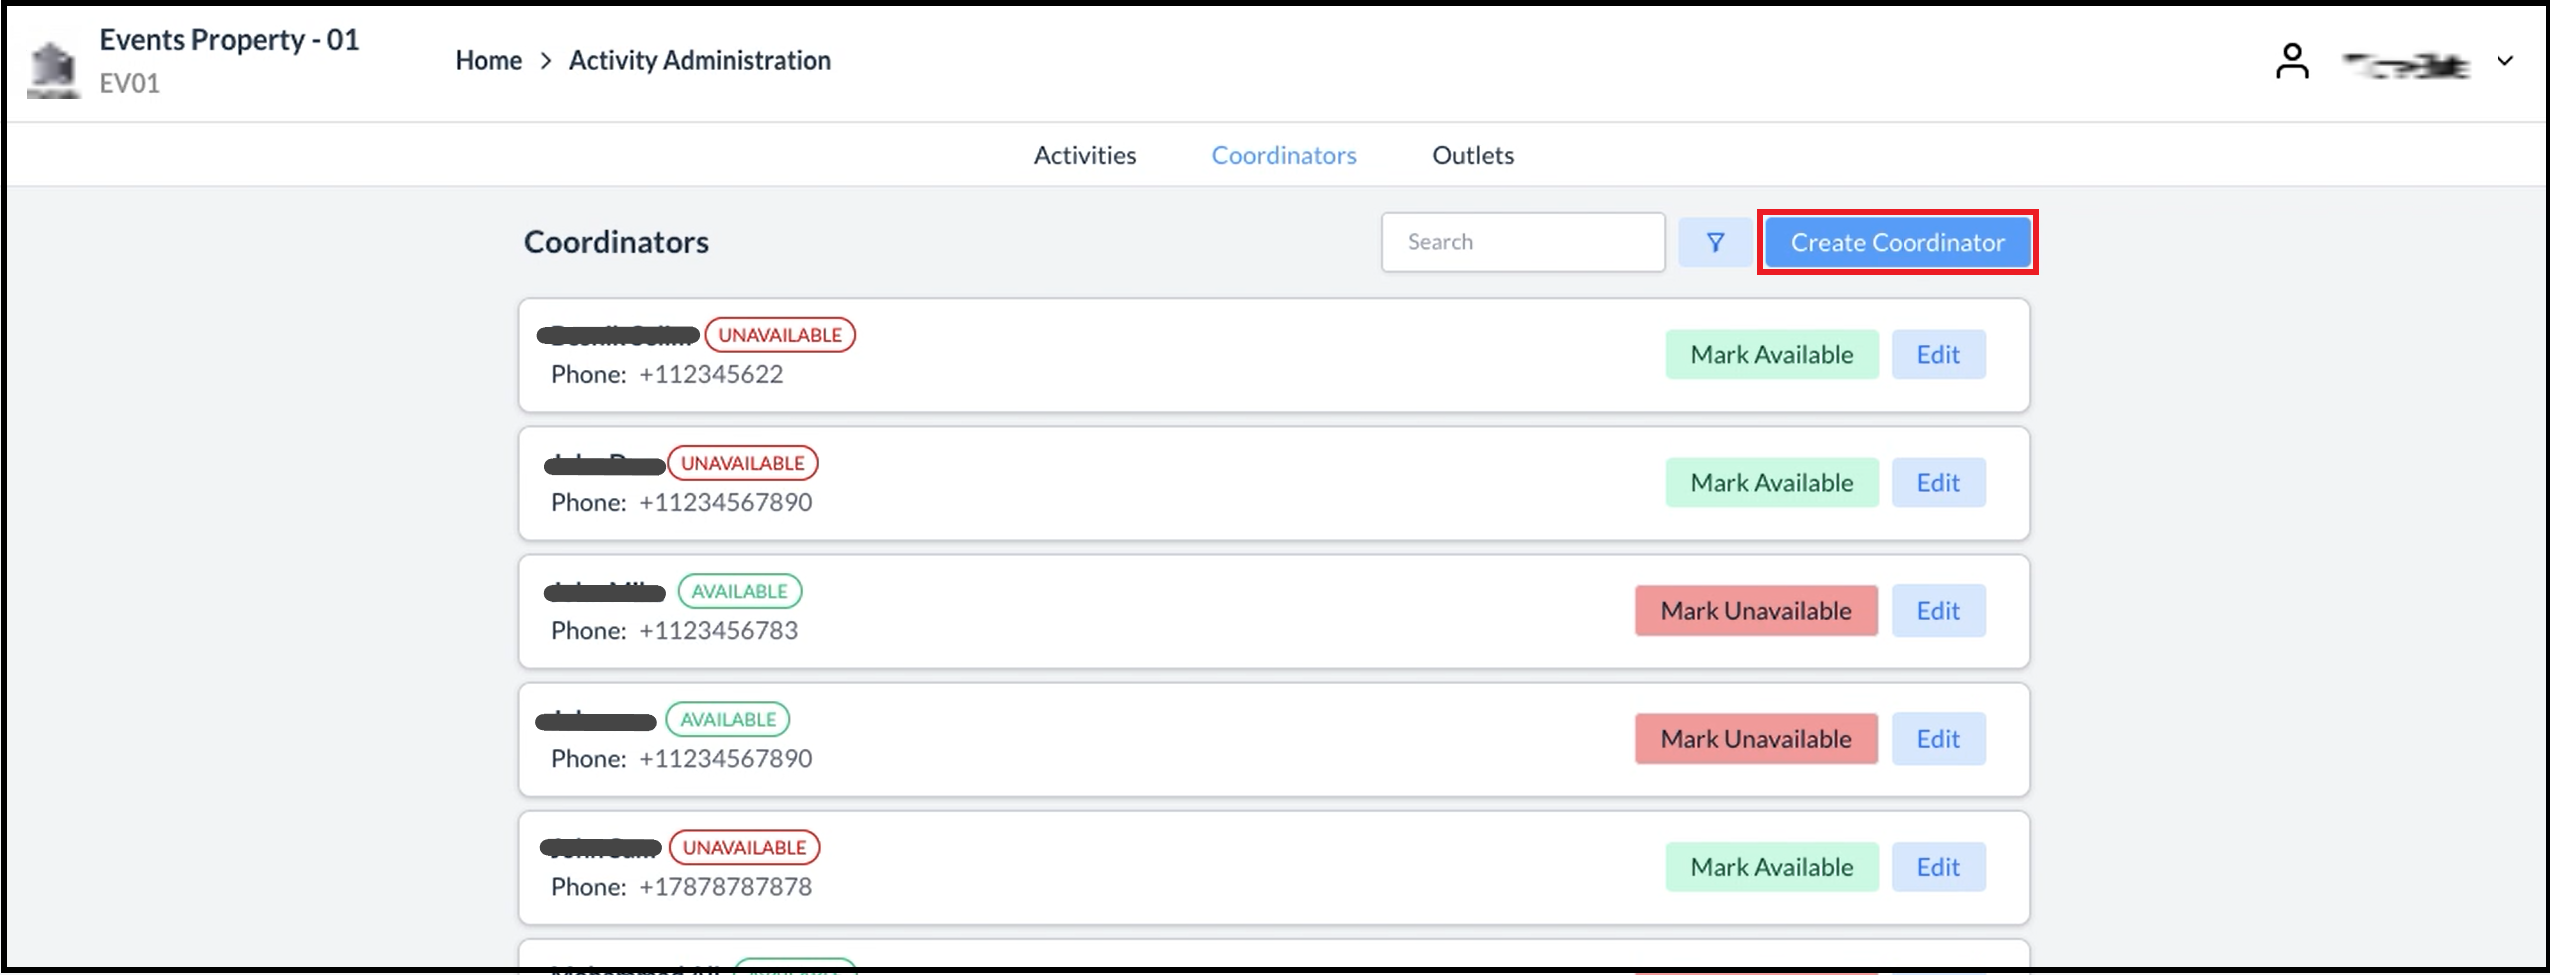
Navigate to Home > Activity Administration and select the Coordinators tab. Select Create Coordinator. |
|
|
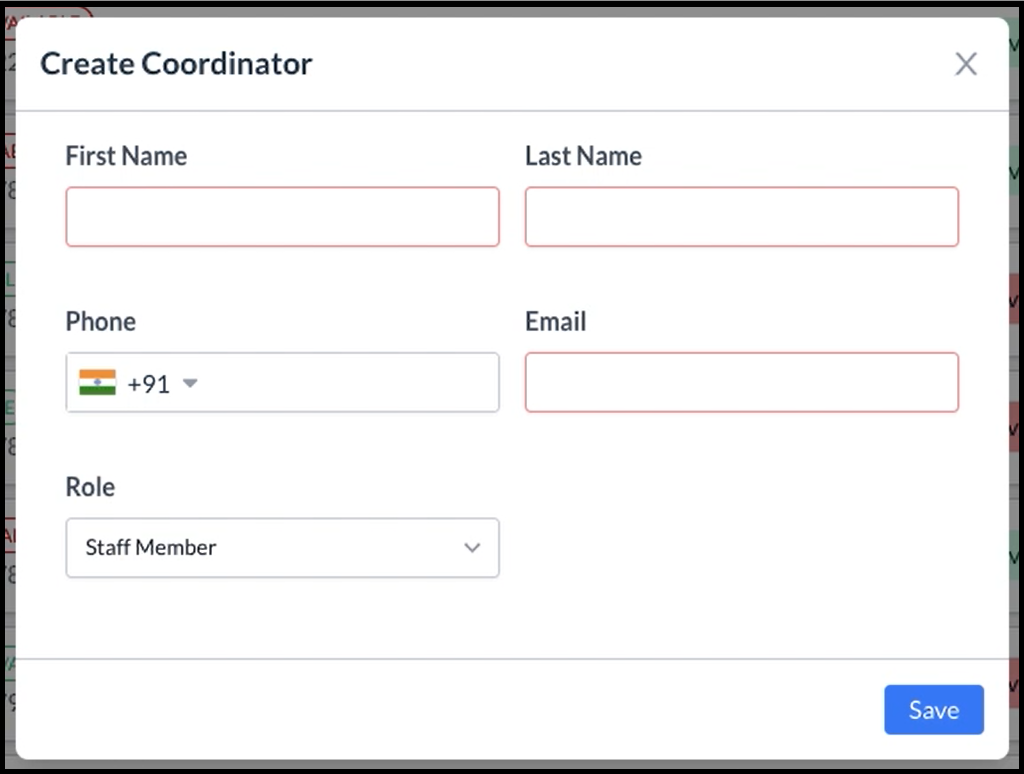
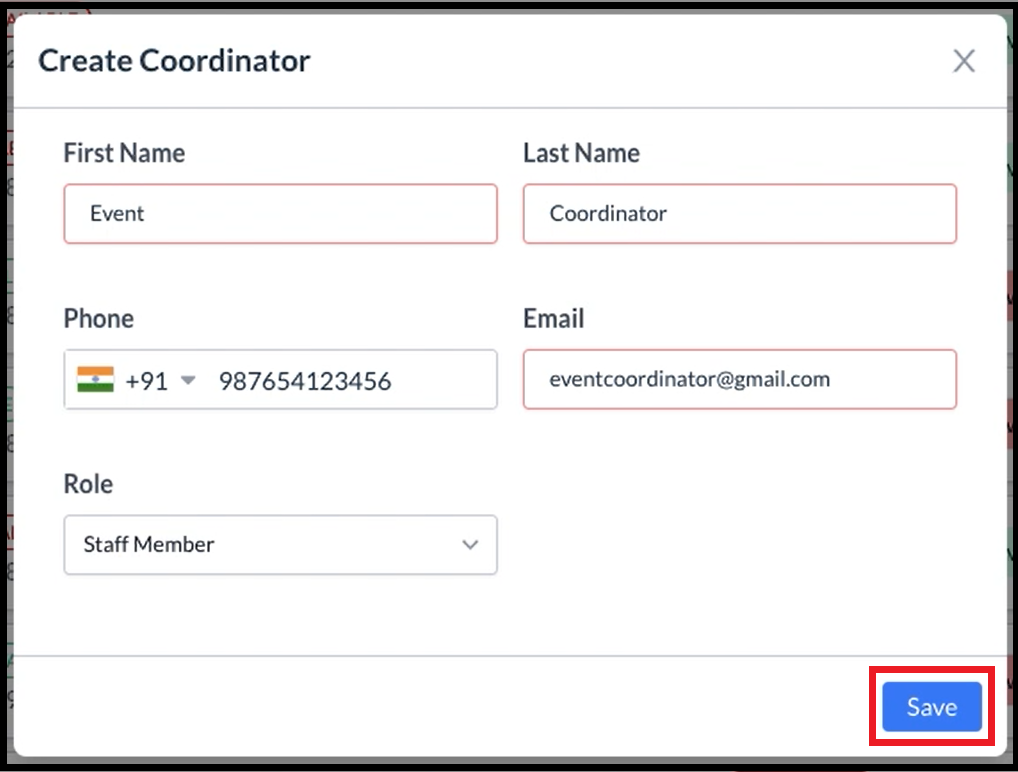
The Create Coordinator popup activates. Complete all fields as shown in the example, then select Save. |
|
|
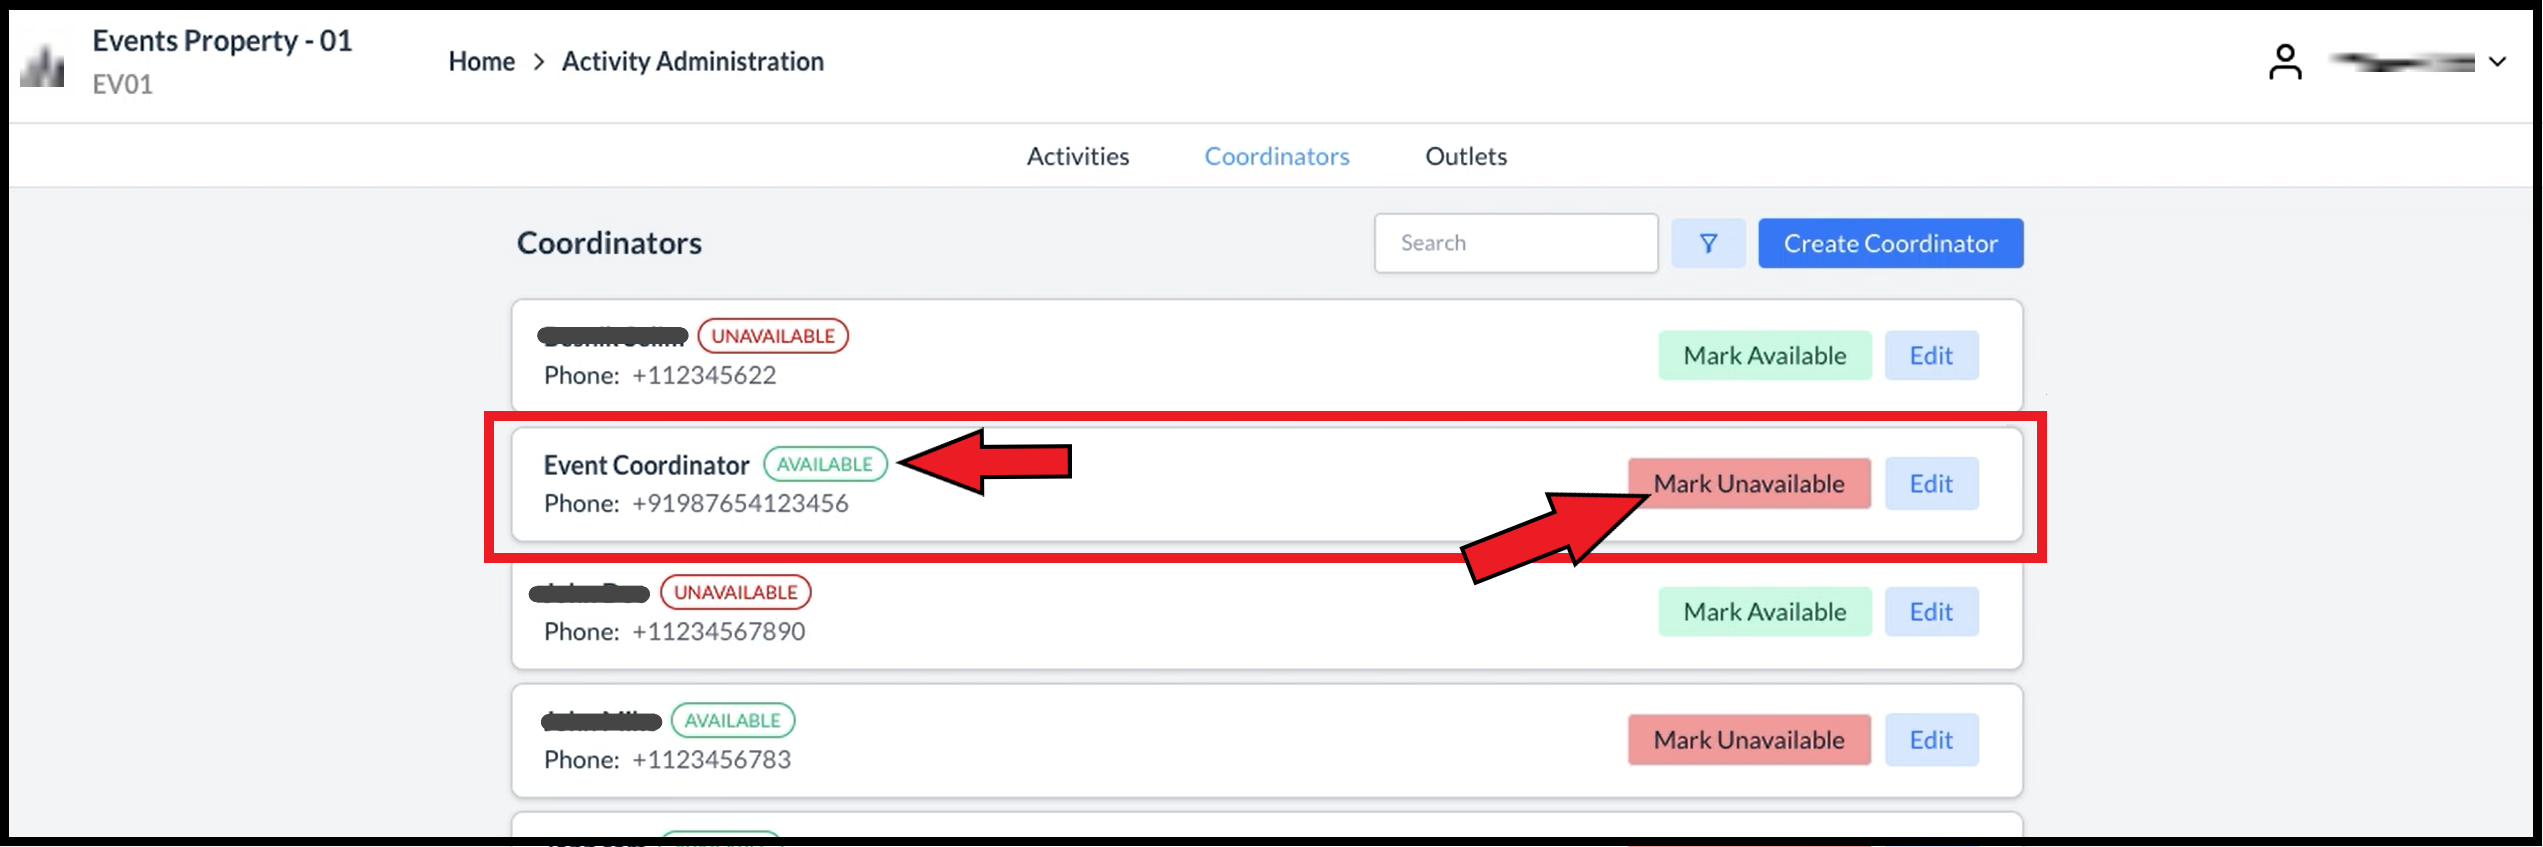
The new Coordinator account is created and added to the list. Newly created Coordinator accounts are set to a status of AVAILABLE by default, as shown.
Select Mark Unavailable to change the Coordinator’s status to UNAVAILABLE. |
|
|
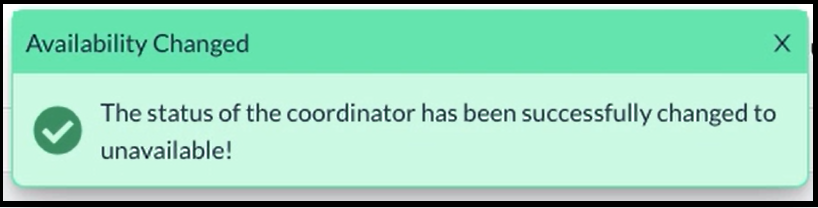
A success popup briefly displays. |
|
|
The Coordinator account entry is updated to show a status of UNAVAILABLE and the Mark Unavailable link updates to a Mark Available link. Select Mark Available to change the Coordinator’s status to AVAILABLE. |

|
|
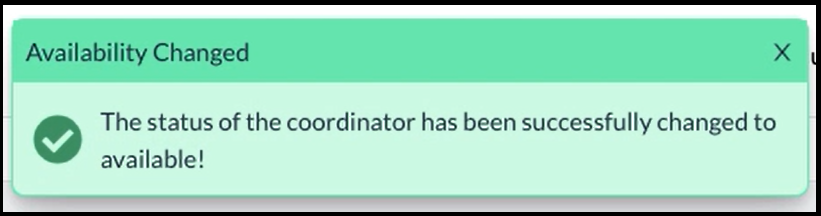
A success popup briefly displays. |
|
|
The Coordinator account entry is updated to show a status of AVAILABLE and the Mark Available link updates to a Mark Unavailable link.. |

|