
📆 Revision Date:
This article covers the steps to create a reservation for a non business associated group of guests, such as a travel tour group.
|
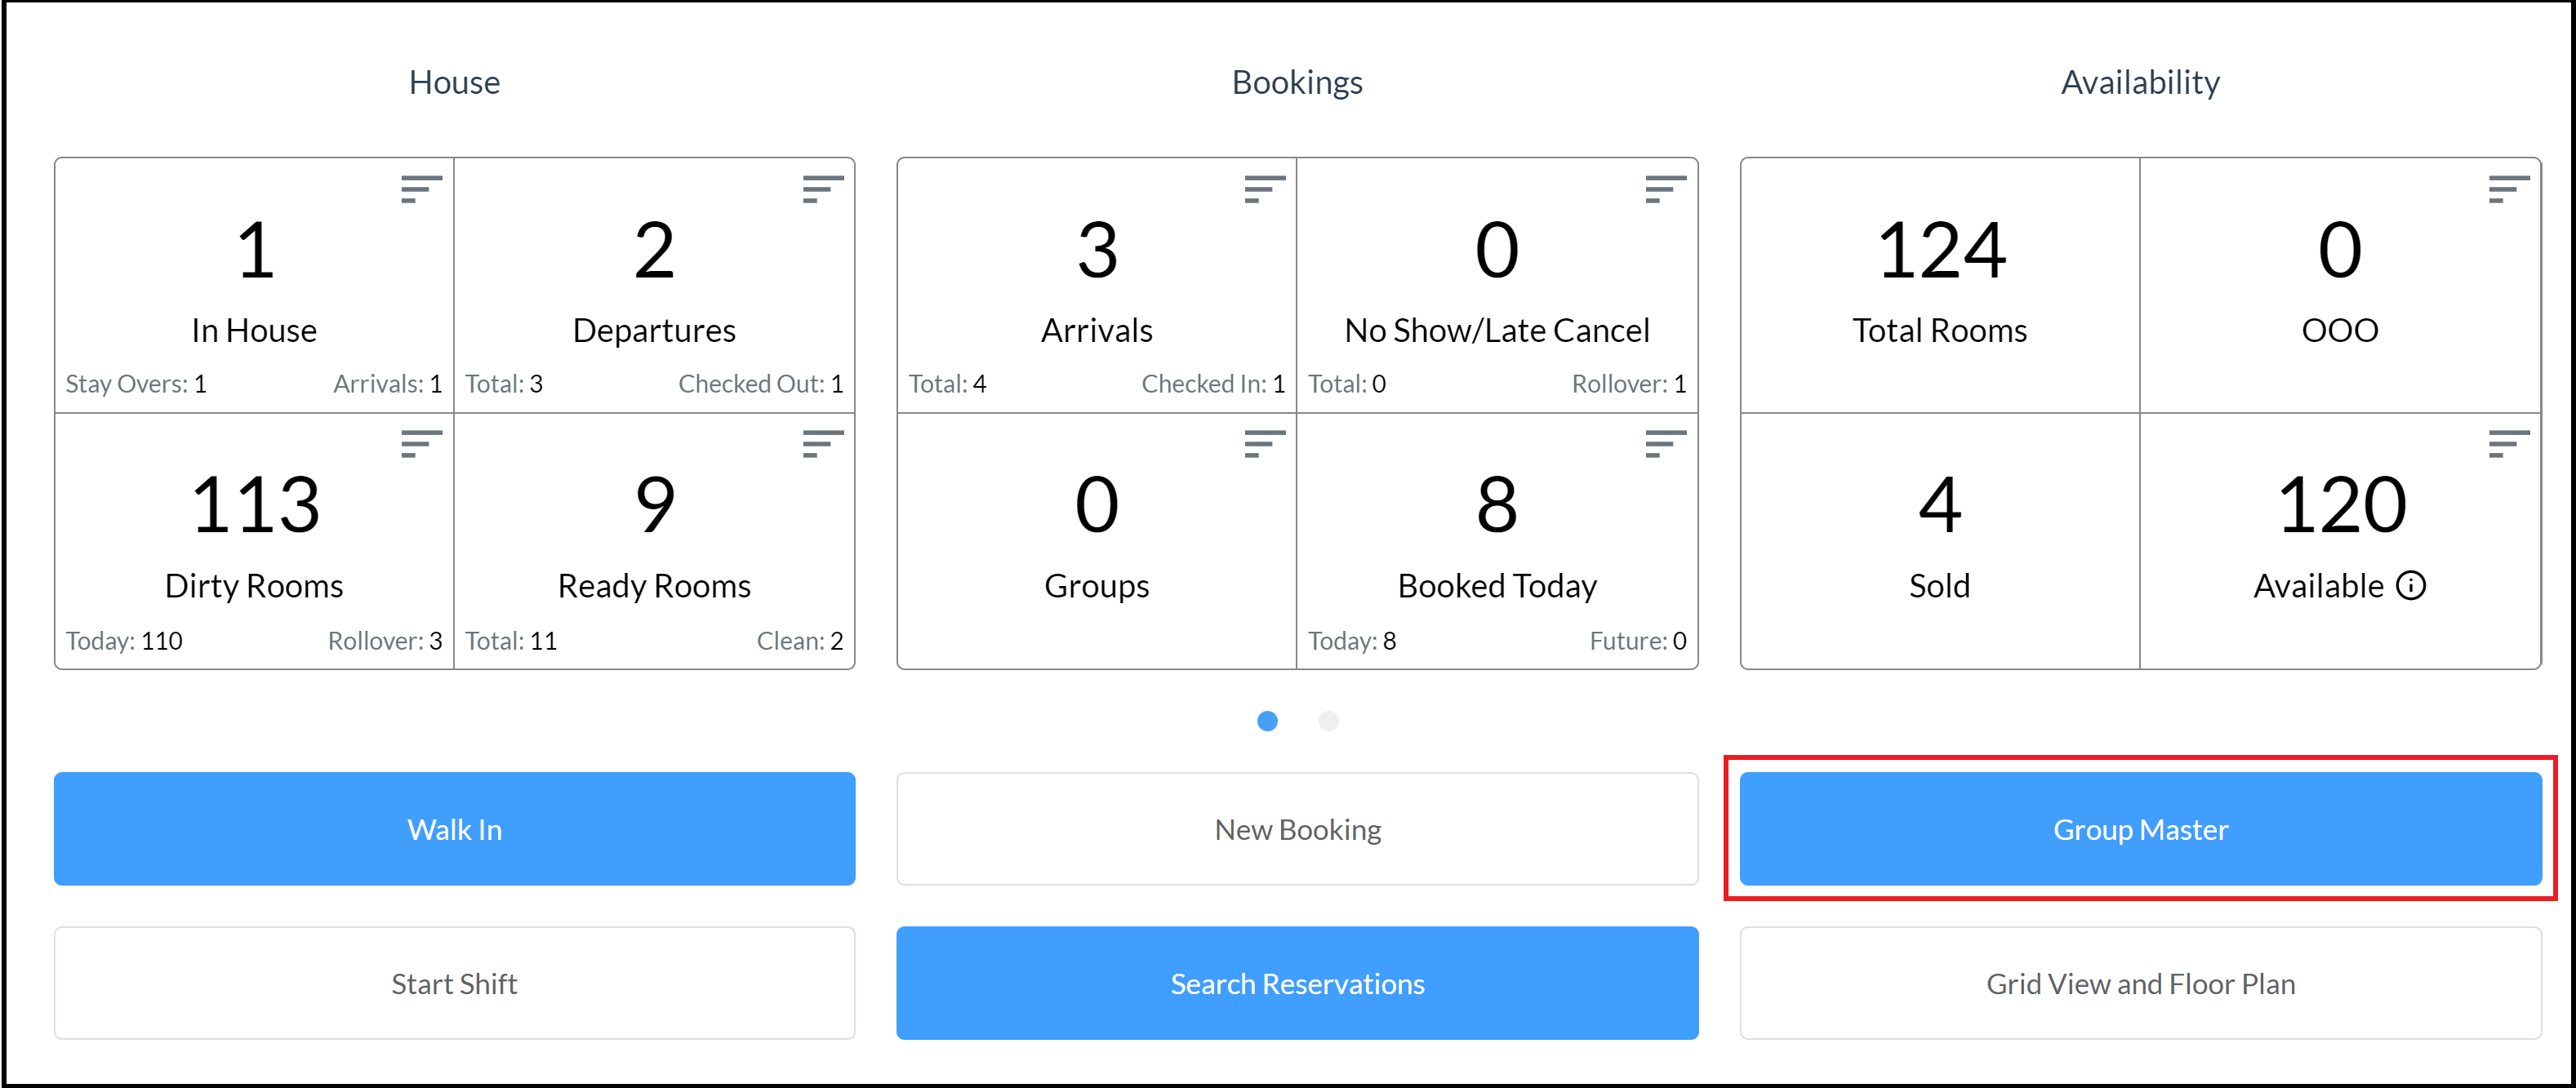
Select Group Master on the Dashboard. |
|
|
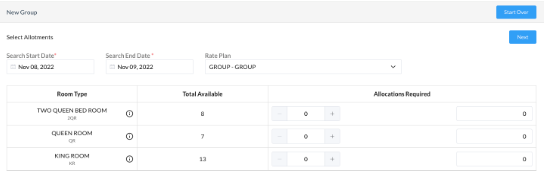
The New Group panel loads. Enter the applicable Start Date and End Date for the reservation. Select the Rate Plan field. |

|
|
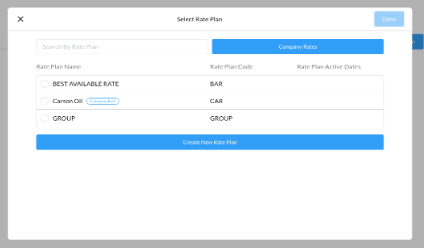
The Select Rate Plan popup loads. Select the radio button next to the applicable group Rate Plan Name. Note that in this example the name includes the word “group”, but this may not be true of all group rate plan names at all properties. Select Done to continue. |
|
|
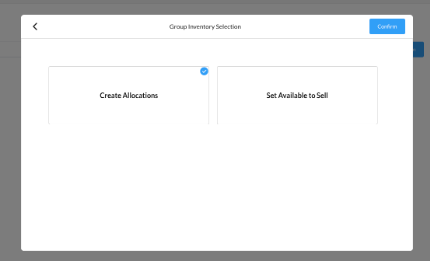
Select Group Inventory option and click on Confirm
|
|
|
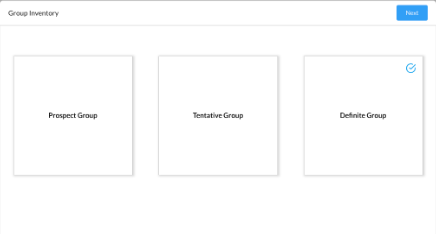
The Group Inventory popup activates, with “Tentative Group” selected by default. Choose from the Group Inventory types and click on Next
Note that for Prospect Group - This option exists only for properties where EventKey is being utilized. The option serves as a tracking for group inquiries and will not deduct inventory or allow for group member reservations. |
|
|
The New Group panel loads for room type allocation. Use the plus sign icon to the right of each applicable Room Type to be allocated: select once to allocate one of the associated Room Type. Select Next to continue. |
|
|
The Review Allotments panel loads to review room allocations. If allocations are correct, select Next to continue If needed, use the back arrow at the upper right to go back and make changes.
|

|
|
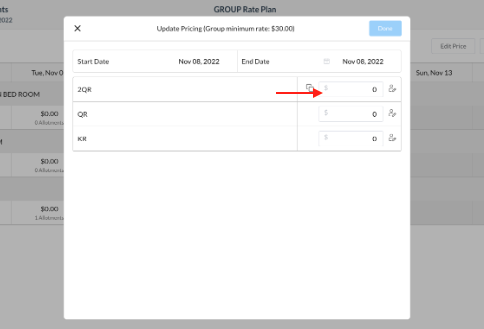
The Update Pricing popup loads. Update the pricing for the room types by entering the amount in the blank space shown on the screen besides the person icon |
|
|
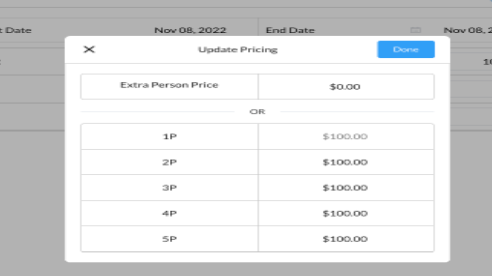
Click on the person icon to define pricing for extra persons, fill in the amount and click on Done Note - entering an amount in the Extra Person Price field will auto populate the remaining field amounts for all additional person counts. Enter pricing separately for each person to differentiate |
|
|
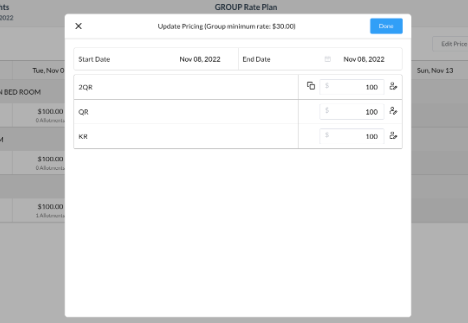
After entering pricing for Extra Persons, the initial update pricing screen populates. Click on the copy icon on the first room type and rate will auto fill the pricing for all the room types listed. Once all room types have an associated room rate, the Done button is activated - click on it to proceed Note - should you wish to add different pricing for each room type, simply enter the dollar value associated with the room type and update the additional person pricing for each, if applicable |
|
|
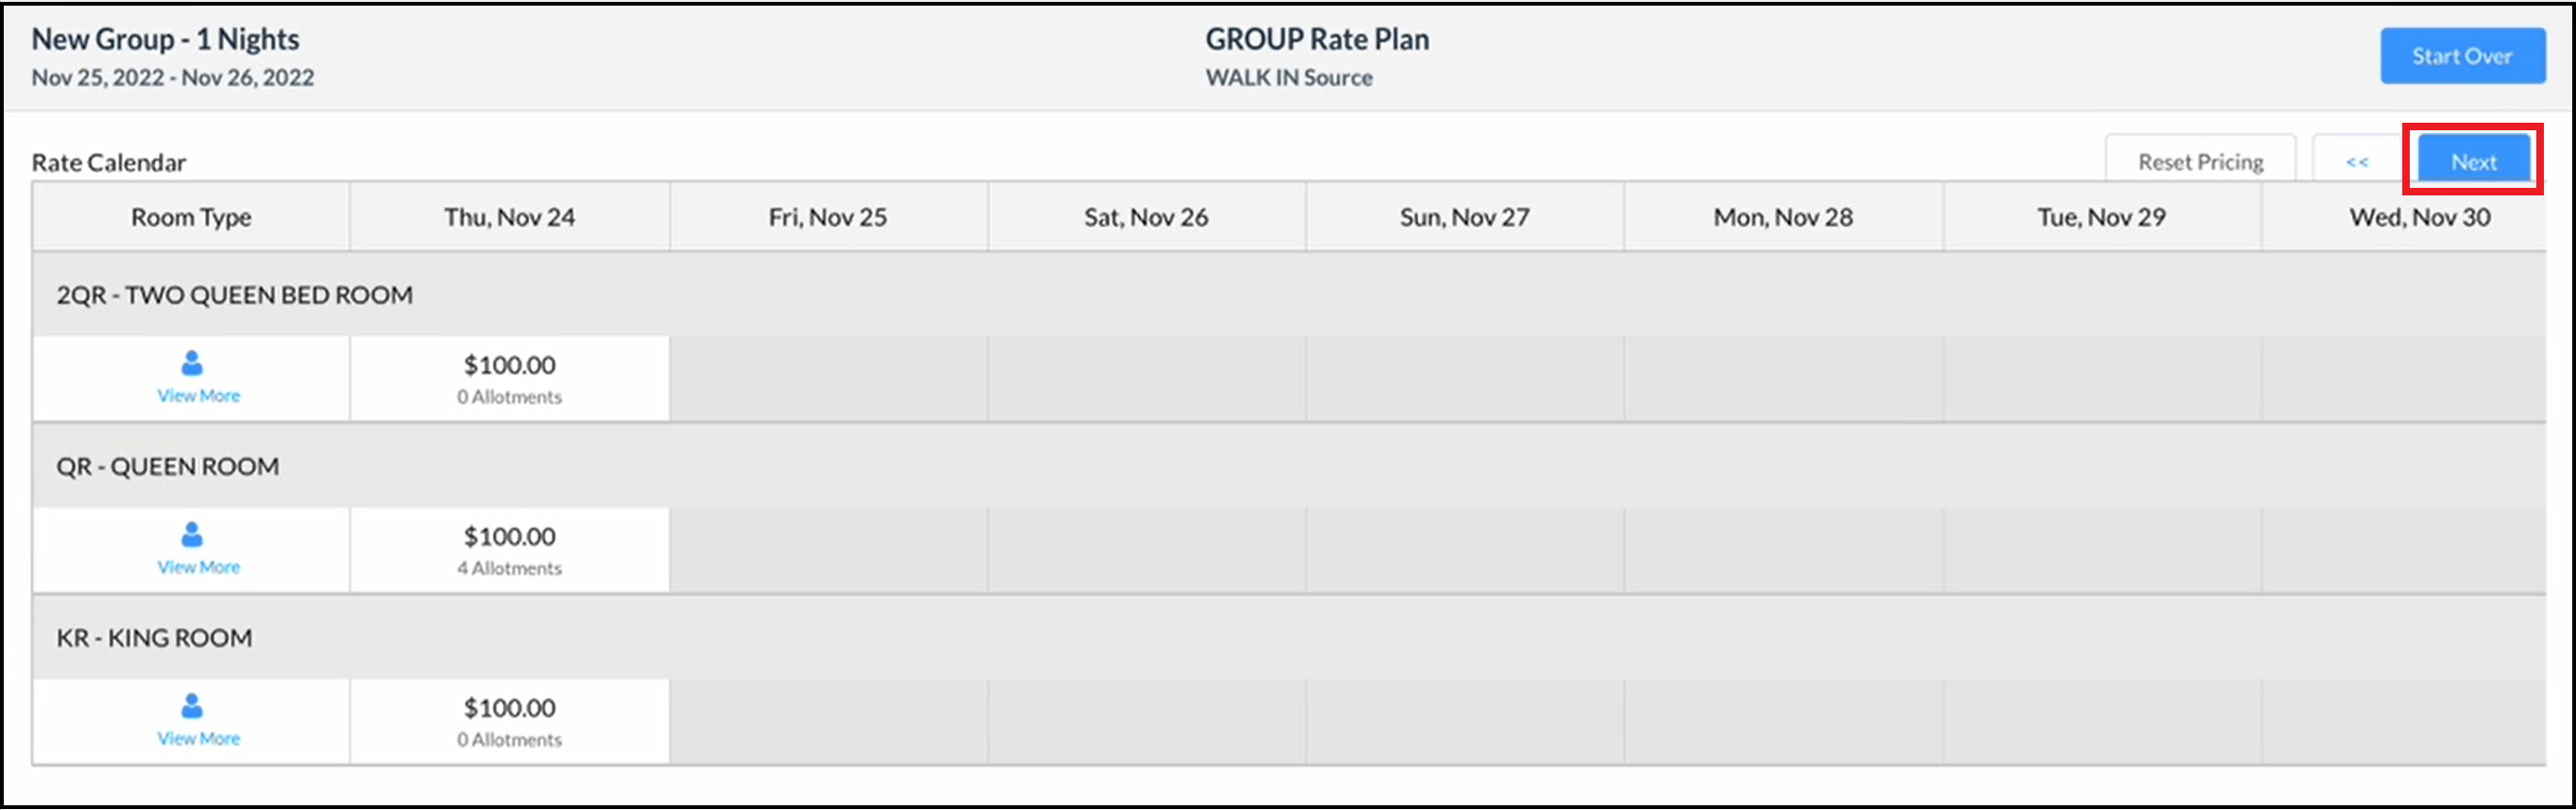
The Group Rate Plan - Rate Calendar Panel loads, displaying Room Type and pricing details. Review the room types and rates for each Select Next to continue. |
|
|
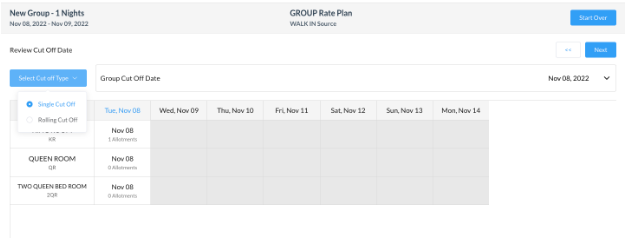
The Review Cut Off Date panel loads. Select the Select Cut off Type field to open it and select the applicable type. Click on Next when done
When required fields are completed (cut off type with date or number of days) the Next link populates. Select it to continue. |
|
|
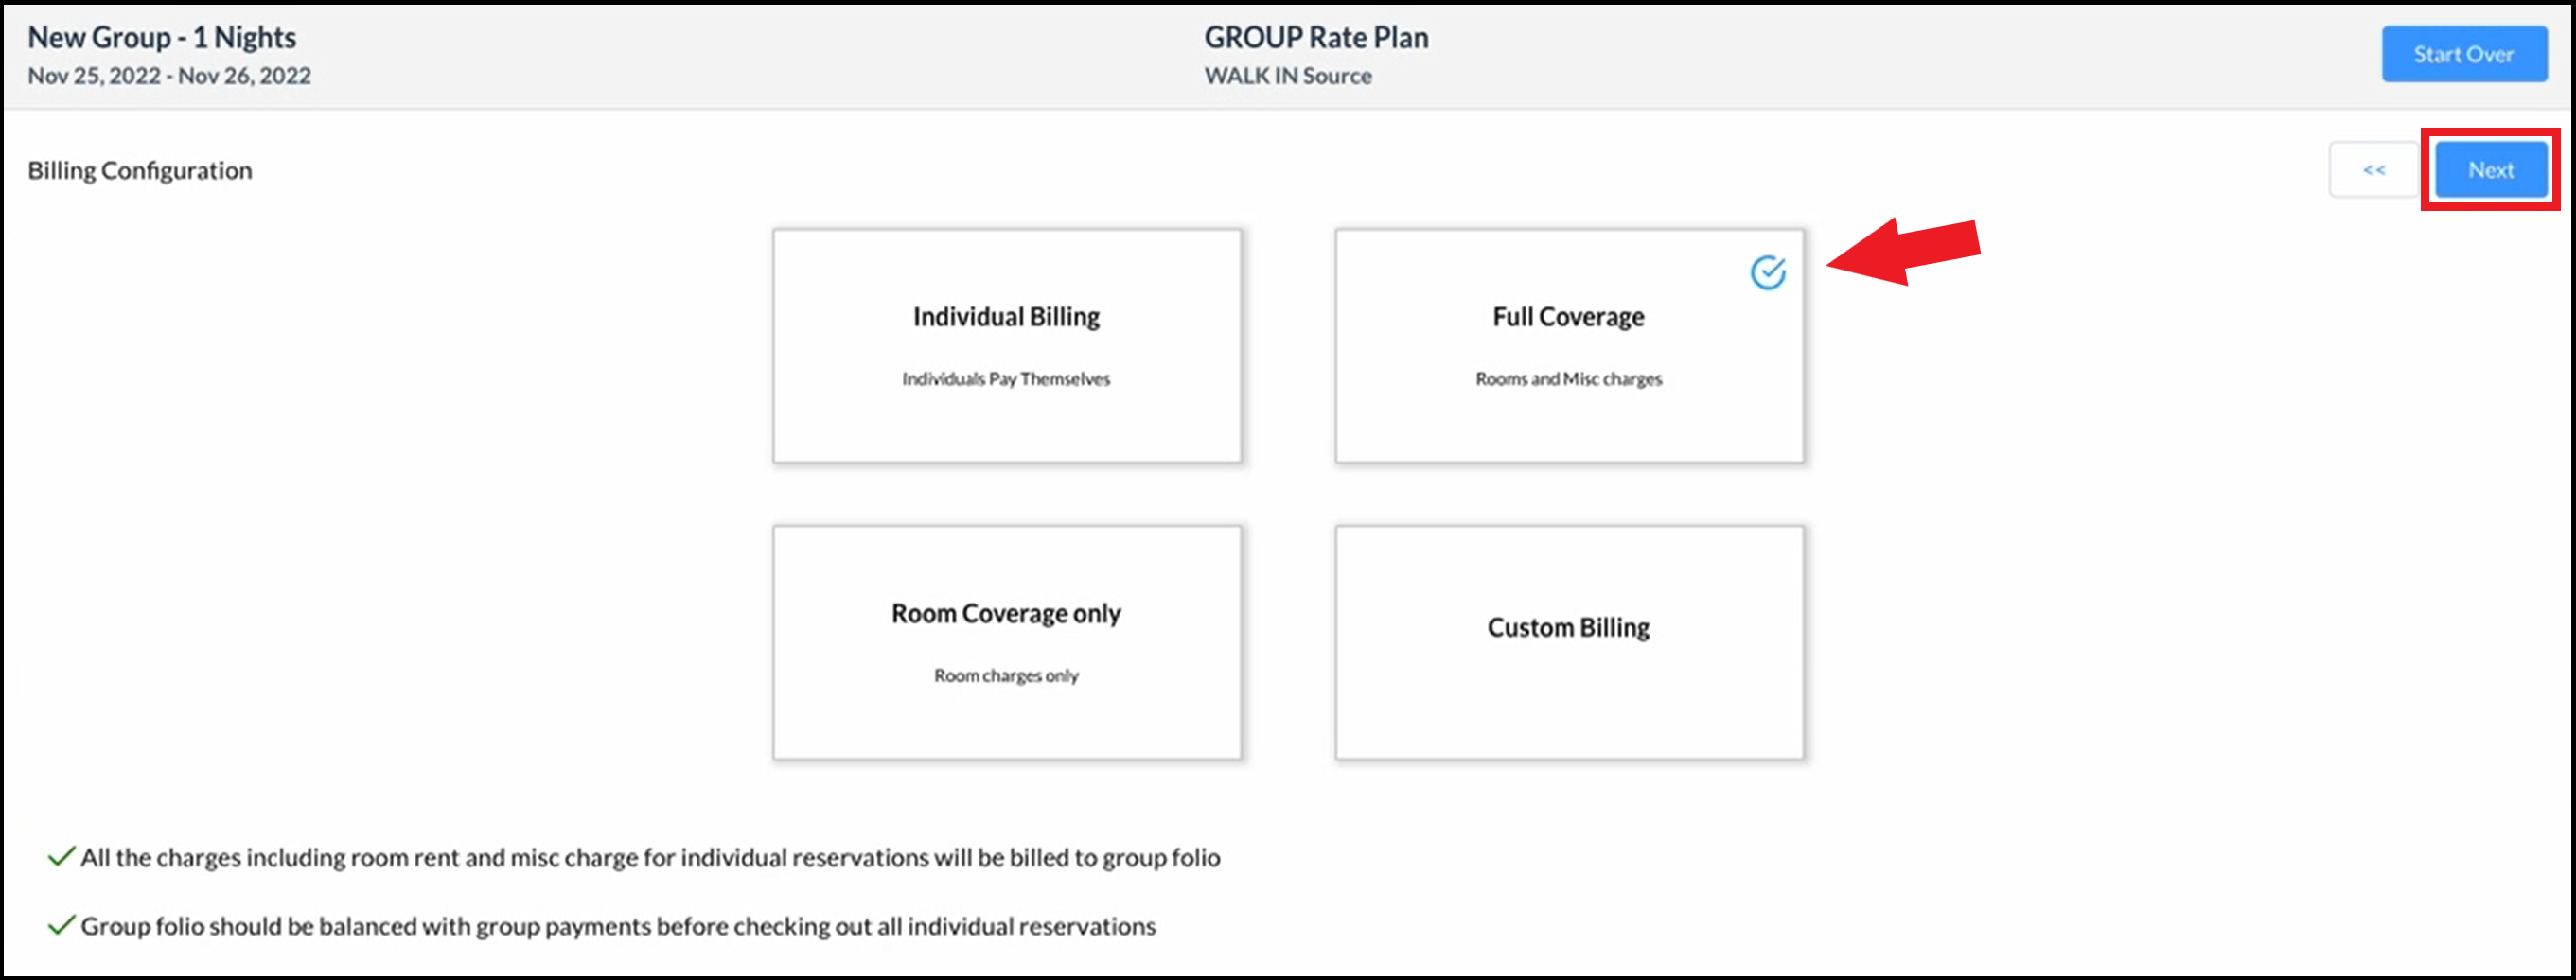
The Billing Configuration panel loads. Select the preferred Billing Configuration and click on Next to continue. Note that when a billing type is selected its details display at the bottom left of the panel, as shown at right.
|
|
|
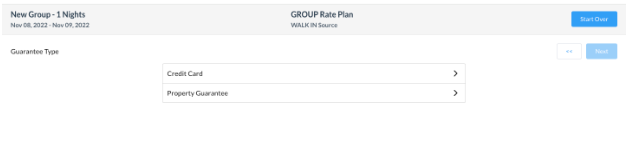
Select the guarantee type from the given options and click on Next |
|
|
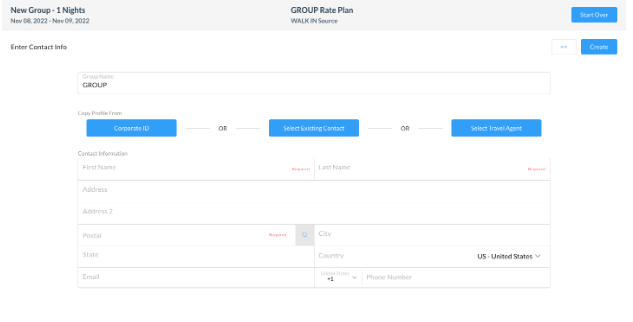
The Enter Contact Info panel loads. Enter details for the group’s designated contact person. Select Create to create the group master
|
|
|
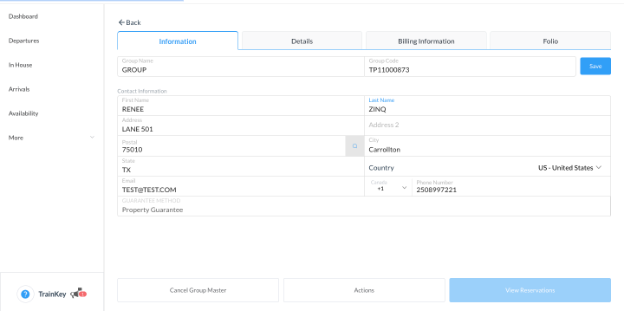
A Success popup briefly displays and you will be taken to the group created
|
|