
Create a Group Master .v2
📆 Revision Date:
This article covers the steps to create a reservation for a group of guests, such as a travel tour or leisure group. Steps to create a group with the Pricing Method By Product (default method) or By Occupancy are explained. Also covered is Attaching a Local Company
Note that system configuration can vary by enterprise and property, some systems include custom pages or configuration screens that may or may not be included here.
Select Group Master on the Dashboard. | 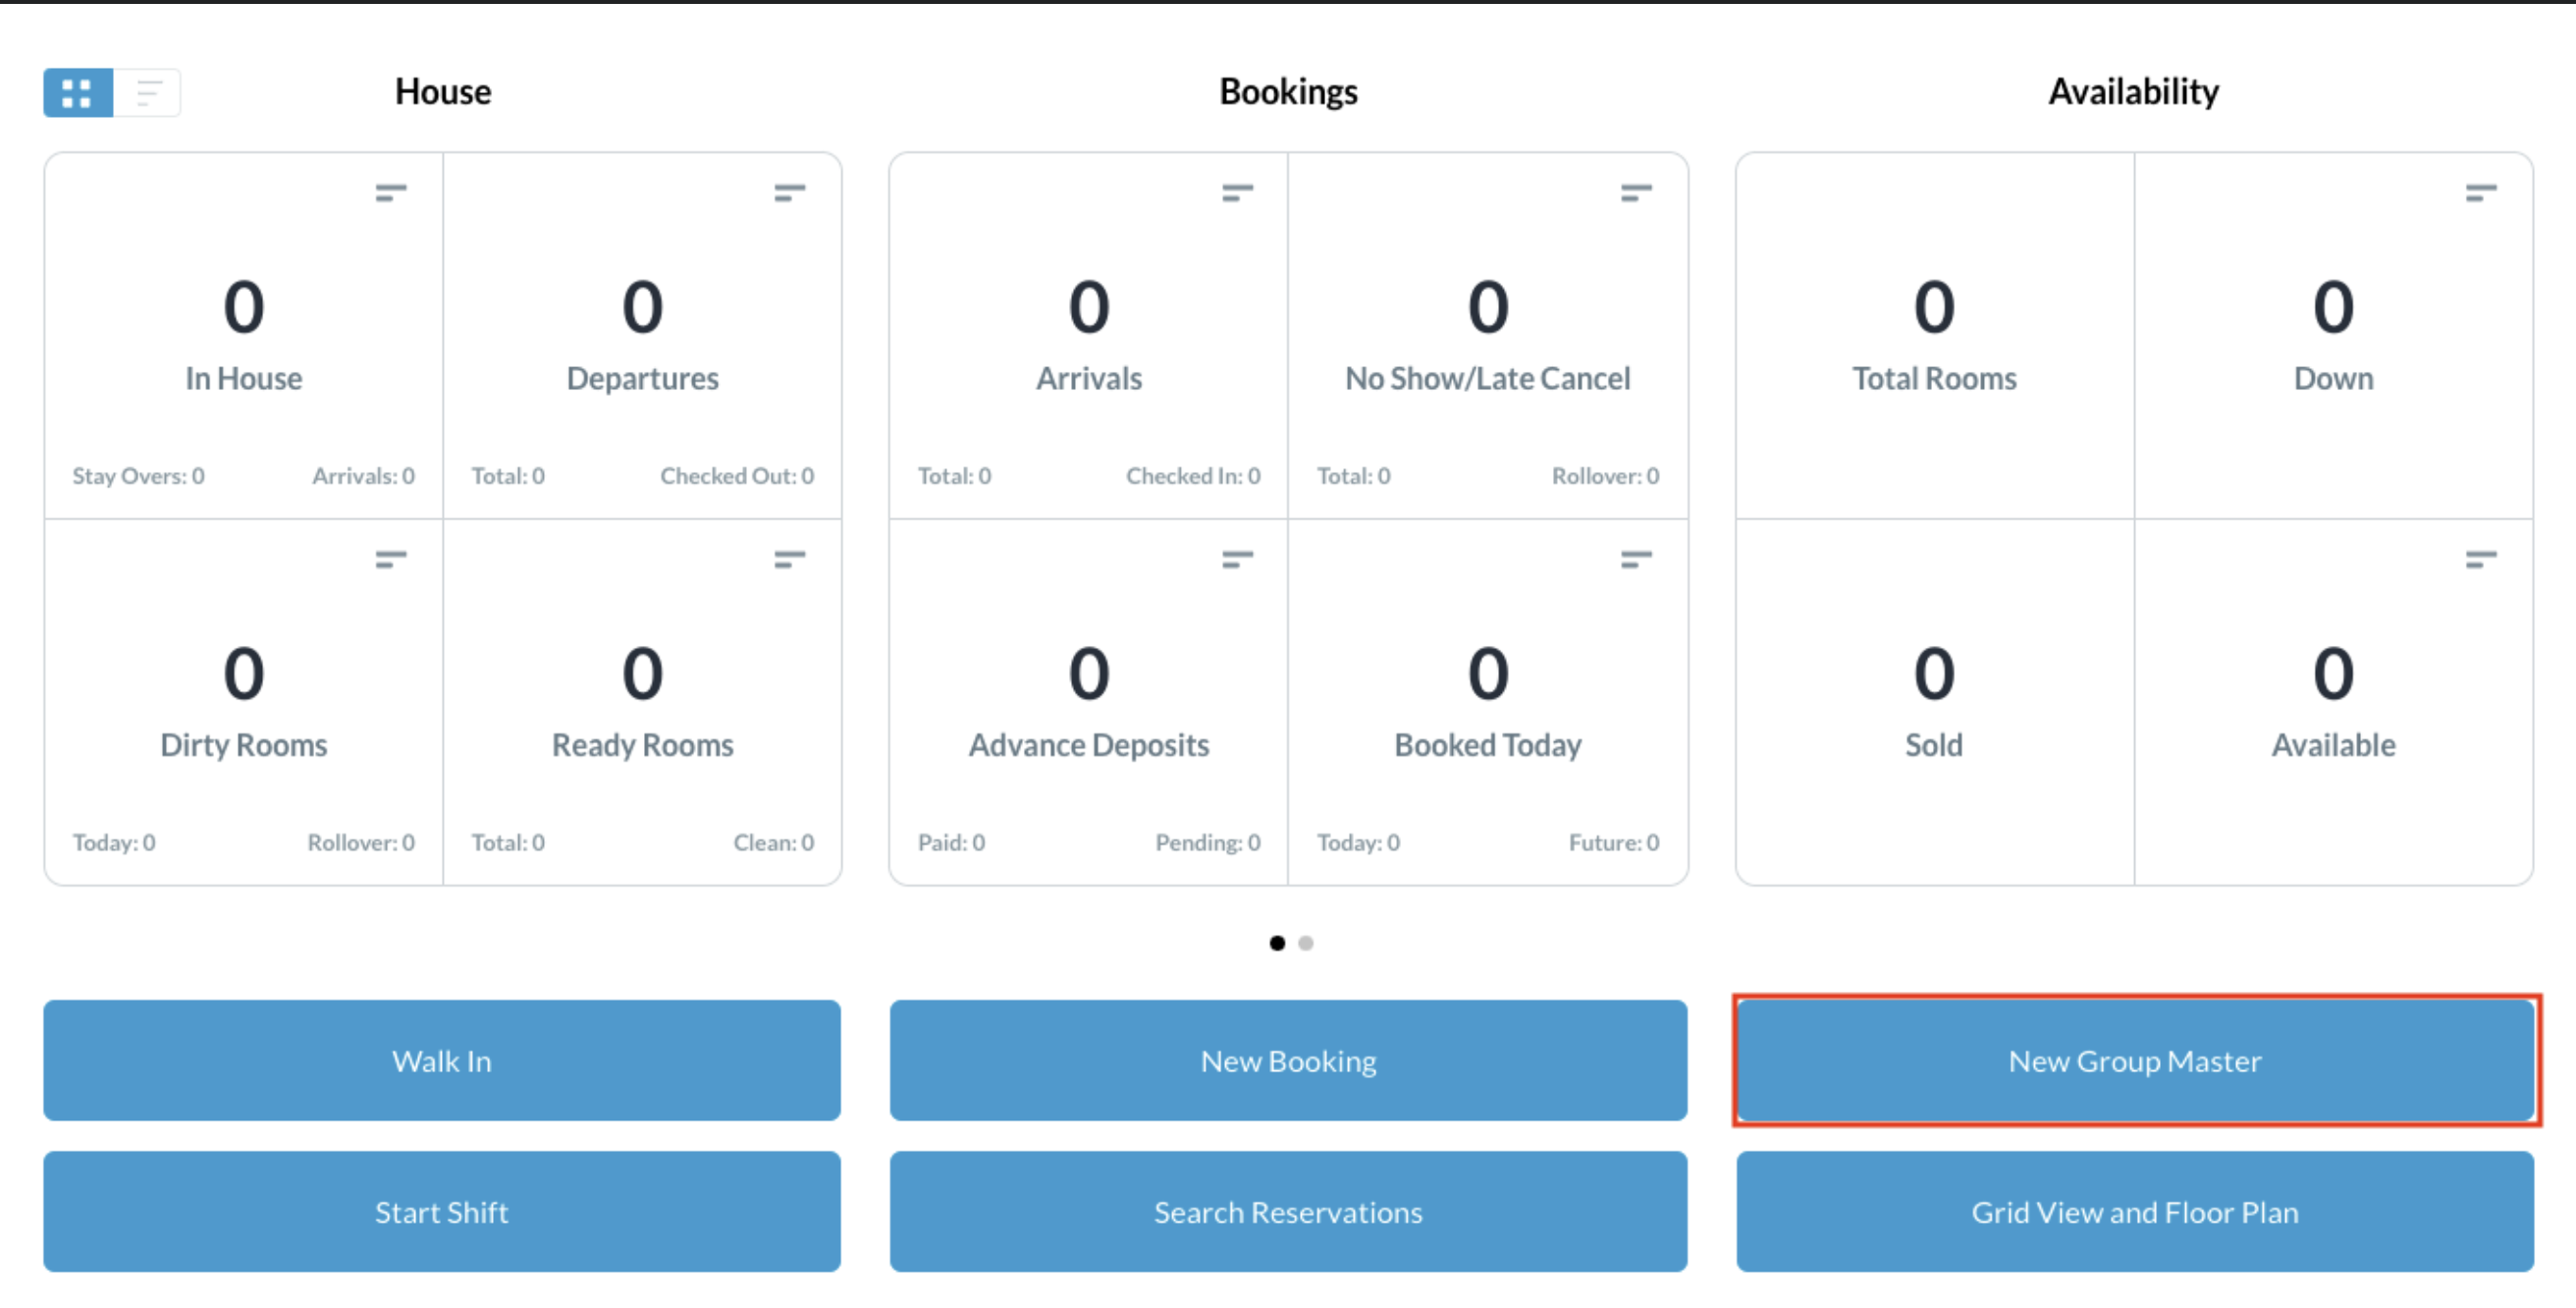 |
The Create Group panel loads. | 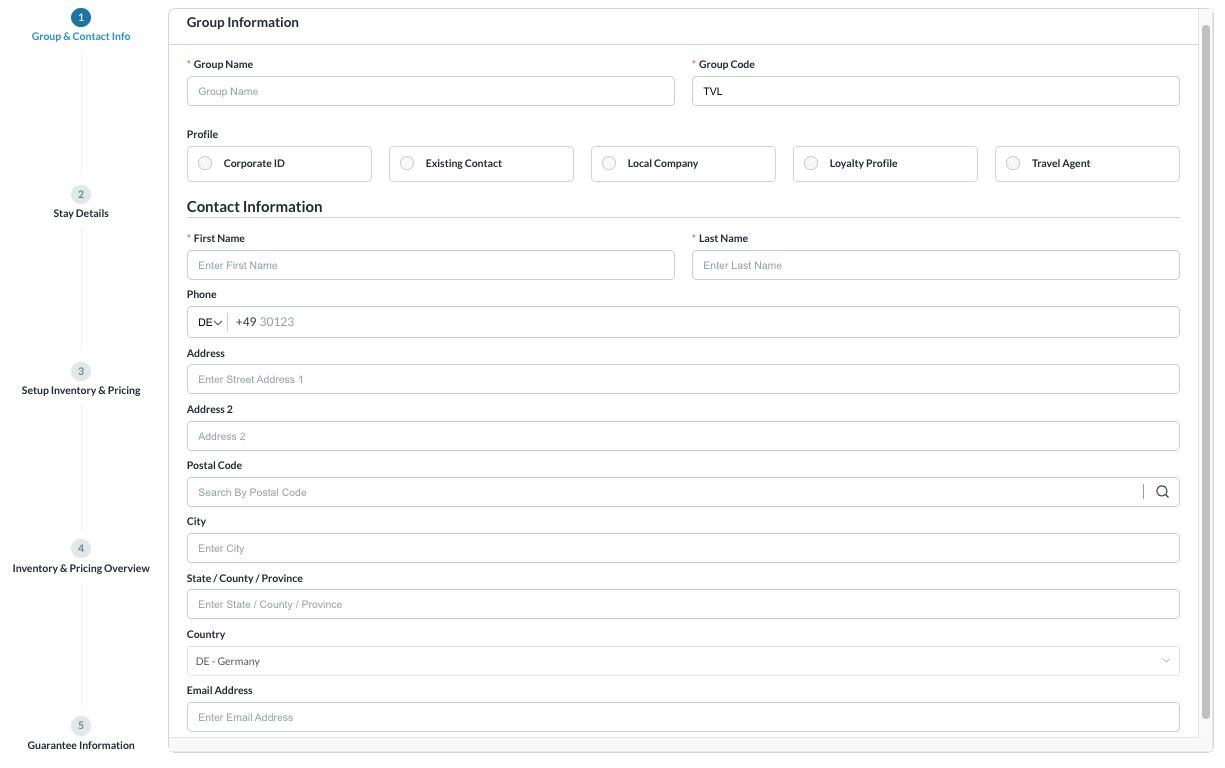 |
Begin by entering
|  |
Select to copy the profile from a Corporate ID, Existing Contact, Local Company, Loyalty Profile or Travel Agent Or enter Contact Information separately. |  |
Enter the Contact Information for the group and Select Next | 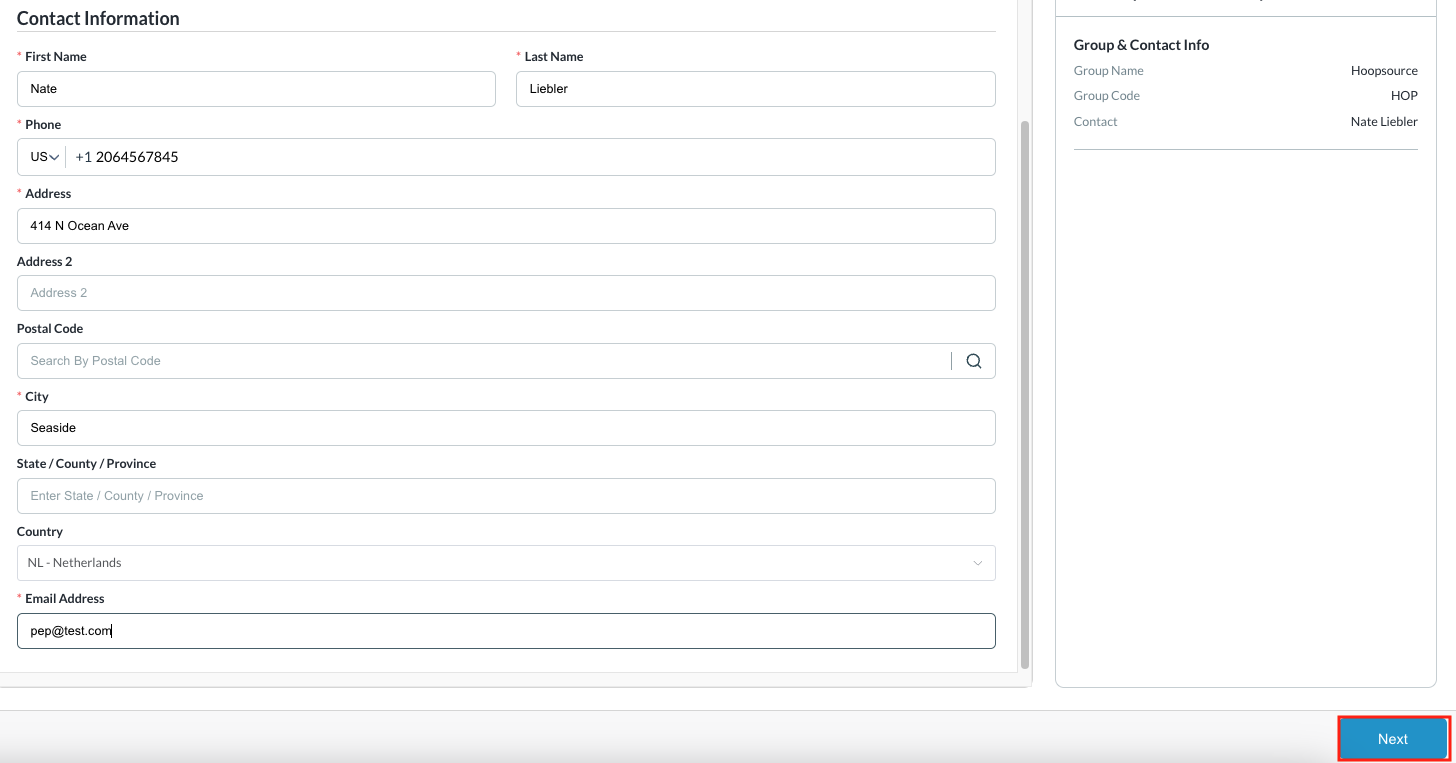 |
Group Stay Details loads Enter the applicable Arrival Date and Departure Date for the group block. Elastic - if toggled ON, the group is allowed to book above contracted and authorized rooms as long as there is house availability. Note - This feature is not utilized by every enterprise. Shoulder Start and End Dates - refers to selected dates preceding the check-in date and following the check-out date. These dates extend the booking window for guests who may arrive early or depart later than the scheduled group dates. | 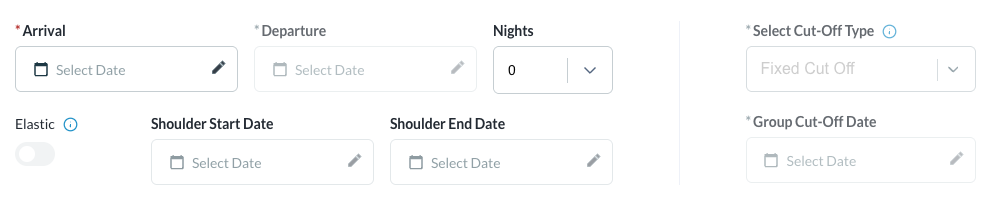 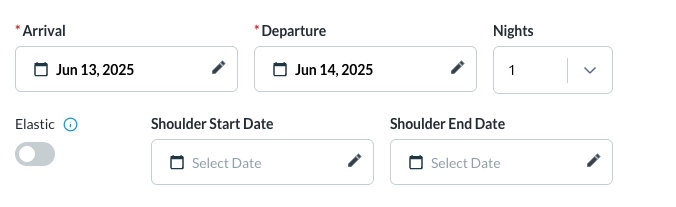 |
Select Cut off Type - this defines how unsold rooms in the group block will be released, select the applicable type.
| 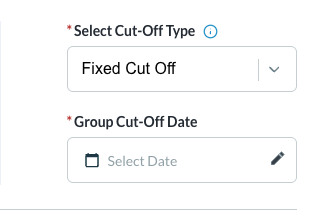 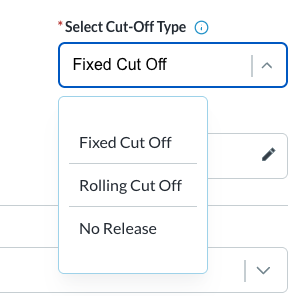 |
Select the Rate Plan from the dropdown for the applicable group Rate Plan Name. | 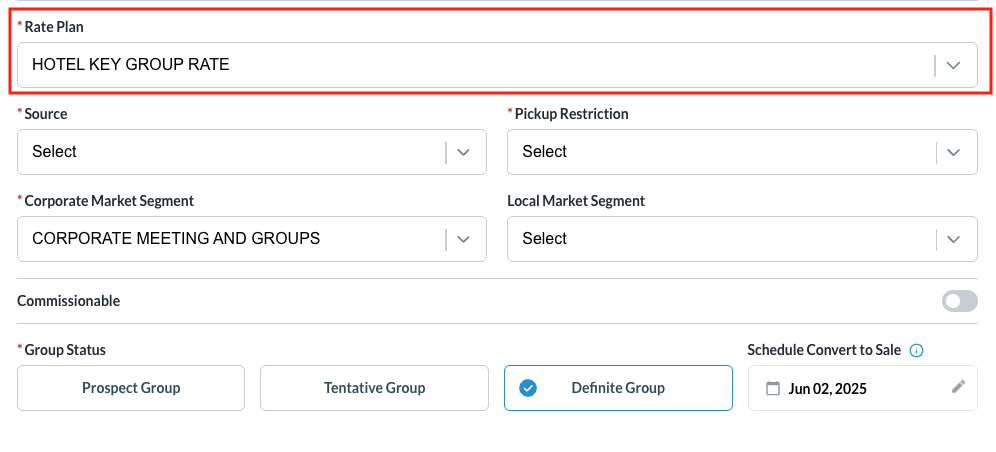 |
Select Source: From the drop down, choose the source of the group | 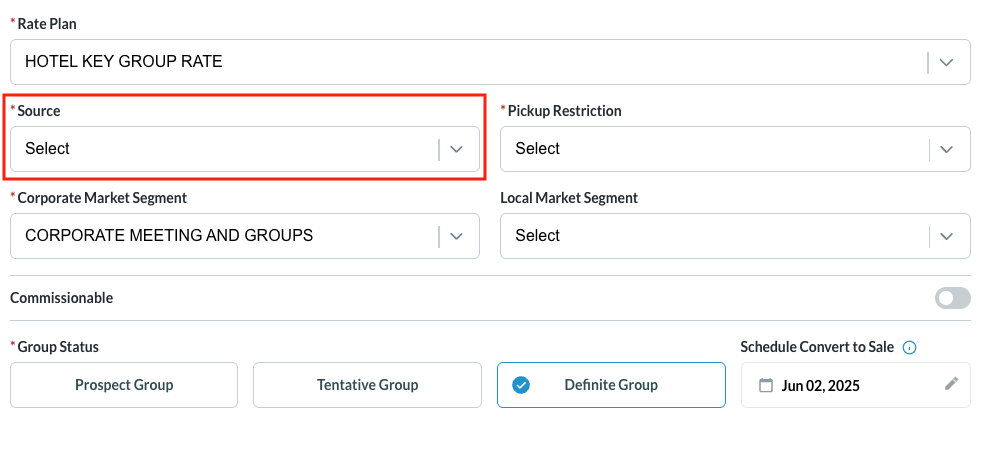 |
Select Pickup Restriction:
Note - When selecting ‘Open to All Channels’ as the pickup restriction - a booking link is created that can be shared as a method to book via the direct link. The link can be found on the Group Master Information Tab |  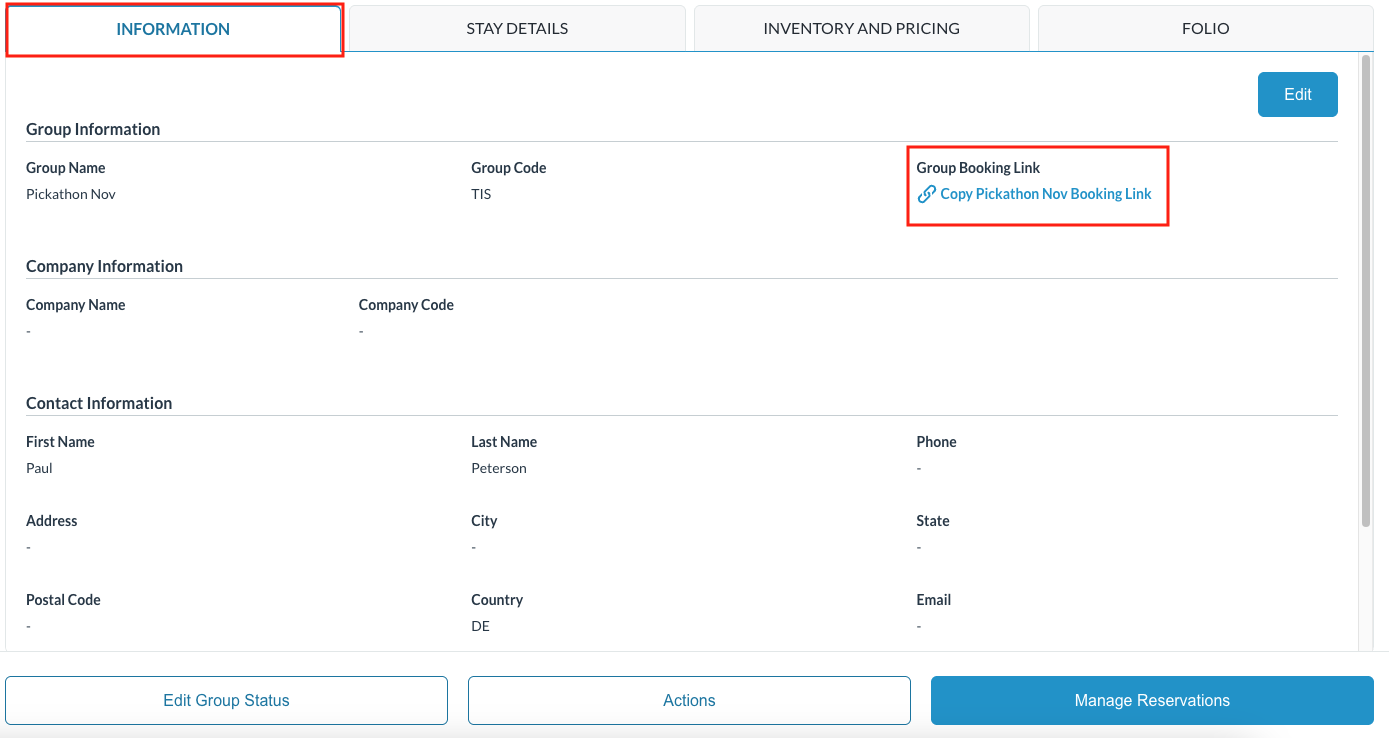 |
Market Segments:
Note - when the local market segment is selected, the group’s production will show in Local Market Segment Reports | 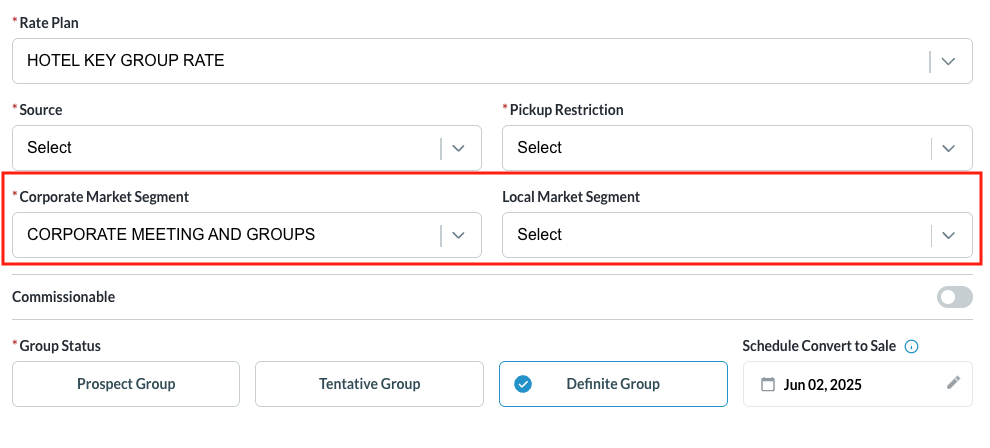 |
Deposit Policies: Allows a deposit amount and days before arrival to be configured, up to 3 policies can be added.
After the criteria are set, enter the number of days and fixed amount in the accompanying fields. Note, if connected to a guest reservation system - updates are automatically synced, activating the deposit requirement and overwriting previous values. | 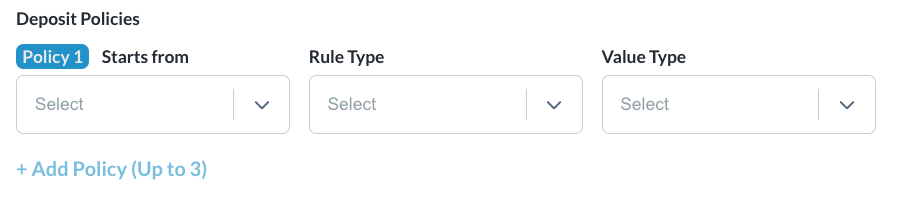 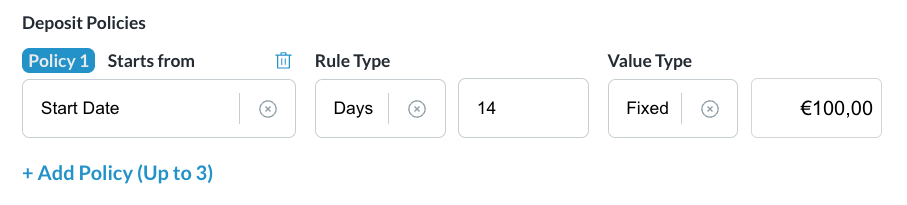 ex: $100 will be taken 14 days prior to the starting date of the group master. |
Commissionable: Toggle the flag to ON for groups that earn a commission | 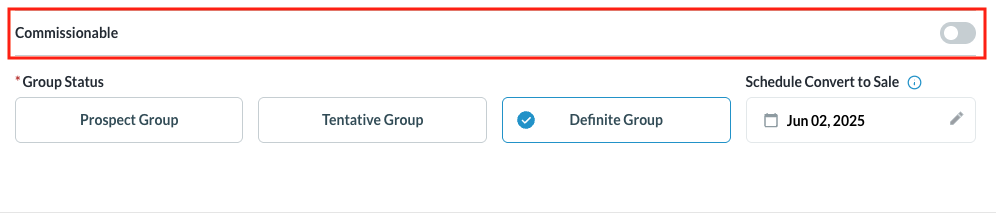 |
Select the Group Status:
Schedule Convert to Sale - when the group status for Tentative is selected, this field becomes editable and serves as a reminder when to convert a Tentative group to definite or canceled. Click on NEXT to proceed | 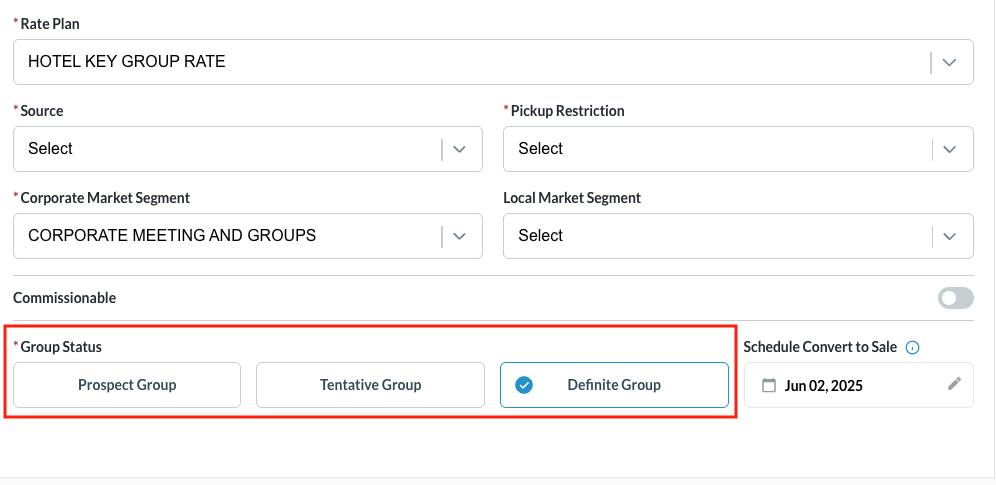 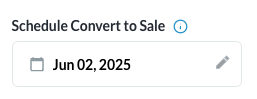 |
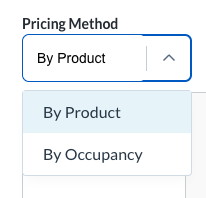
The Inventory & Pricing screen loads Select the Pricing Method to be used for creating the group. Notice, by default, the By Product pricing method is selected | 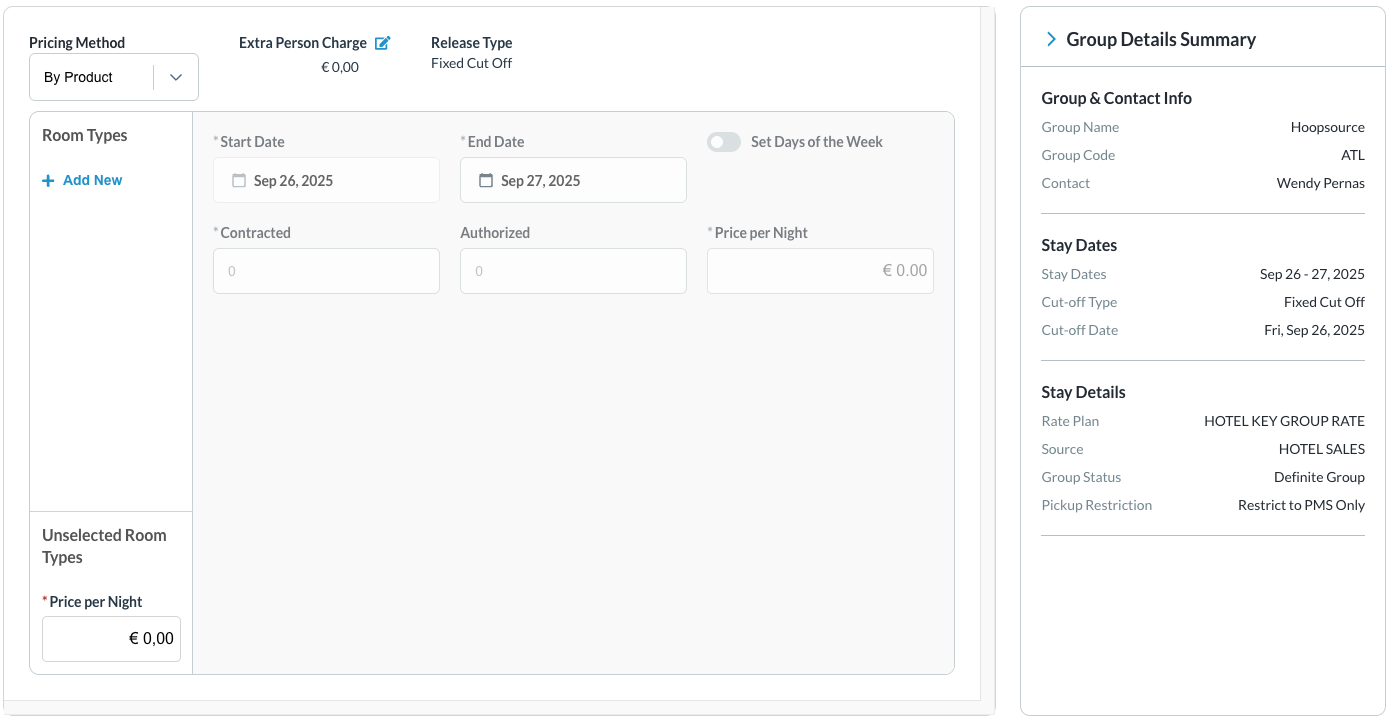 |
Pricing Method By Product - allows hotels to set group rates based on specific room types, without factoring in the number guests in the room. An extra person charge can be added to the base price.
By Occupancy - allows hotels to set rates based on the numbers and type of guests in the room, such as adults and children, for each date range and room type.
|  |
Pricing Method as By Product (default) Add the Extra Person Charge | 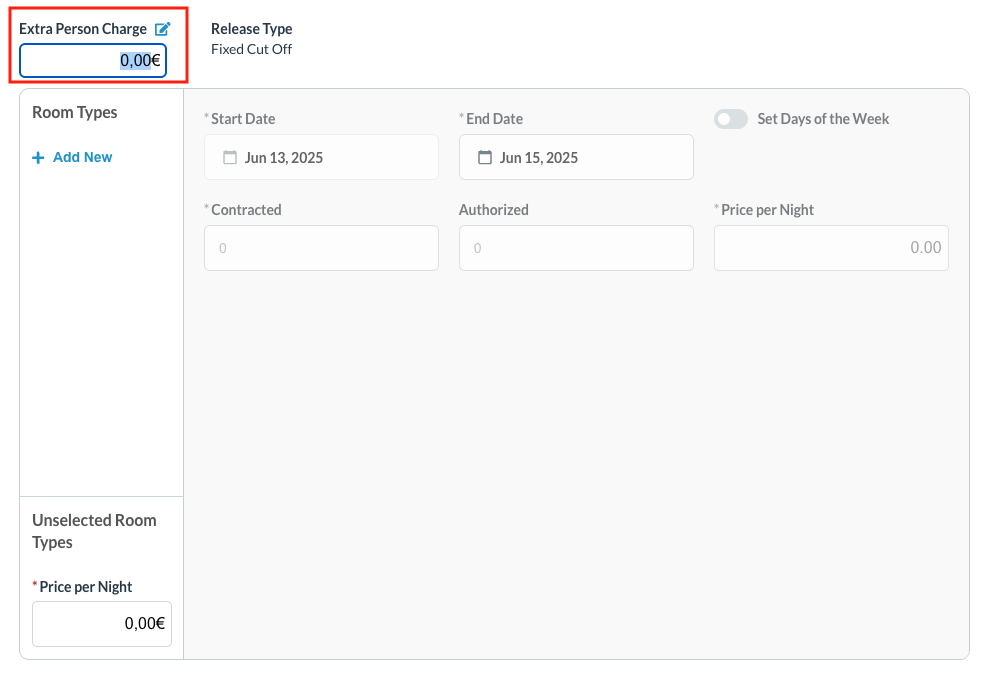 |
Select Room Types | 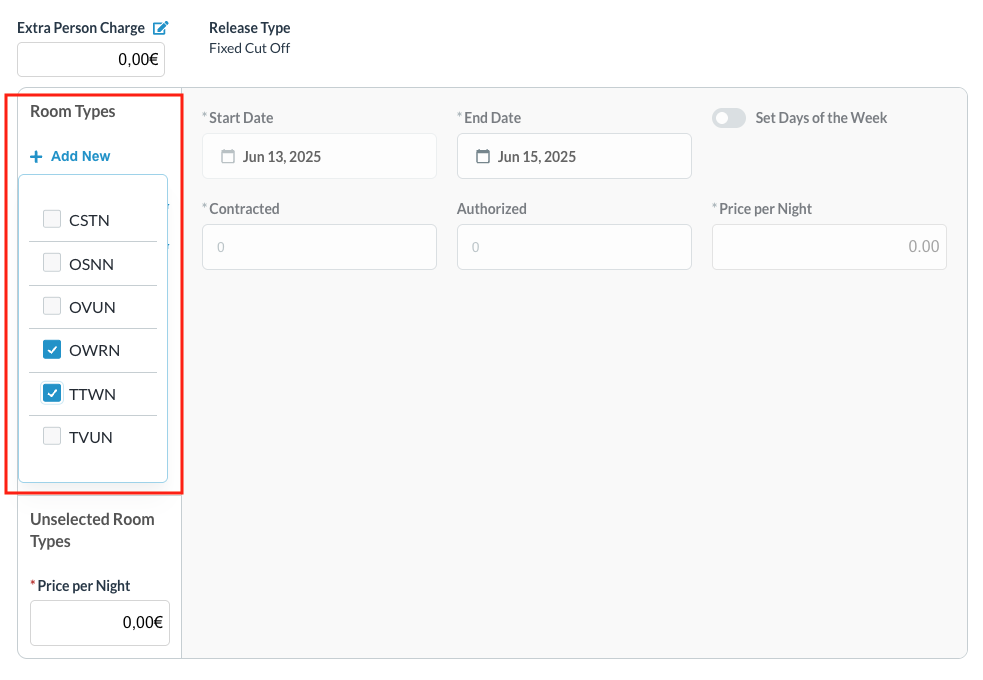 |
Select Allotments
Note - you can select all room types and setup the allotments and pricing for them as the same or setup for each room type individually |  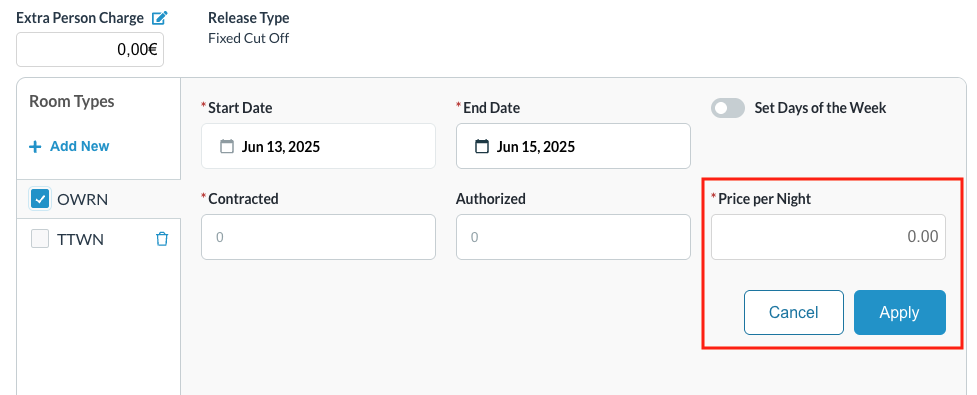 |
Unselected Room Types: Enter a room rate for the unselected room types | 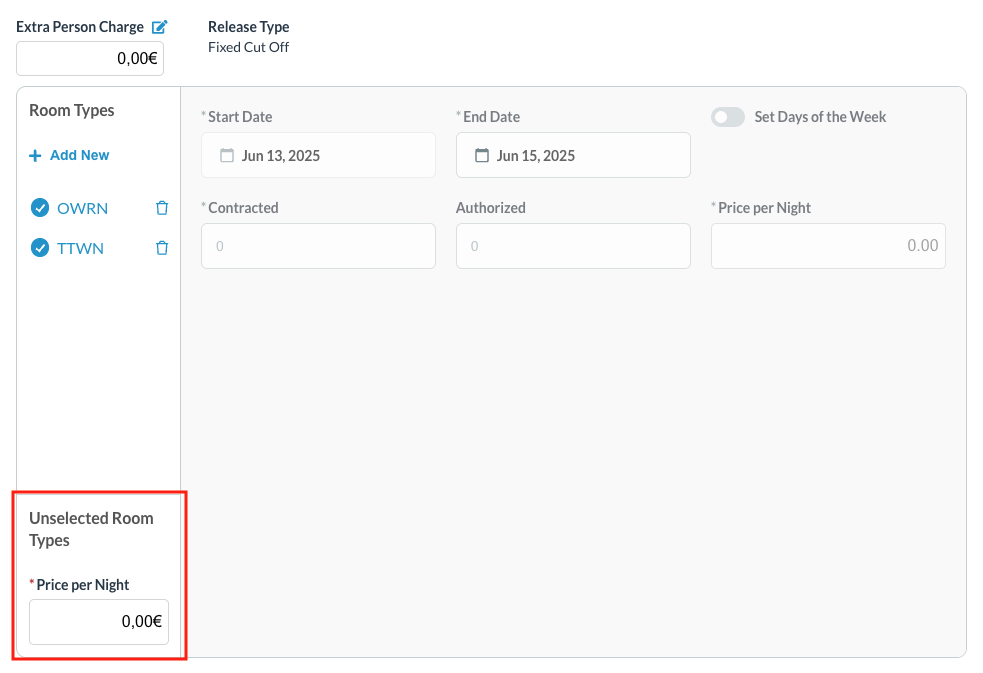 |
Pricing Method as By Occupancy Steps are similar to Product steps:
|  Note on Adult and Child pricing:
The property can change the default range by opening a support ticket |
Group Details Summary Notice - while creating the group block, the details entered will show on the right side of the each screen. Select Next to continue | 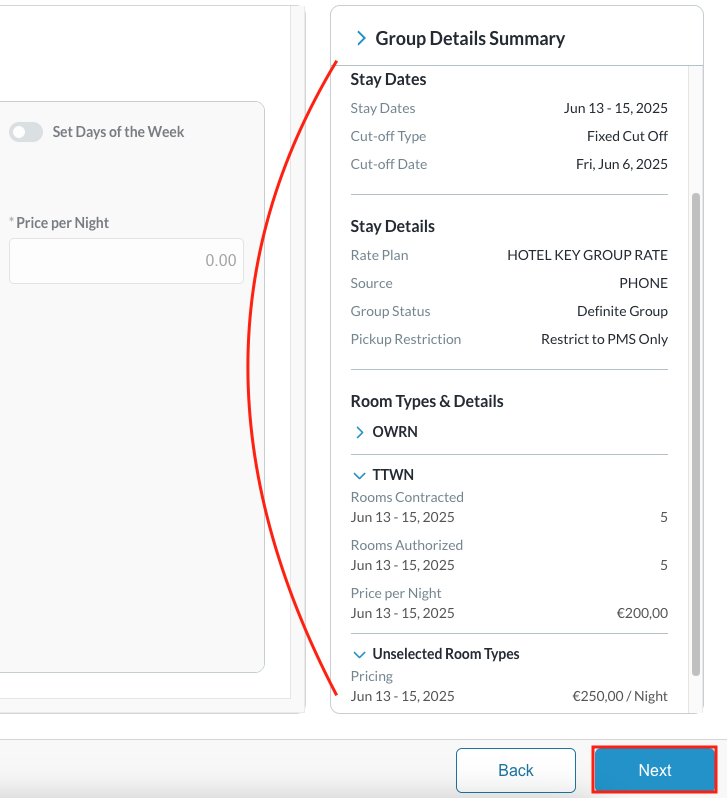 |
Review Allotments First box includes an overview of the block for the dates inventory is allocated:
| 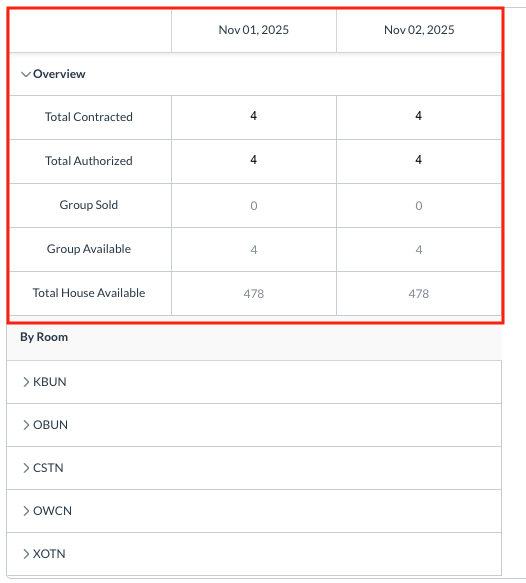 |
Notice - Selected room types are listed first. Open each room type to view:
| 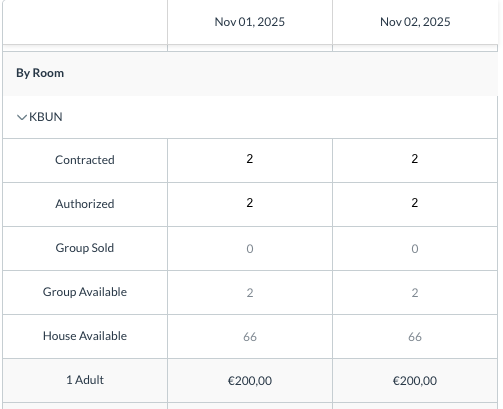 |
Unselected Room Types for the group block can be viewed after those that have been selected. Notice - Unselected Room Types will show
Click on NEXT to proceed | 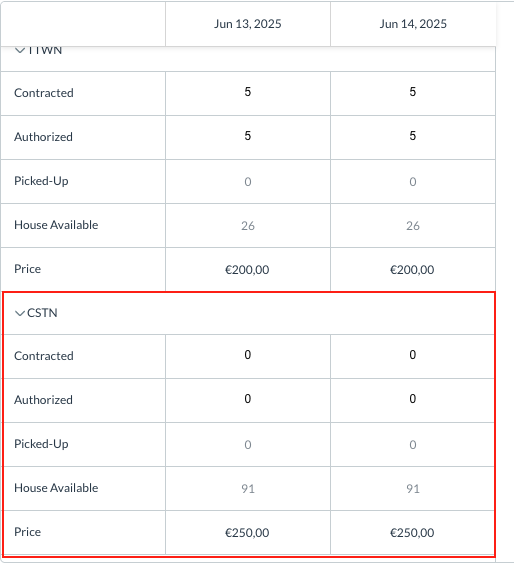 |
The Guarantee Information panel loads. Select the preferred Billing Configuration Type and click on Next to continue. Select the Guarantee Type from the given options and click on Confirm | 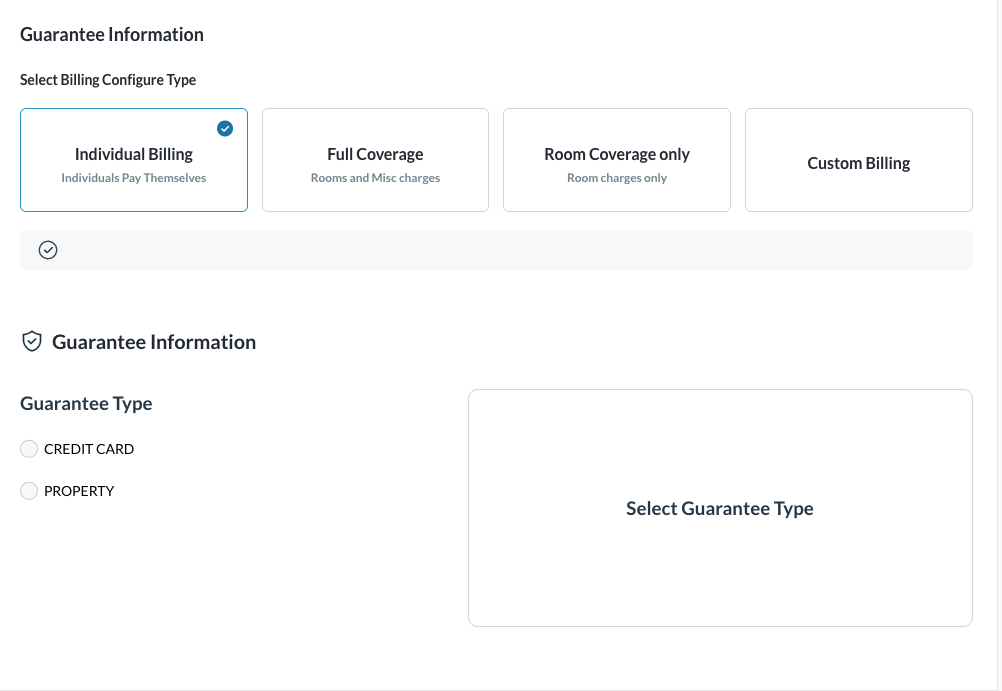 |
Click on the final Confirm to create the Group Master | 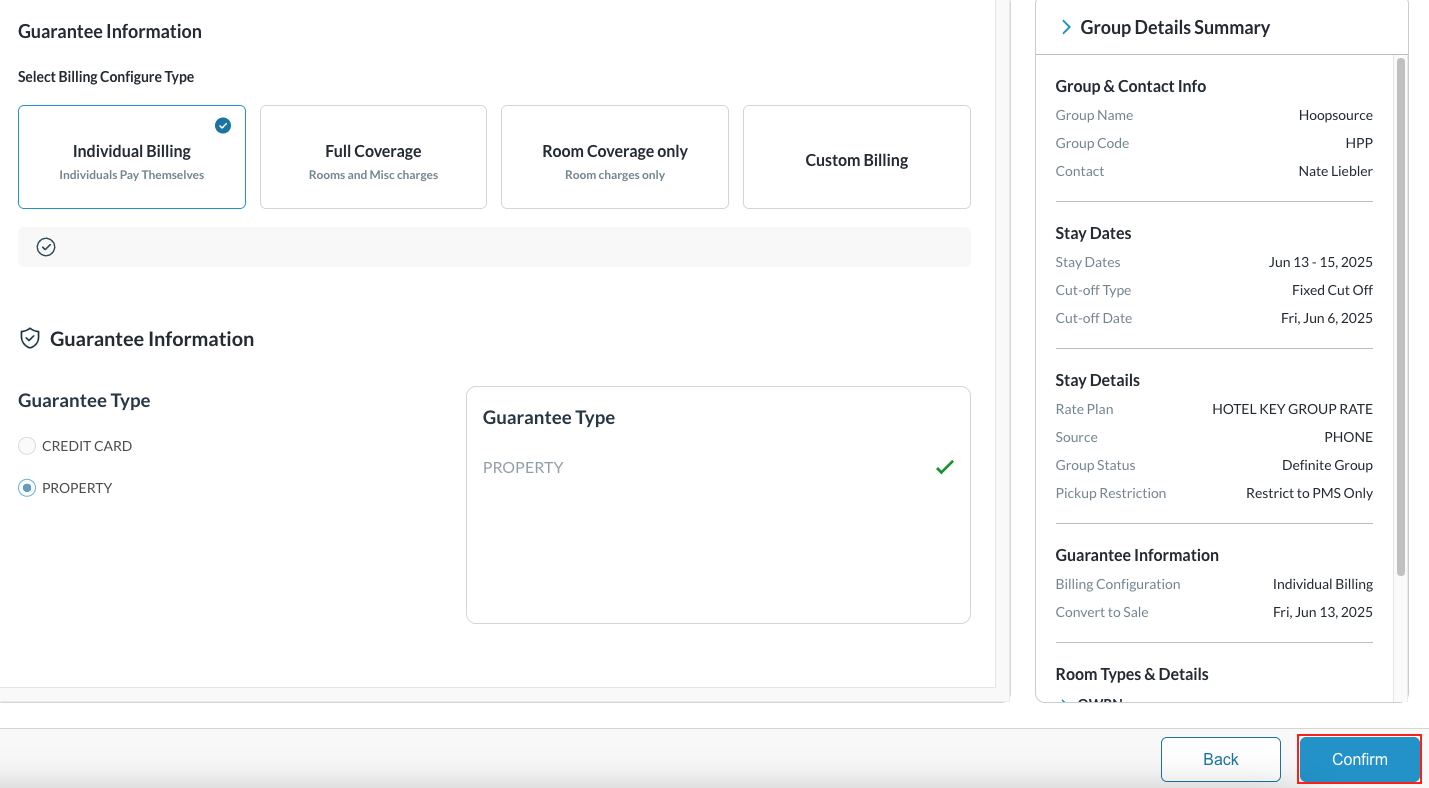 |
Attaching a Local Company (create a Company Group Master)
Enter Contact Info & Book screen - Enter details for Group Name and Group Code Then select to copy the profile from an existing Corporate ID or a Local Company Select the company from the returned results by clicking on the company name and complete any fields in the address that are not populated Should the local company not exist, you will have the option to create one from this screen Proceed with completing the steps for group creation | 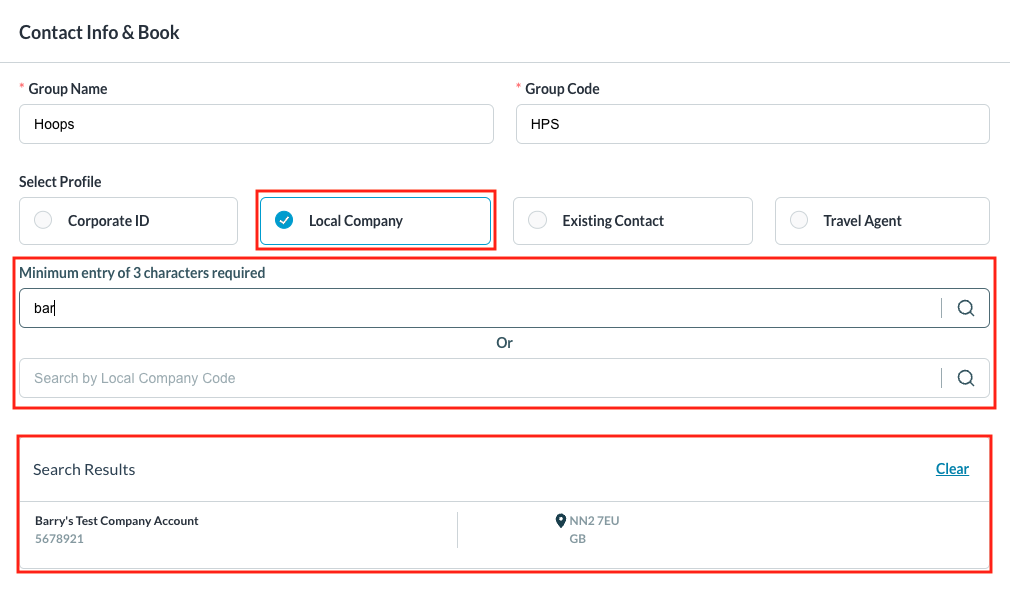 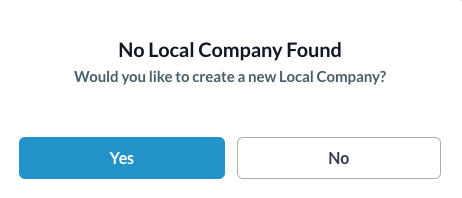 |