Skip table of contents

Menus

📆 Revision Date:

Menus in EventKey allow you to either upload a full banquet menu or build a customized menu by selecting from the available products within the system. This feature provides flexibility for catering and event planning by enabling you to tailor offerings based on the client’s needs. Once created, menus can be attached directly to Event Records and shared with clients through EventKey, ensuring clear communication and streamlined planning throughout the event process.

Before creating a Menu, ensure the following items are set up to guarantee proper configuration and functionality:

Why it’s needed:
Menus can be generated using products from an existing Package.

Action required:
Create the necessary Package before creating the Menu.

Why it’s needed:
Menus can also be created by selecting individual Products available in EventKey.

Action required:
Create the required Products before setting up the Menu.

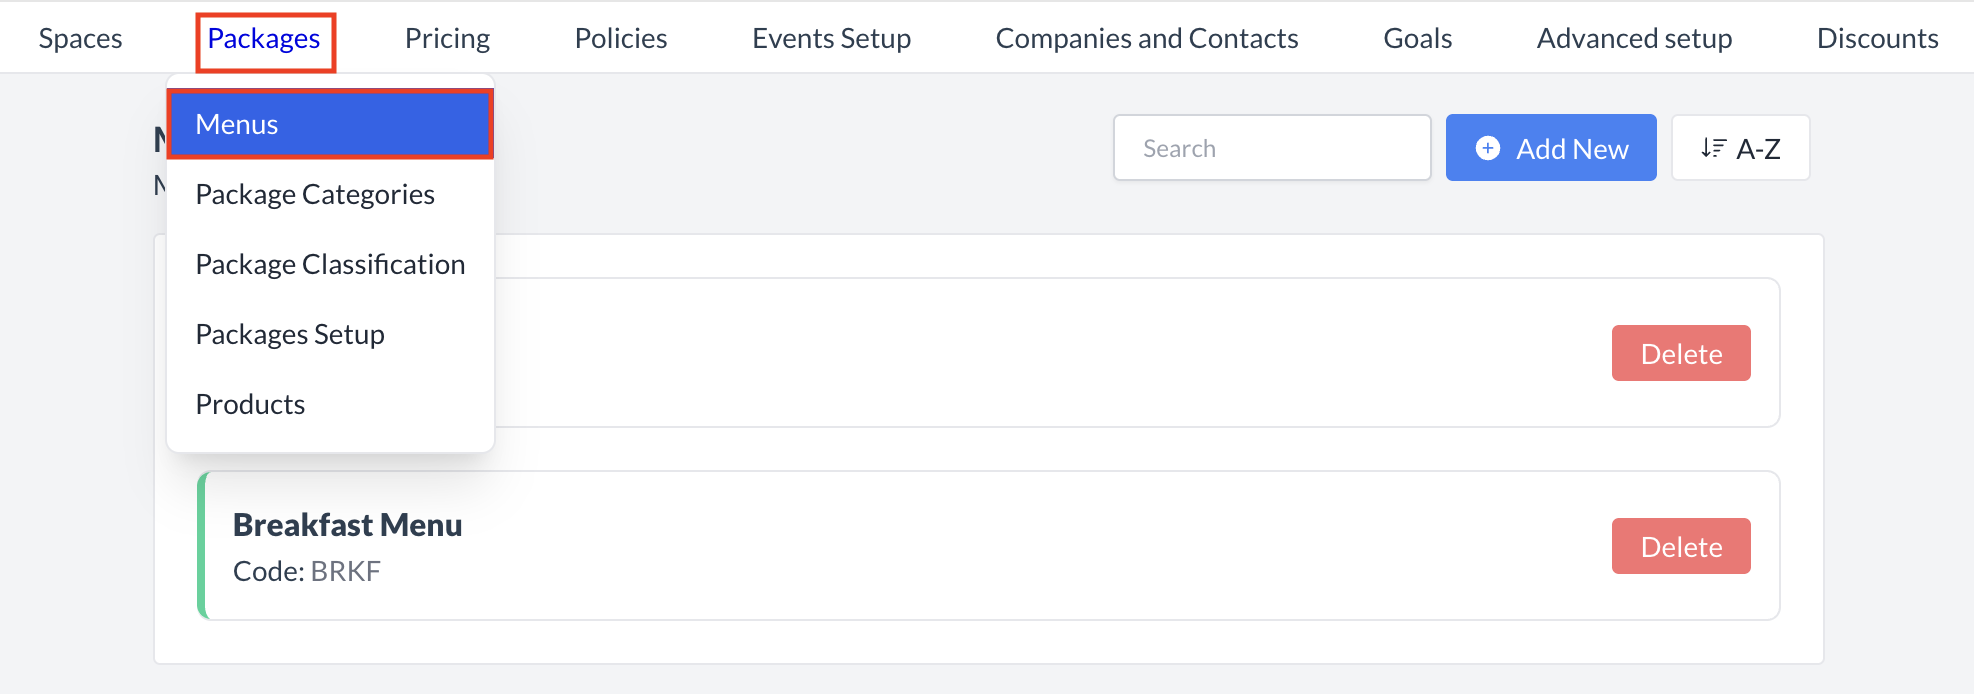
Navigate to Home > Event Administration > Packages > Menus

Packages_Menus.png

Packages > Menus

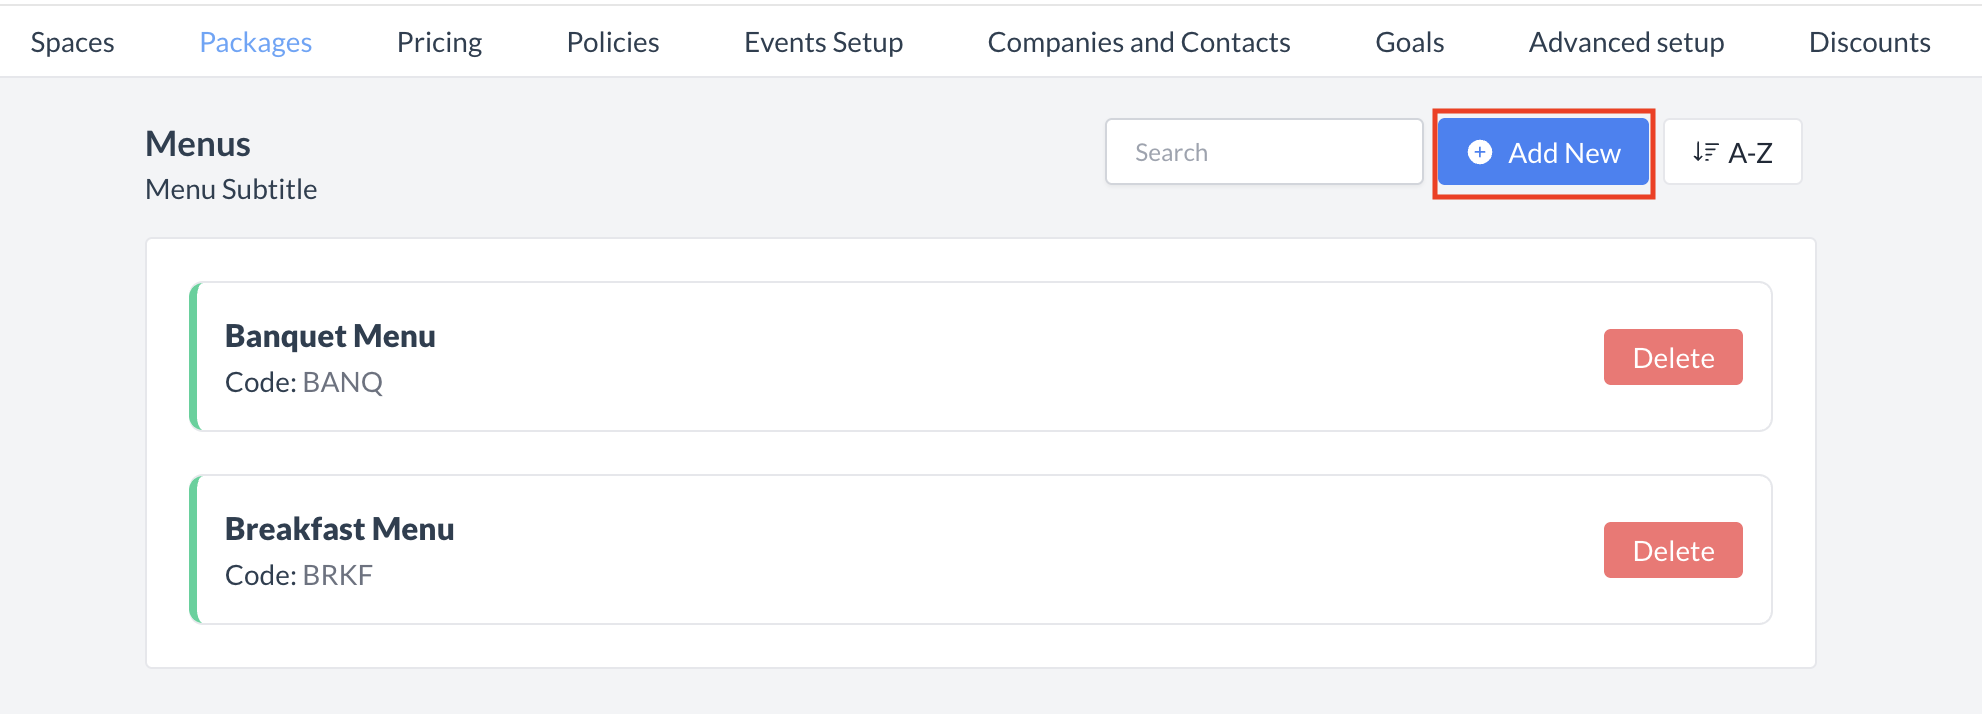
The Menus screen displays a list of all existing active menus available..

To create a new menu:

  1. Navigate to the Menus screen.

  2. Click the blue Add New button in the top-right corner to begin creating a new menu.

Spaces_Menus_Add New.png

Packages: Add New Menu

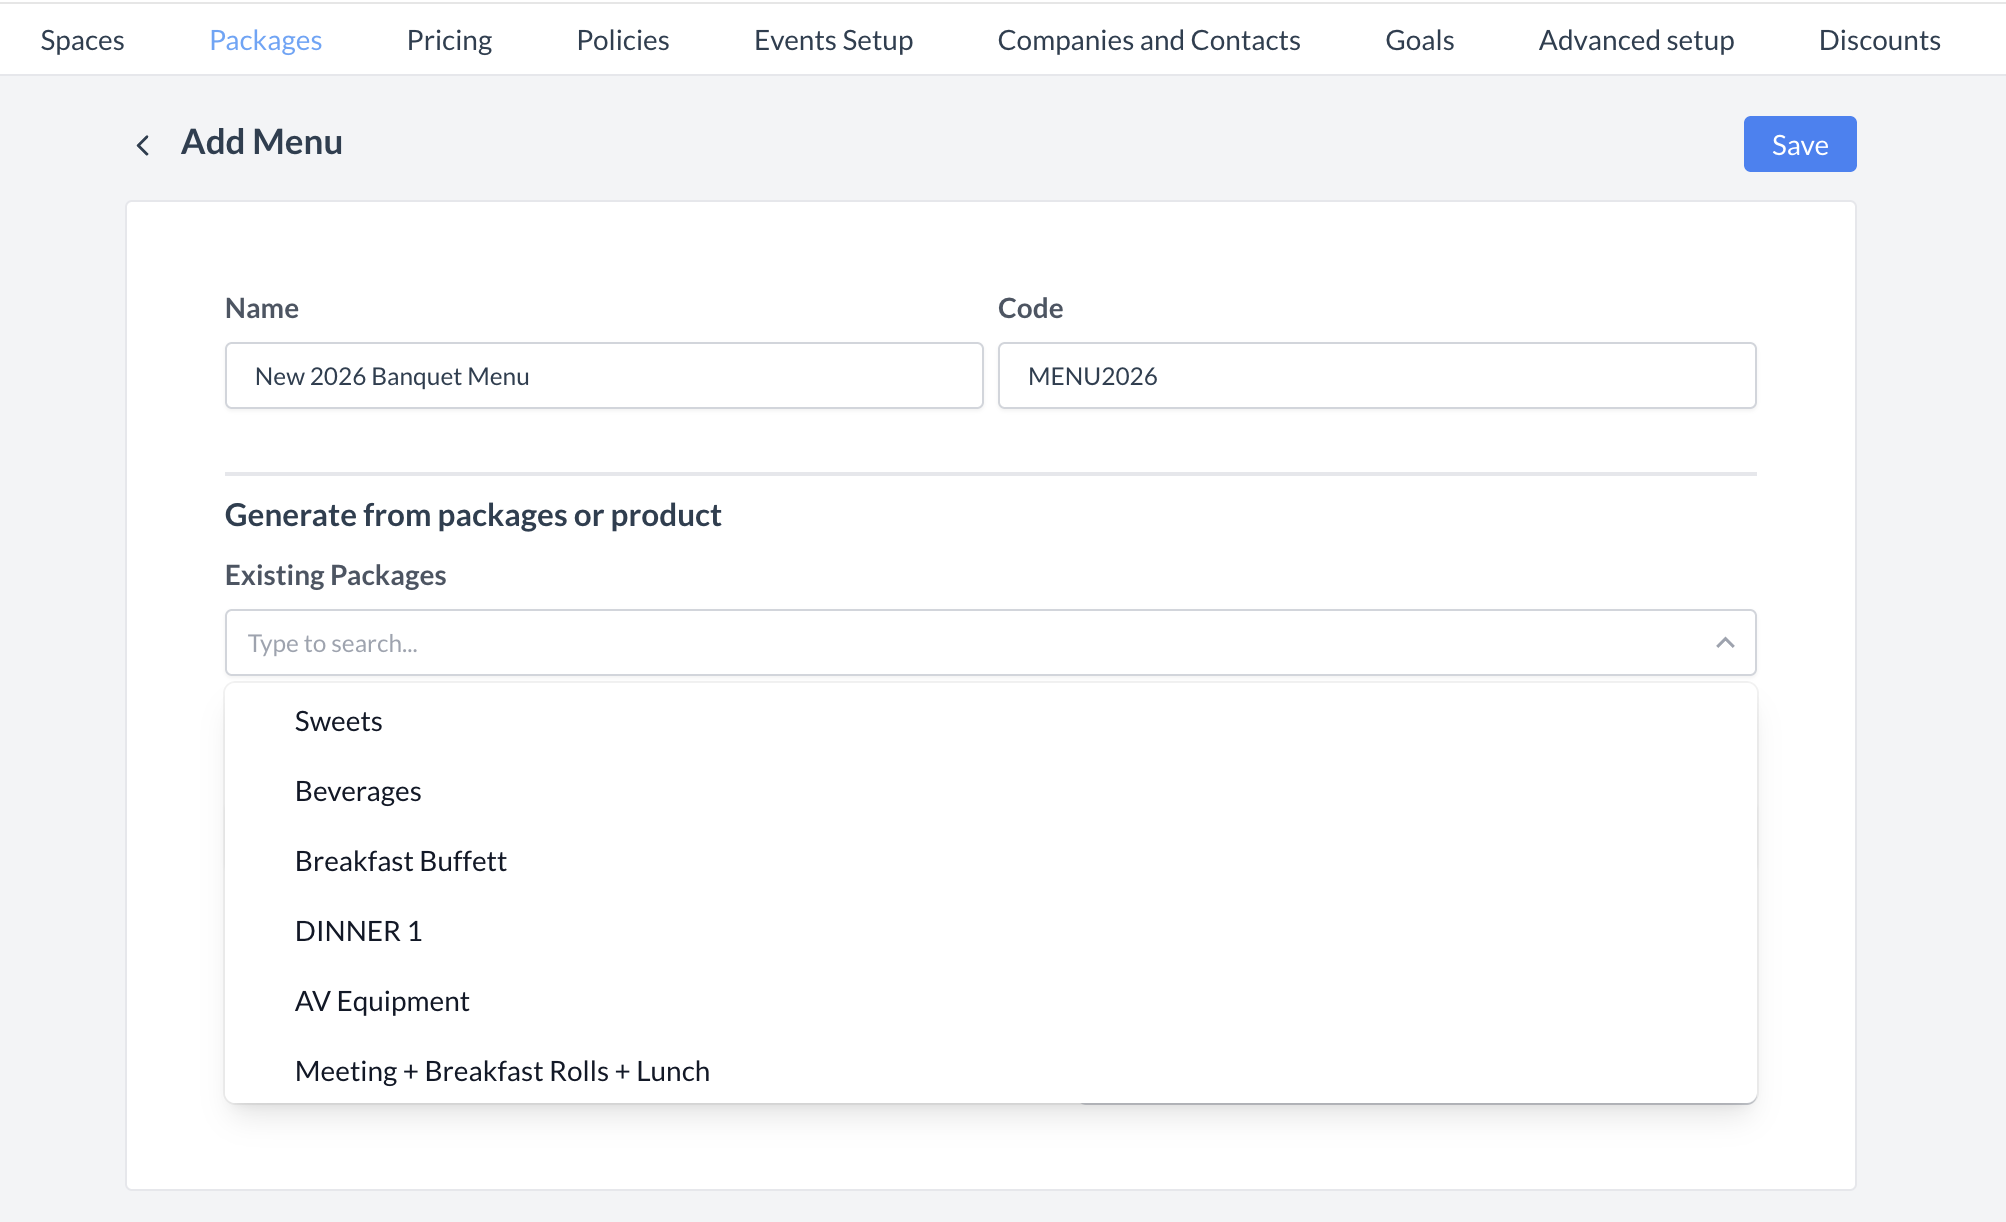
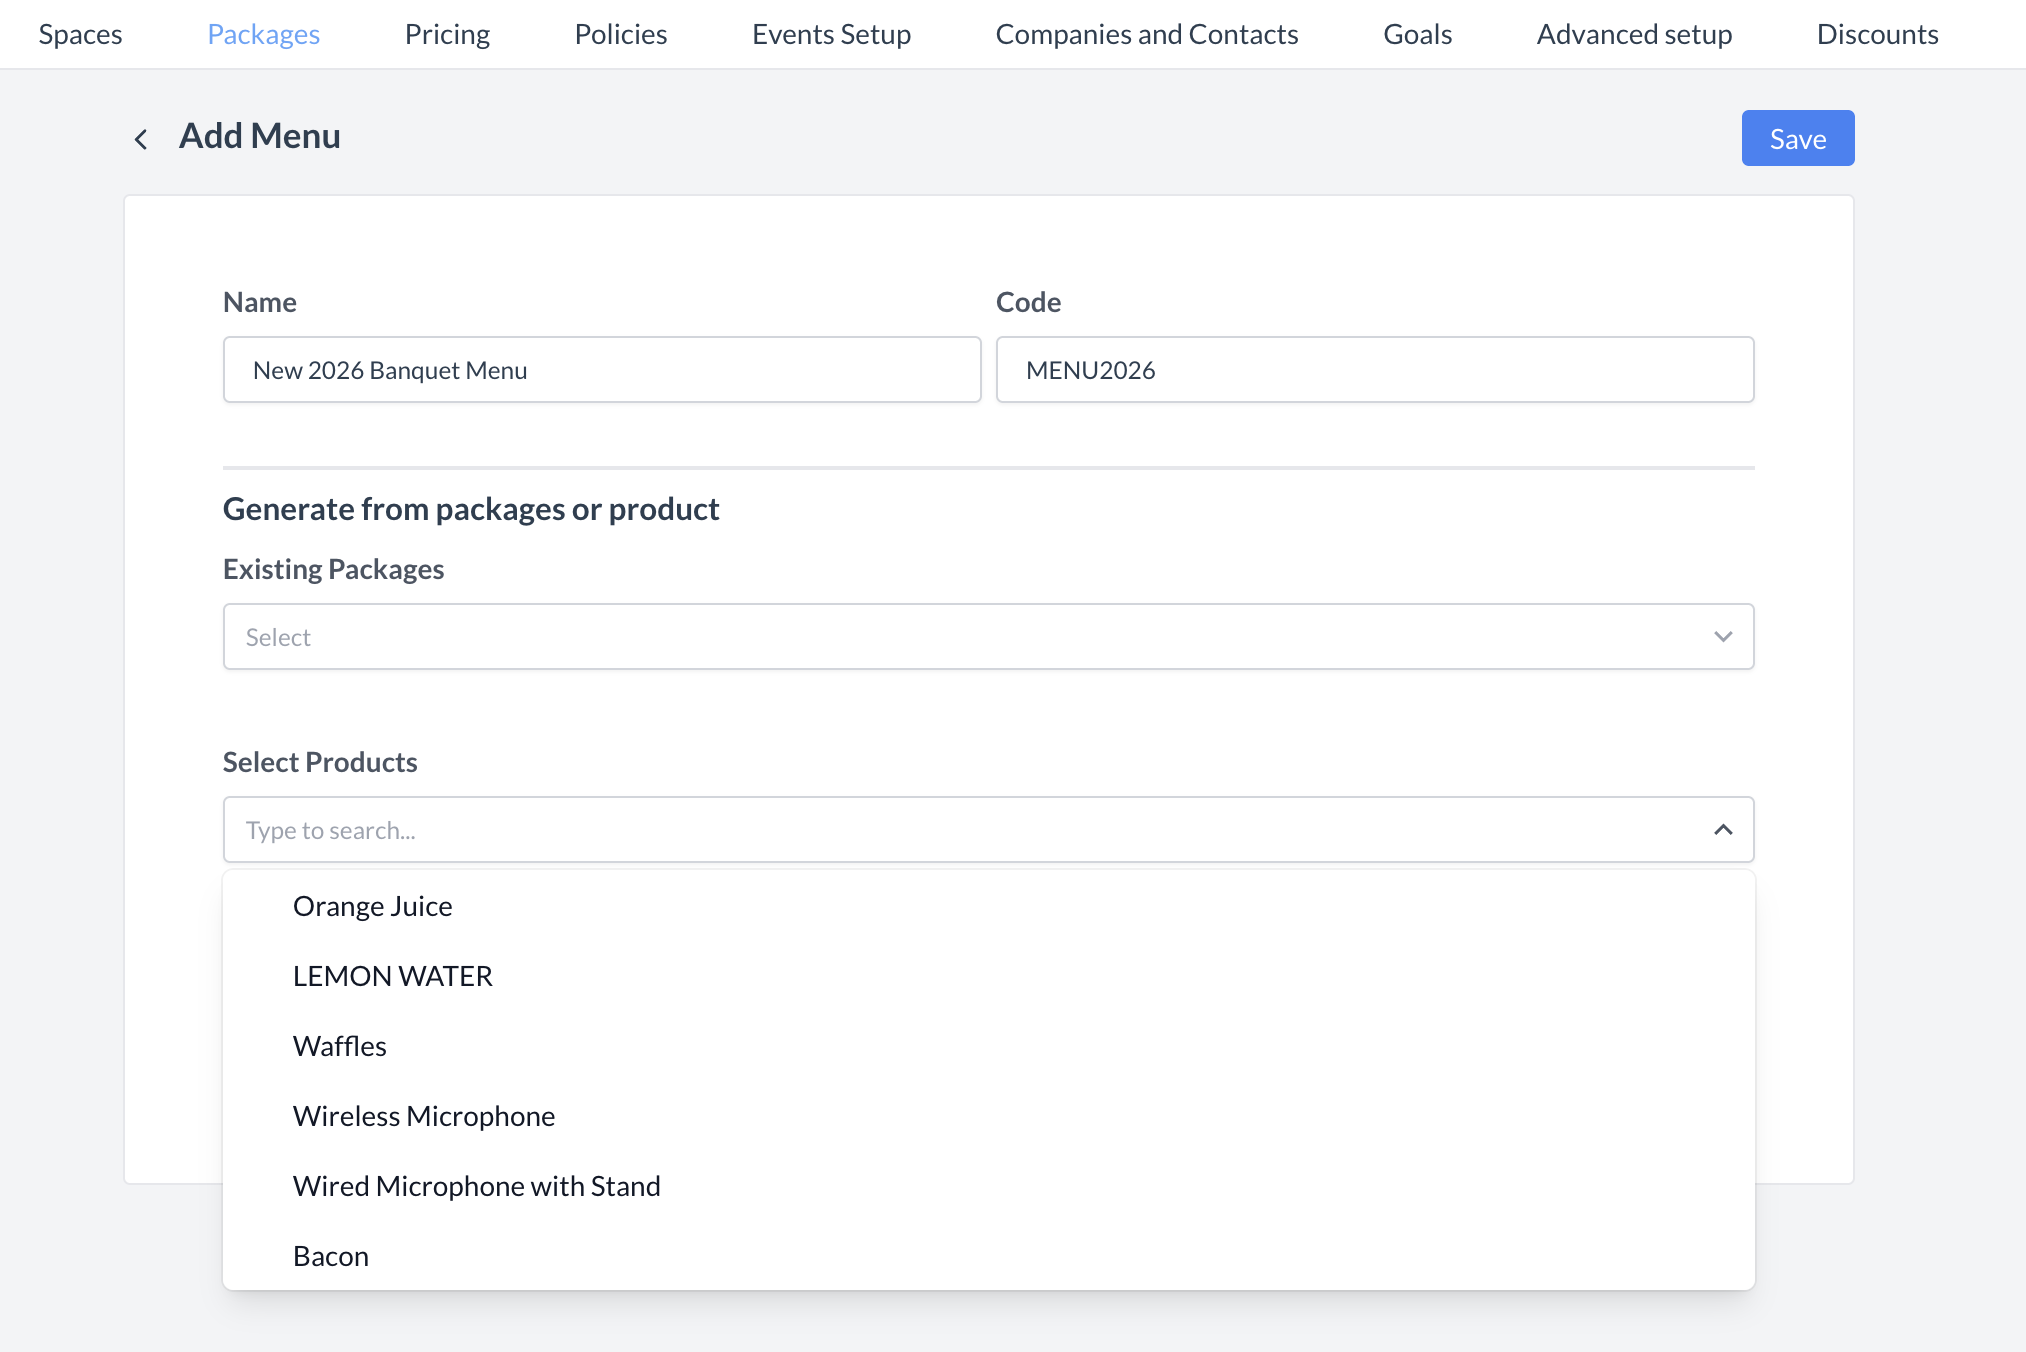
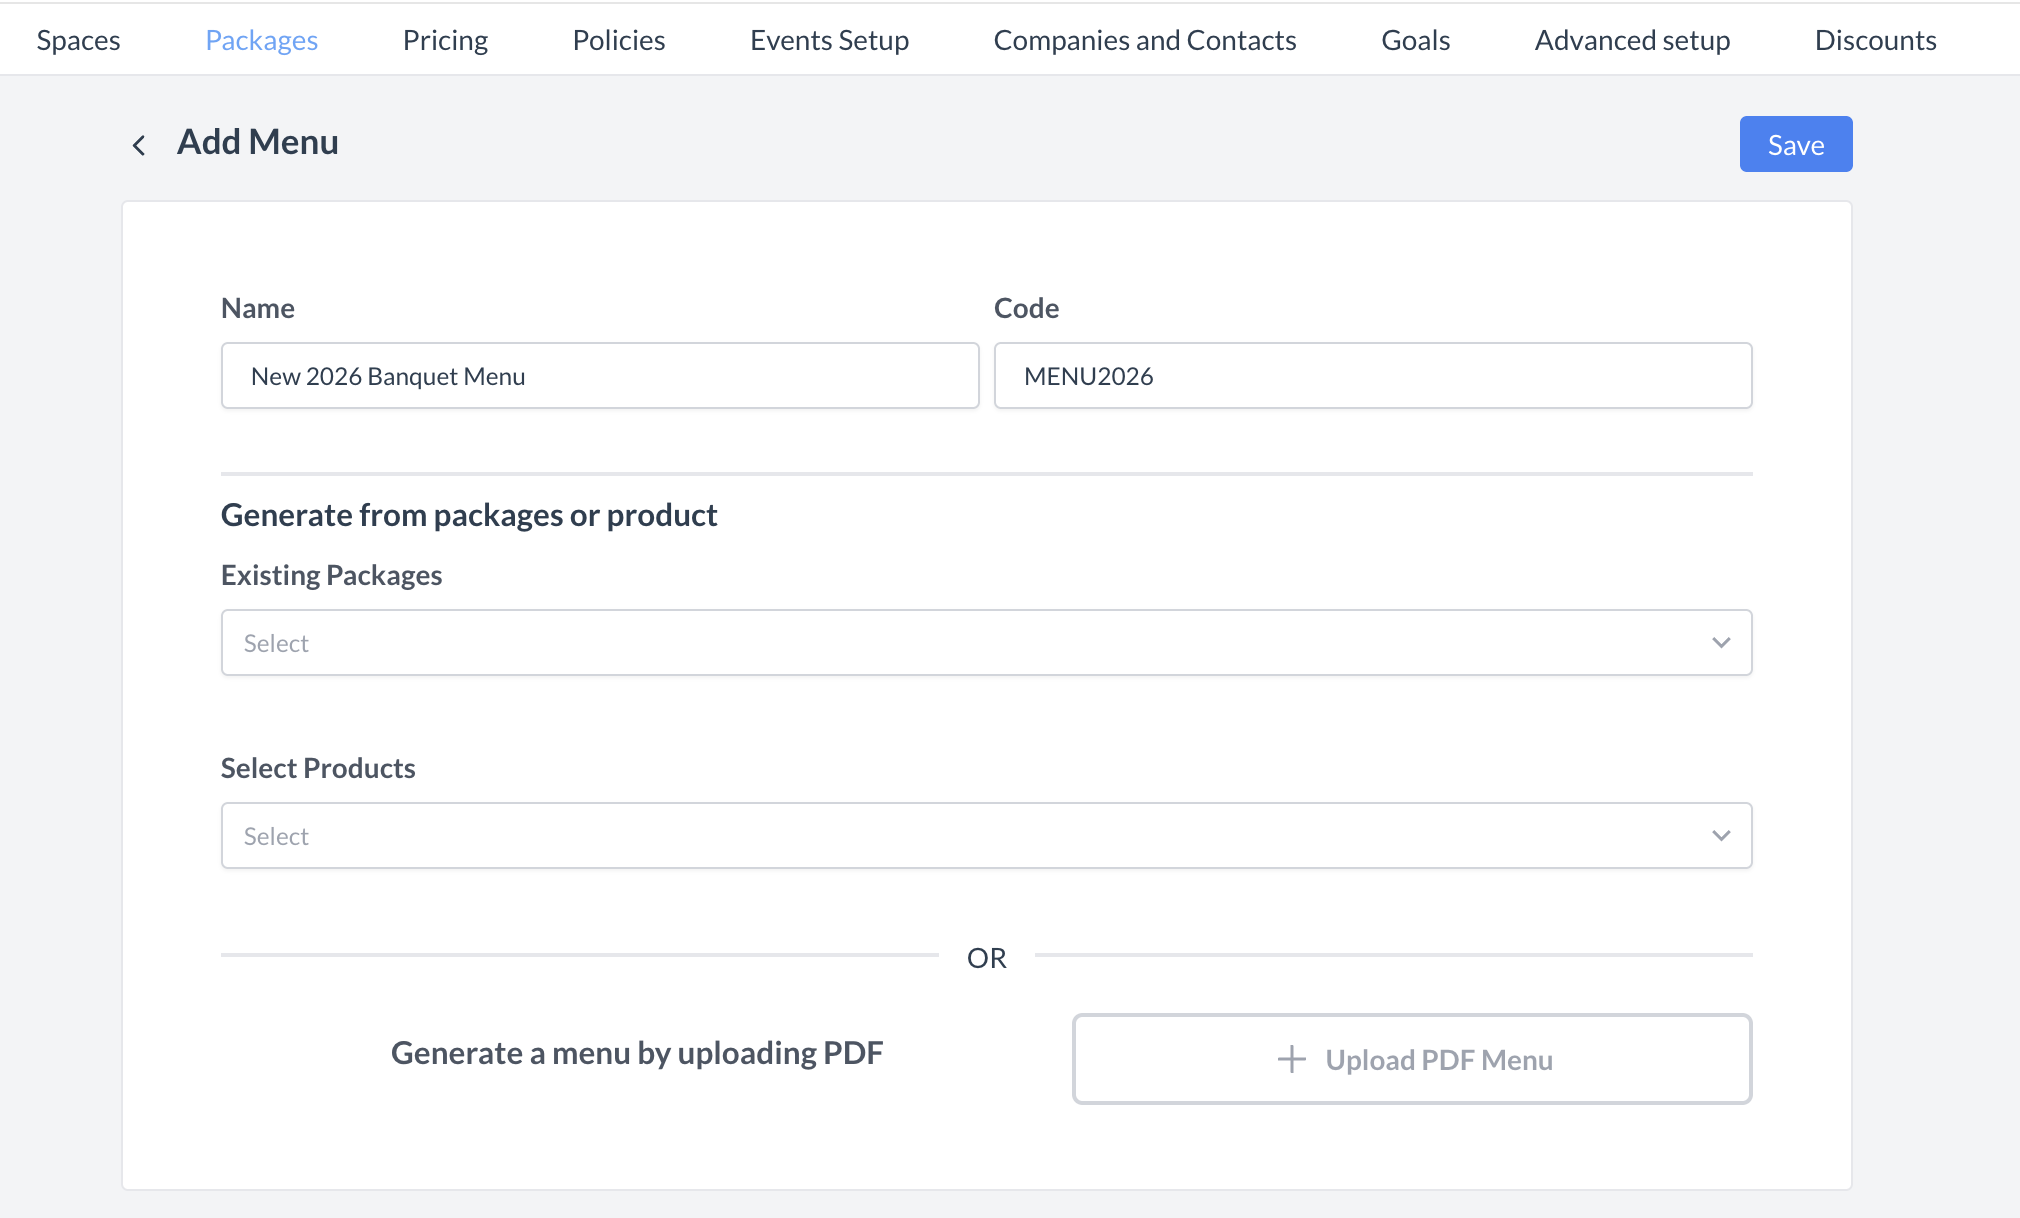
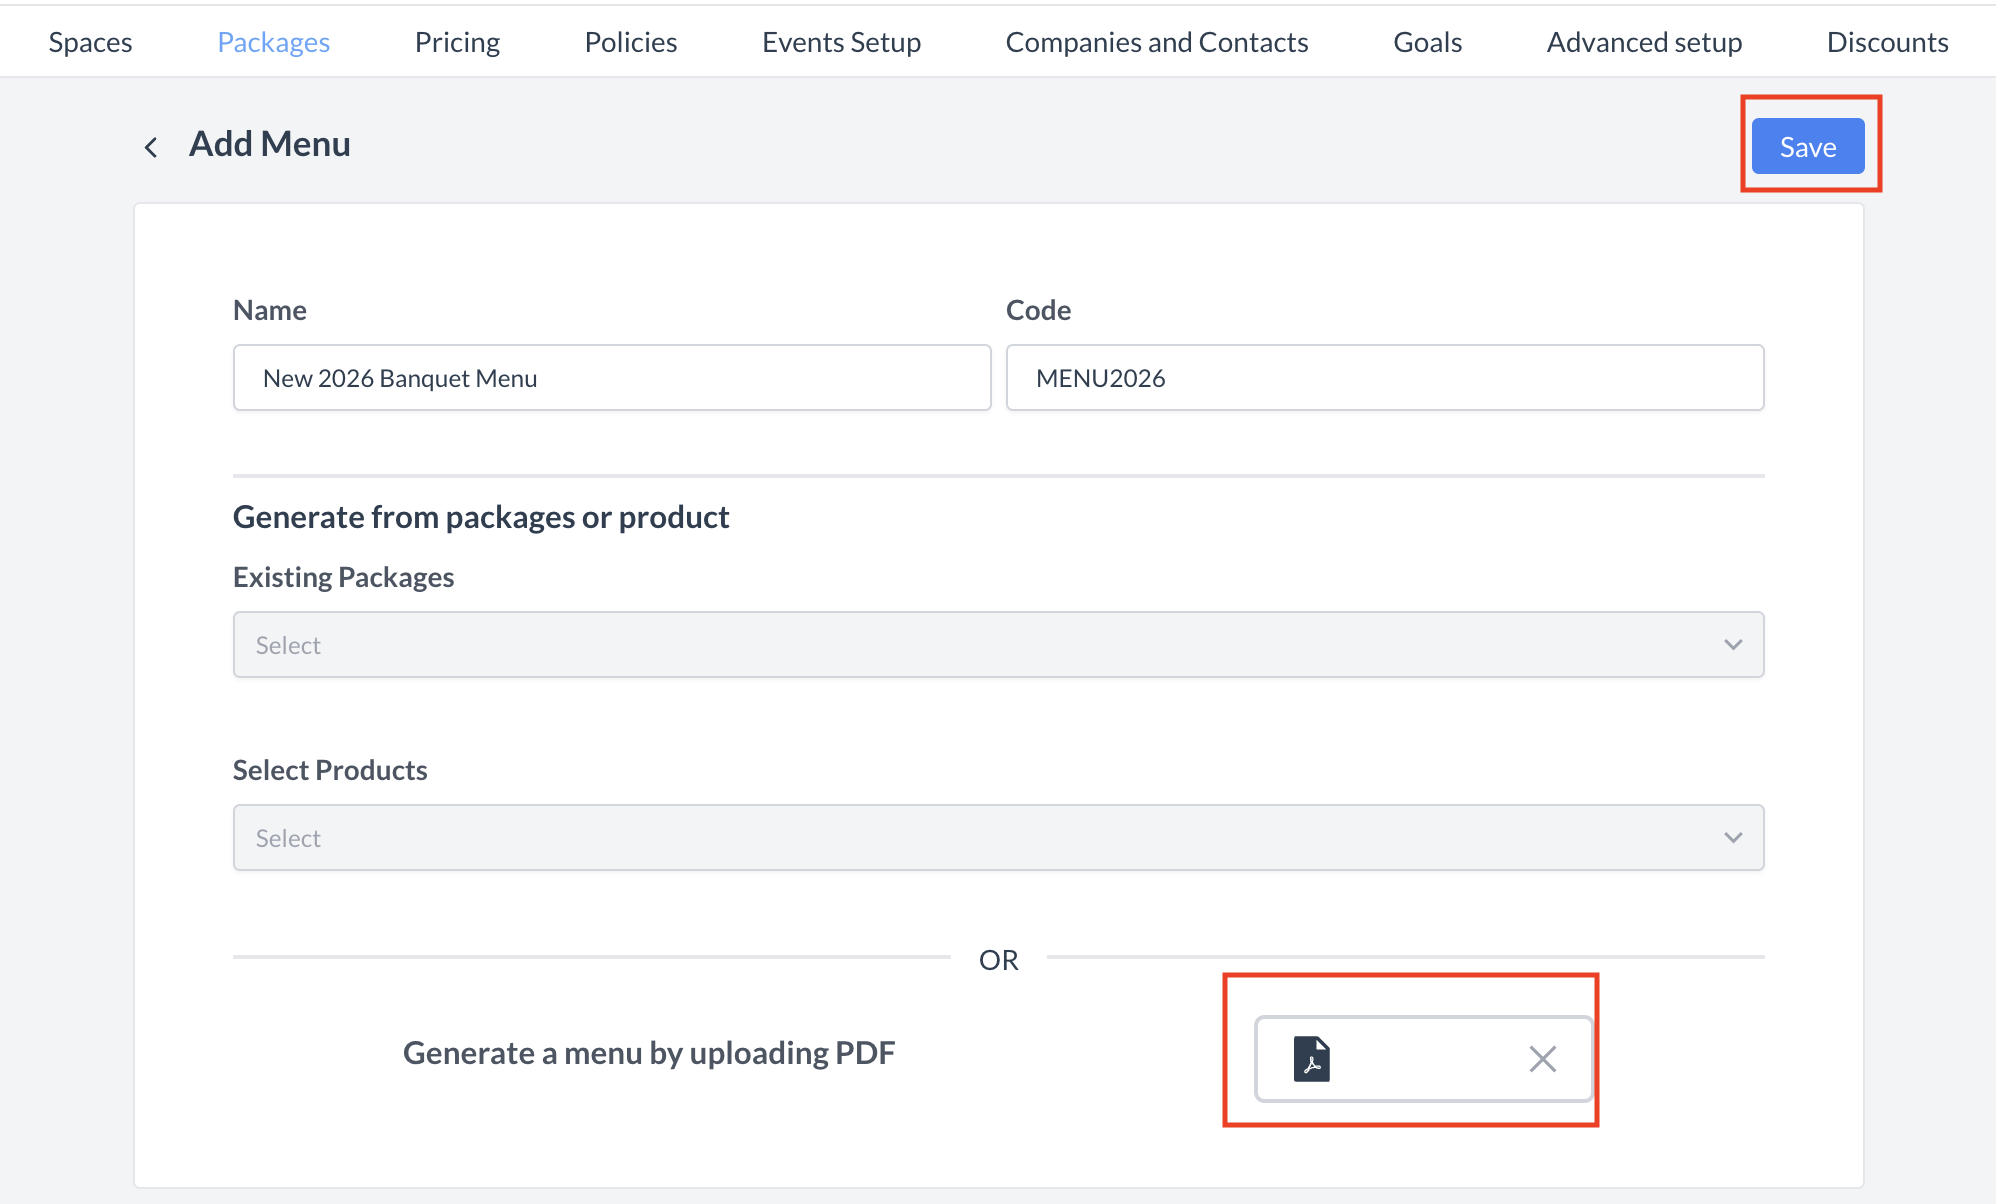
When you click Add Menu, the Add Menu screen will appear. Follow the steps below to create your new menu:

  • Name:
    Enter a name for the menu.
    Example: "2026 Banquet Menu"

  • Code:
    Enter a unique code or identifier for the menu.
    This helps with internal tracking and organization.

You have three options for generating your menu:

  • Generate from Packages:
    Select one or more existing Event Packages from the dropdown list. The products included in those packages will be used to build the menu.

  • Generate from Products:
    Select products directly from your product list in EventKey. These selected products will populate the new menu.

  • PDF Upload:
    Upload an existing Banquet Menu in PDF format.

📌 Example: In this guide, we’ll use the PDF Upload option to add an existing banquet menu file.

Once all fields are completed and your menu is ready, click the blue Save button to create the menu.

Generate Menu from Packages.png

Menus: Generate Menu from Packages

Geneate Menu from Products.png

Menus: Generate Menu from Products

Generate Menu from PDF.png

Menus: Generate Menu from PDF

Menus_Save Button.png

Menus: Save Button

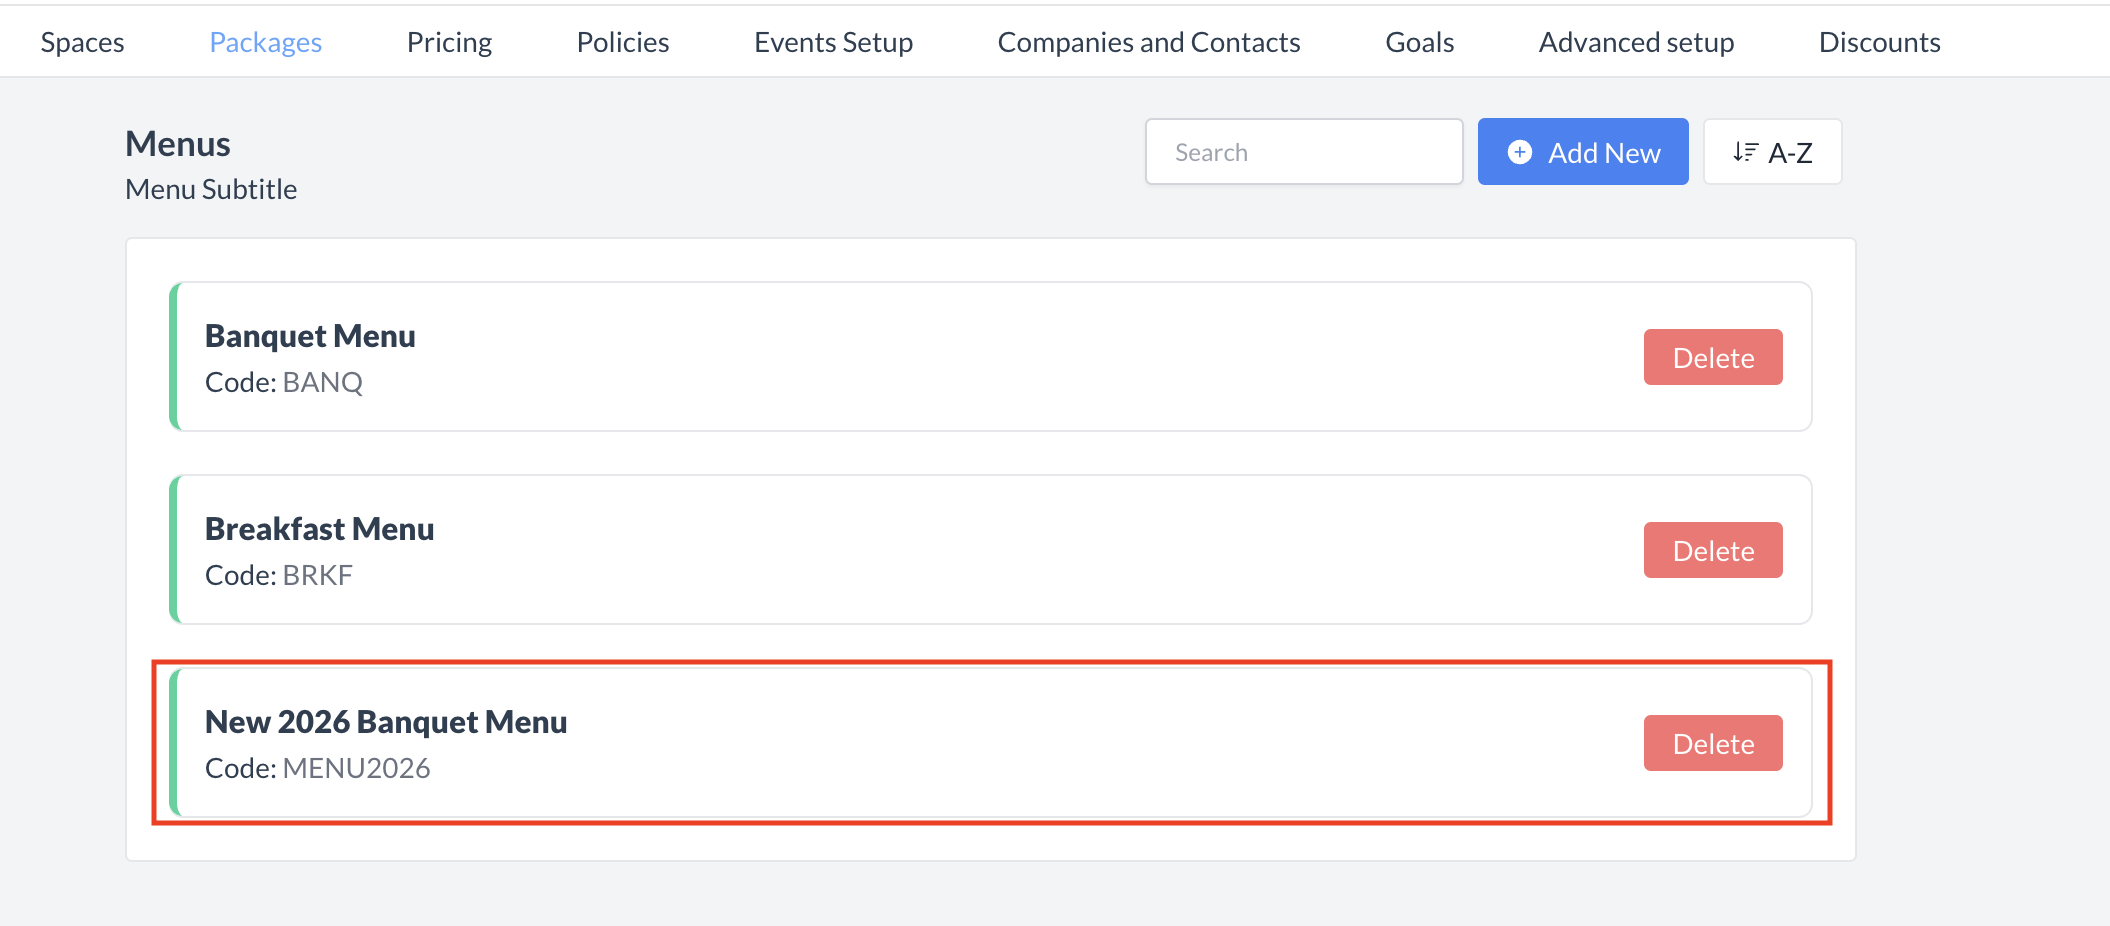
After saving, you will be returned to the Menus listing screen.
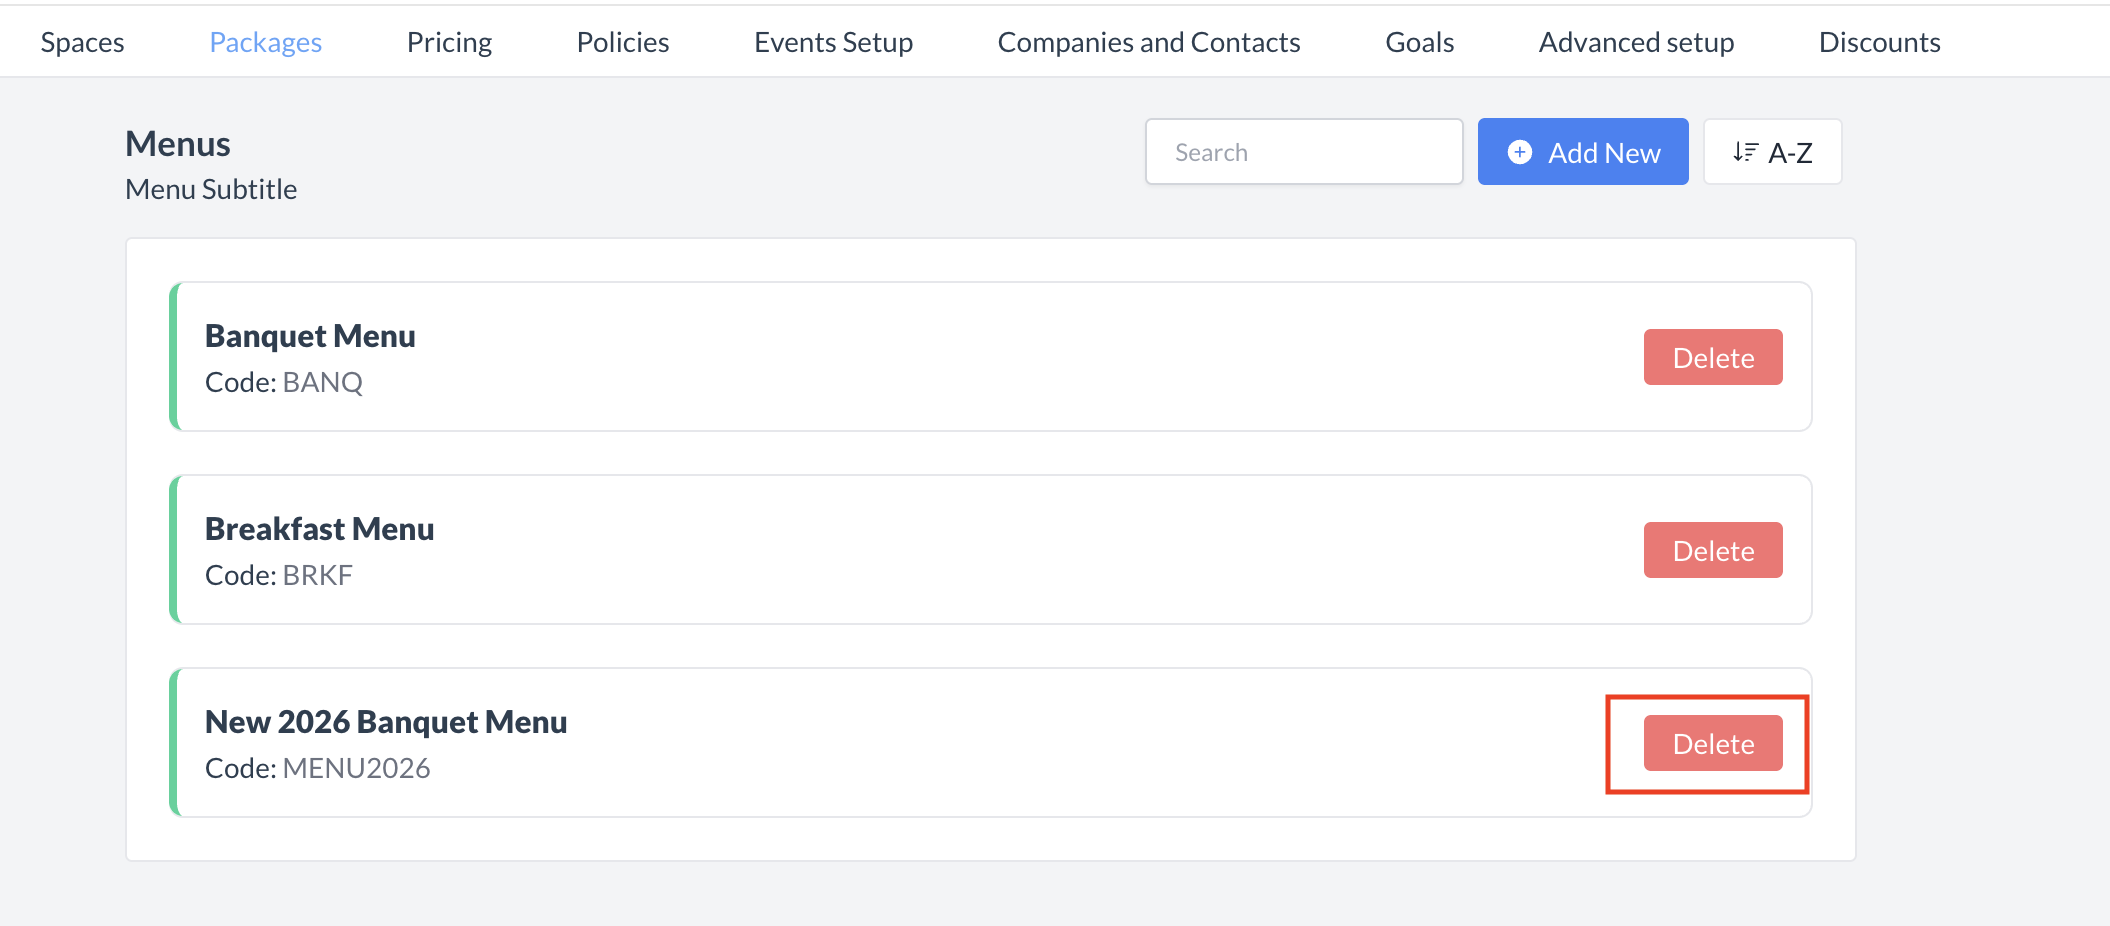
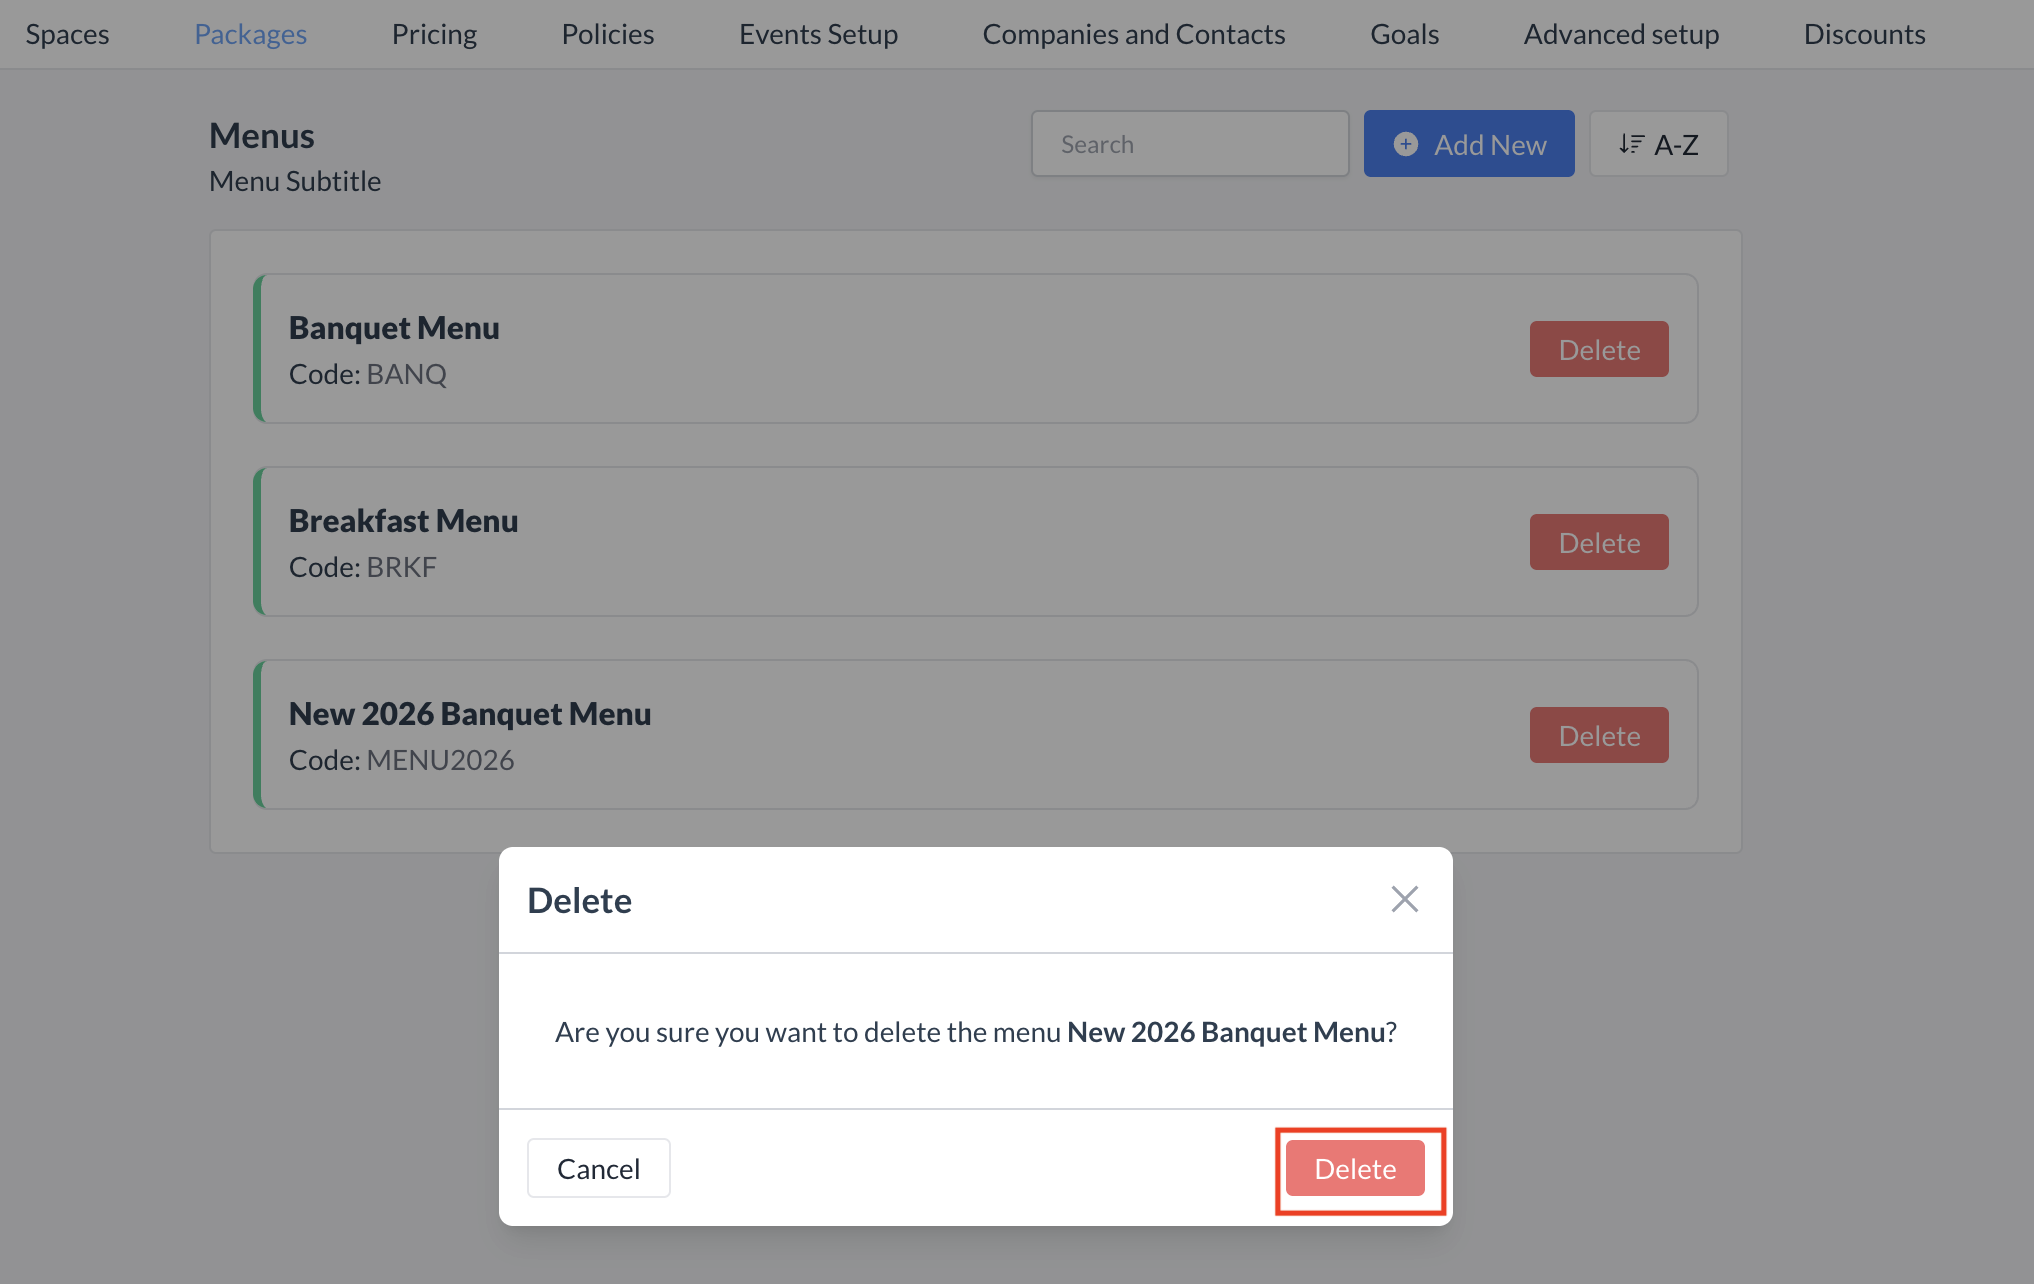
Your newly created menu will now appear in the list and is available for selection on event records.

New Banquet Menu Created.png

Menus: Banquet Menu Created

If a menu is no longer needed, you can delete it from the system. Follow the steps below:

  1. Navigate to the Menus List:
    From the Menus listing screen, locate the menu you want to remove.

  2. Click the Red Delete Button:
    Click the red Delete button next to the menu.

  3. Confirm Deletion:
    A confirmation window will appear. To permanently delete the menu, click the red Delete button again.

⚠️ Important:
Once a menu is deleted, it is permanently removed from the database and cannot be recovered. If you need it again in the future, you will need to recreate it from scratch.

Menus_Delete Button.png

Menu: Delete Button

Menus_Delete Confirmation.png

Menus: Delete Confirmation

🖥️ Where “Menus” Appears in the User Interface (UI)

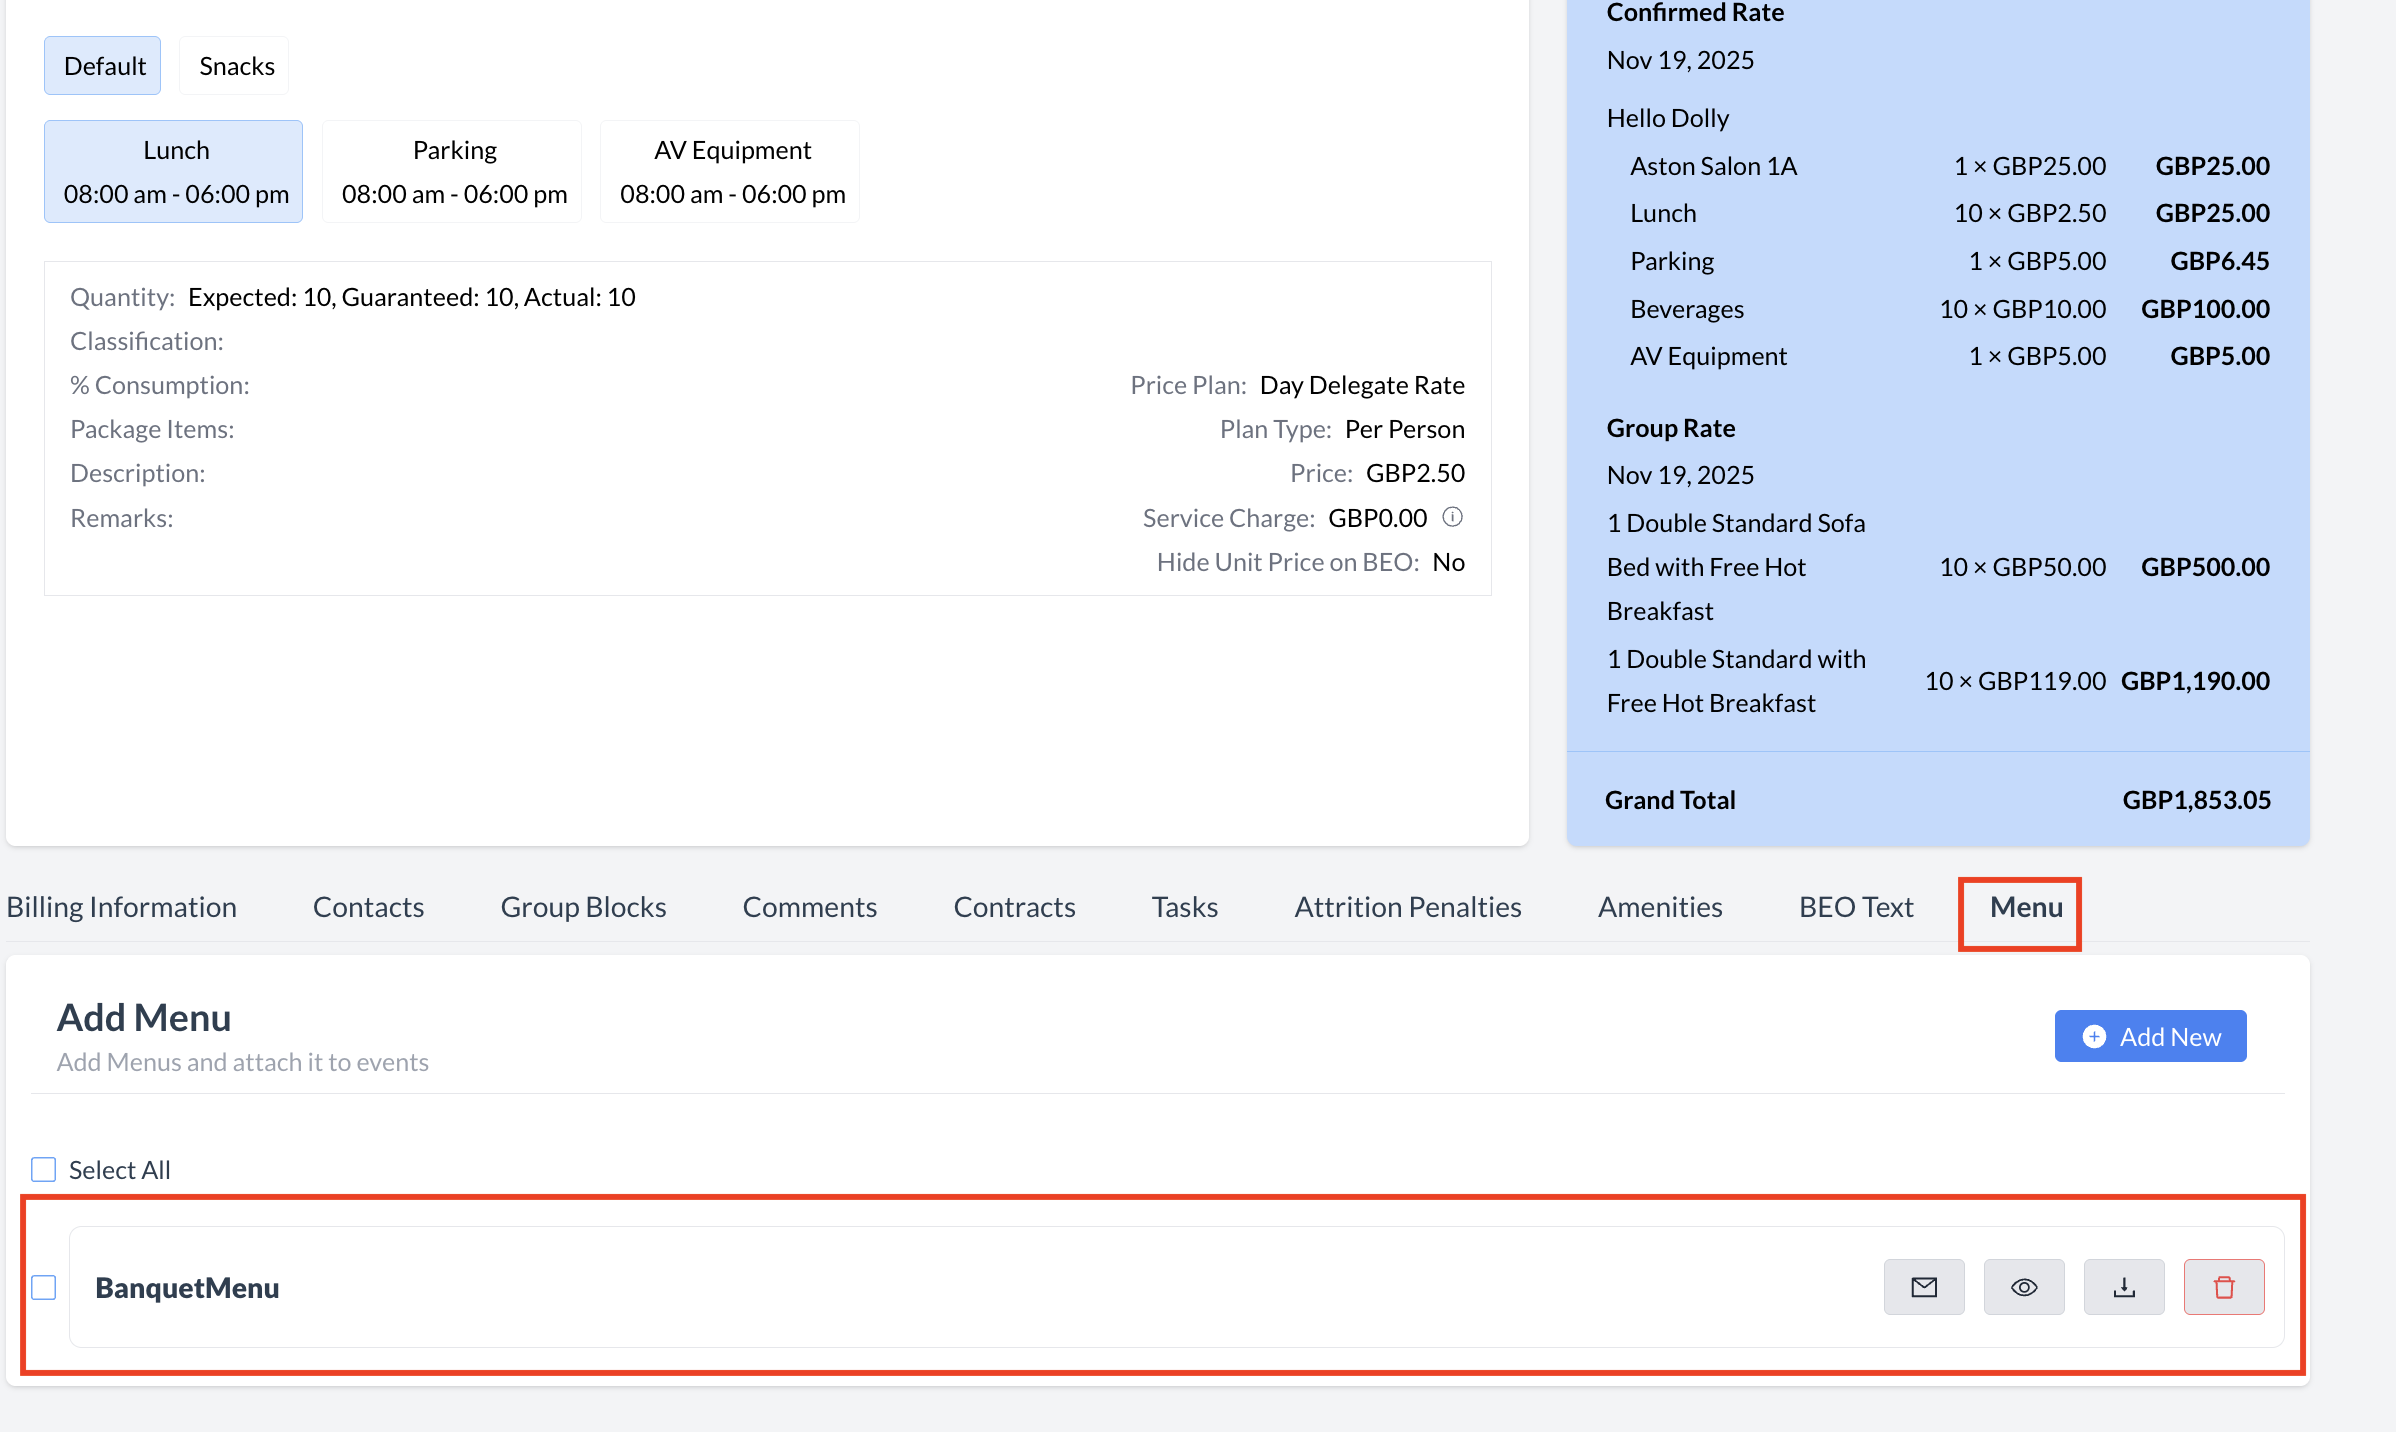
The menu will be linked to the Event Record, where it can be viewed, downloaded, or emailed to the booker.

Menu_Event Record.png

Menu: Event Record

JavaScript errors detected

Please note, these errors can depend on your browser setup.

If this problem persists, please contact our support.