📆 Revision Date:
Spaces
In EventKey, a space refers to any physical area within the property that can be reserved or assigned for hosting events—most commonly meeting rooms, ballrooms, boardrooms, or banquet halls. Each space is configured with specific attributes such as capacity, setup styles, and availability, allowing the sales and events team to accurately manage bookings based on event needs. Spaces are linked to space types, which in turn are associated with event types, ensuring that only appropriate rooms are offered for specific event categories. Proper setup and management of spaces in EventKey is essential for maximizing revenue, avoiding booking conflicts, and delivering a seamless planning experience for both staff and clients.
🛑 Prerequisites
Before creating a Space, the following items must be set up to ensure proper configuration and functionality:
1. Space Type
Why it’s needed:
Each Space must be associated with a Space Type, which serves as a link between individual event spaces (such as meeting rooms or ballrooms) and Event Types (such as weddings, meetings, or conferences).
Action required:
Create the required Space Type before setting up the Space.
2. Charge Type
Why it’s needed:
The Charge Type determines where the revenue from the Space is recorded for reporting purposes.
Action required:
Create the required Charge Type before setting up the Space.
3. Price Plans
Why it’s needed:
Price Plans (also known as rate plans) define the rates associated with each Space and are used when booking the Space.
Action required:
Create the required Price Plan before setting up the Space.
|
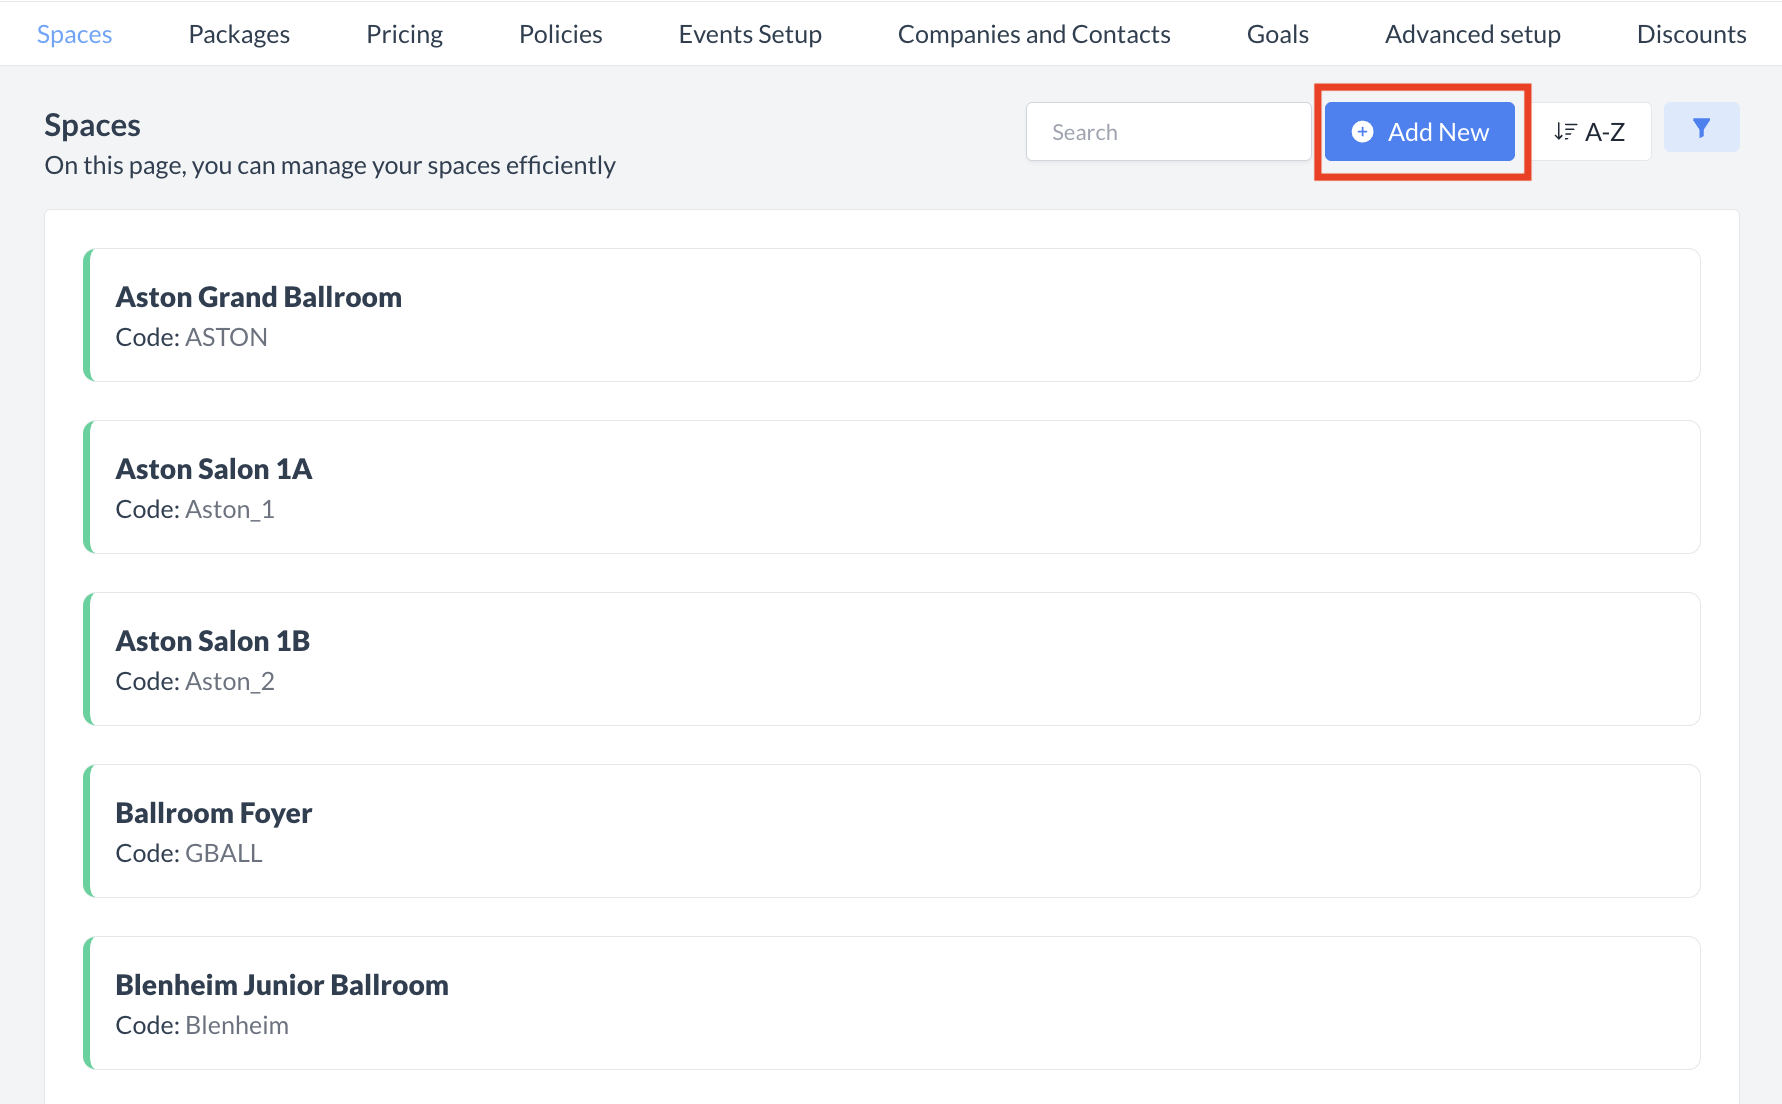
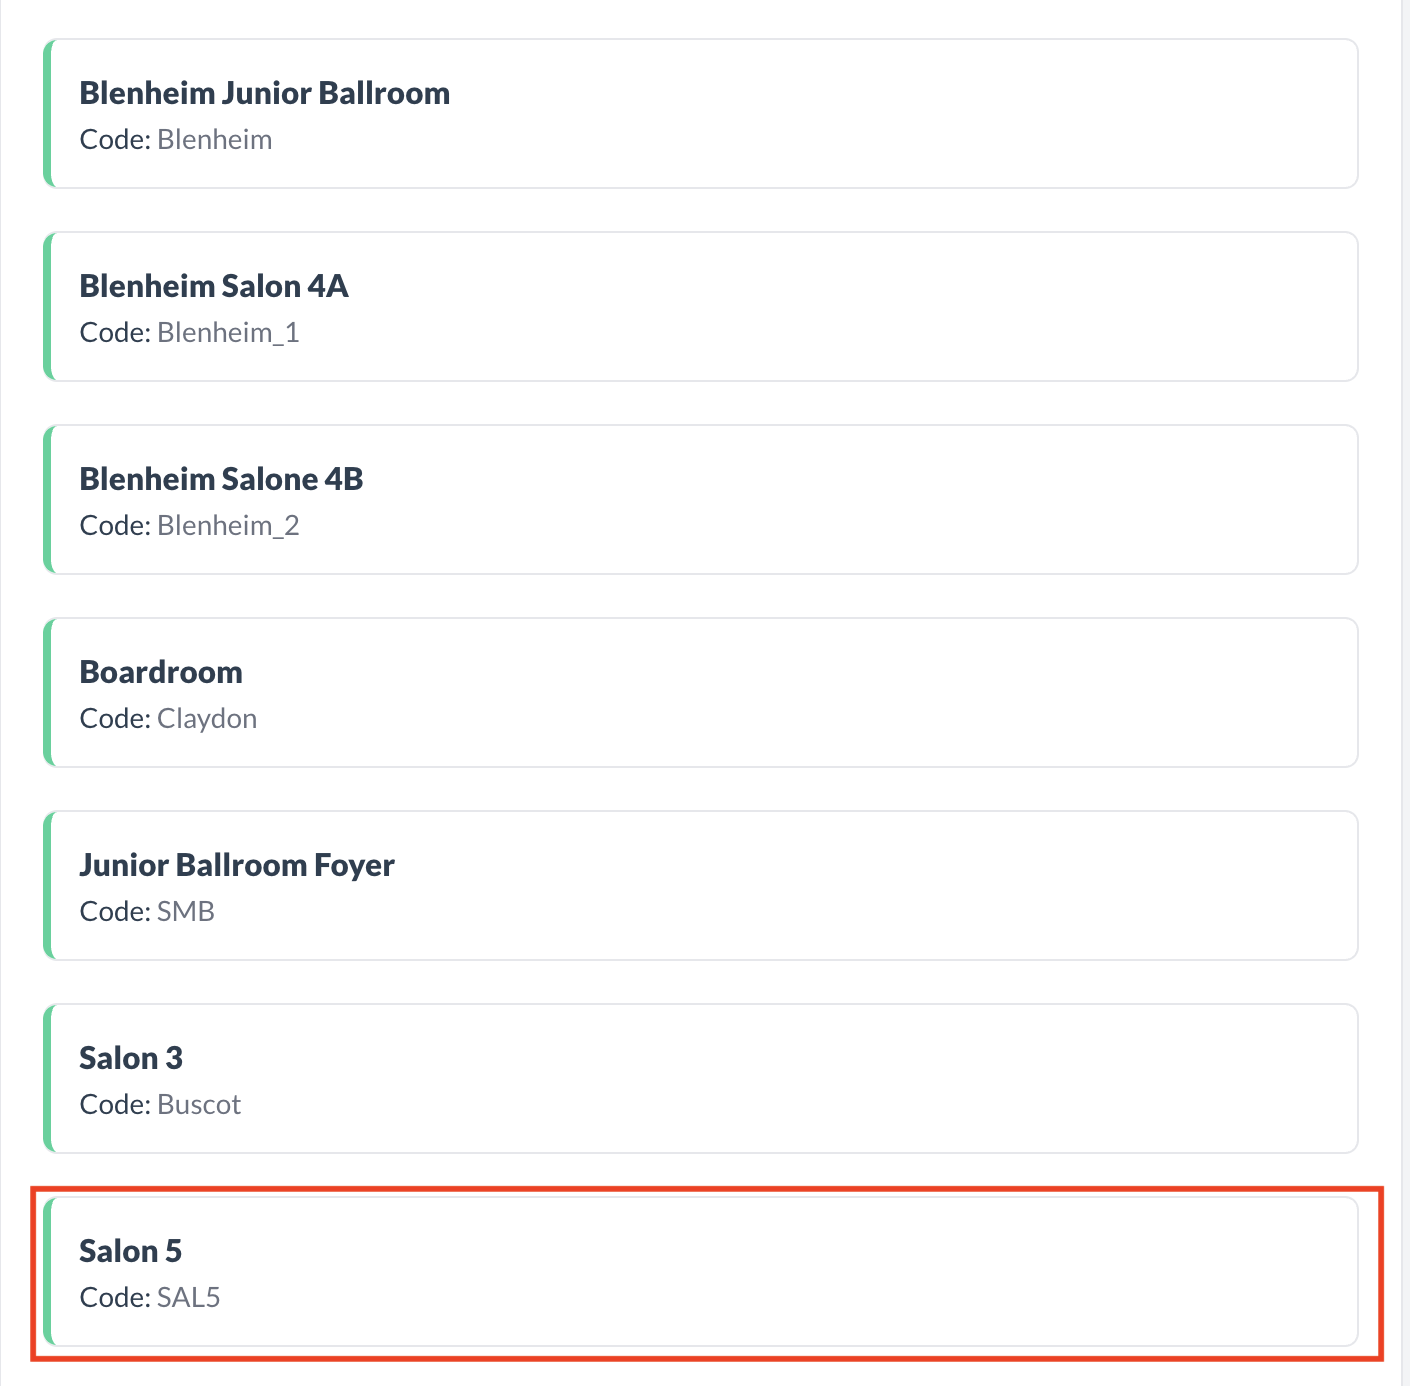
Navigate to Home > Event Administration > Spaces > Spaces |

|
Accessing and Creating Spaces
The Spaces screen displays a list of all existing spaces available for use with an event. To create a new space:
|
|
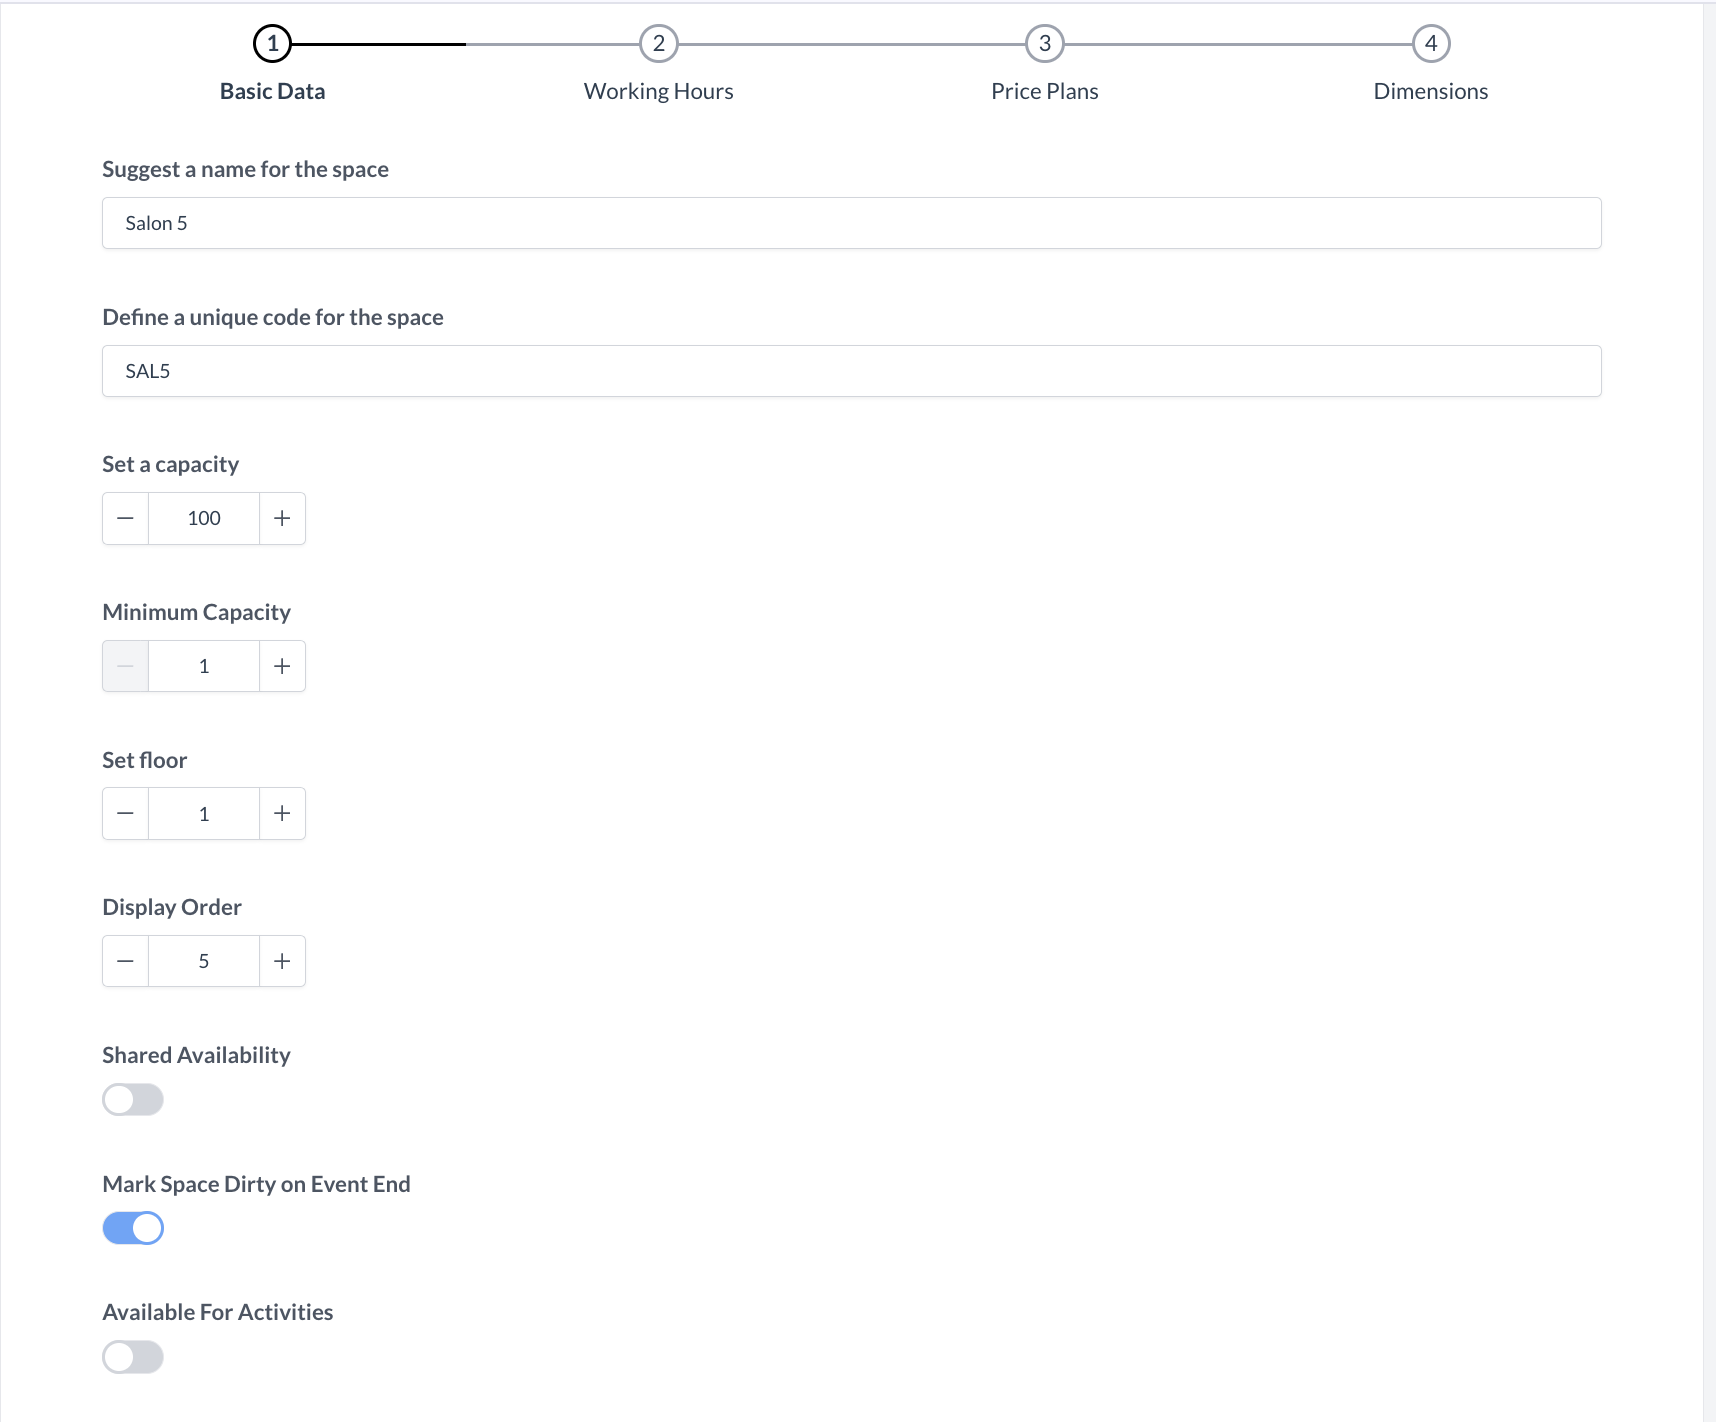
Step 1: Enter Basic Information for the Space
When the Add a Space screen appears, begin by completing the Basic Data section. This step sets up the foundational details for the space or meeting room in EventKey. 🔹 Space Name
Enter the name of the space (e.g., Salon 5). This will be the label visible to users when assigning or reserving rooms. 🔹 Space Code
Provide a unique identifier for the space (e.g., SAL5). This code is used internally for system mapping and reporting. 🔹 Maximum Capacity
Enter the maximum number of attendees the space can accommodate. 🔹 Minimum Capacity
Enter the minimum number of attendees required to book the space. If no minimum is needed, enter 1. 🔹 Floor
If the space spans multiple floors, enter the number of floors; otherwise, enter 1. 🔹 Display Order
Enter a number to define the position this space appears in EventKey dashboards. Lower numbers display first. 🔹 Shared Availability
Toggle ON if the space can be used by multiple events at the same time (e.g., foyers, shared lounges, food halls). 🔹 Mark Space Dirty on Event End
Toggle ON to automatically mark the space as “Dirty” at the conclusion of an event, signaling it needs cleaning before reuse. 🔹 Available for Activities
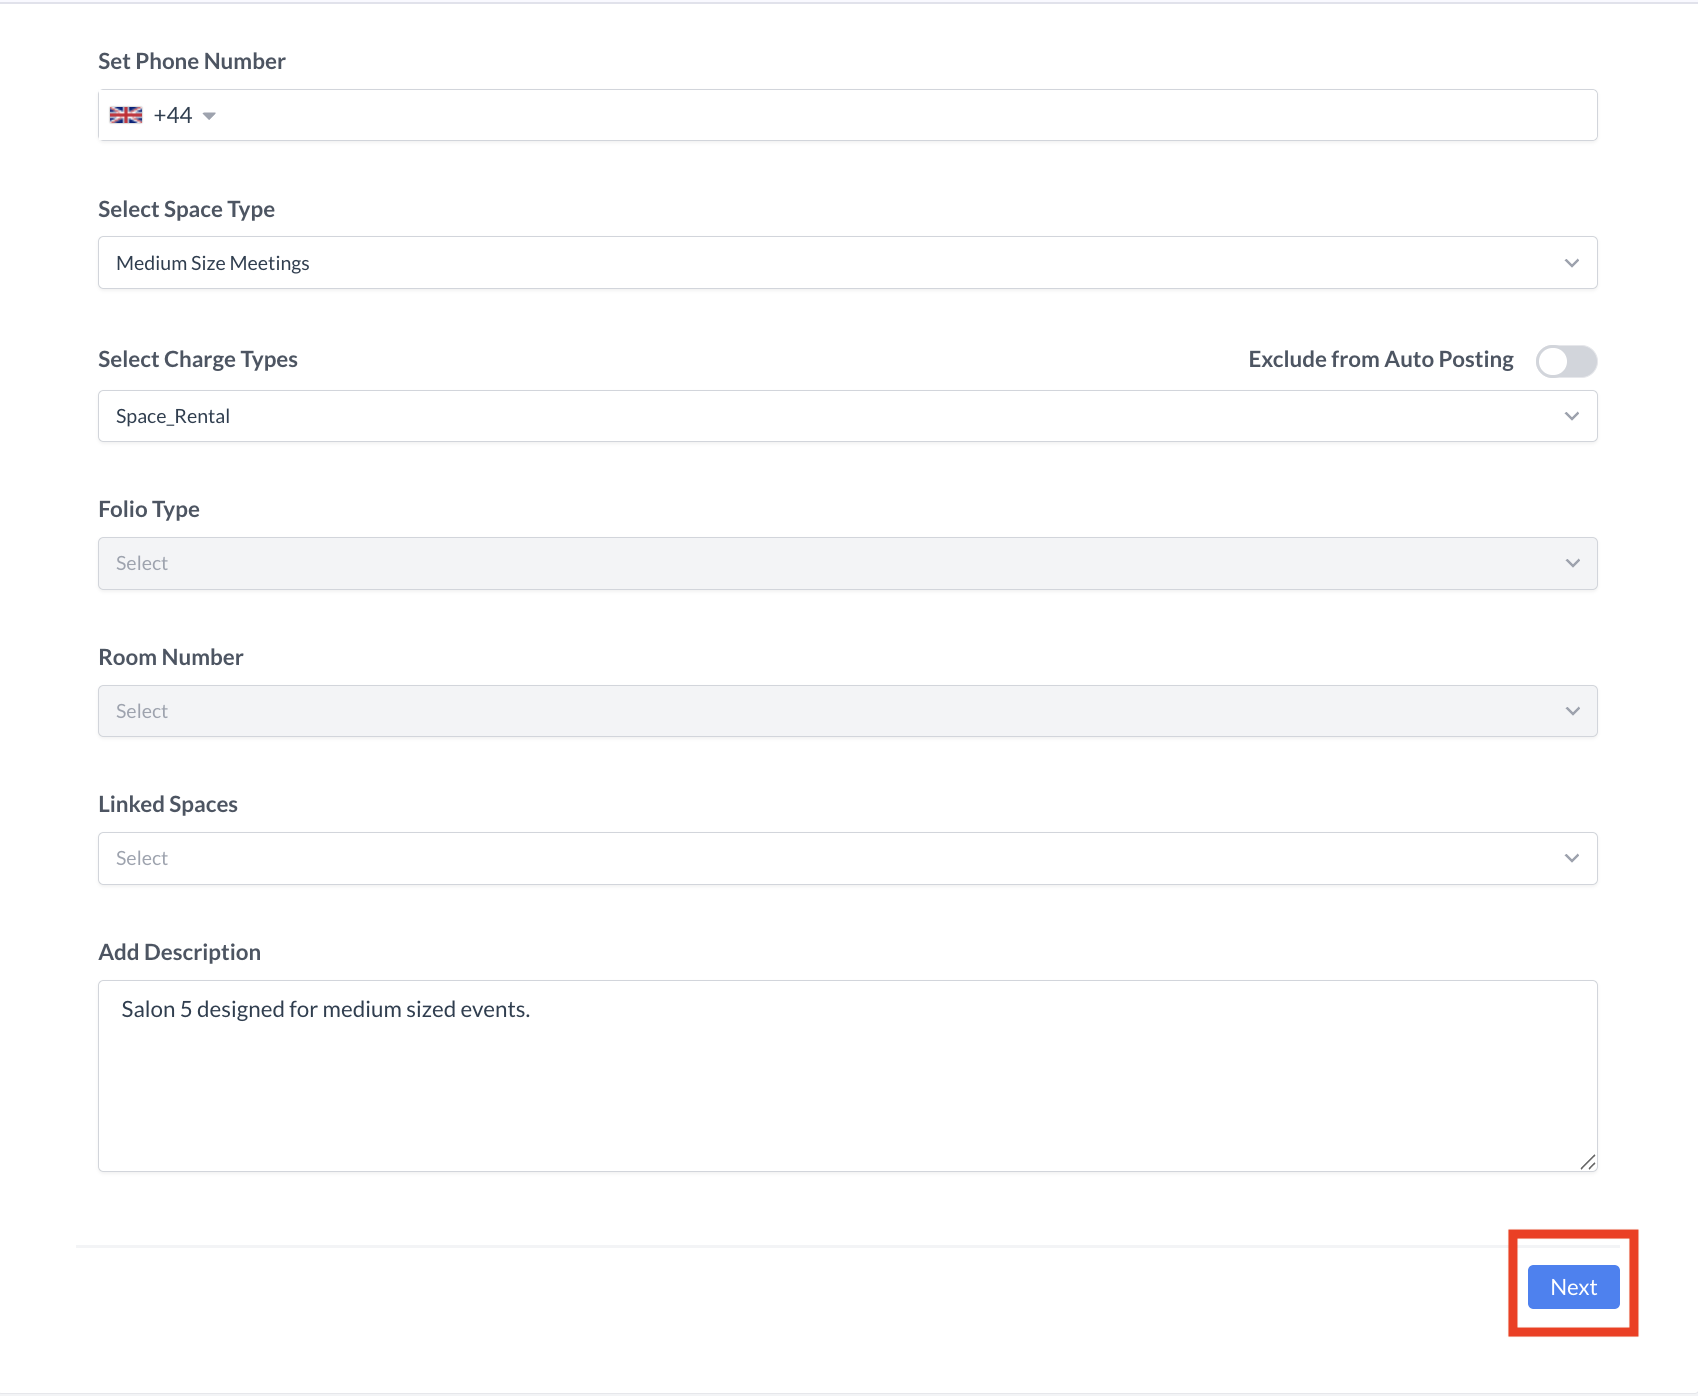
Leave this toggle OFF. This field is not currently used. 🔹 Phone Number
If the space has a dedicated phone line, enter the number. Otherwise, leave this field blank. 🔹 Space Type
Select the Space Type that this space should be associated with. Space Types link meeting rooms to Event Types (e.g., Large Banquet, Small Meeting). 🔹 Charge Type
Select the Charge Type (transaction code) that determines how revenue from this space is recorded and reported. 🔹 Folio Type (Not Used)
Leave this field blank. It is not currently active in EventKey. 🔹 Room Number (Not Used)
Leave this field blank. 🔹 Linked Spaces
If this space is a combined room made up of two or more other rooms, select those rooms here.
If no room combination is needed, leave this field blank. 🔹 Add a Description
Enter a description which describes the meeting room. Think of this as a selling description. Once all required fields are completed, click the blue “Next” button to continue to the next step in the setup process. |
|
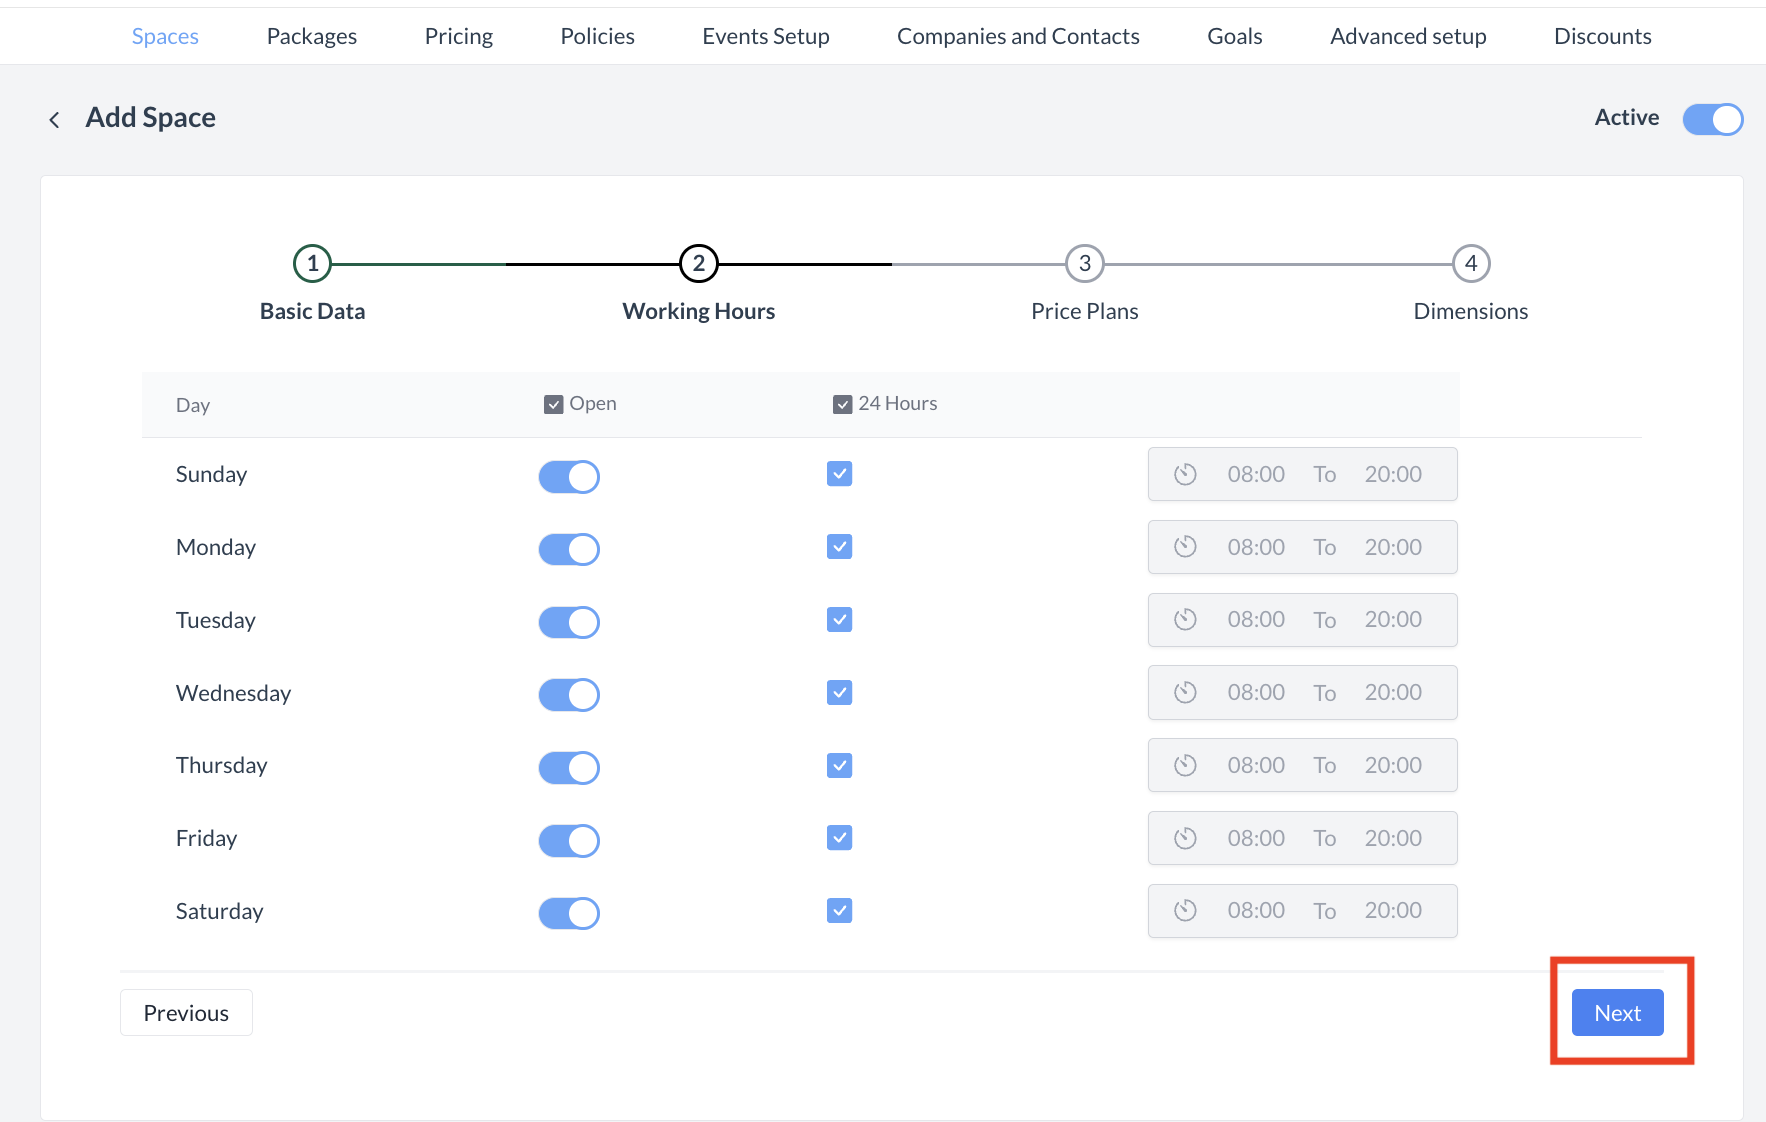
Step 2: Set Working Hours for the Space
In this step, you will define the daily availability of the space by setting working hours for each day of the week. 🔹 Enable or Disable Days of the Week
By default, all days are enabled for availability.
🔹 Define Operating Hours
For each day the space is available, you must define the opening and closing hours.
🔹 24-Hour Availability
If your property allows the space to be booked at any time of the day, simply check the 24 Hours box for each applicable day. This will automatically set availability from 12:00 AM to 11:59 PM.
|
|
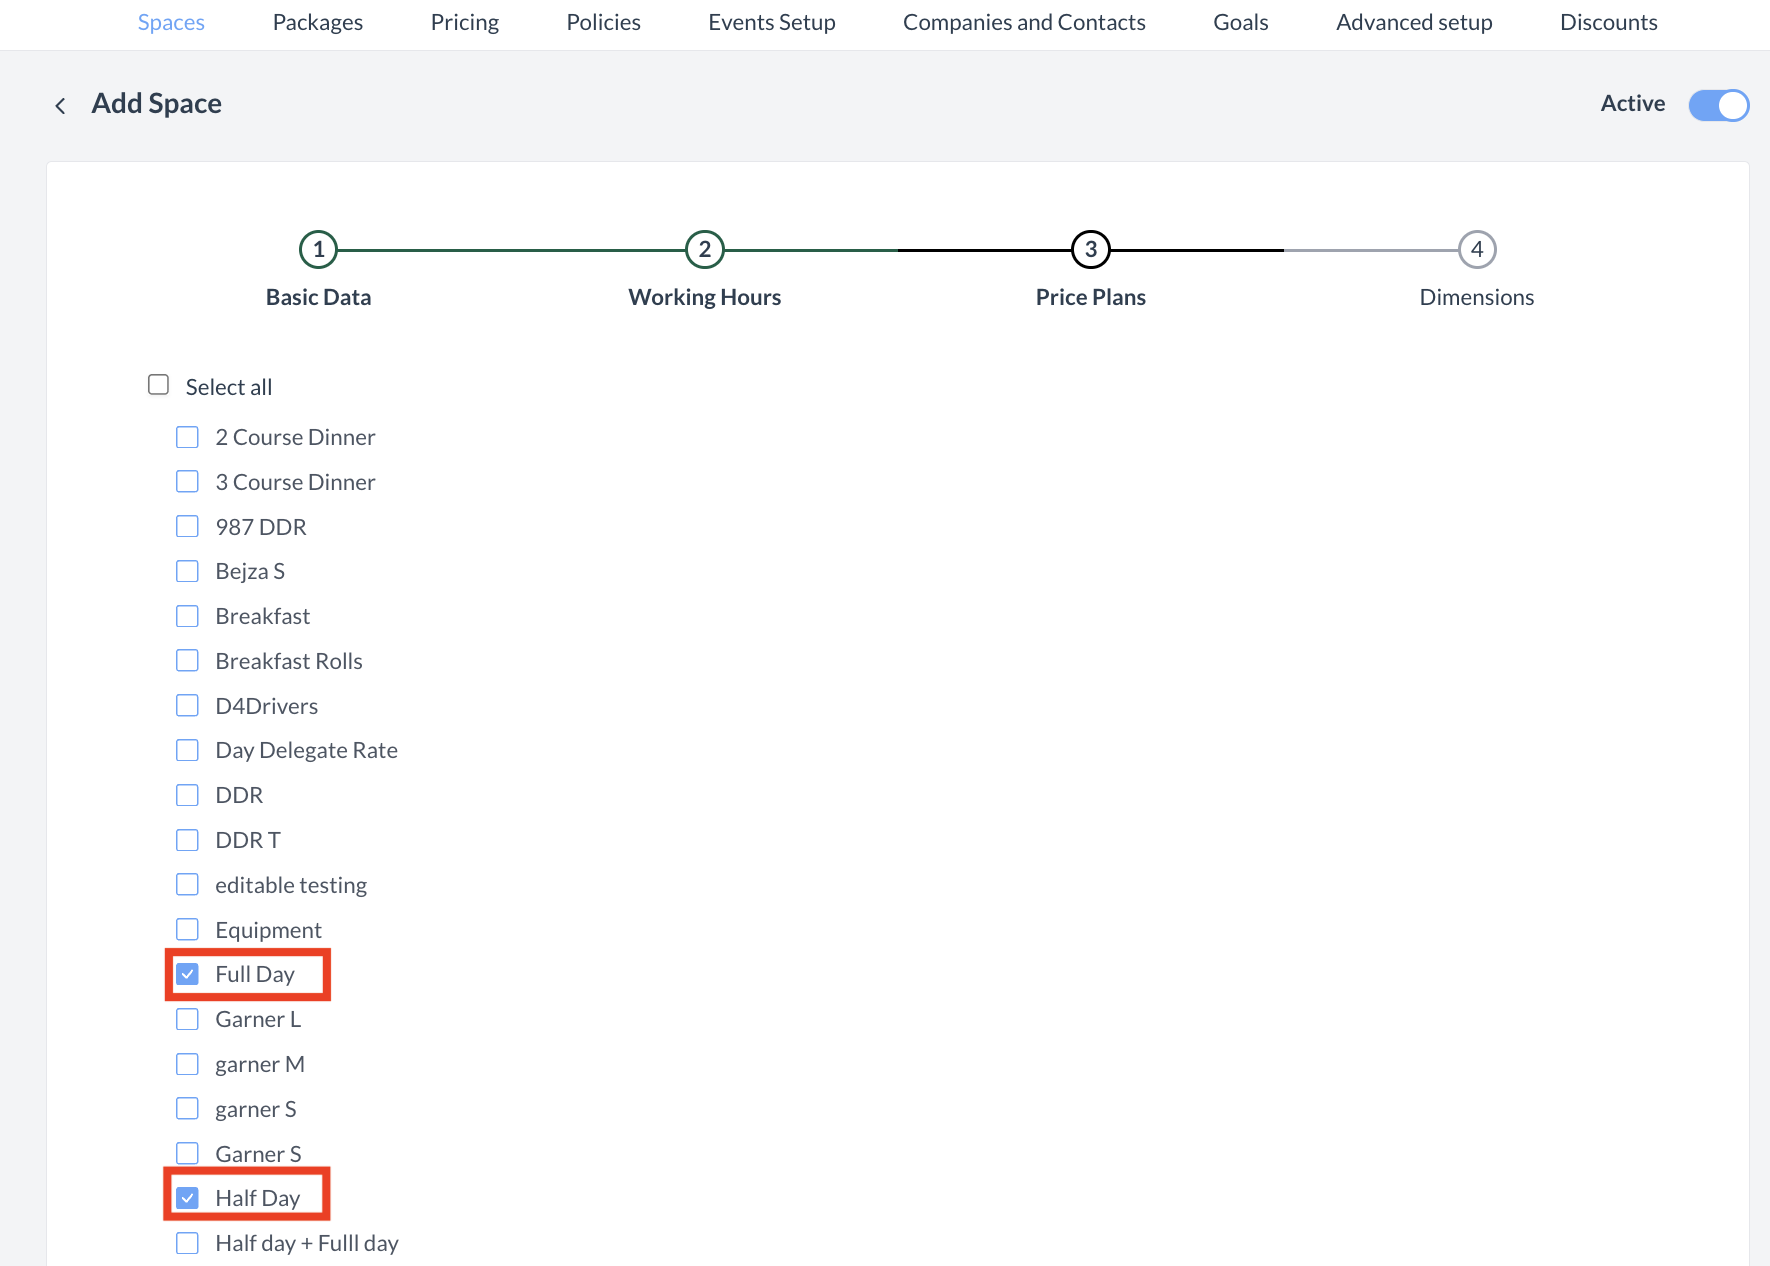
Step 3: Assign Price Plans to the Space
In this step, you will select the Price Plans that can be applied to the space.
🔹 Viewing Available Price Plans
The screen will display a list of all existing price plans configured for your property. 🔹 Assigning Price Plans
Once you’ve made your selections, click the blue “Next” button to continue to the final step of the setup process. |
|
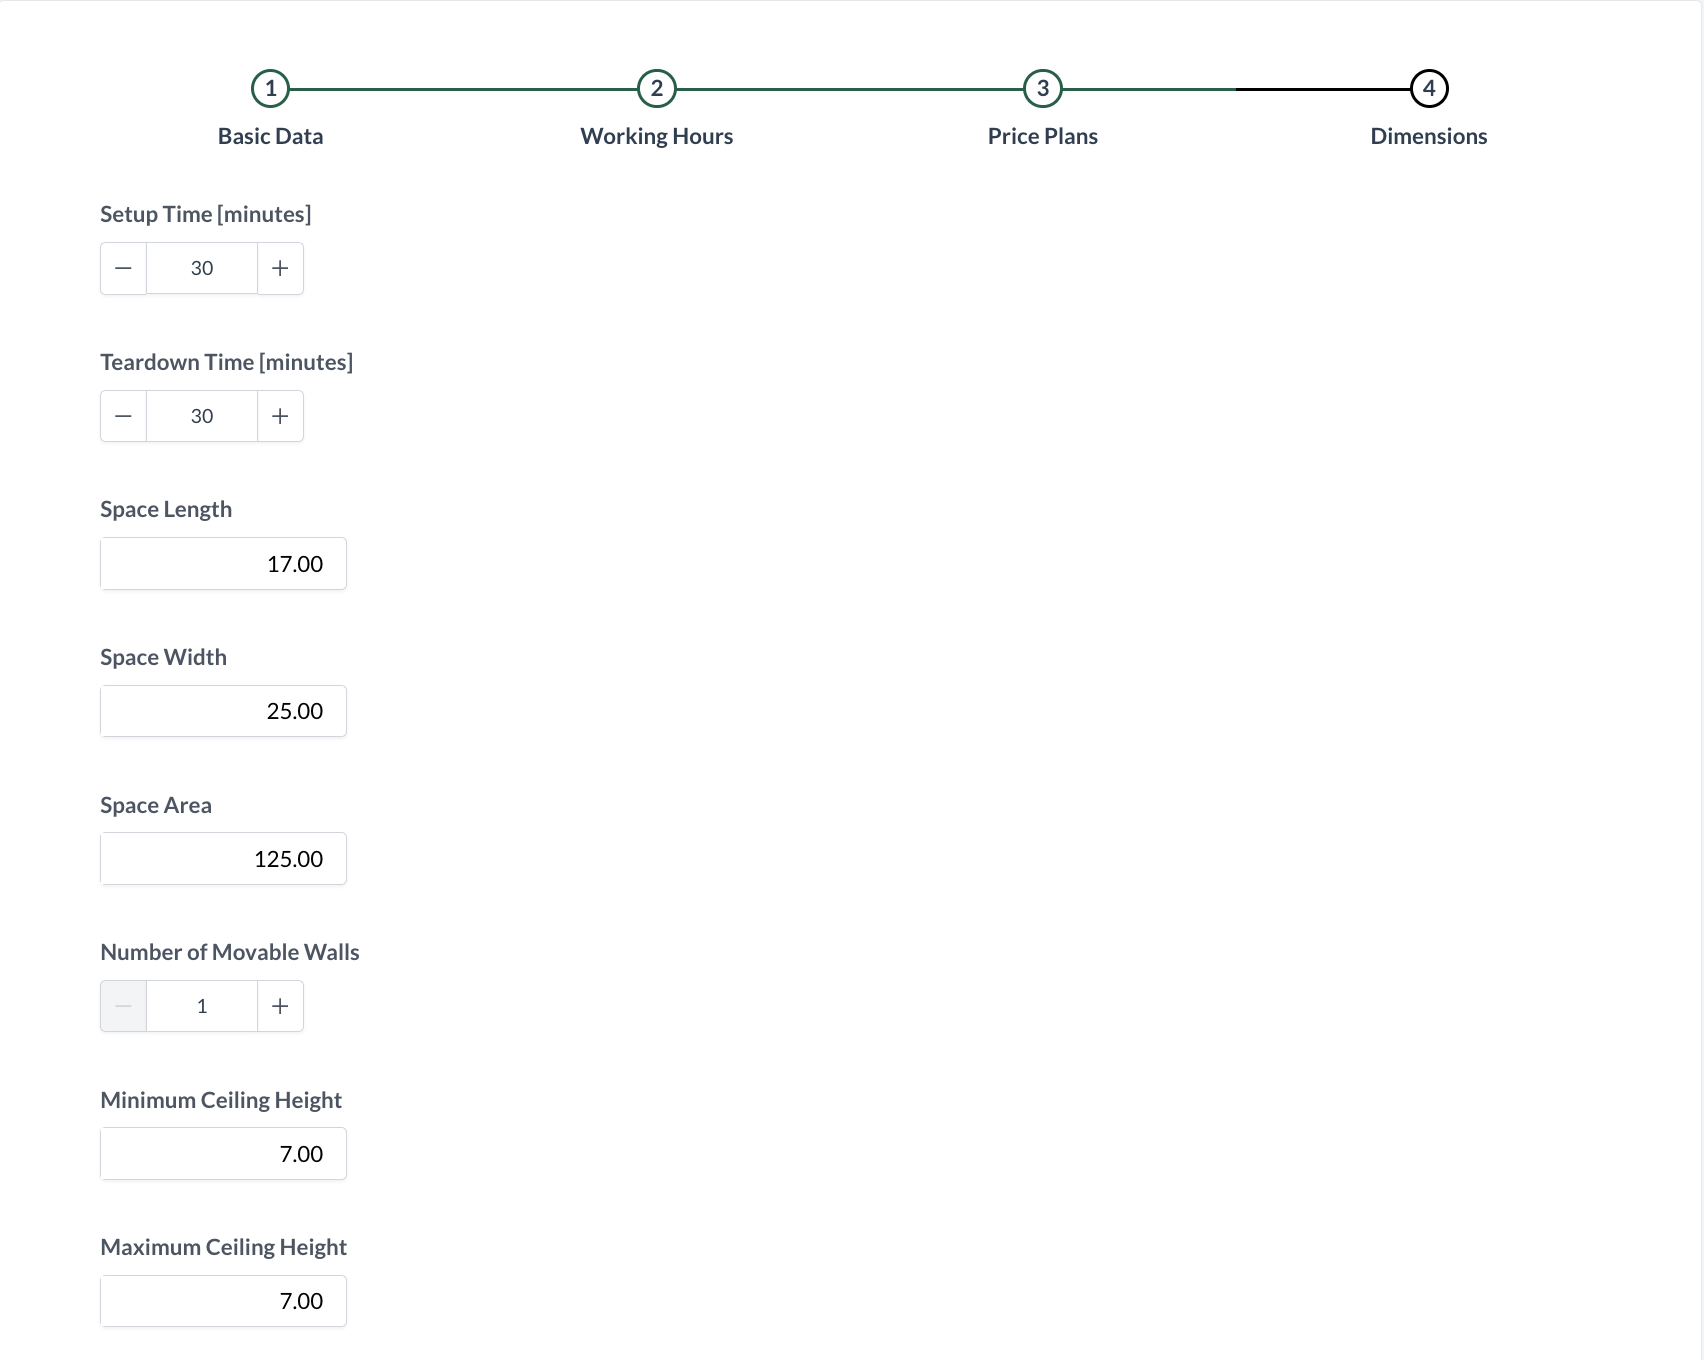
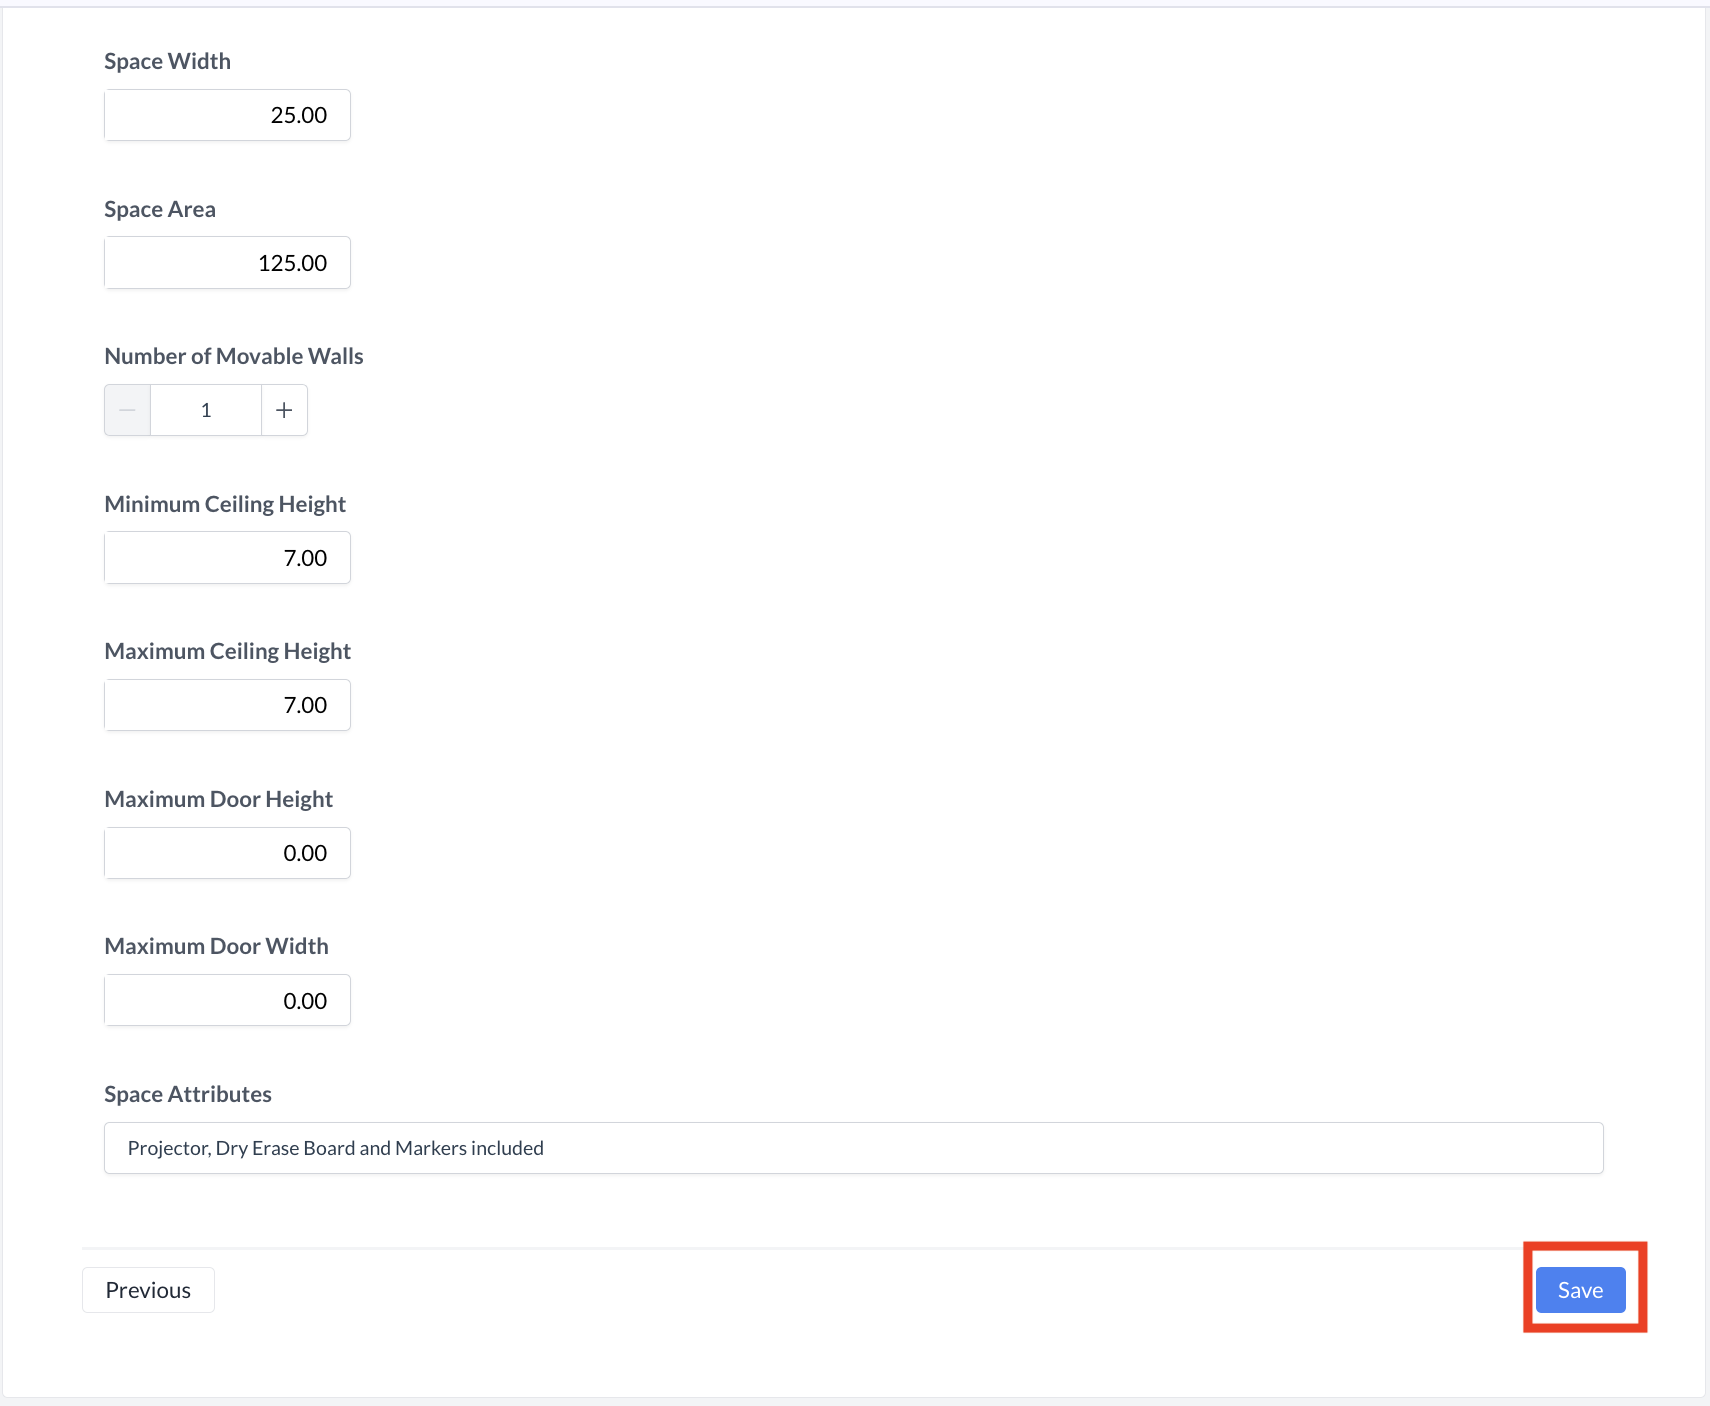
Step 4: Configure Space Dimensions (Optional)
In this step, you can enter detailed information about the space’s dimensions and attributes.
If you prefer not to enter this information, scroll to the bottom and click the blue Save button to continue. Space Configuration Fields
Once you have completed all applicable fields, click the blue Save button at the bottom of the screen to proceed. |
|
Confirmation
After saving, you will be returned to the Spaces listing screen.
|
|
|
⚠️ Important:
However, you must set a price for the new space before it can be reserved. To do this, you'll need to update the space pricing settings. |
|
⏭️ What’s Next
After creating a new Space, navigate to Pricing > Space Pricing and assign a price to the new Space using the rate plan you set up in Step 3. For more information see “Space Pricing” Knowledge Base Article under the Pricing Menu.
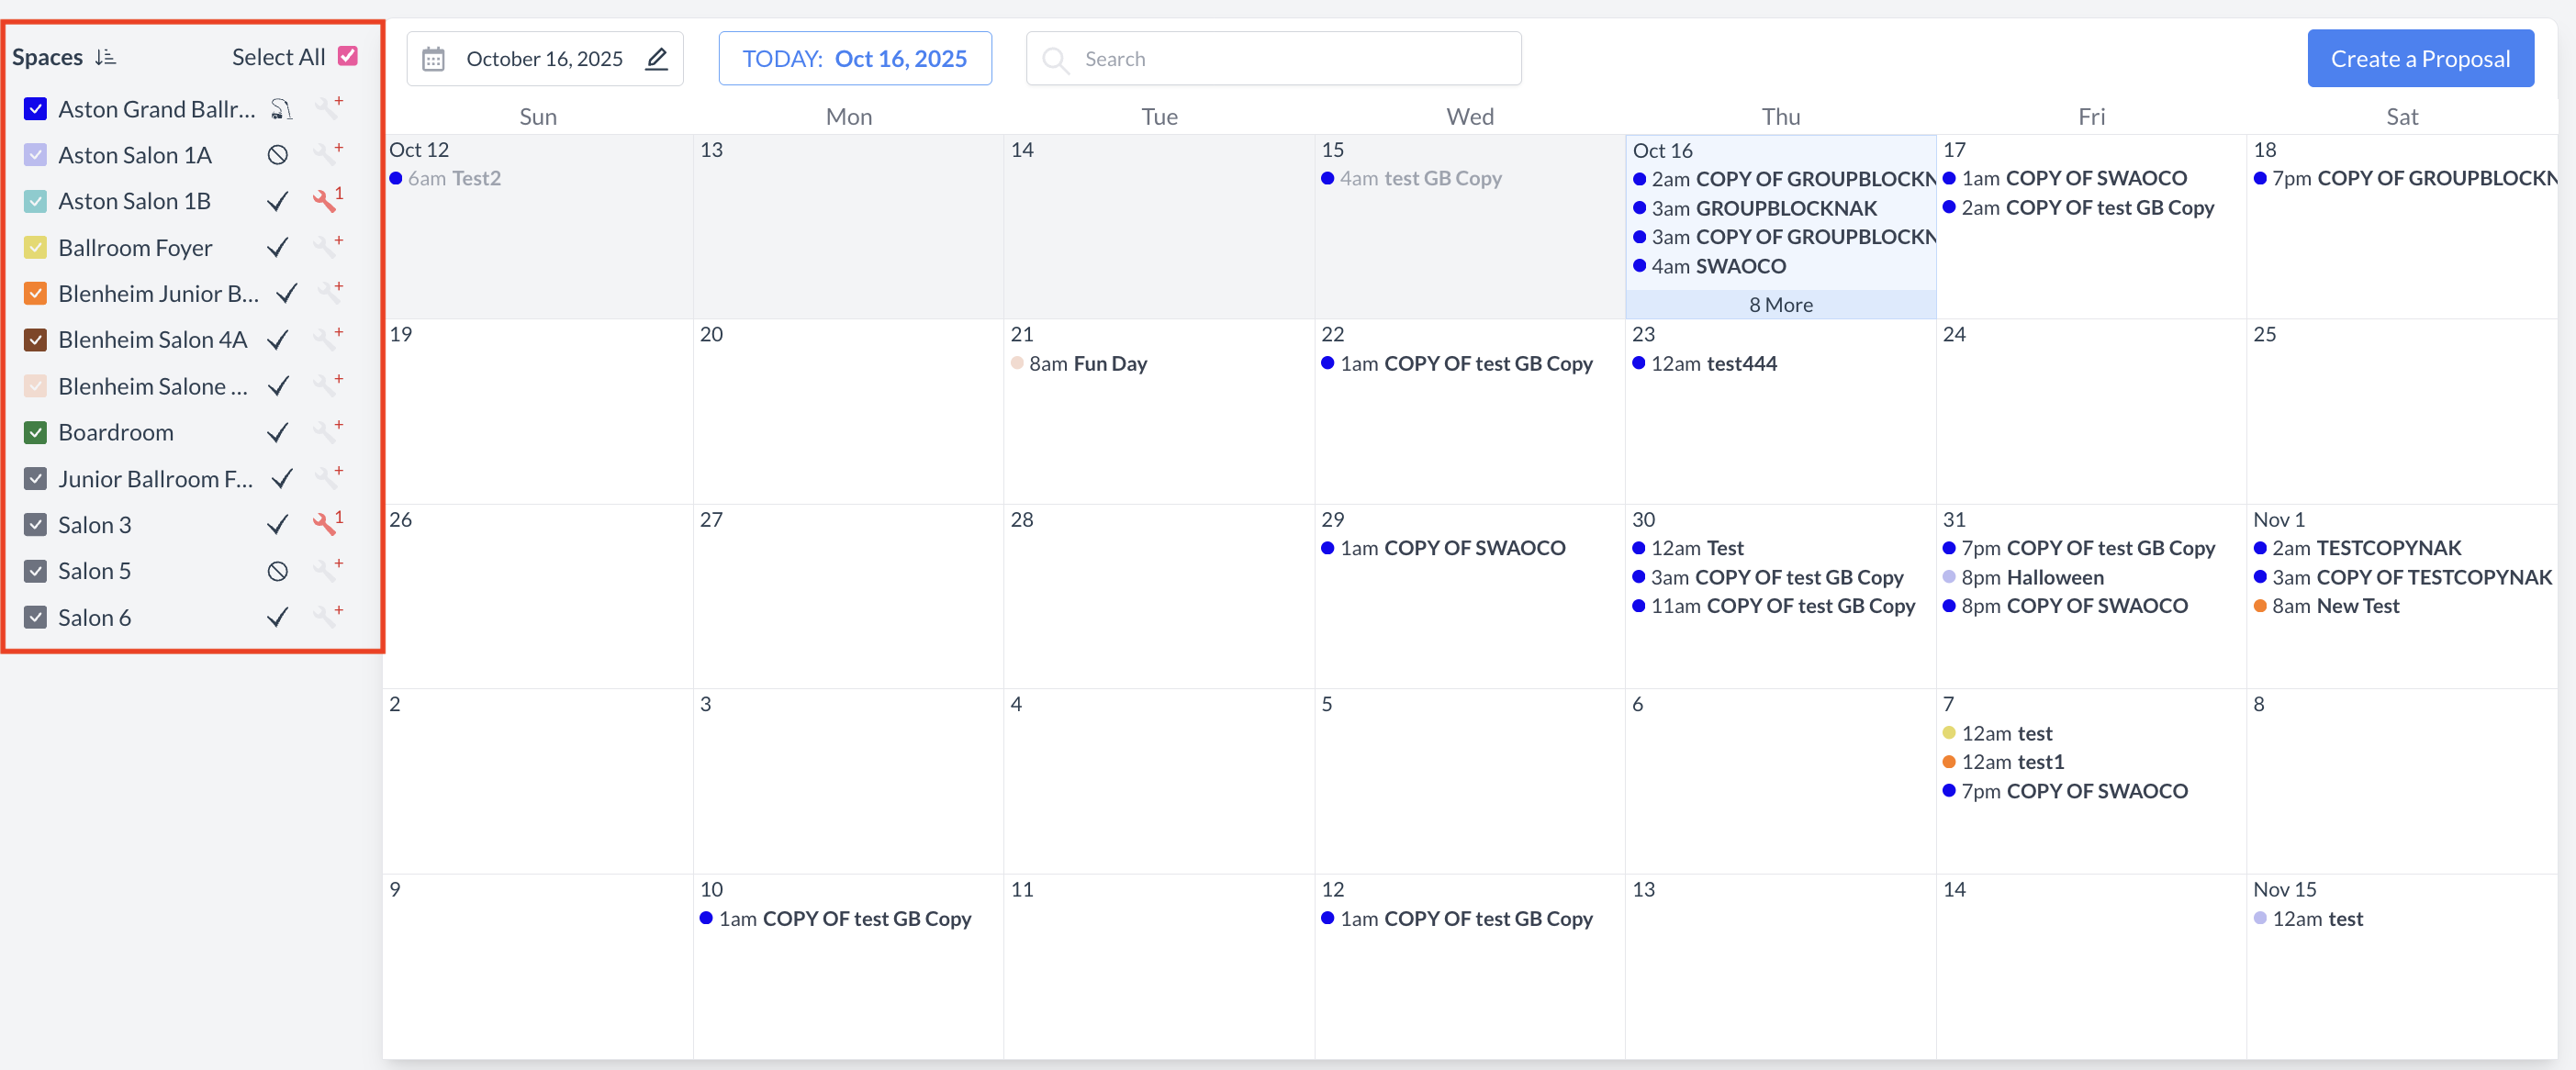
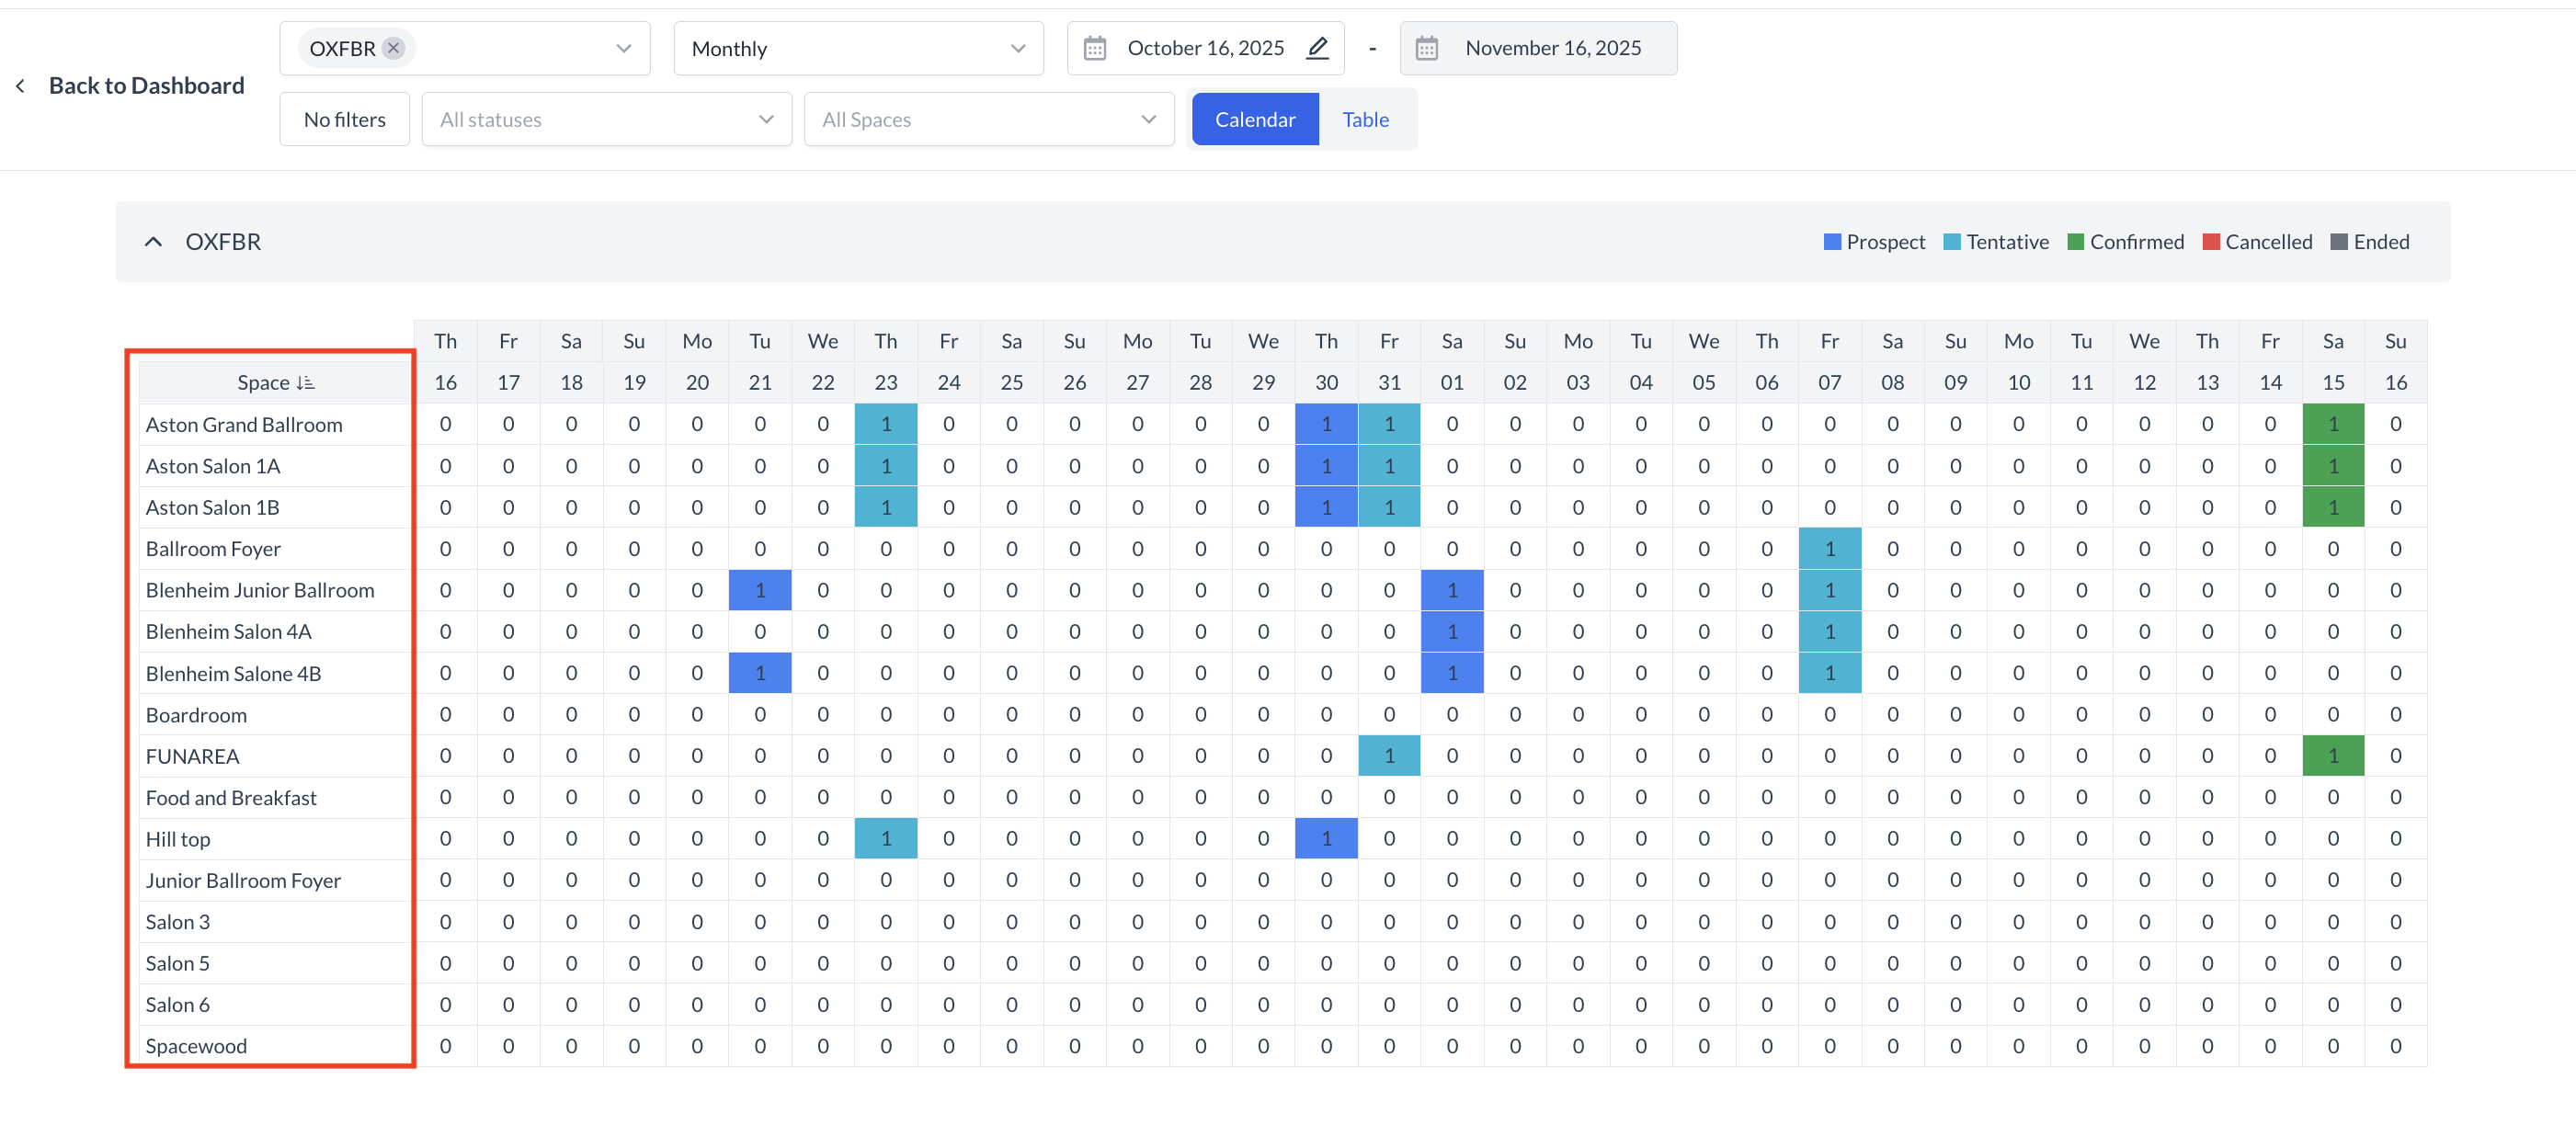
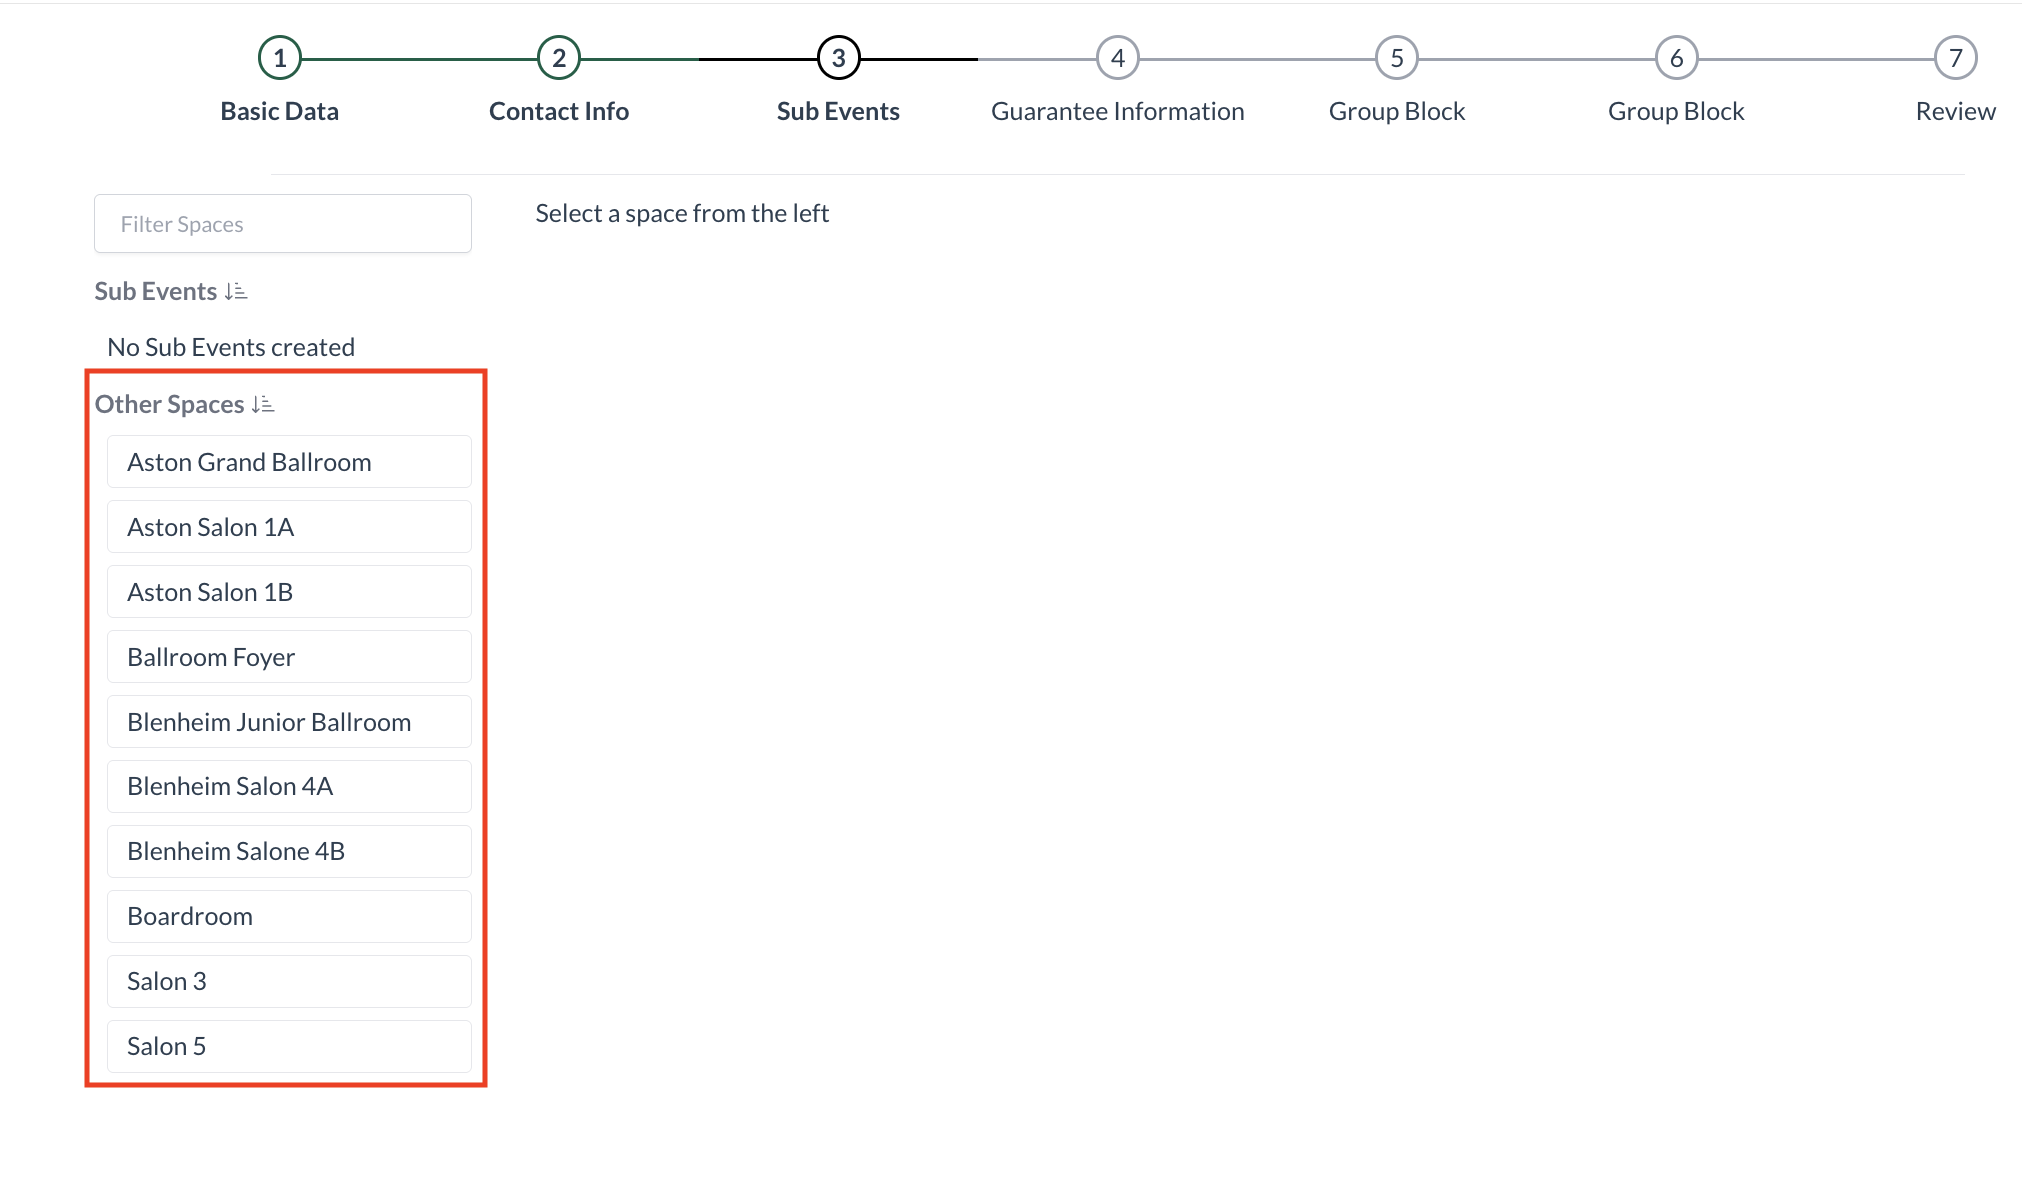
🖥️ Where “Spaces” Appears in the User Interface (UI)
There are several locations within EventKey spaces will appear both in the UI & Reports. Below are a few more common examples: