Using Freedompay
📆 Revision Date:
Jump to:
First Time Login
Users who set up a Freedom Pay Account receive the email shown. Select the Setup Password Link. | 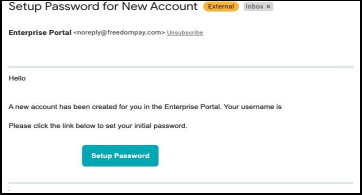 Freedompay Registration Email |
When password setup is complete, access the Freedompay portal at enterprise-services-freedompay.com. Enter Enterprise Code “HTLKEY” as shown. Enter User Name and Password, select LOG IN. | 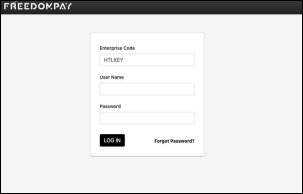 Freedompay Login Page |
Batches
Select Batching from the Batch menu. |  Batch Menu - Batching Link |
The Batching page loads. Select the Business Date to run the batch for, then select GET BATCHES. | 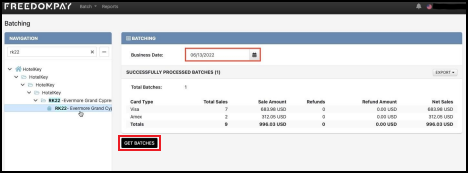 Batching Page - GET BATCHES Link |
The batch list populates at the bottom of the page. Select View for the applicable batch to see details of transactions in the batch. | 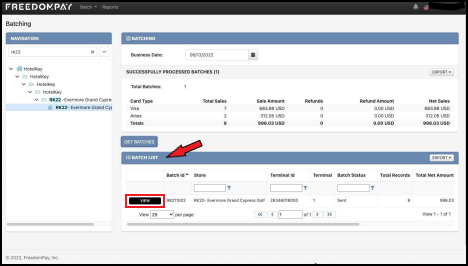 Batch List - View Link |
All transactions reported for the requested date are listed. | 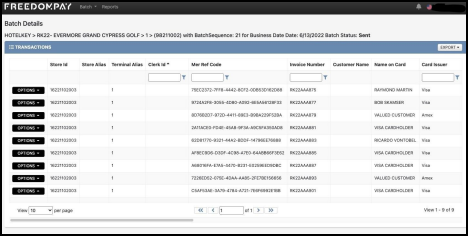 Batch Transaction List |
To view details of a transaction, select View from its Options dropdown. | 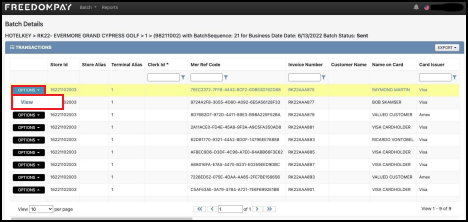 Options - View Link |
Transaction details are shown in a popup. | 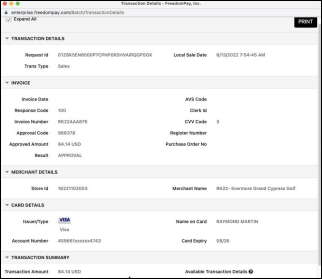 Transaction Details Popup |
View Transactions
Select View Transactions from the Batch menu. |  Batch Menu - View Transactions Link |
To search for transactions in a specific date range, select the Start Date and End Date in the GENERAL section. Note the additional sections for CREDIT CARD, MERCHANT, RESPONSE and OTHER. The CREDIT CARD and MERCHANT sections have additional search criteria fields available. | 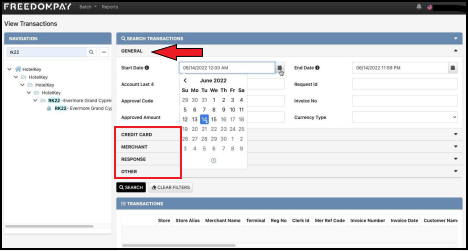 GENERAL Section - Start Date Field |
For example, the CREDIT CARD section allows for card type selection as a search option. | 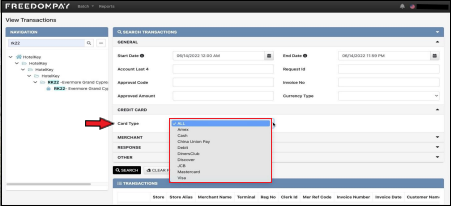 Special Credit Card Search Criteria |
After search criteria are entered, a report format is selected. Select the Reports link at the top menu bar to load the Reports page, as shown. Select the Run link for the applicable report. | 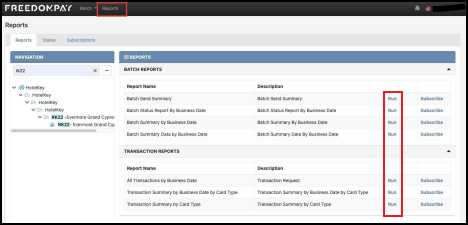 Reports Page - Run Links |
The Batch Send Summary popup activates. Select desired options for Export To, revise previously entered Start Date and End Date if desired, and ensure Portal Notification is selected. Select RUN to run the report. | 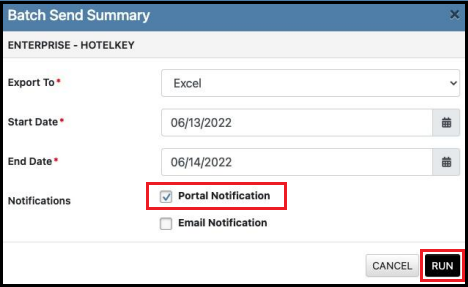 Batch Send Summary Popup |
Select the Status tab at the top of the page to view progress as the report runs. Report status is set to “Pending” while the process runs. Report status updates to “Complete” when the process is finished, and a download link activates. Select the download link to download a copy of the report. The download is saved to the browser’s default Downloads folder. | 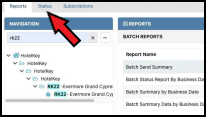 Reports Page - Status Tab |
