
📆 Revision Date:
This article describes how to create an Individual (standard) Booking and a Walk In Reservation. Group Reservations and Company Reservations are covered separately, see sidebar links in this section.
Jump directly to Book a Room From Grid View.
Jump directly to Reserve by Availability.
Jump directly to Create a Walk In Reservation.
|
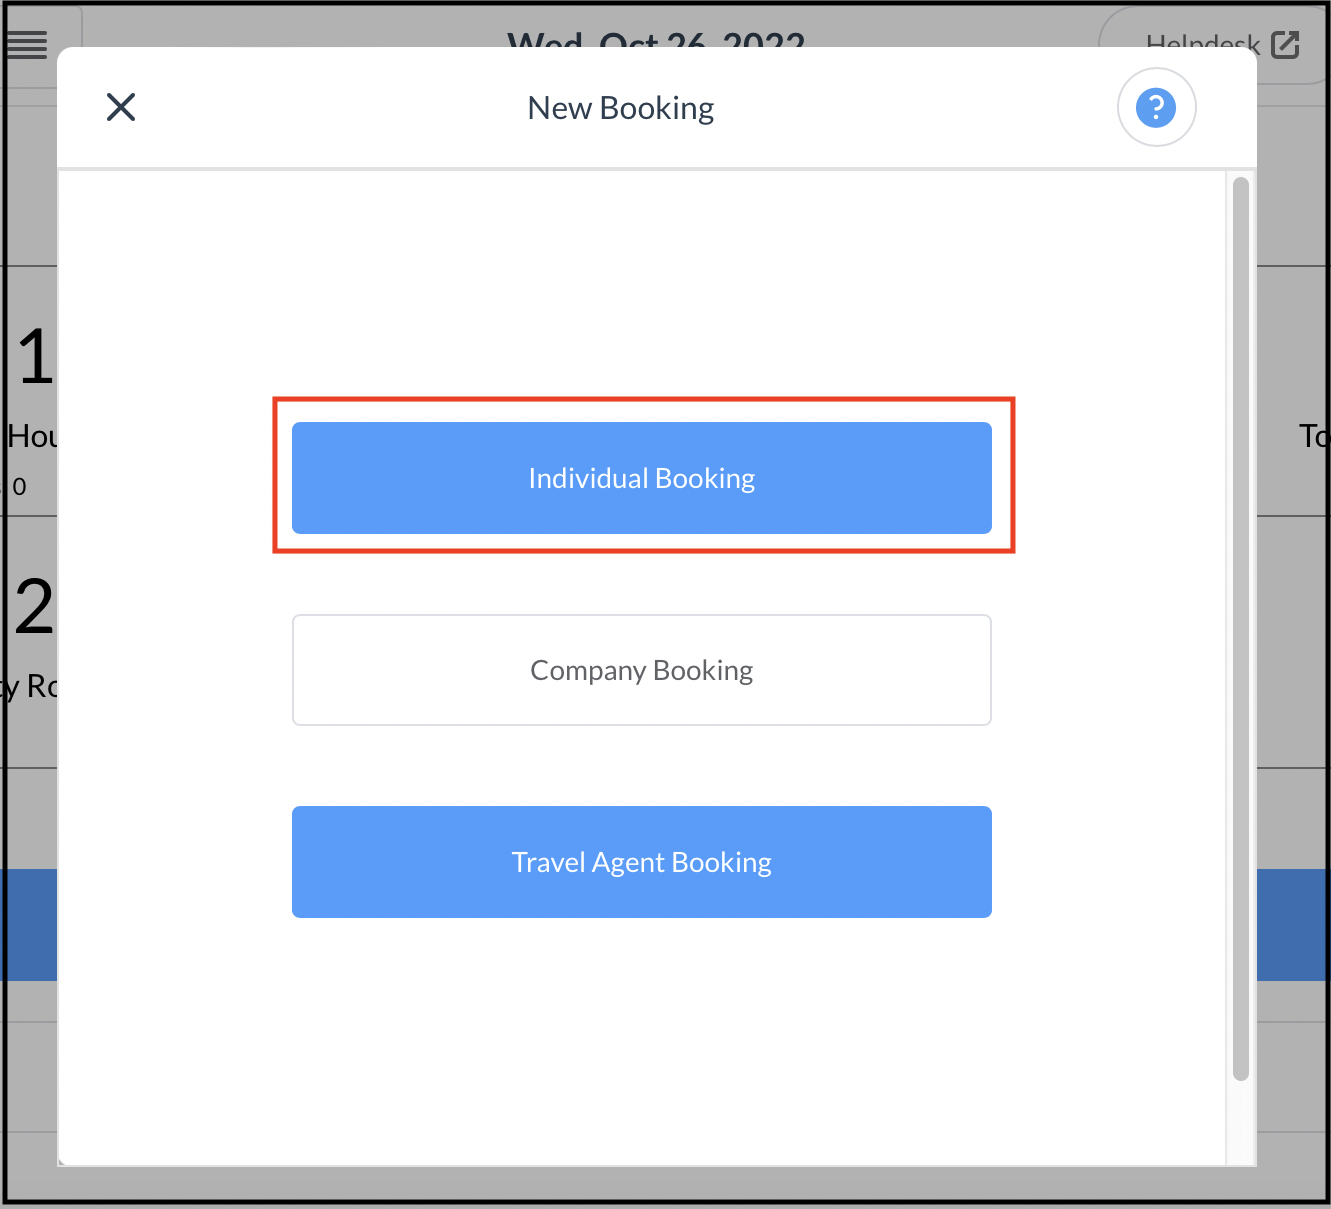
Navigate to the Dashboard and select New Booking. |

|
|
The New Booking popup activates. Select Individual Booking. |
|
|
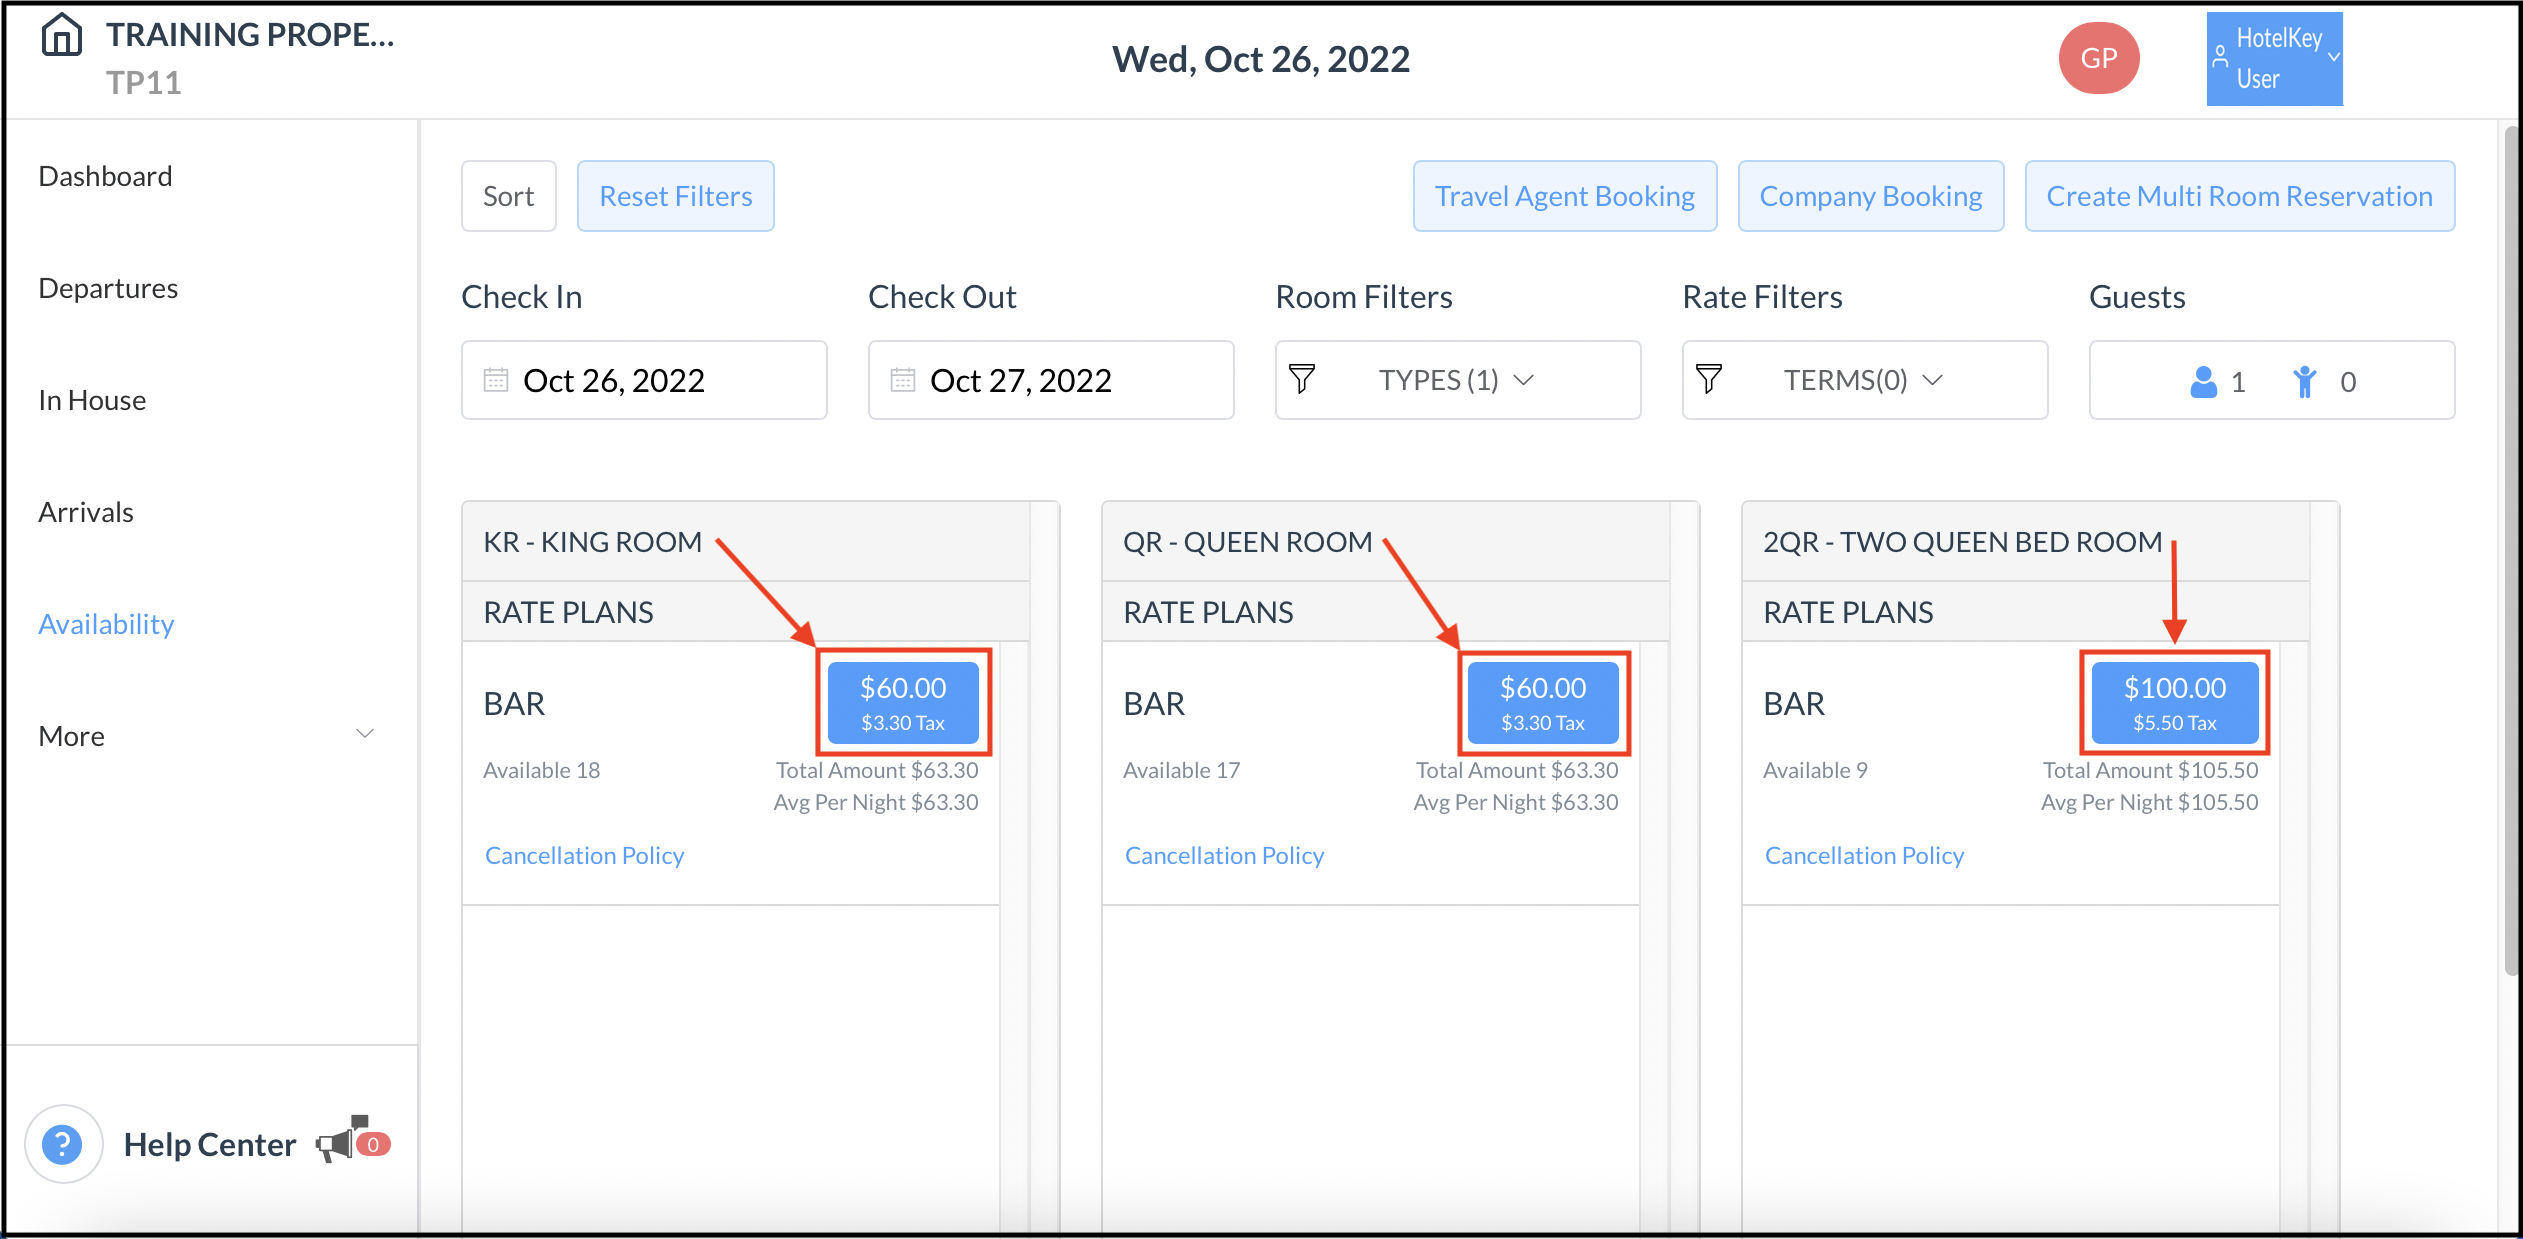
Enter the applicable Check In and Check Out dates and the number of guests. Available room types and rates are shown. In the box for the guest's desired room type, select the applicable blue rate button. Note that while only one rate option is shown for each room type in the example, additional rate options may be listed in your system. In that case, select the applicable blue rate button from among the options presented. |
|
|
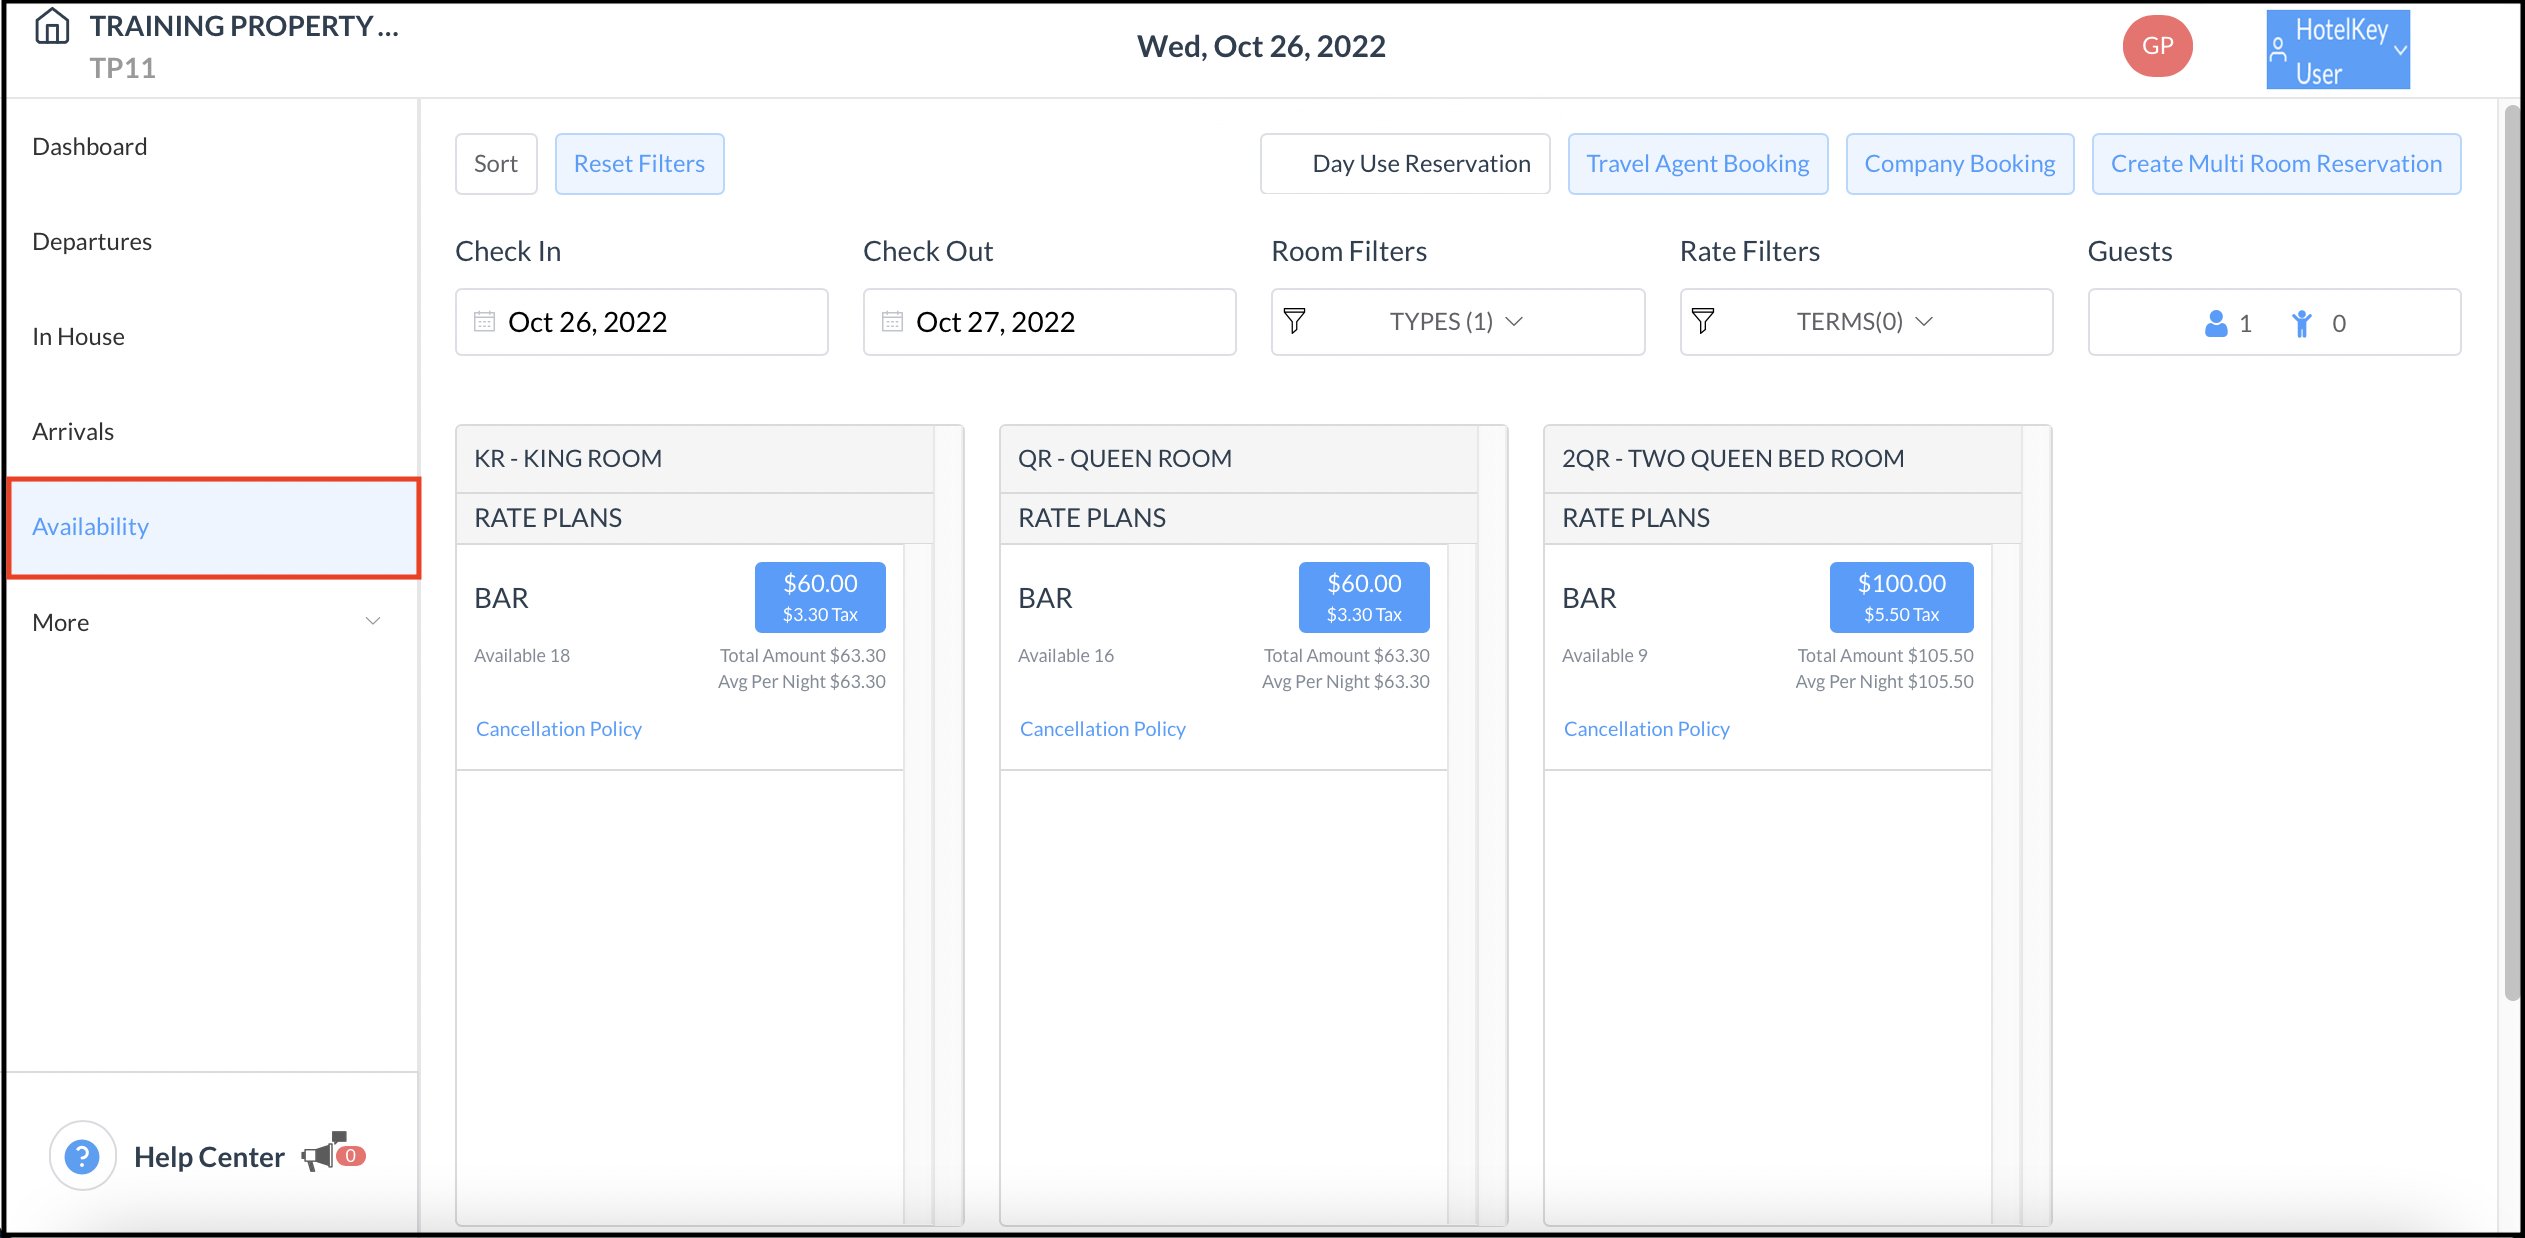
Alternatively, select Availability in the sidebar menu at left to bypass the booking type popup and go directly to the room type / rate selection page. In that case, the system assumes an Individual Booking type.
|
|
|
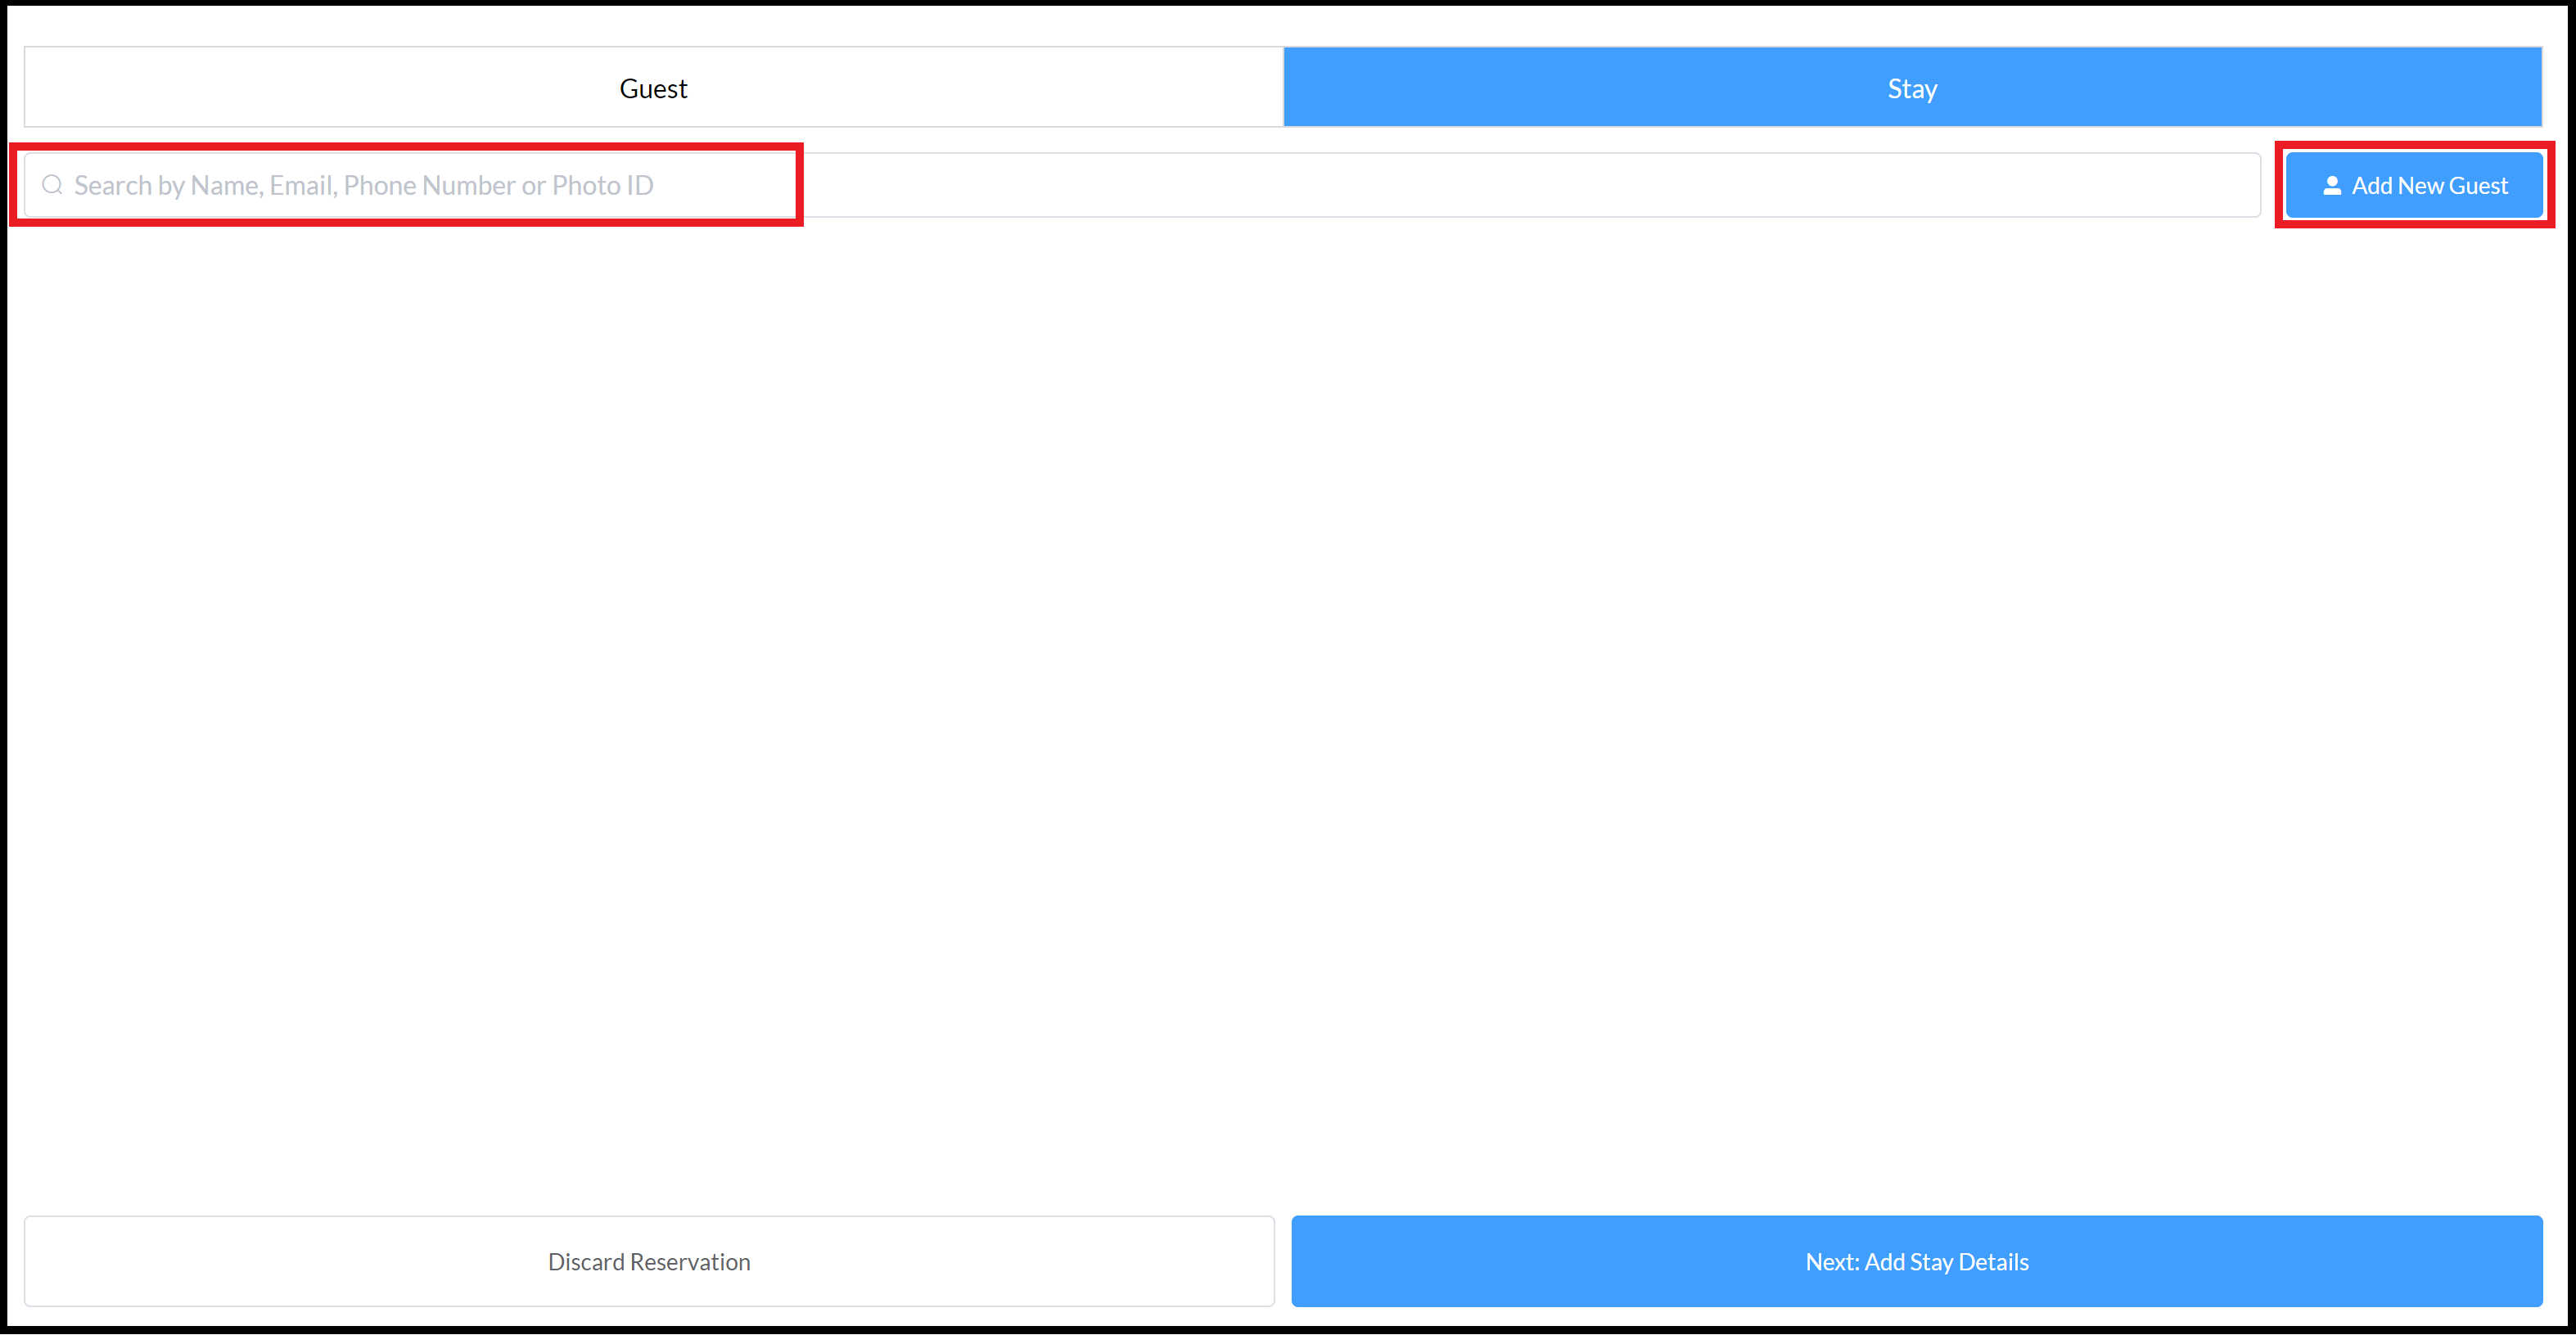
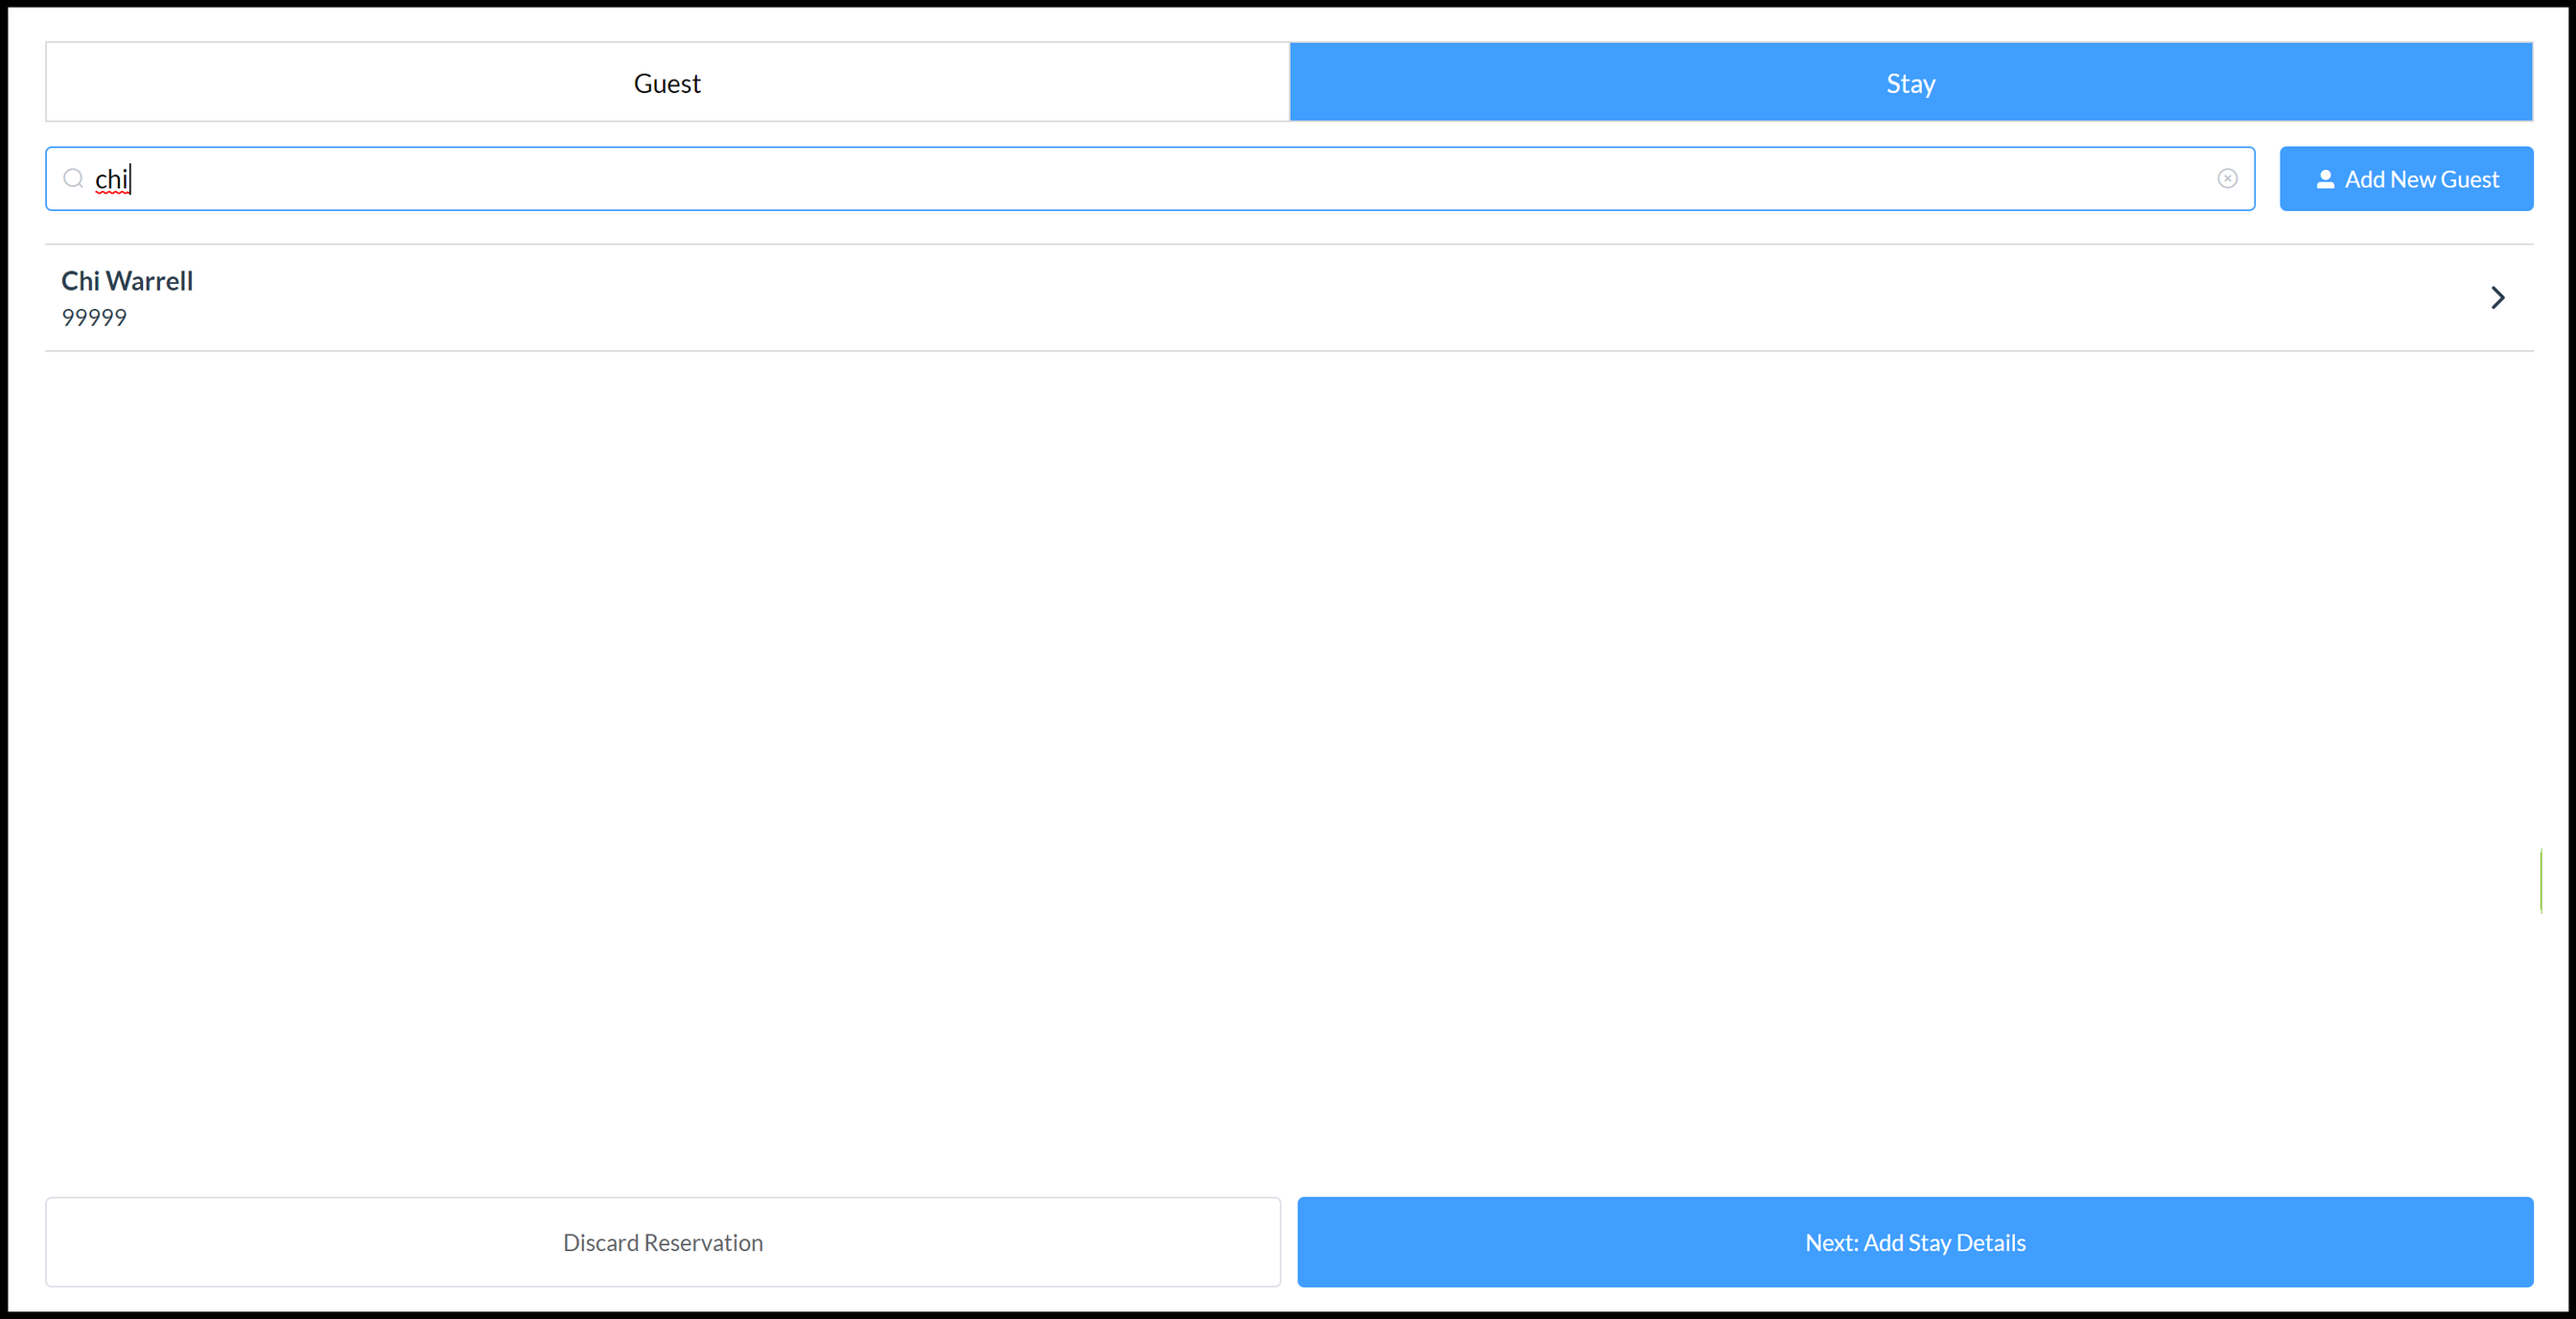
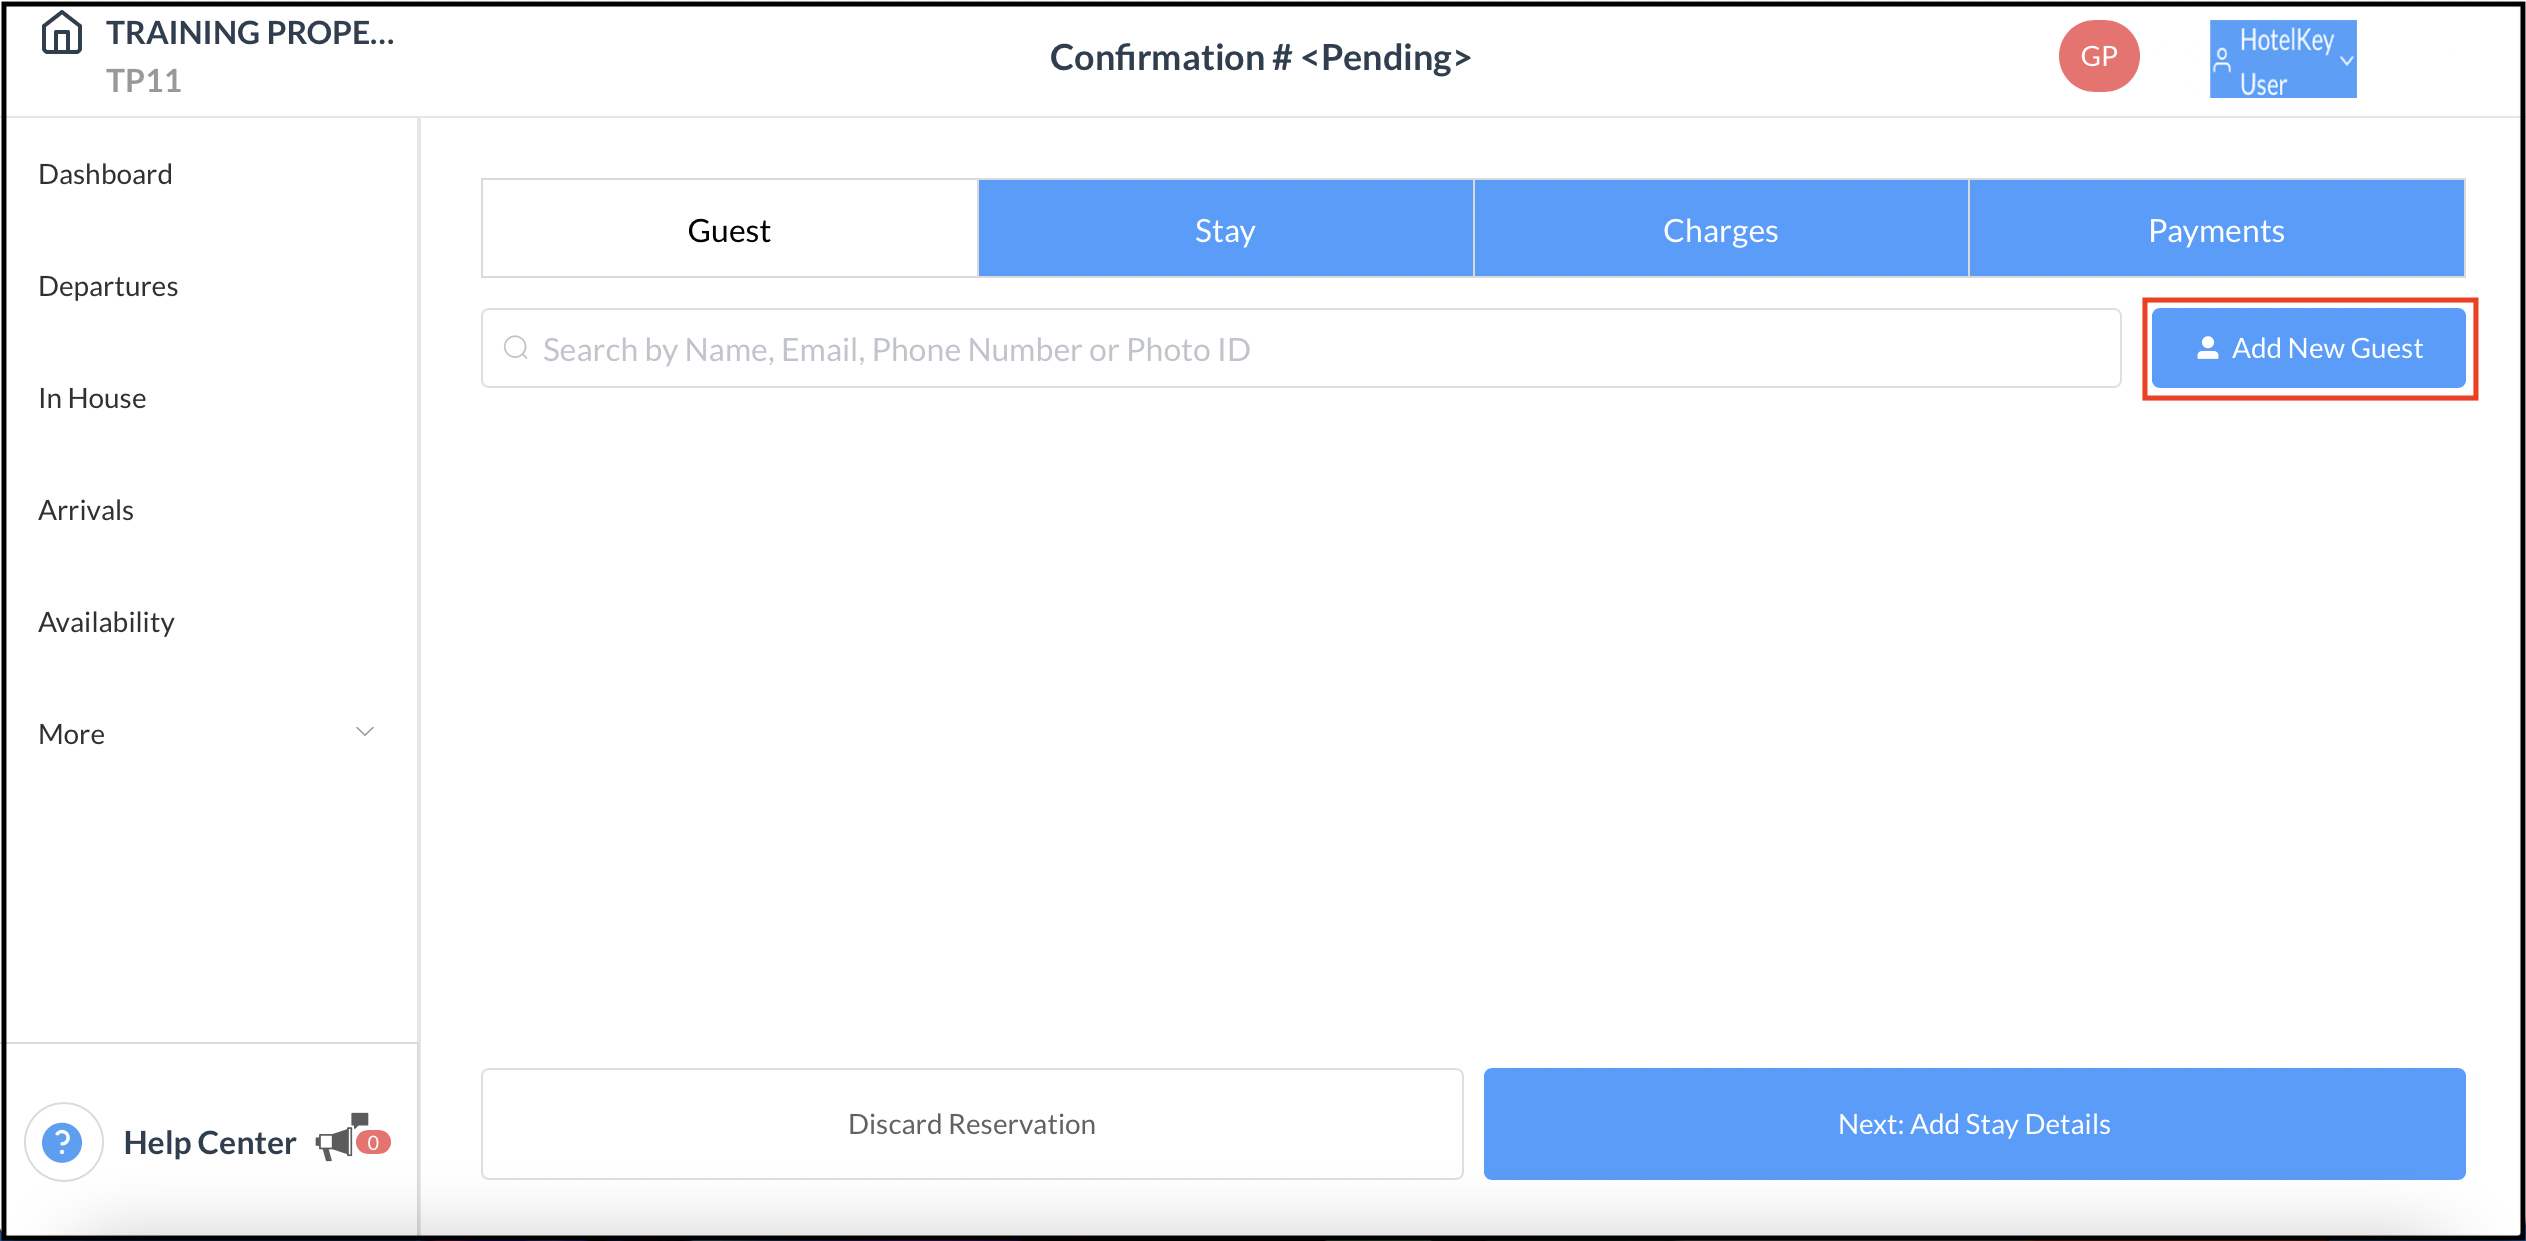
The Guest tab displays. Use the search field at the left of the panel to look up a previous guest. Select Add New Guest to create a new guest record. |
|
|
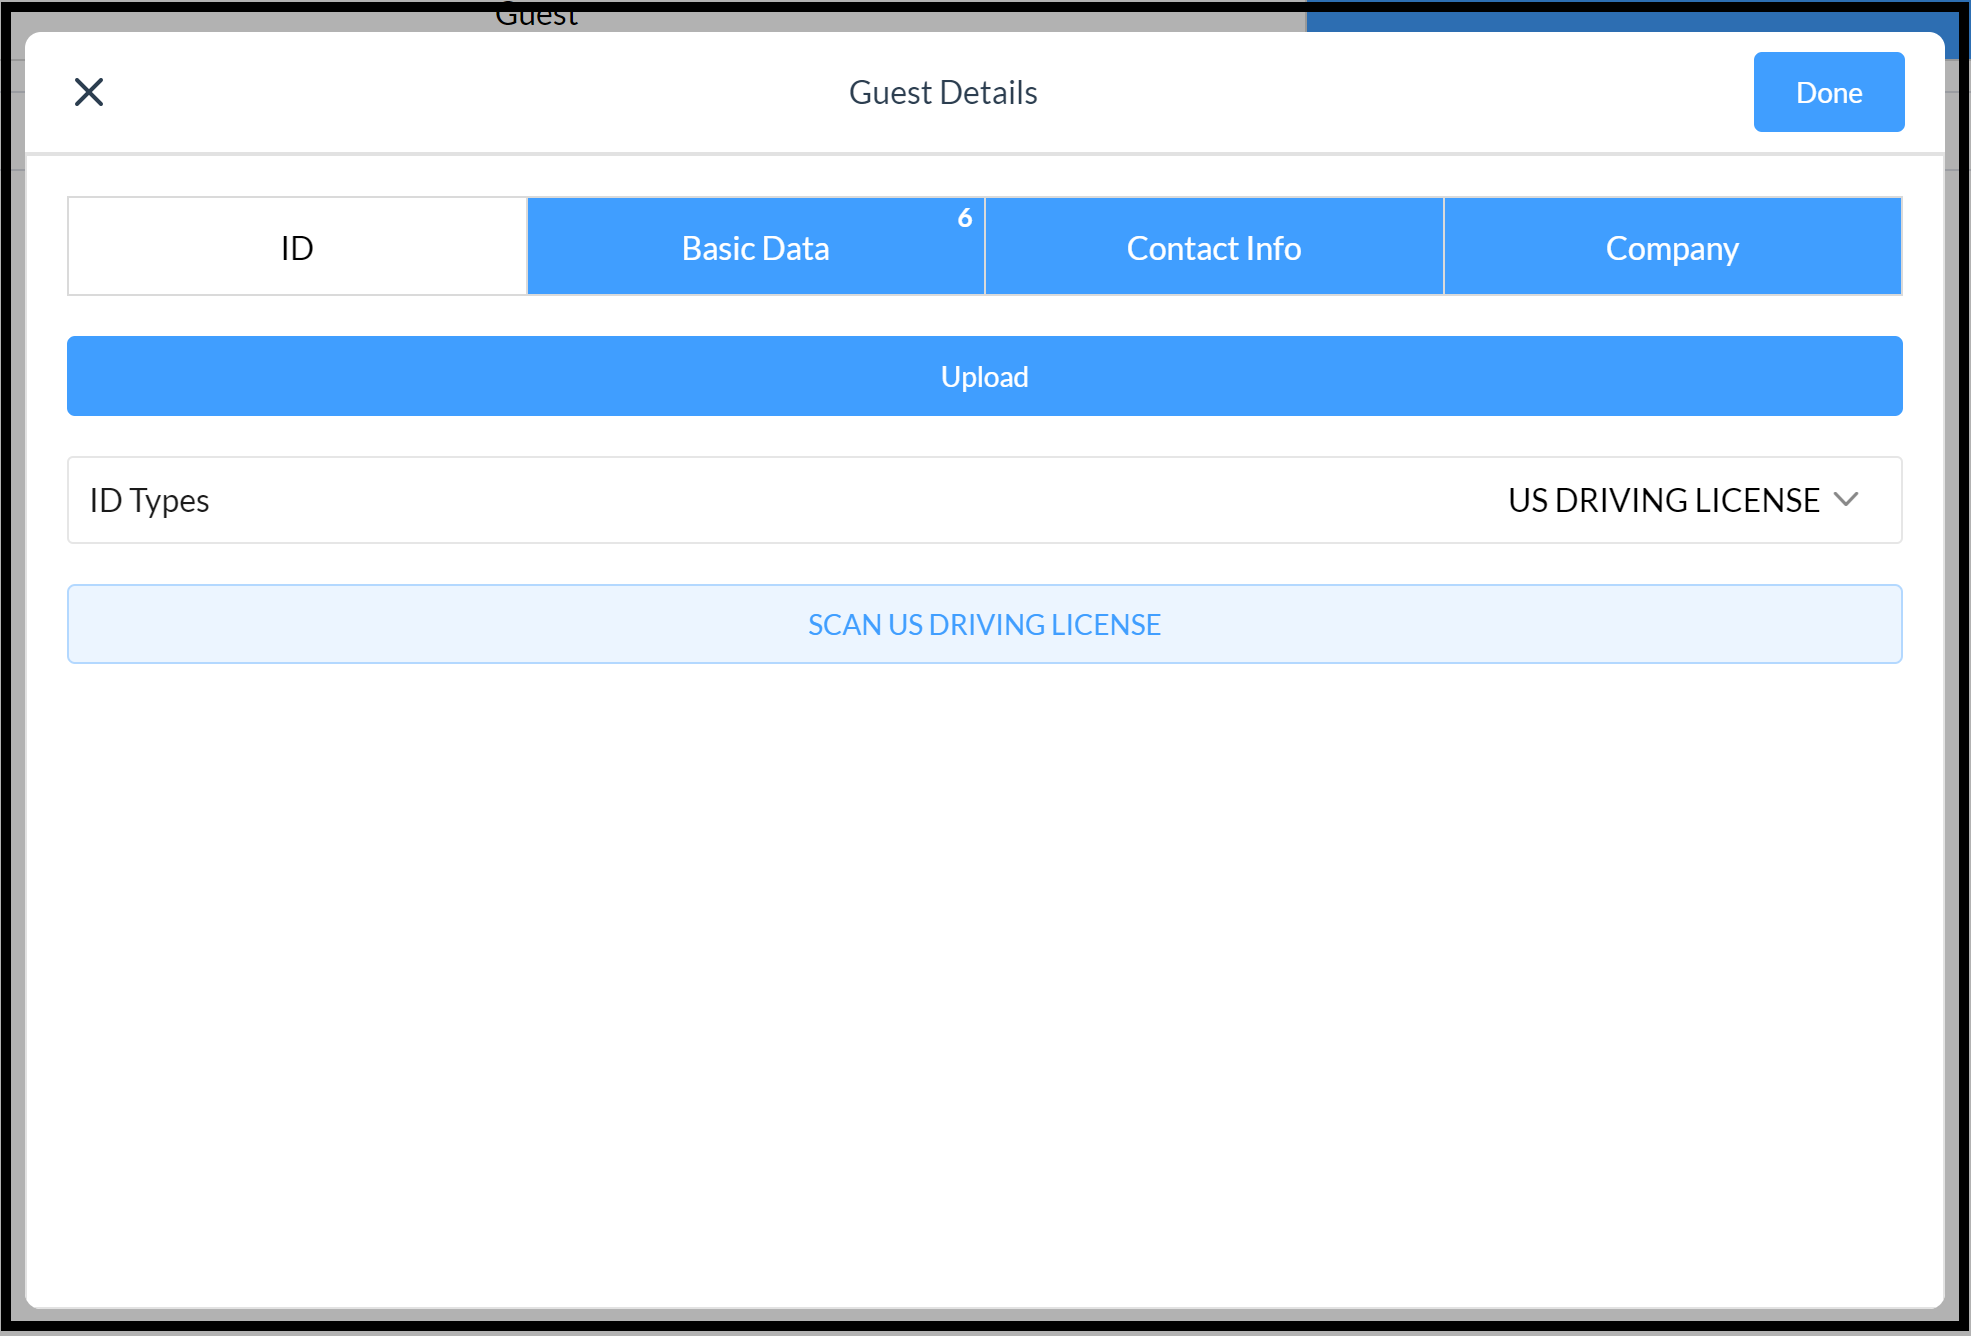
When Add a New Guest is selected in the step above, the Guest Details popup activates. Enter applicable details in all four tabs (ID, Basic Data, Contact Data and Company), then select Done. When search is used in the step above, a result set displays beneath the search form. Select the applicable guest from the list. |
|
|
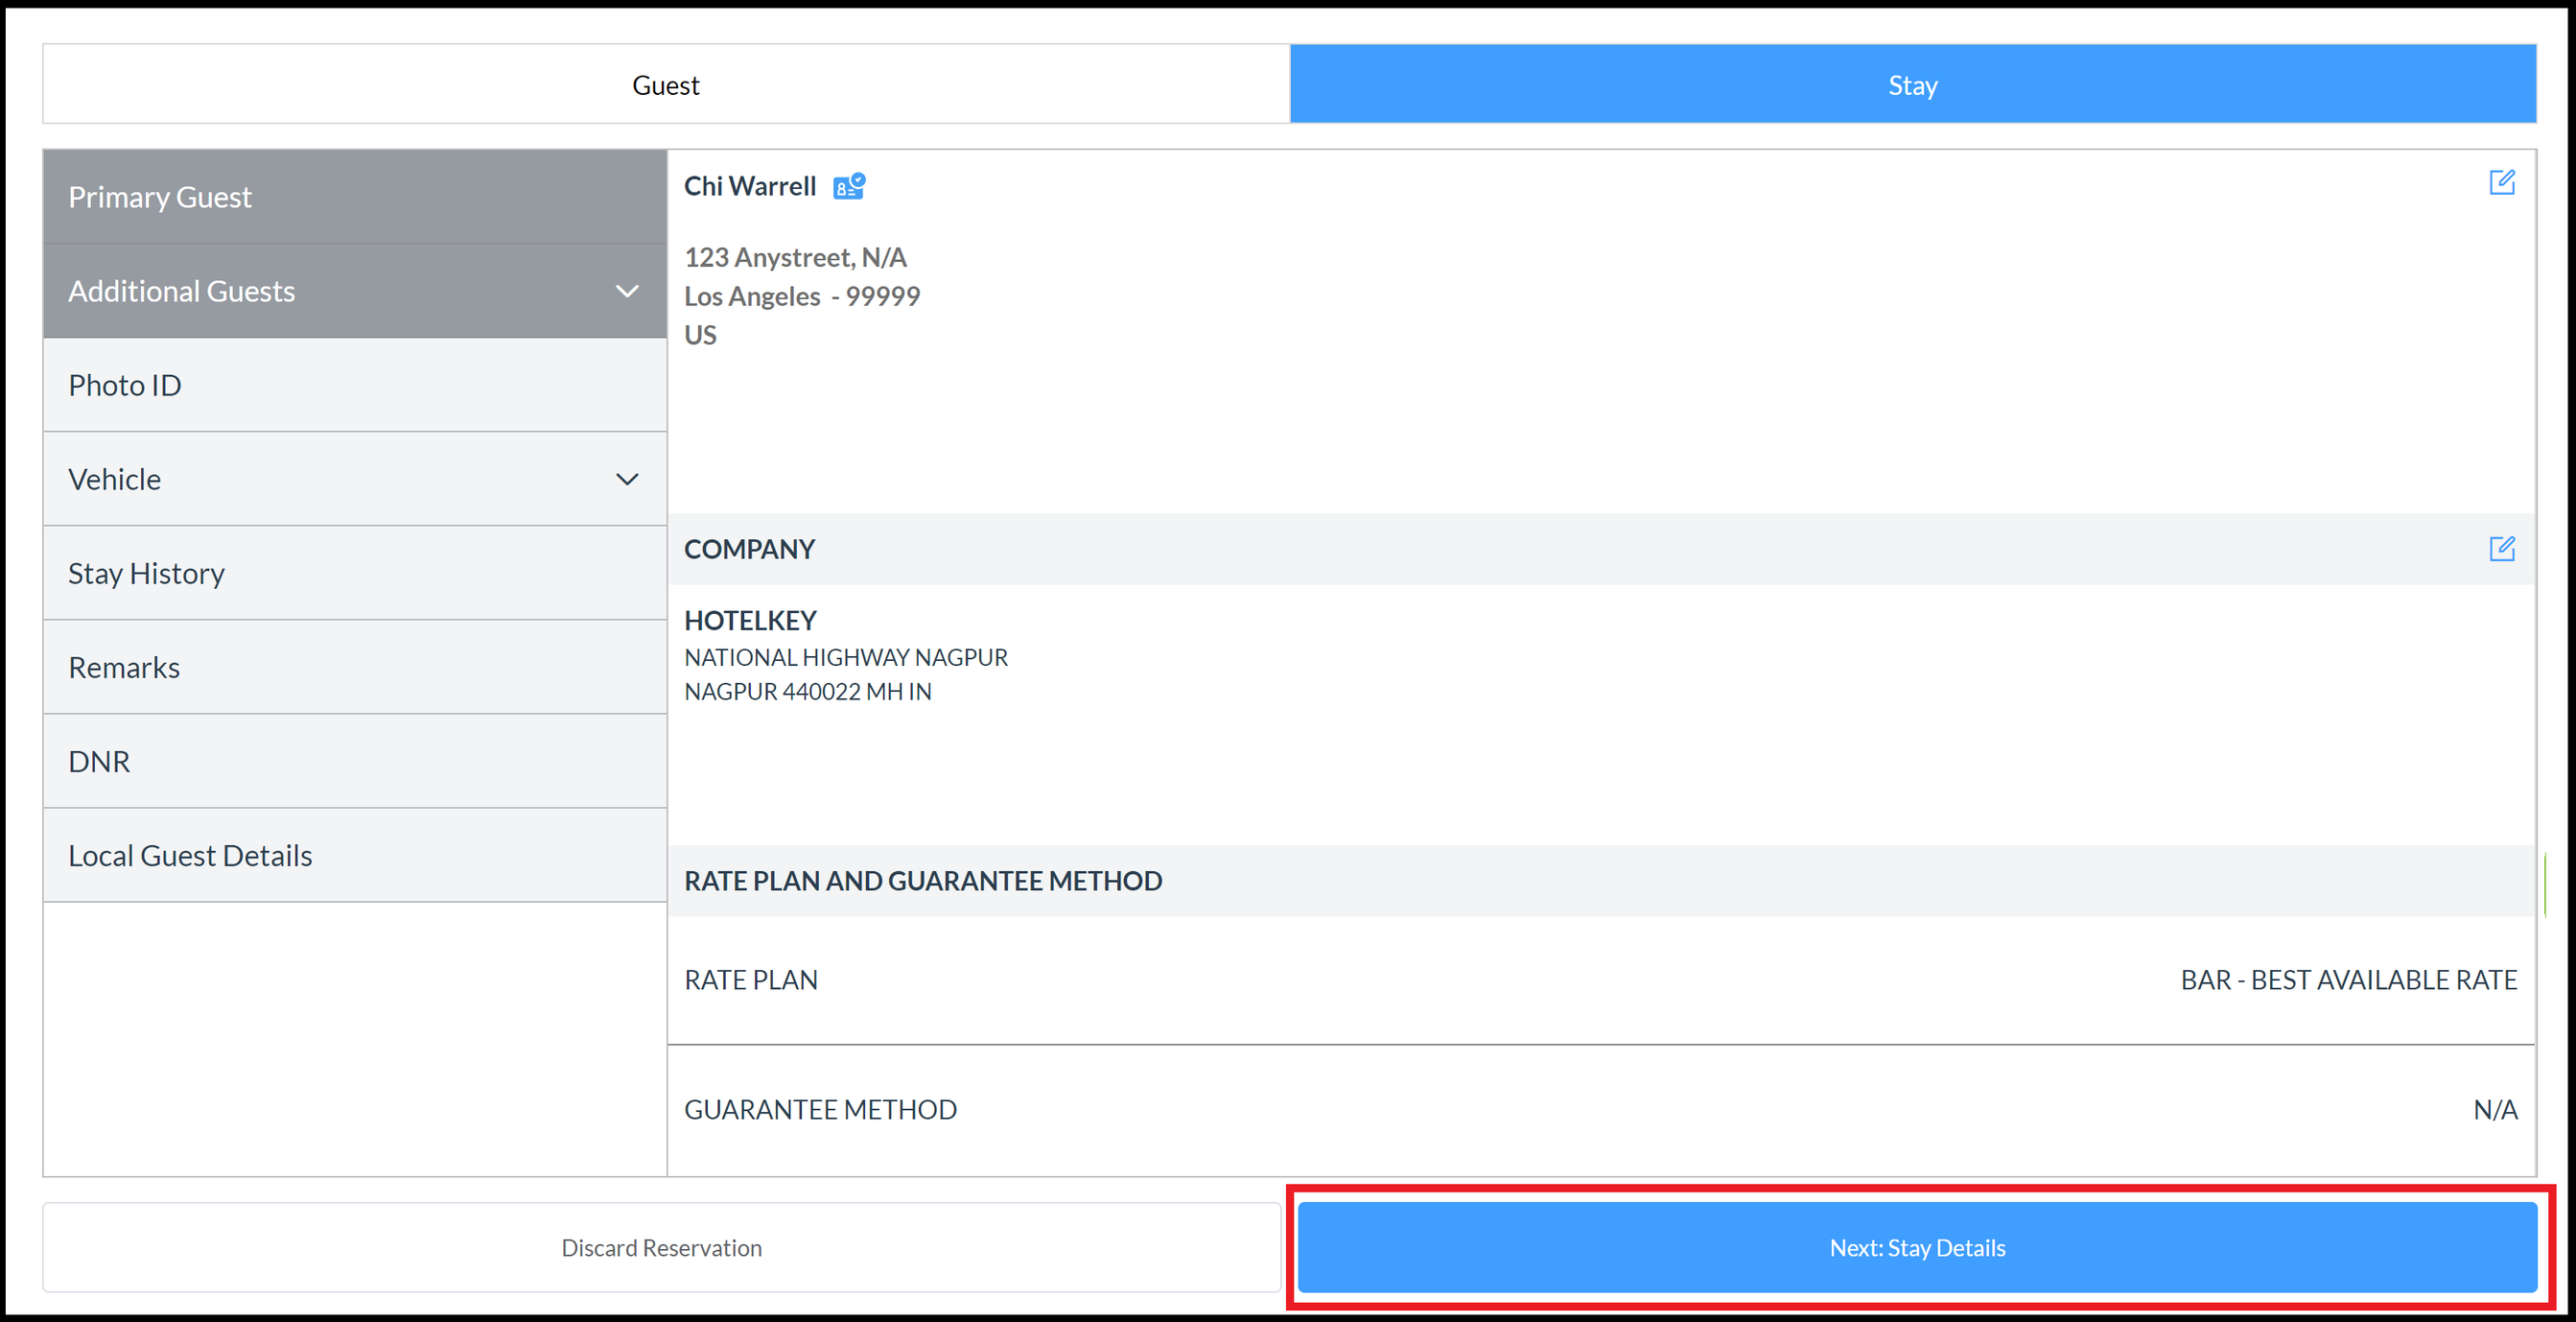
When the new guest record is created or previous guest is assigned, Stay guest details display. Confirm details shown. Use the provided sidebar and top tab links to go back and revise detail fields. Select Next: Stay Details to continue. |
|
|
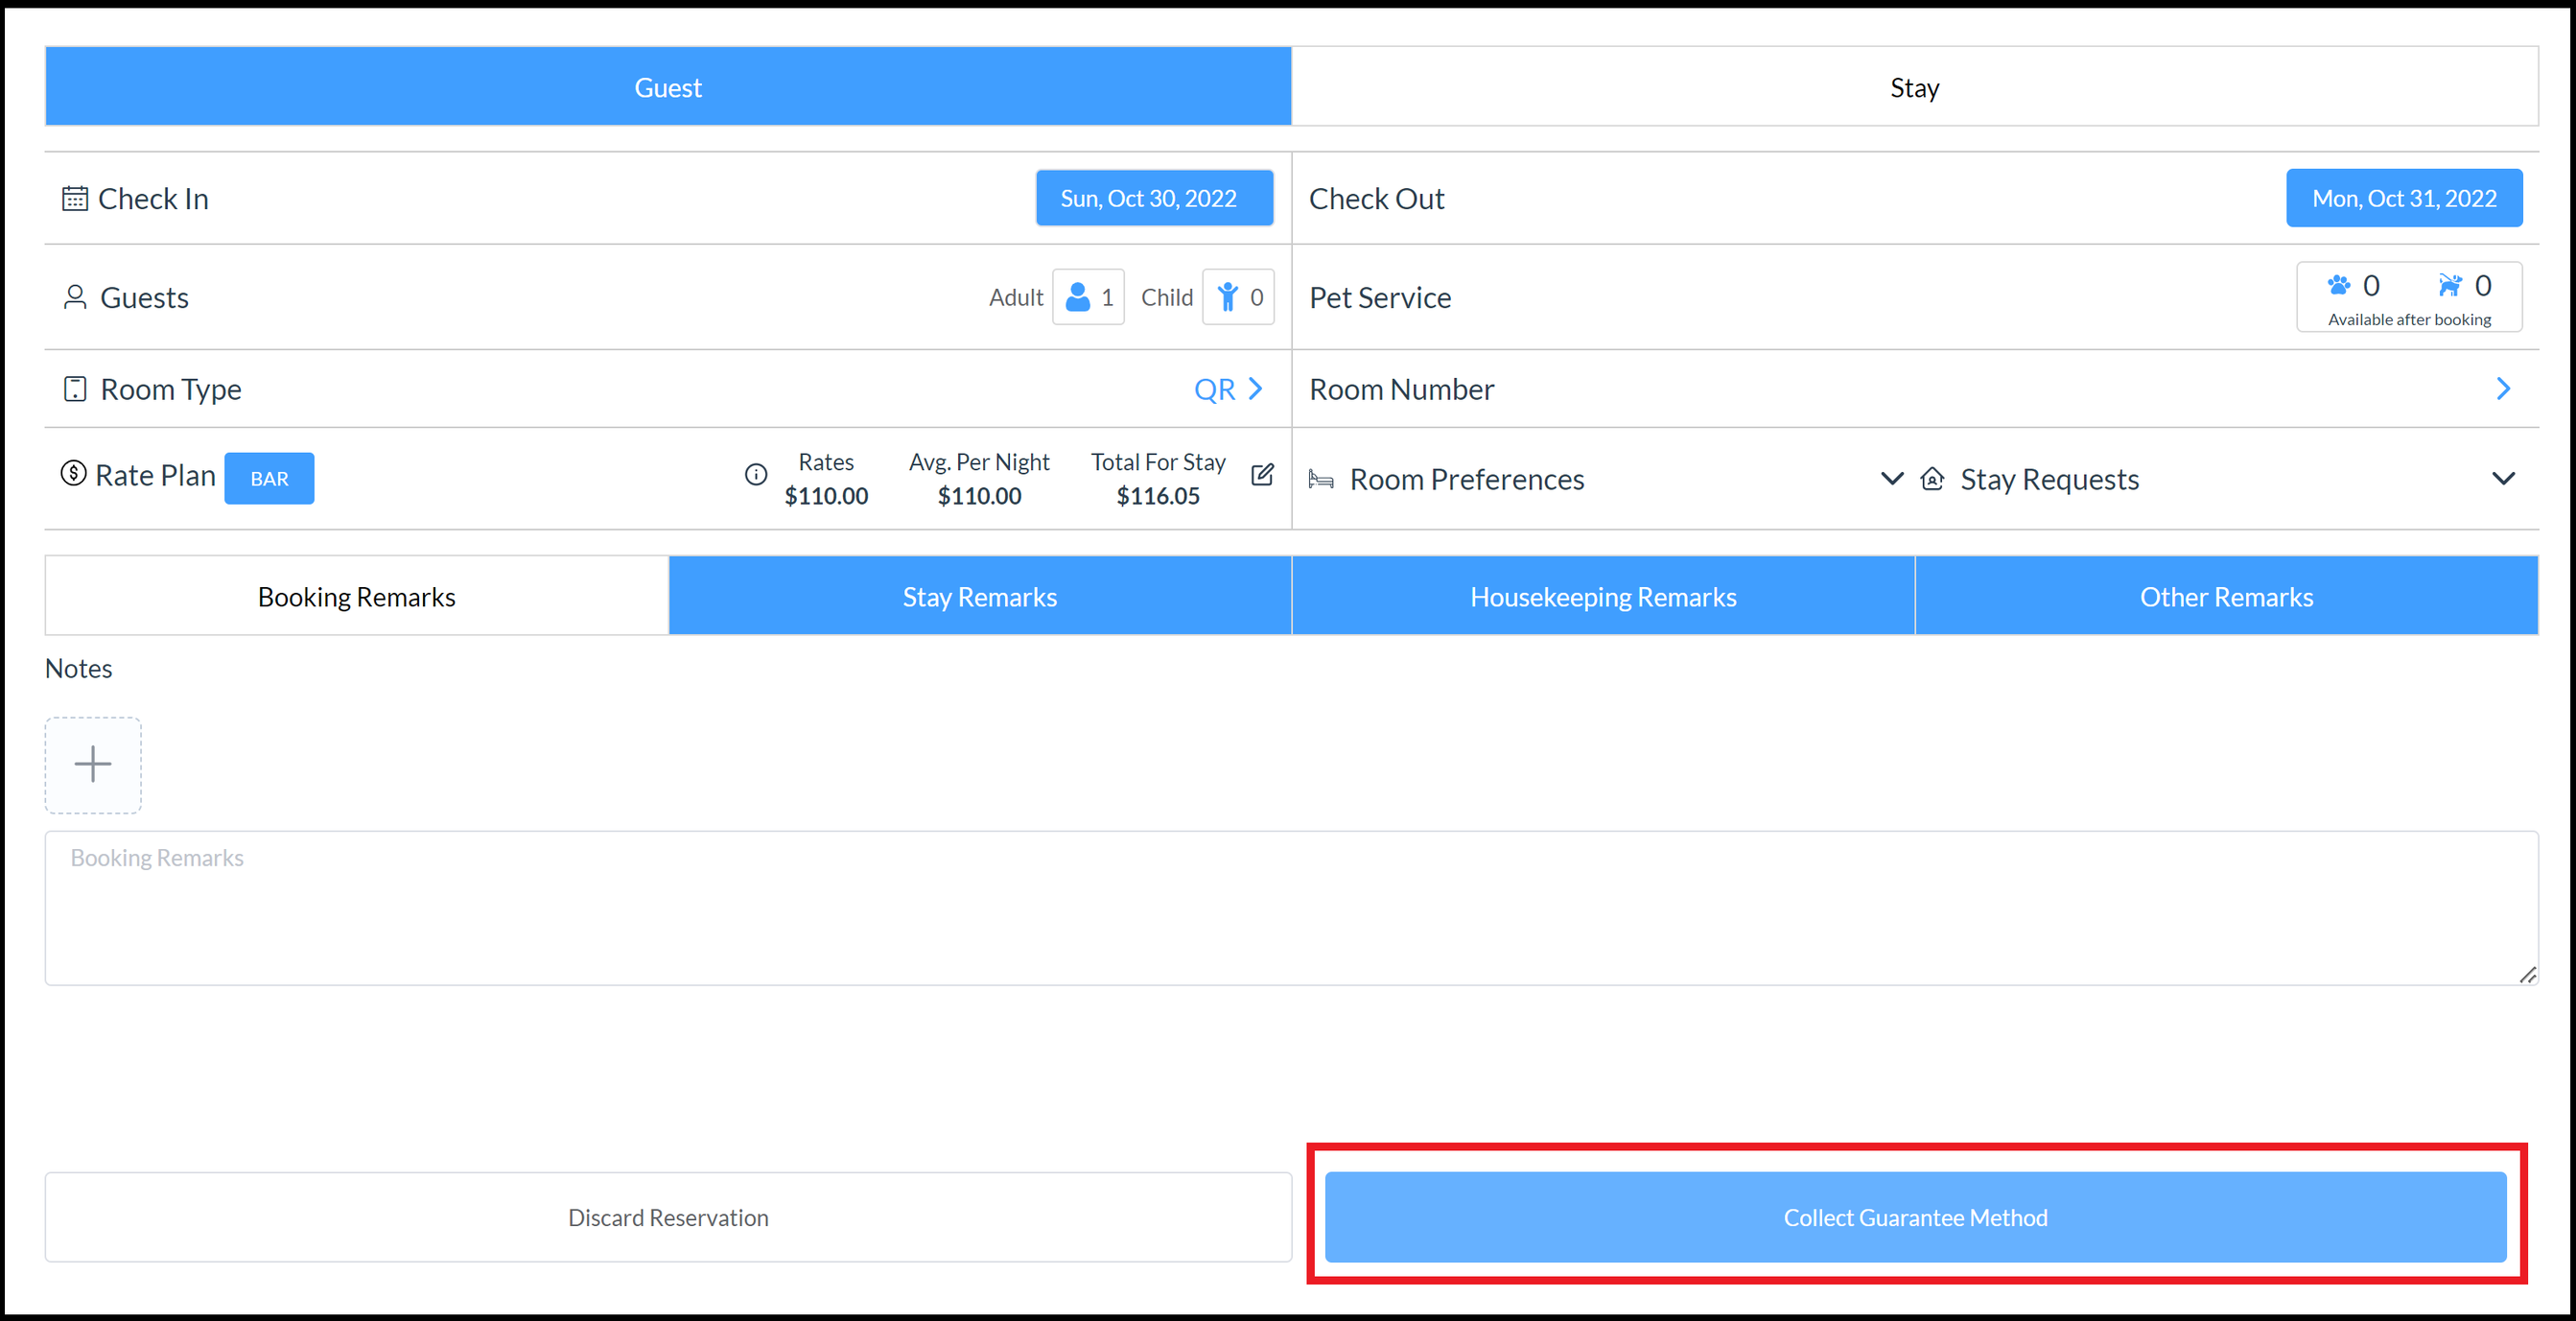
Stay reservation details display. Confirm details shown. Use the provided links to revise detail fields. Select Next: Collect Guarantee Method to continue. |
|
|
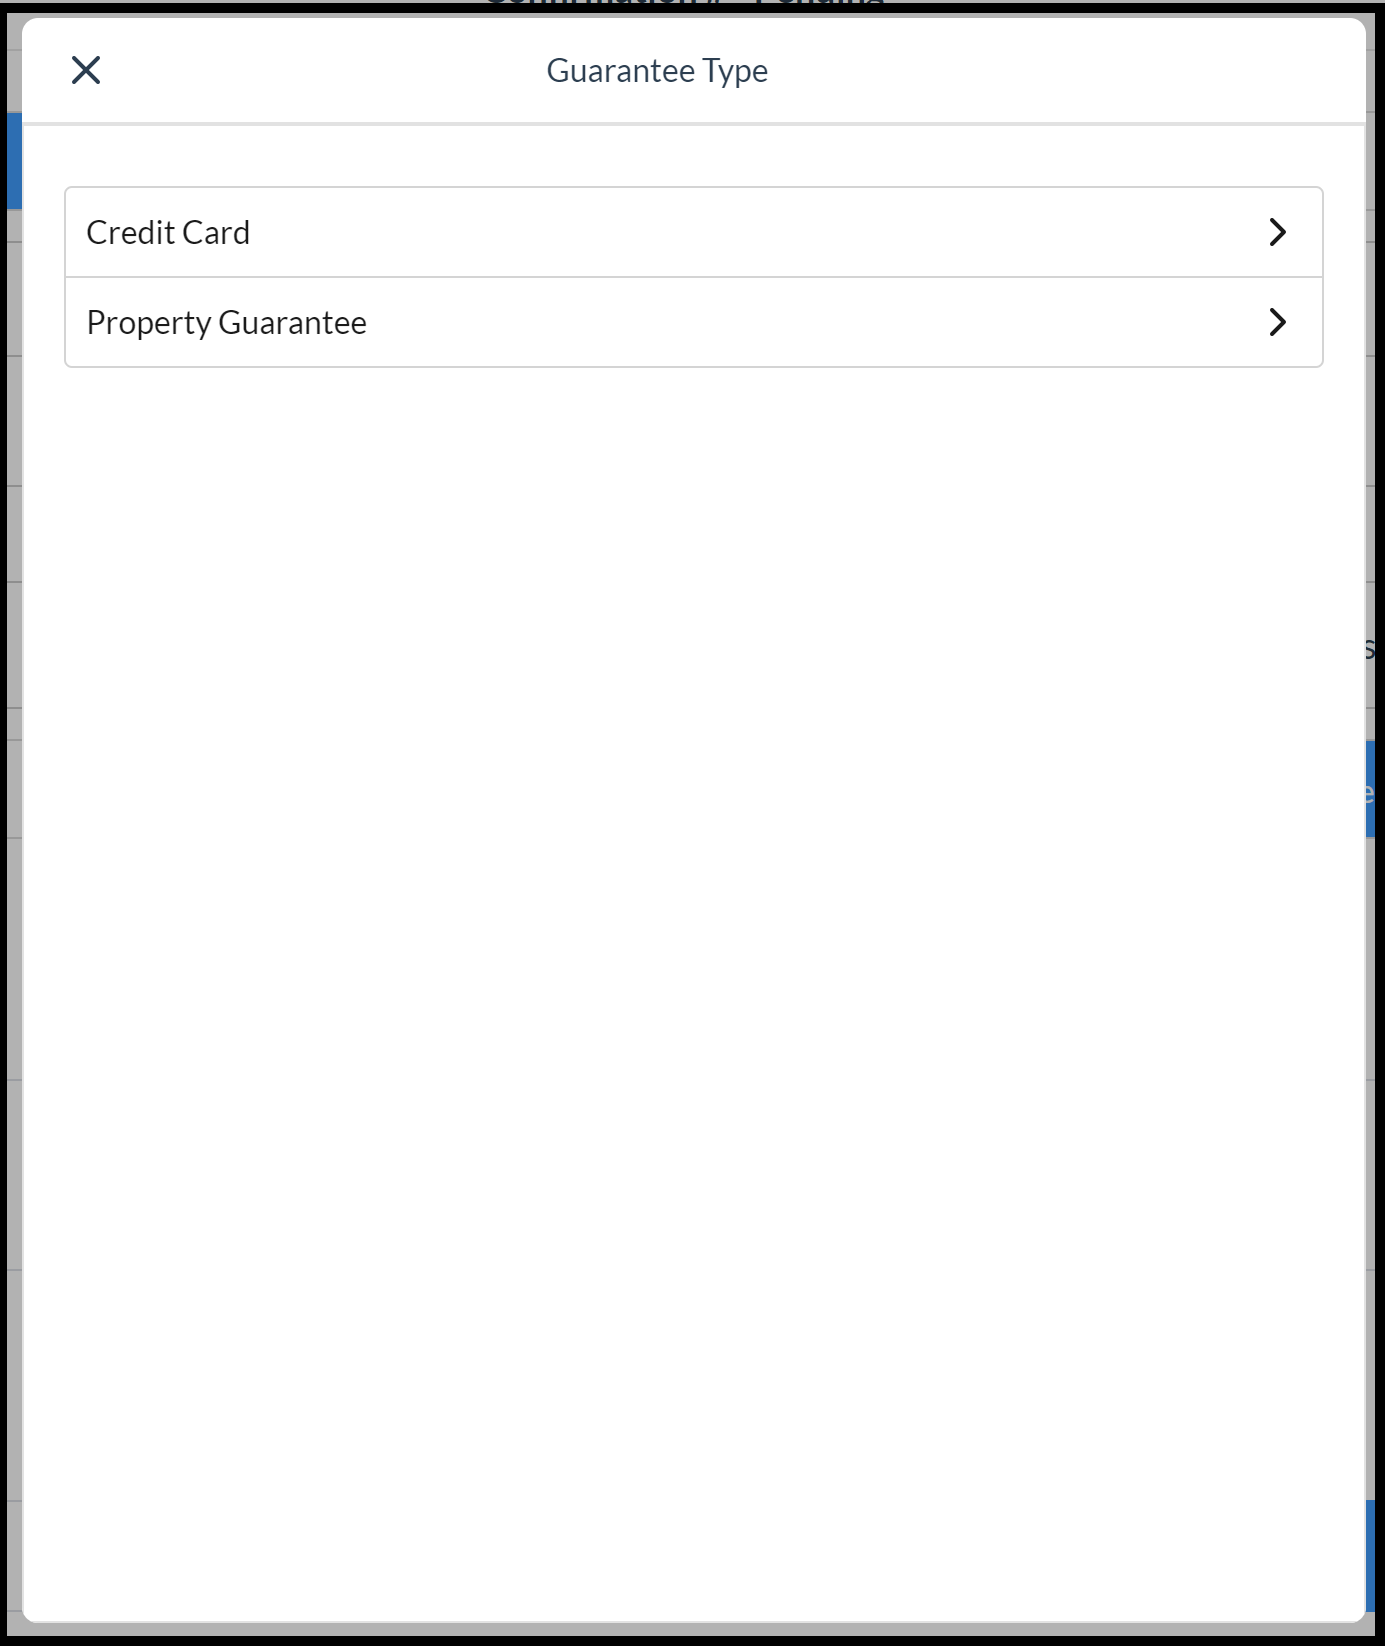
The Guarantee Type popup activates. Select the applicable payment type. Enter payment type details if prompted; details of payment types on file for the guest are automatically applied when the respective type is selected. When newly entered payment details are complete select Done to continue, as shown in the second screenshot at right. |
|
|
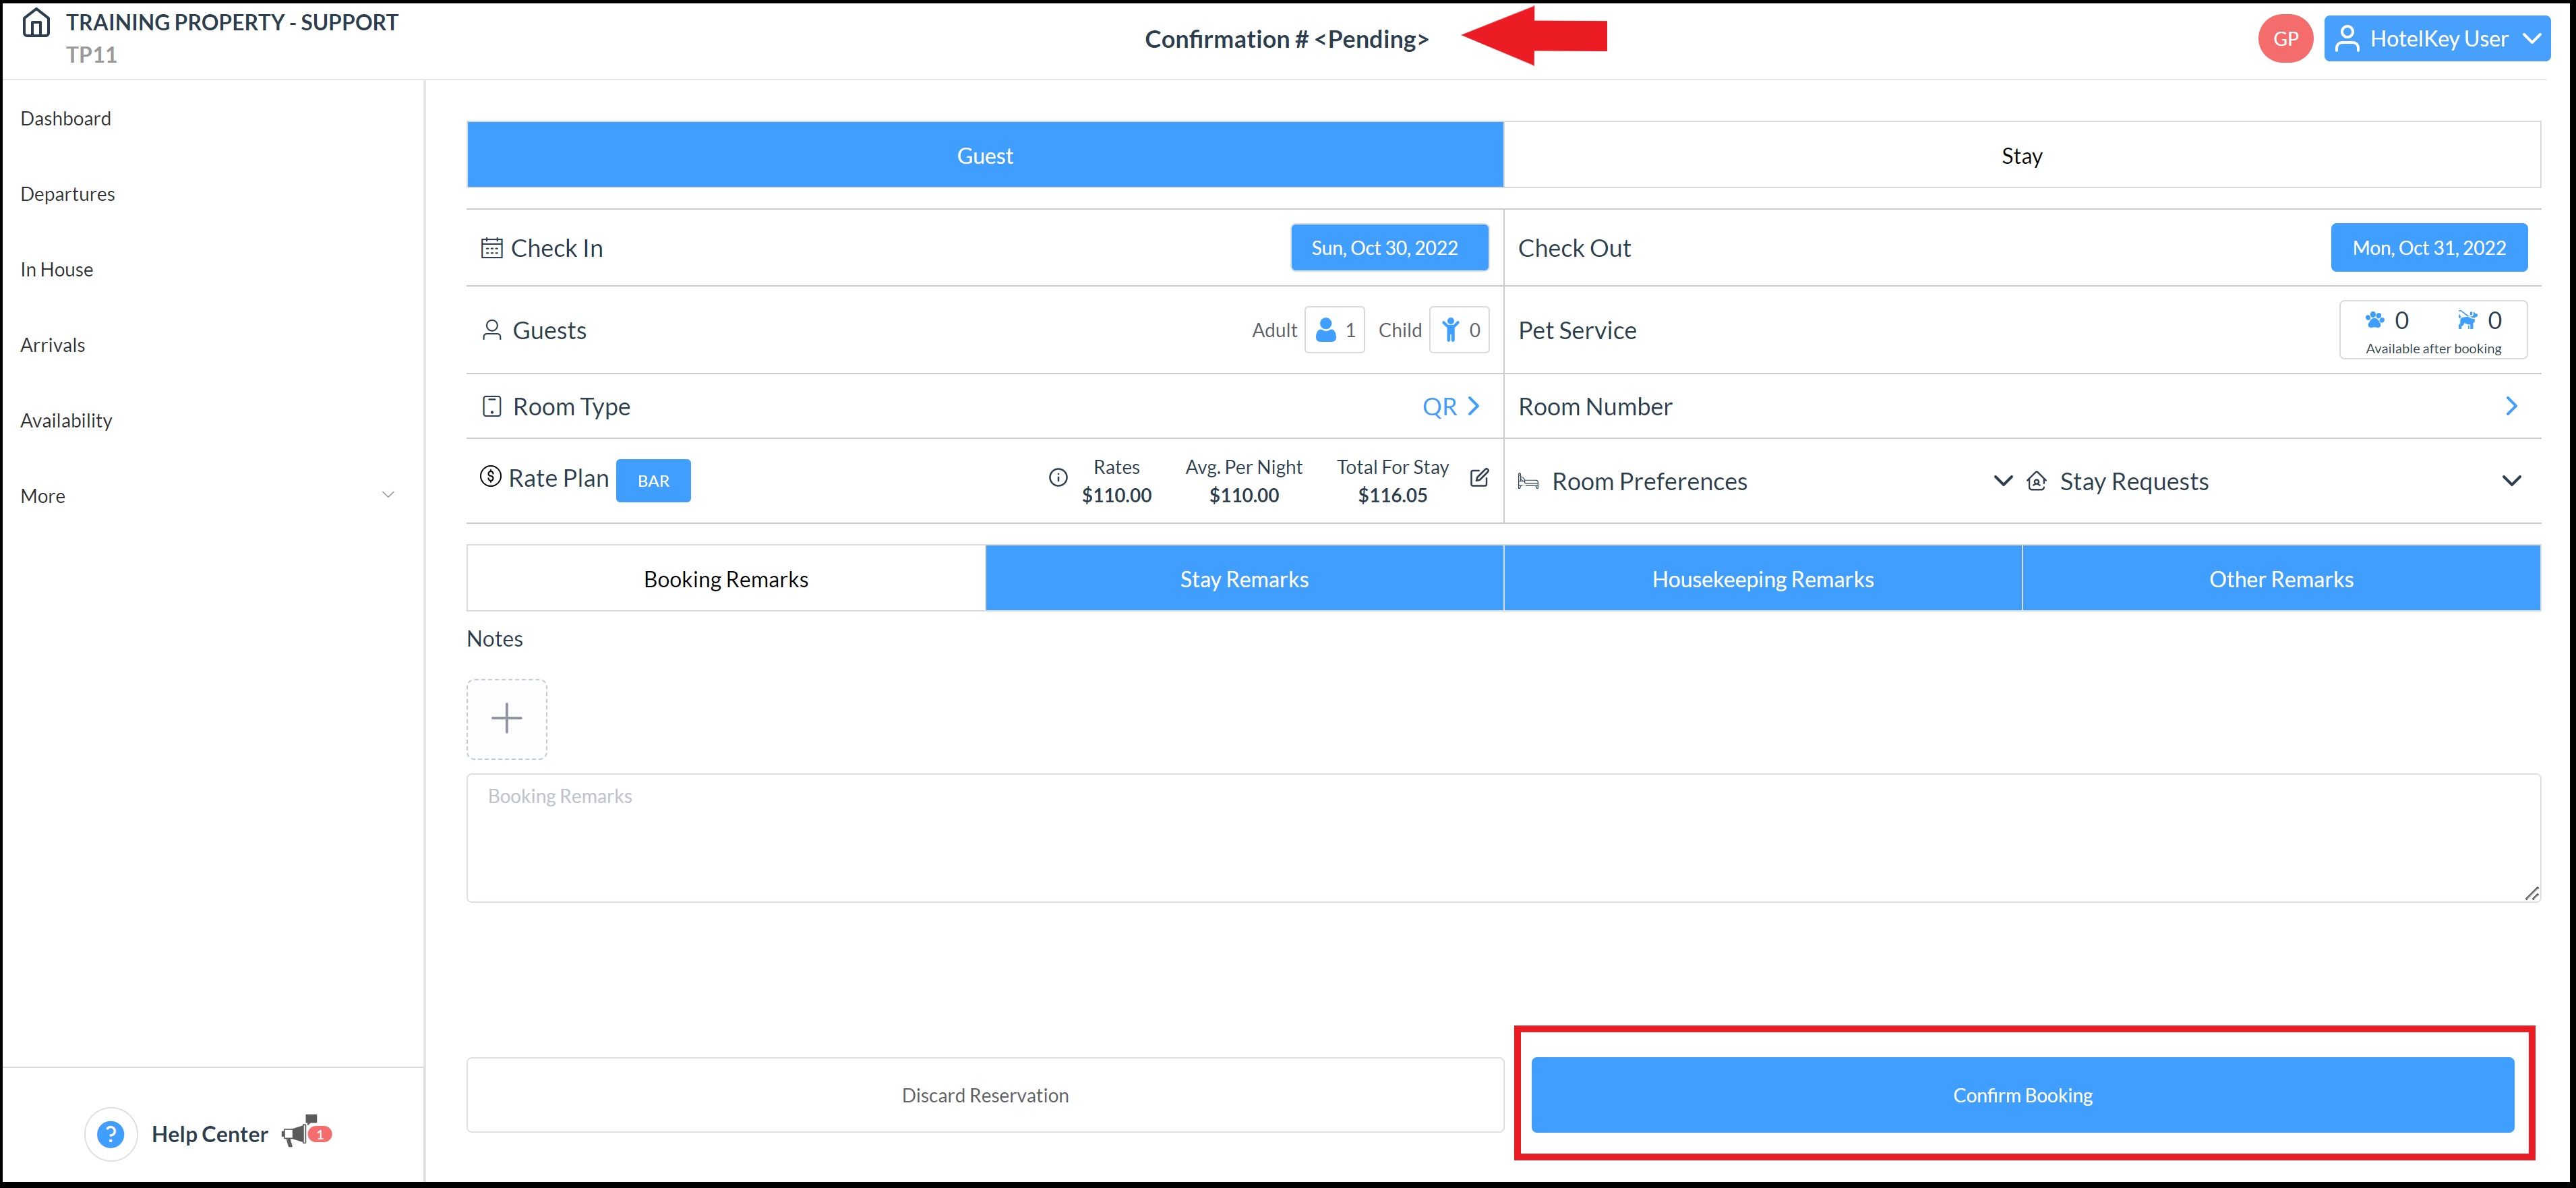
The guarantee method popup closes. Notice that the booking is not yet finalized, there is no Confirmation # assigned yet. Confirm reservation and guest details. Again, use the provided links to make changes if necessary. Select Confirm Booking to create the reservation. |
|
|
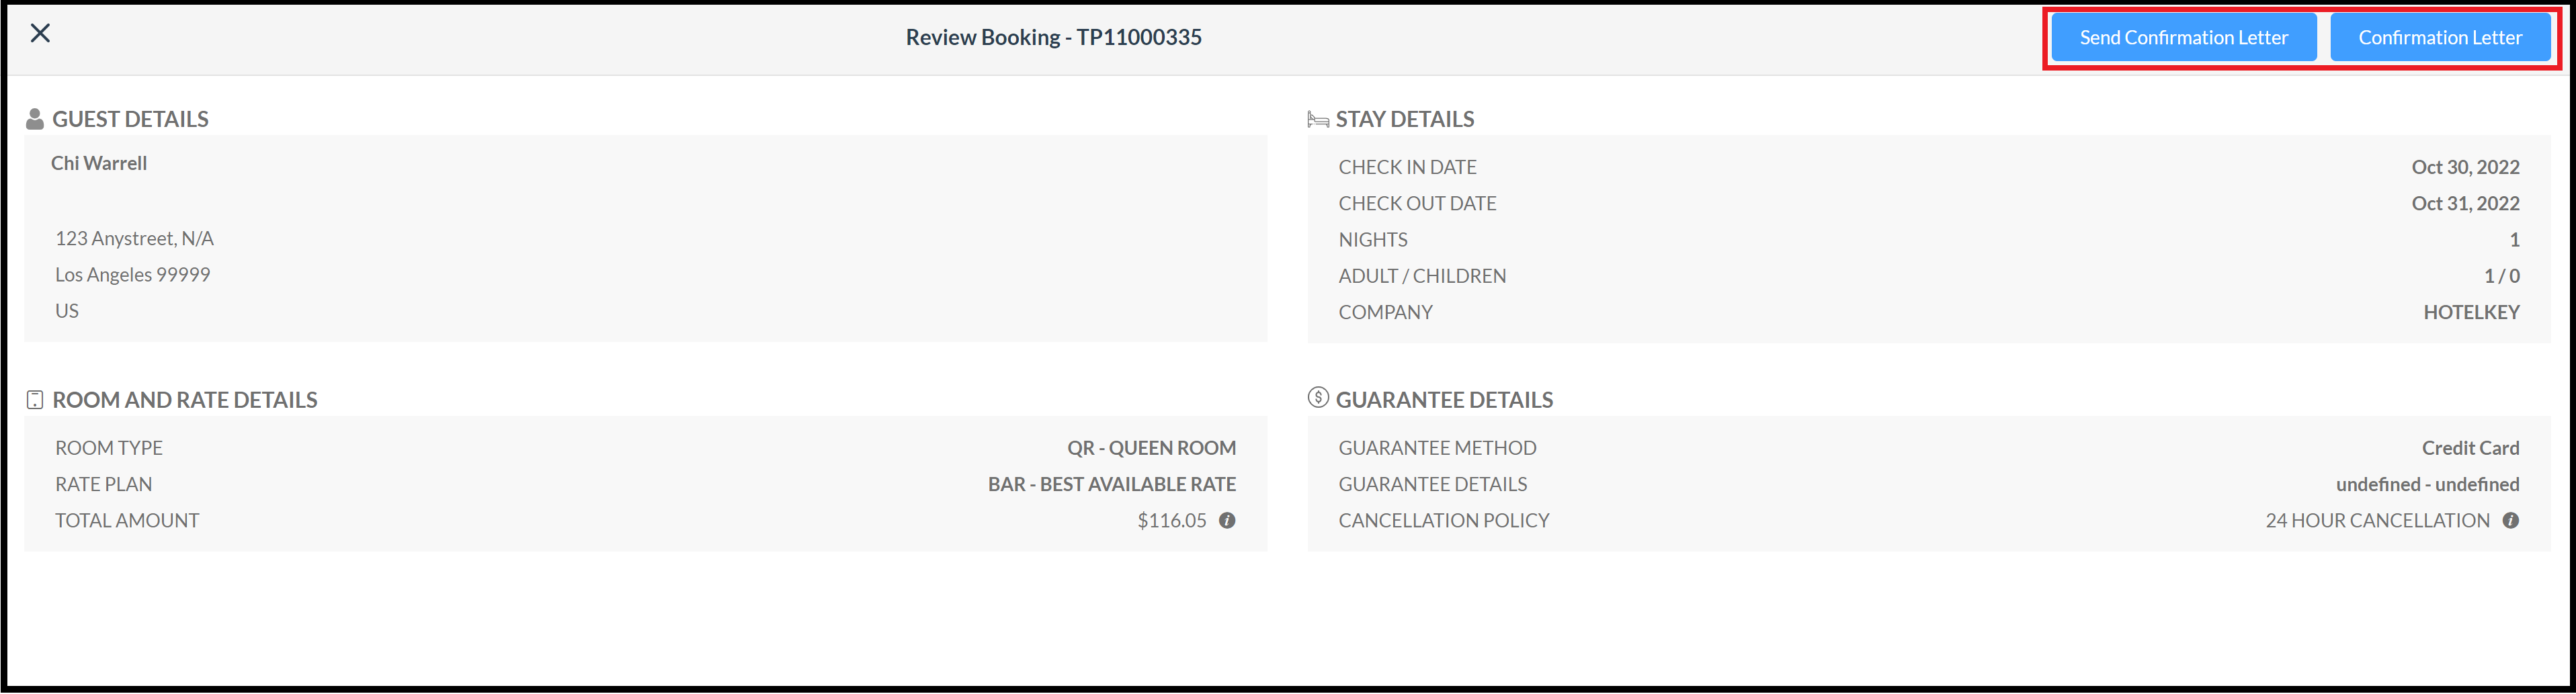
The reservation is created and its details display. A confirmation can be sent from this page if desired. |
|
Reserve by Availability
Select Availability from the sidebar menu as shown below. This action loads the room type / rate selection page immediately, bypassing the popup for selection of booking type. When the room type / rate selection page is accessed this way the system assumes an Individual Booking type.
Click here to pick up where an Availability booking leaves off in the reservation steps above.
Create a Reservation for a Walk In Guest
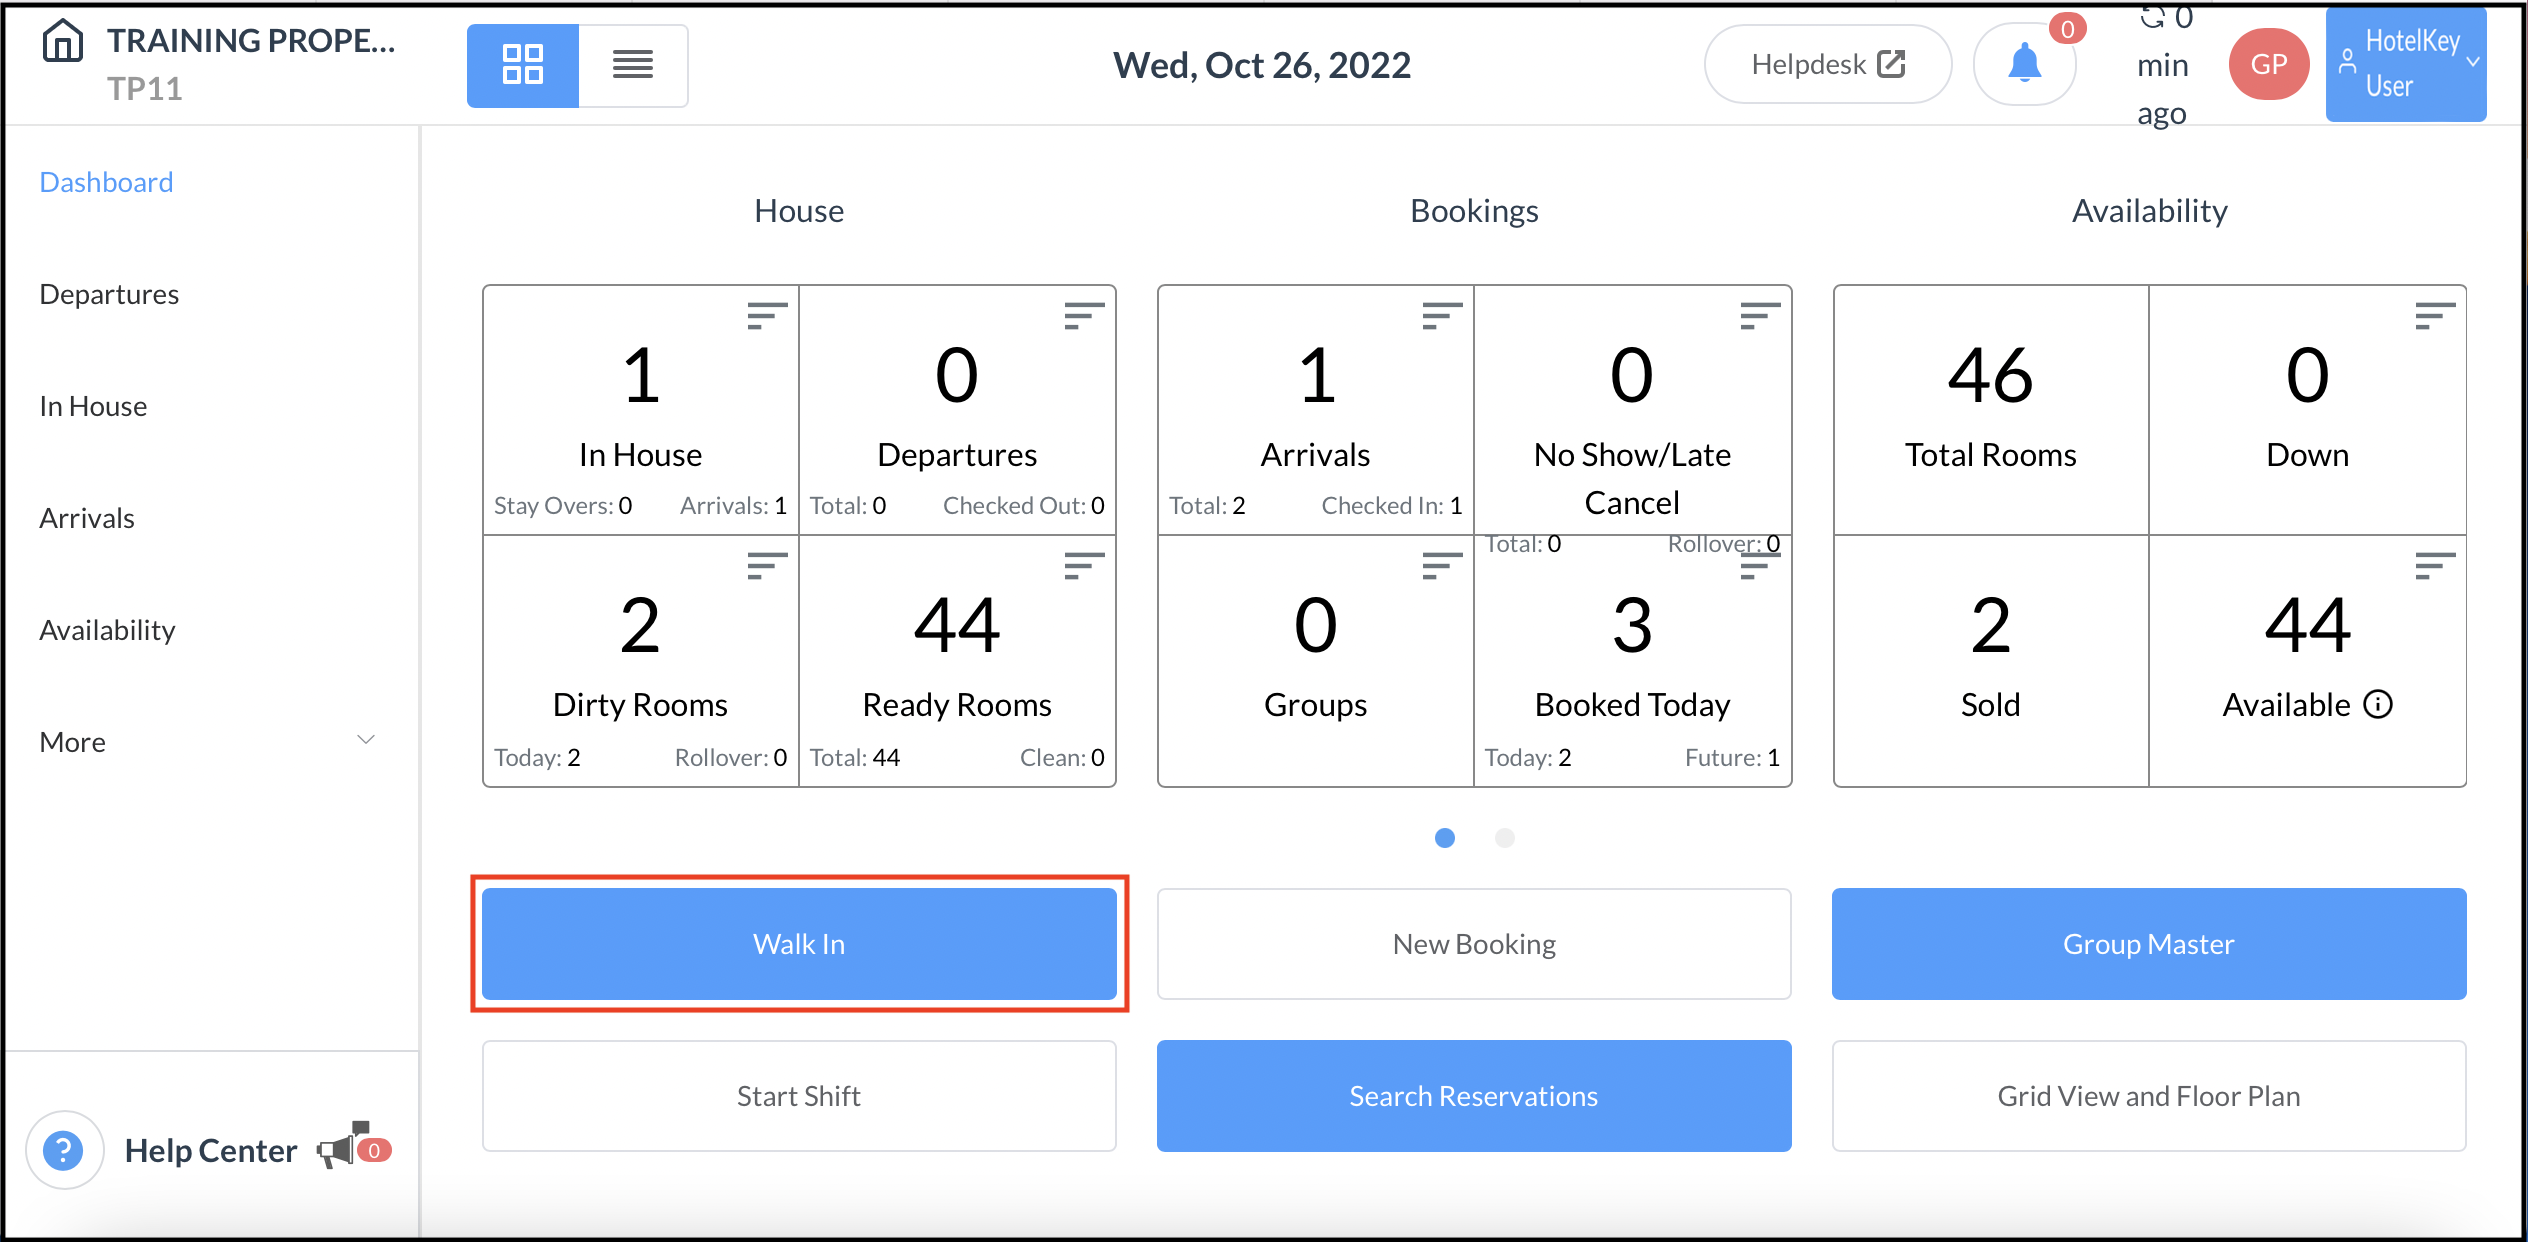
Select Walk In on the Dashboard page.
This action loads the reservation details popup immediately, prompting for either guest lookup or addition of a new guest record. In this type of reservation, selection of room type and rate occur in a later step.
Click here to pick up where a Walk In booking leaves off in the reservation steps above.
Book a Room From Grid View
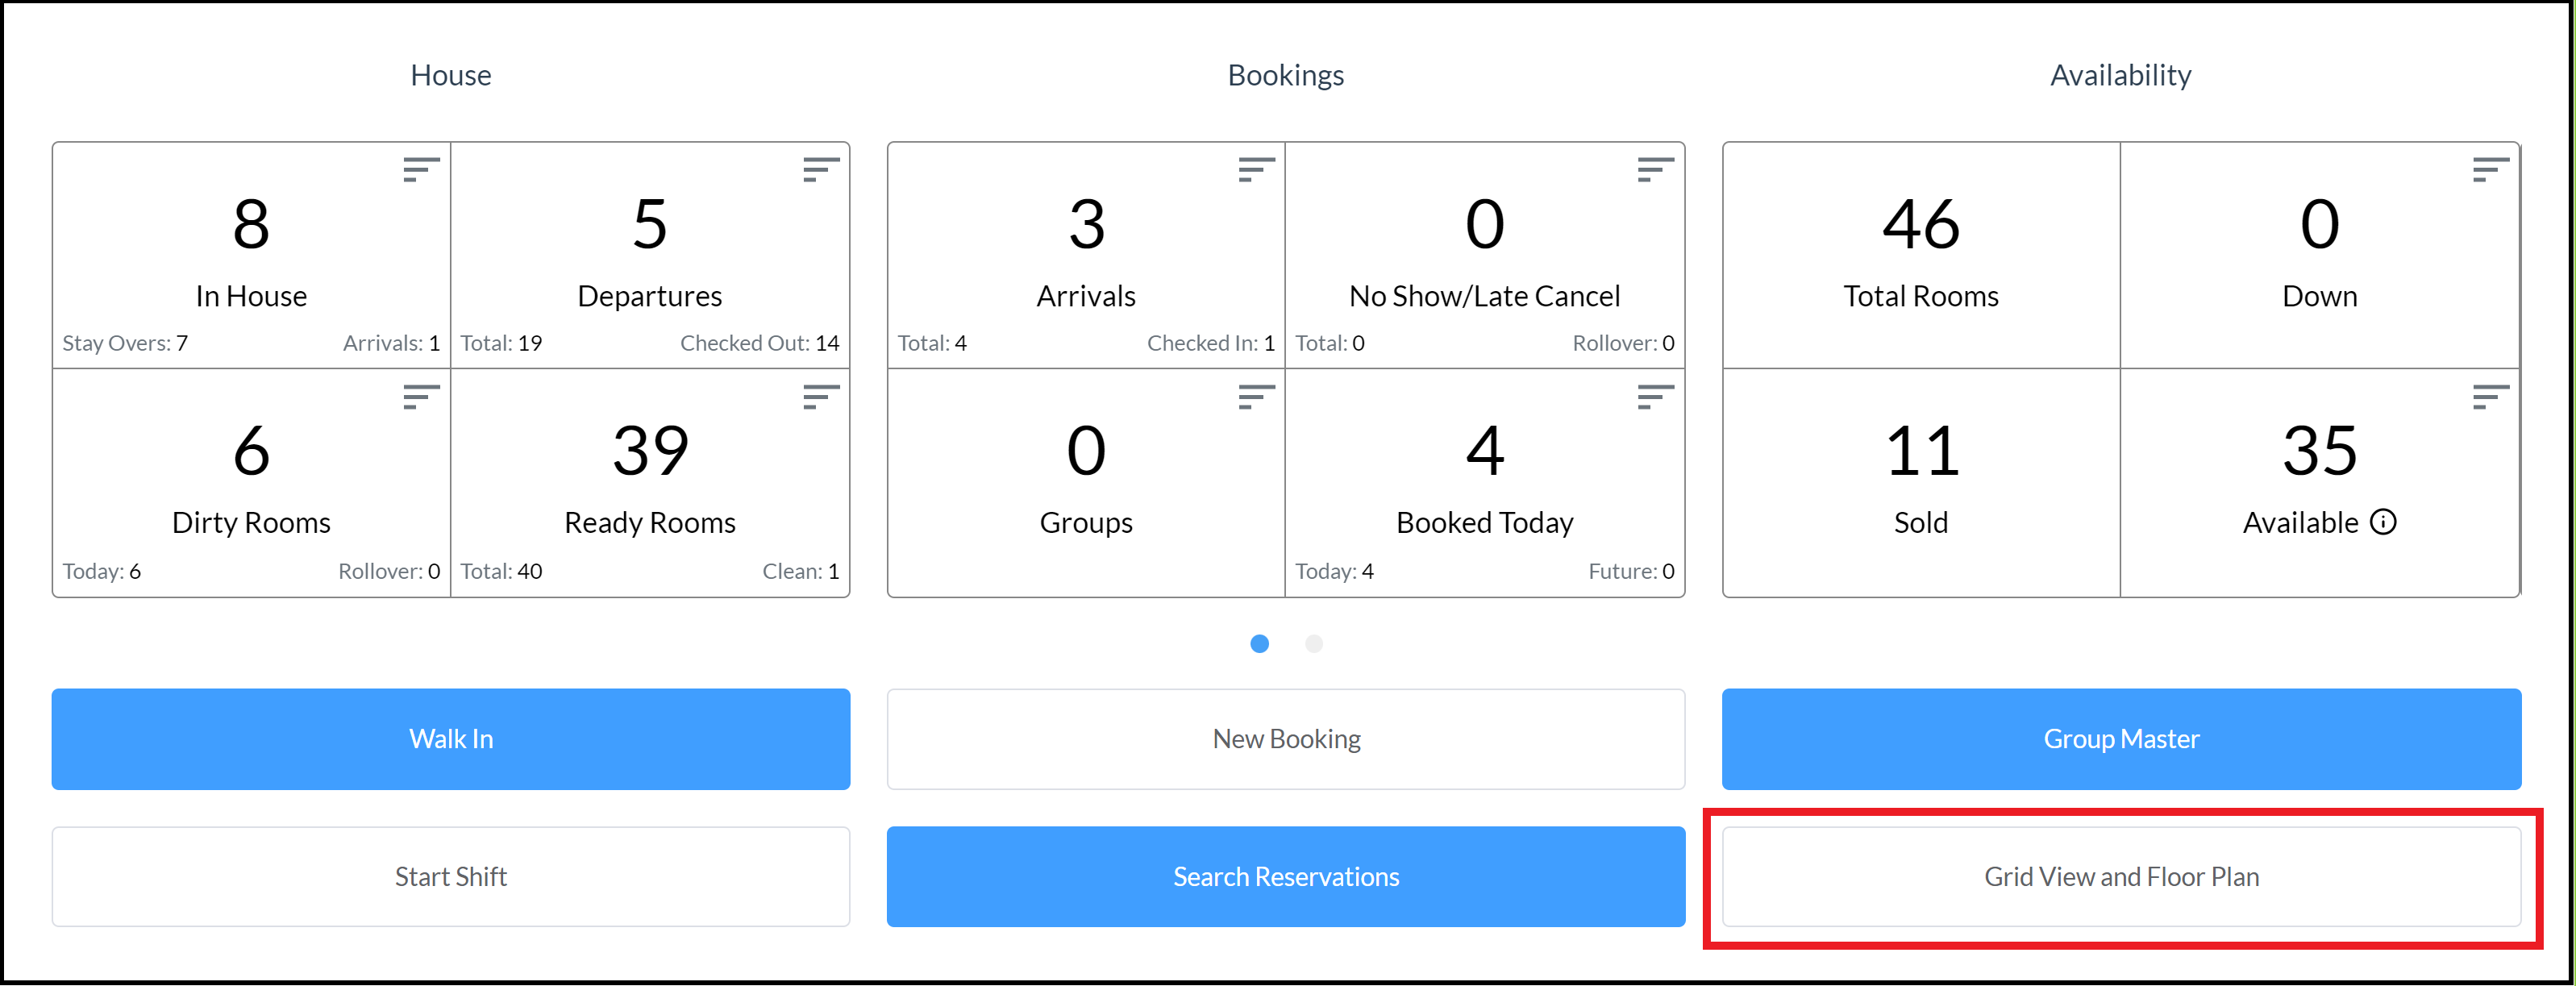
Select Grid View and Floor Plan on the Front Desk Dashboard page.
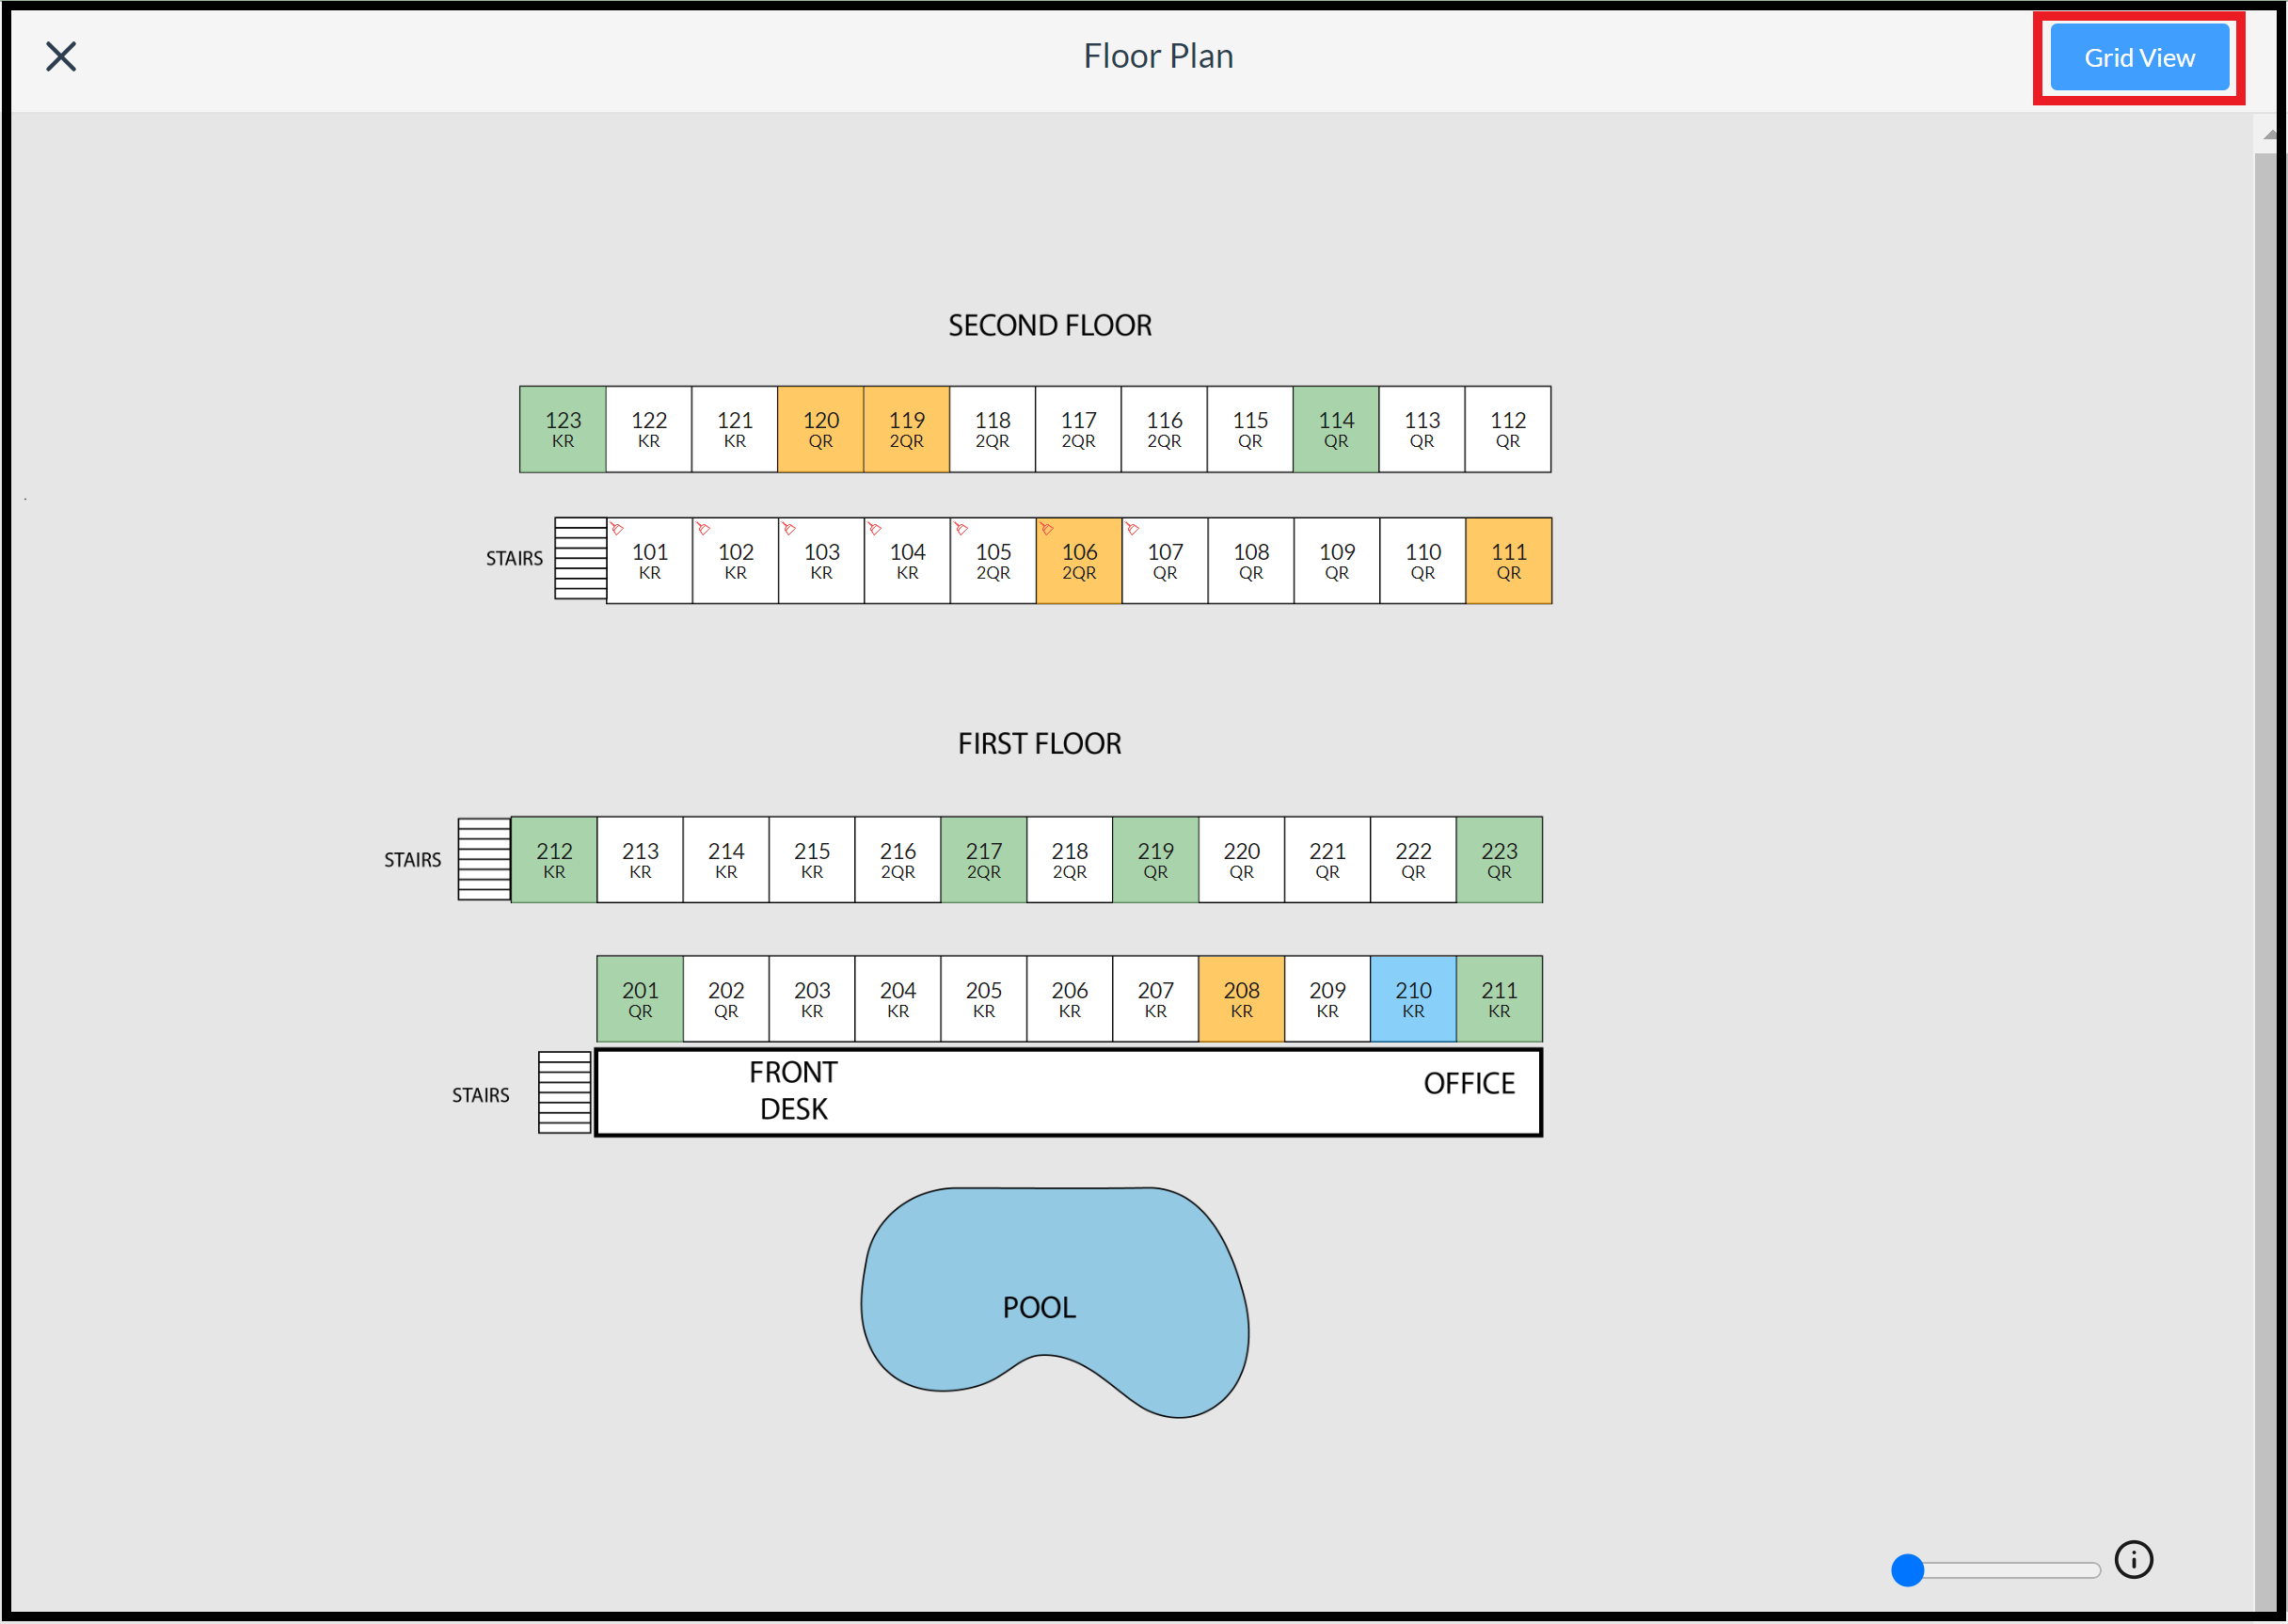
The Floor Plan panel loads, as shown below. Select Grid View.
The grid view panel loads, as shown below.
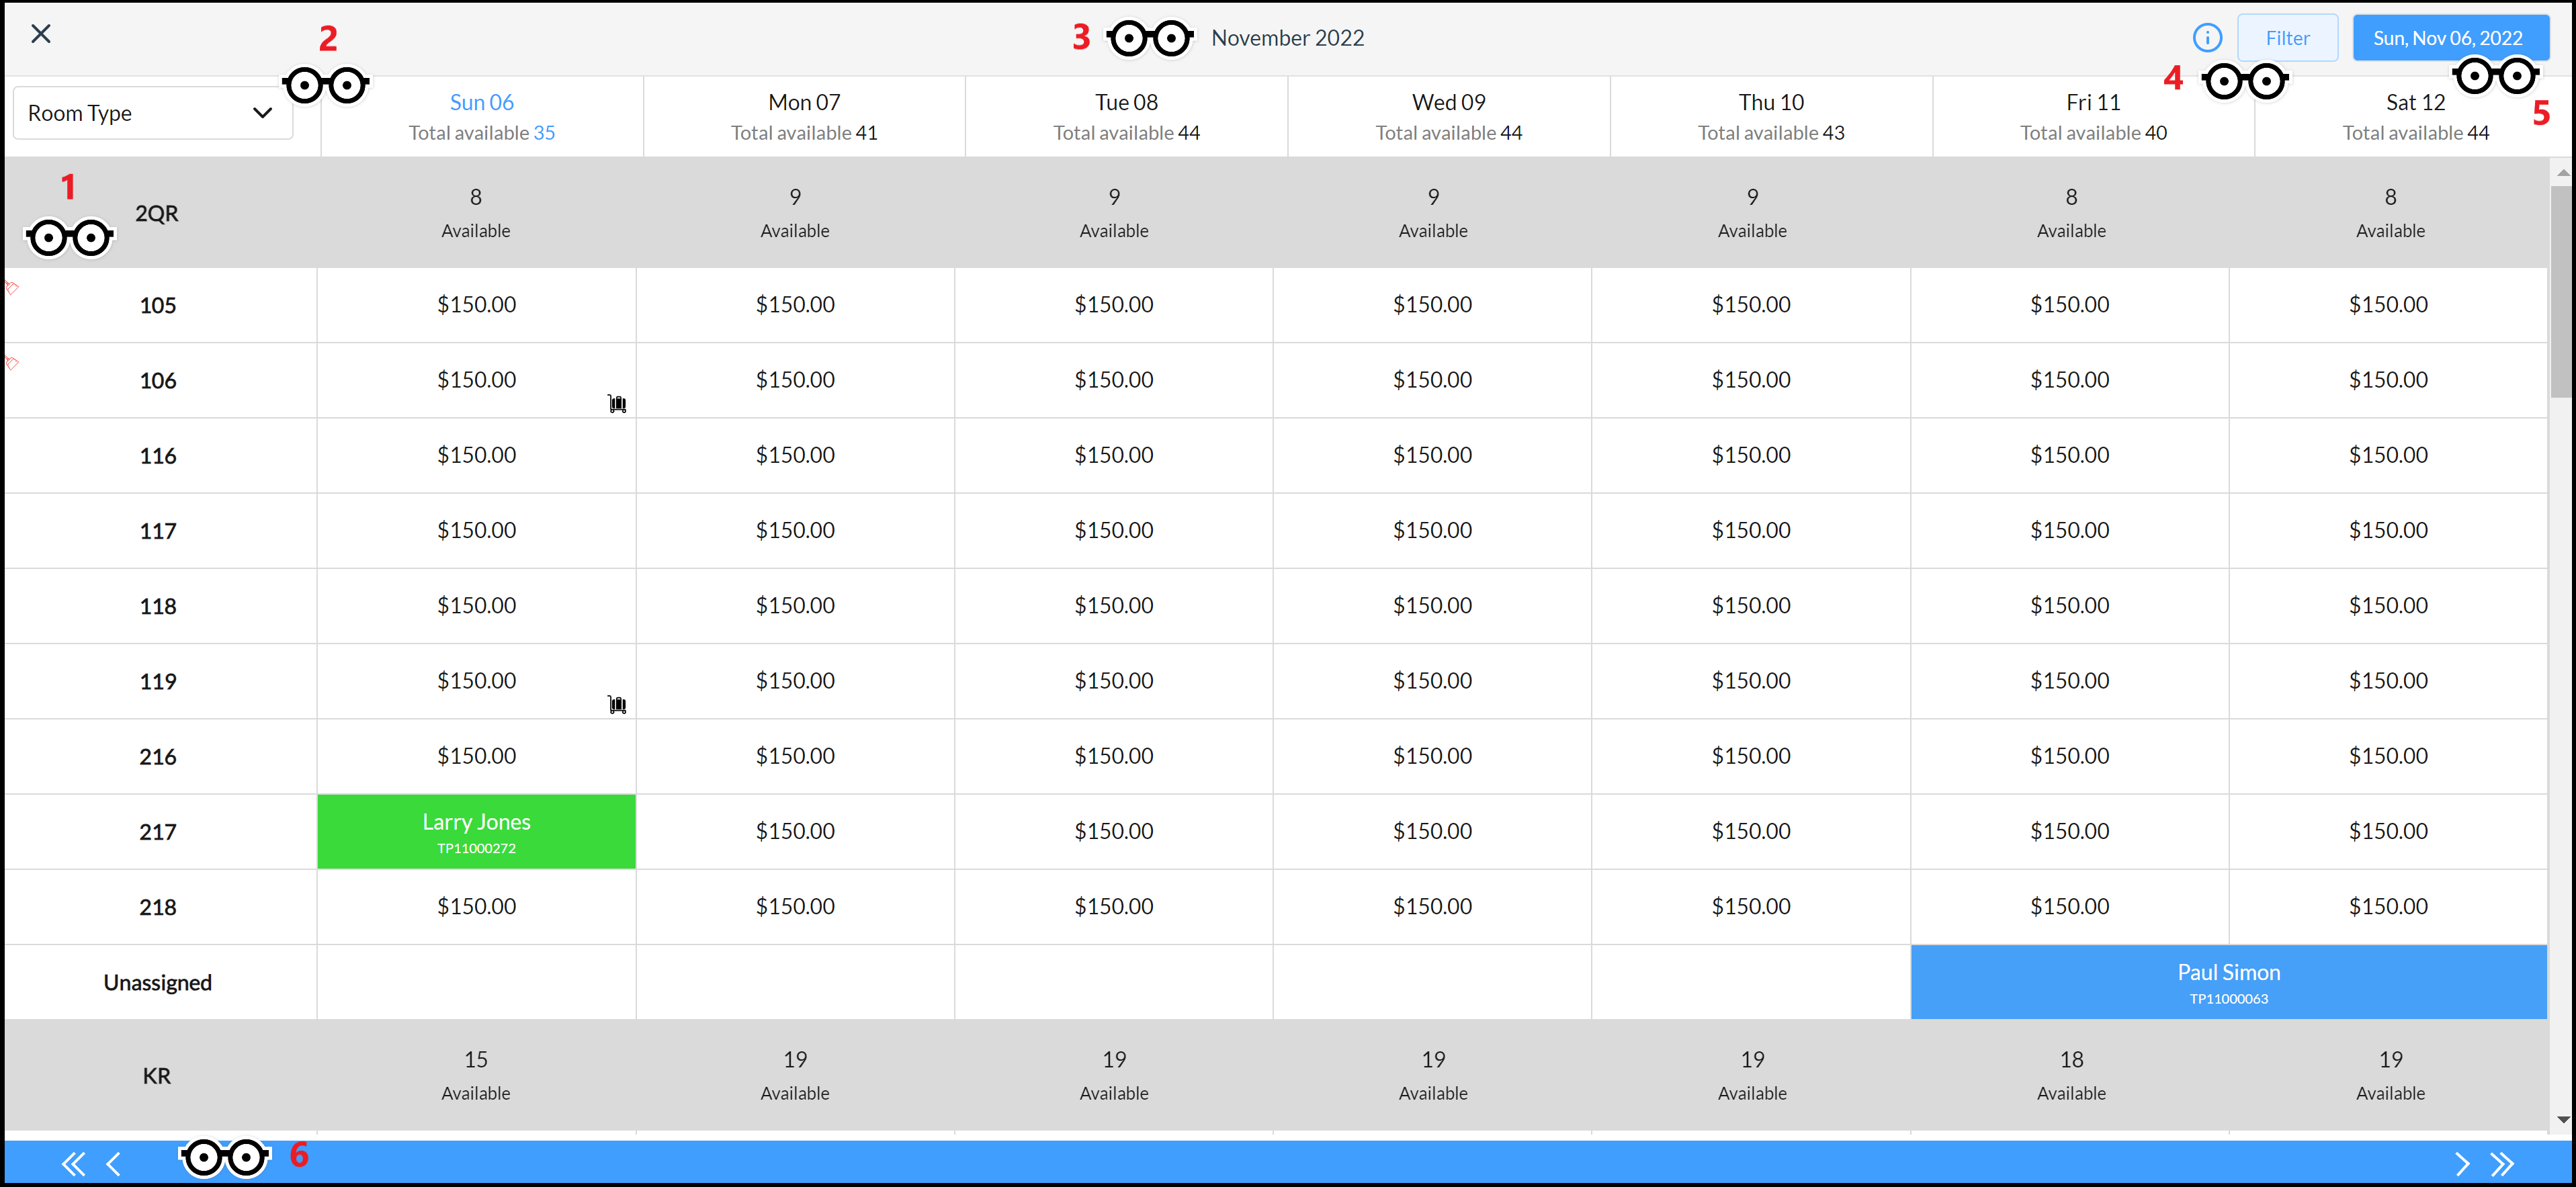
Navigate to the desired room using page navigation, search and filter features, as described below.
-
Each Room Type code appears as a shaded row, with rows containing room numbers of this Room Type. grouped beneath it. Use the right hand scrollbar to scroll through the entire list of types.
-
Use the Room Type dropdown pick list to limit the grid display by Room Type.

-
The month currently displayed appears at top, and updates as you navigate through the months.
-
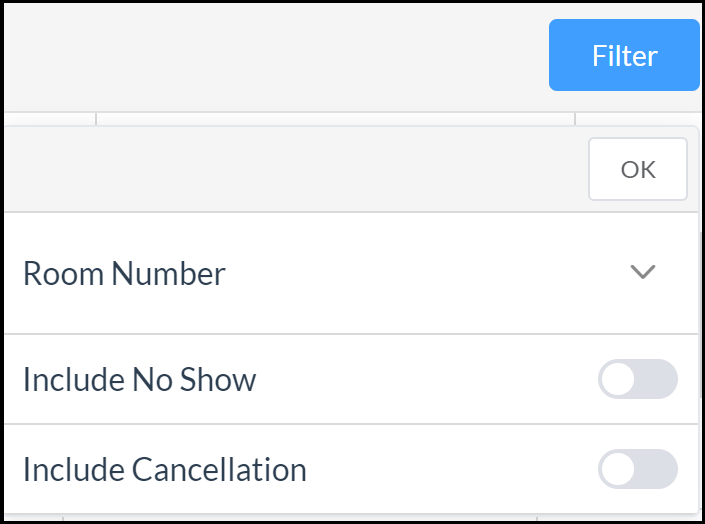
The Filter link opens a select list of that includes a Room Number dropdown. Open the Room Number dropdown to select a specific Room Number.
-
Select the current date field to open a calendar widget; select a date from the widget to update the display to that date.
-
Double navigation arrows at the left and right move the display to the previous or next month. Single navigation arrows at the left and right move the display to the previous or next week.
When the applicable room is located select it.
Click here to continue with reservation steps above.